When you click on links to various merchants on this site and make a purchase, this can result in this site earning a commission. Affiliate programs and affiliations include, but are not limited to, the eBay Partner Network.
I am very happy with my Wilwoods, R1 rotors, and Motul setup. The Wilwoods also come in black and can always be painted another color
As someone who is used to driving a car with an aggressive brake setup I found the stock calipers very lacking. The Wilwoods are much more predictable and have a weight savings over the stock setup
Been very busy but was able to add door moldings recently, I think it compliments my theme well
Will be giving the car a full detail this summer and would like to rewrap my roof and get new tires as well
I am on EBG Green Stuff Pads, EBC Slotted rotors, ATE TYP 200 fluid and I love how the car brakes on for everyday driving. But for AutoX I do want something that bites harder.
I don't mind spending the 500 for the wilwood but if I can get better results for way less I would consider it. I'm not terribly fond of the red wildwood calipers, it they have a silver or dark gold I would be more inclined.
Don't get me wrong the Wilwoods are awesome.
But also S2K looked pretty sweet. ;D
Have been contemplating on going with ITR brake set up with Mini Rotors.
Pergola goes up tomorrow !!!! if your in the valley, let me know, I wouldn't mind a BBQ at the house!!
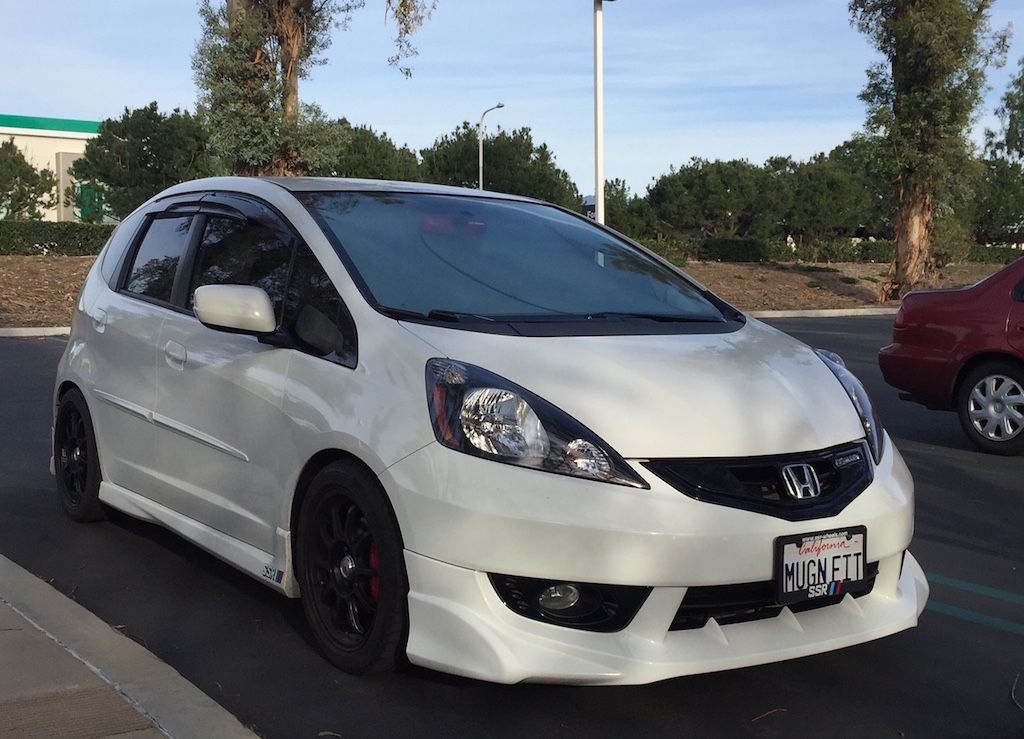
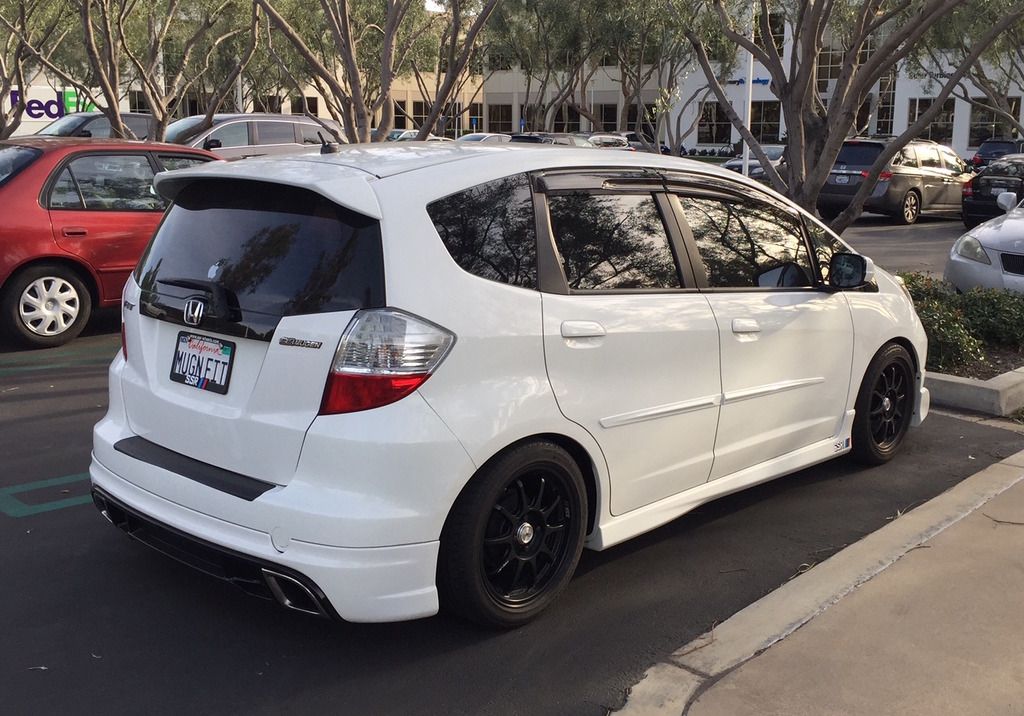
Waiz, our rims look the same! I love Mugen grill and font lip!!
Smoke vinyl came in today for my tails. Have never done a curved surface with vinyl. Also they suggested dry application and Ive always done wet.
Curved surfaces definitely required a 2nd set of hands. Hard to stretch...heat and push out air bubbles all at once so I recruited my son to be on blow dryer duty while I stretched/pulled and attempted to remove bubbles. You can get about 3/4 of it flat on the lens, but its that last 1/4 which is the top-inner corner that causes the problems. Had enough material to do 4 tail lights. First try was learning on driver side, got it on eventually but had a bit of bubbles. Second went considerably better with minimal bubbles. Removed driver side and was able to apply a better application this time although not as nice as passenger side still. Its decent. A couple of air bubbles when you're up close. $8 on ebay for 6" of vinyl tint, razor blade and felt covered flat tool/spatula dealie. Beats the $120+ Ive been quoted locally.
Only did the clear portion so I wouldn't mess with brake light lumen output, AKA didn't want to mess with safety. Seen too many people with limo tint tail lights and you cant even tell if they are braking or not.
I put in the Bearish floor bar, hatch bar and the Cusco V2 brace. I will say I'm impressed. I'll install the rear rigid collar and the Cusco V1 brace this weekend.
the car def responds better in going in and coming out of the corners. I love it!
I have the rear Cusco sway bar and the front rigid collar coming in, hopefully next week.
No worries. I'm not a big fan of usdm companies for parts. So ultimately the rear progress bar was an on the fence item. Since they only make springs and a sway bar. Where as Cusco makes a ton of parts for the suspension (for the fit). Which leads me to ask; did progress just make a thick sway bar just to say they do? Also, Japanese companies don't just make a part for the sake of making a part. If that makes sense.
Ultimately, paying $$$ for parts that actually work is worth it.
Can sorta agree with that logic and wanting to keep parts a similar brand. However, I am a firm believer in my progress rear sway. They did a very simple design, which cusco also did a similar rear sway, but ultimately added some complexity with a spring bucket mounting plate which the "thick sway bar" just bolts on to.
The progress bar mounts directly to the spring bucket instead of a separate plate. So really the only thing I can see is maybe the cusco having that 2nd hardware connection point which may have very minute slop due to the tolerance of the hardware stack up unless the hole is very tight fitting. Also that 2nd stack up is in the same axis of the suspension travel, where the progress is perpendicular to the travel so even if the holes were a little loose fitting it would not translate to the up/down direction. Lastly, the progress just has to worry about one hardware stack directly to the bucket.
We're talking VERY small amounts of wiggle...but then again...this kinda goes with the idea of the benefits of the rigid collars you bought. Any little wiggle room will tighten up the suspension. Maybe when your bar comes in you can measure the thickness of the bar and we can compare it to the progress bar thickness. And maybe I'm just over thinking the simple rear sway that's available for our cars.
Did have a suspension question anyways...when lowering the Fit...did you guys change the front sway bar end links? My Coilovers did not come with them and I feel some kits do. Figure lowering changes the position of the sway like in the picture below. 1) Stock height/links 2)lowered/stock links 3) lowered/adjustable links. Does this matter or make a difference? It seems when the car is lowered the front sway is just at a different angle instead of level with the ground. It should still be applying the same pressure/torsion when actually driving. Thoughts?
Yeah, my coilovers came with replacement end links.
Here are some pix of the after install. I didn't put all the parts on yet. As for the floor bar, I had to take off the passenger panel and make a hole in it. That way I could take the bolt out of where the seatbelt bracket goes. No big deal.
I think I can manage with the upper rear bar...but the floor bar...i have a passenger or two in the rear more often than I'd like and taking foot space won't be worth while.

 04-28-2017, 02:04 AM