
DIY: GE LED Third Brake Light Install
#1
 09-15-2009, 08:12 PM


DIY: GE LED Third Brake Light Install
Disclaimer: The following is provided as a GUIDE ONLY, and neither myself, nor FITFREAK.NET endorse, recommend, encourage nor take any responsibility for the outcome of someone else doing the following. You follow these steps at your own risk!
Ok here you go:
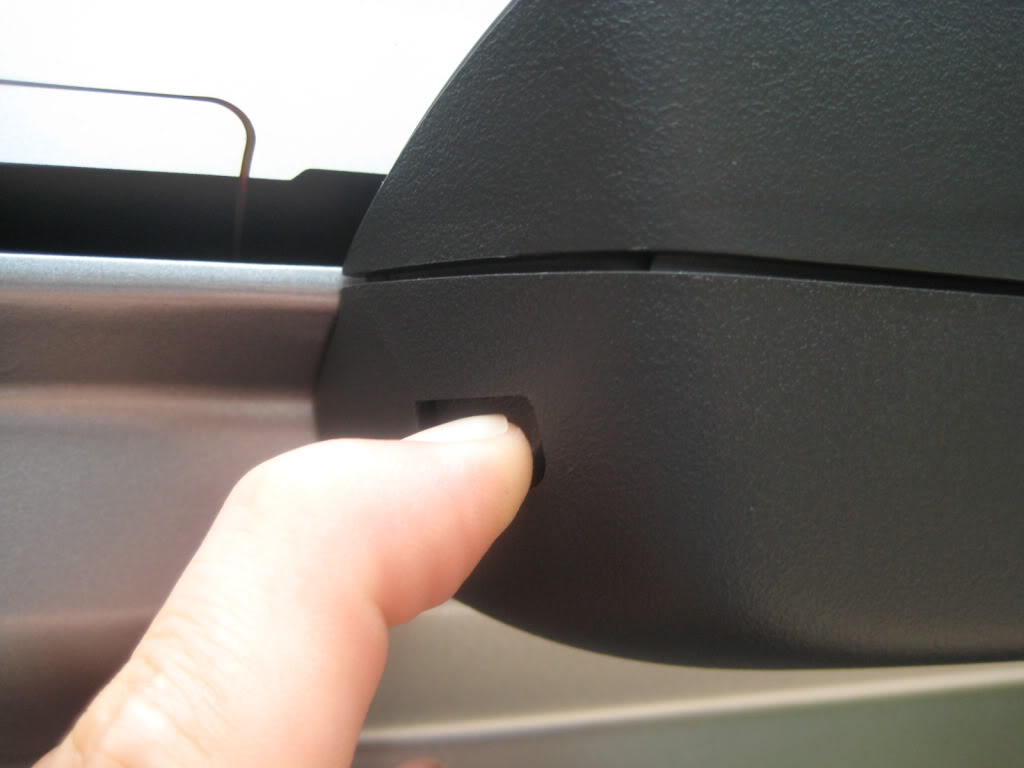
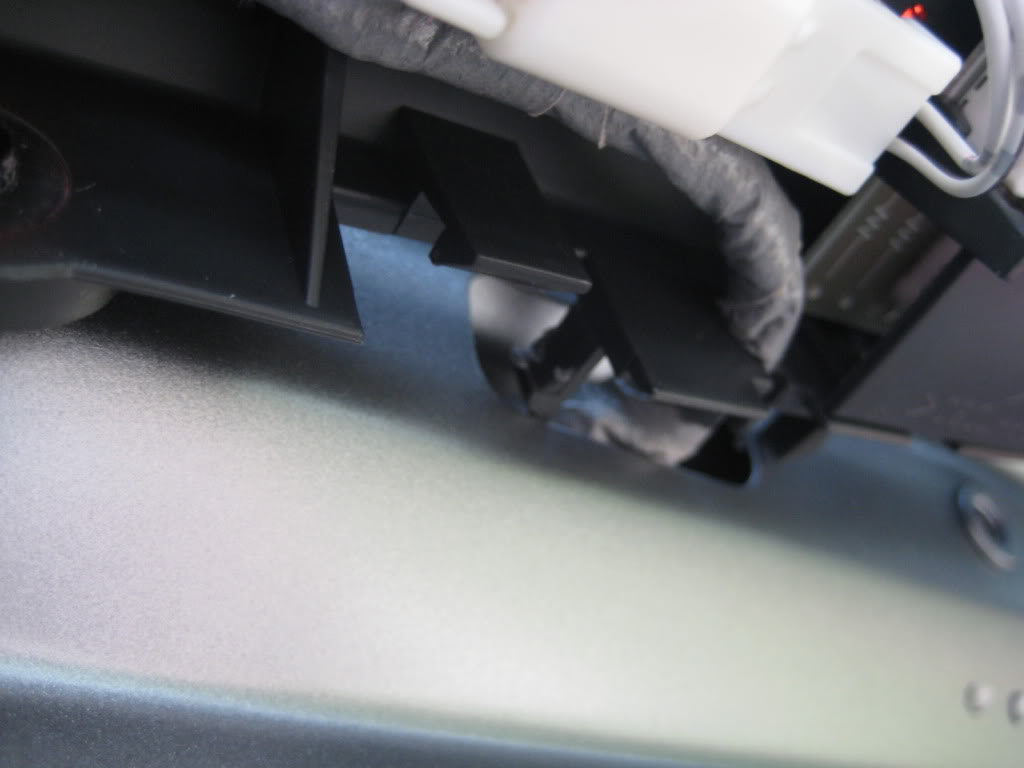
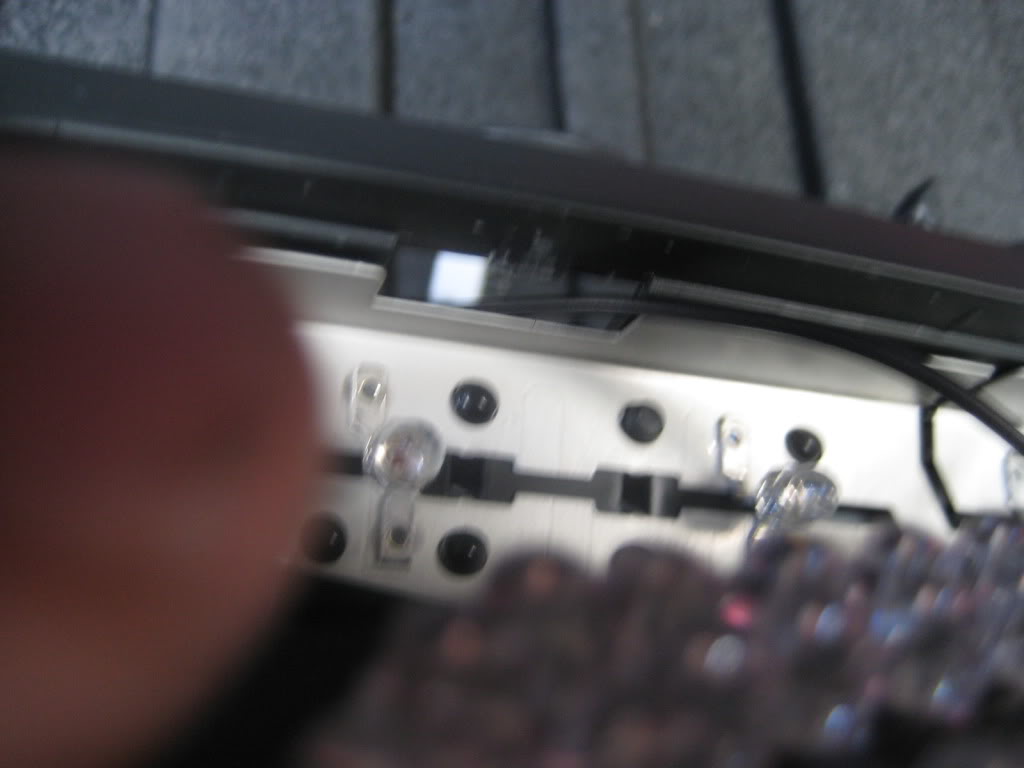
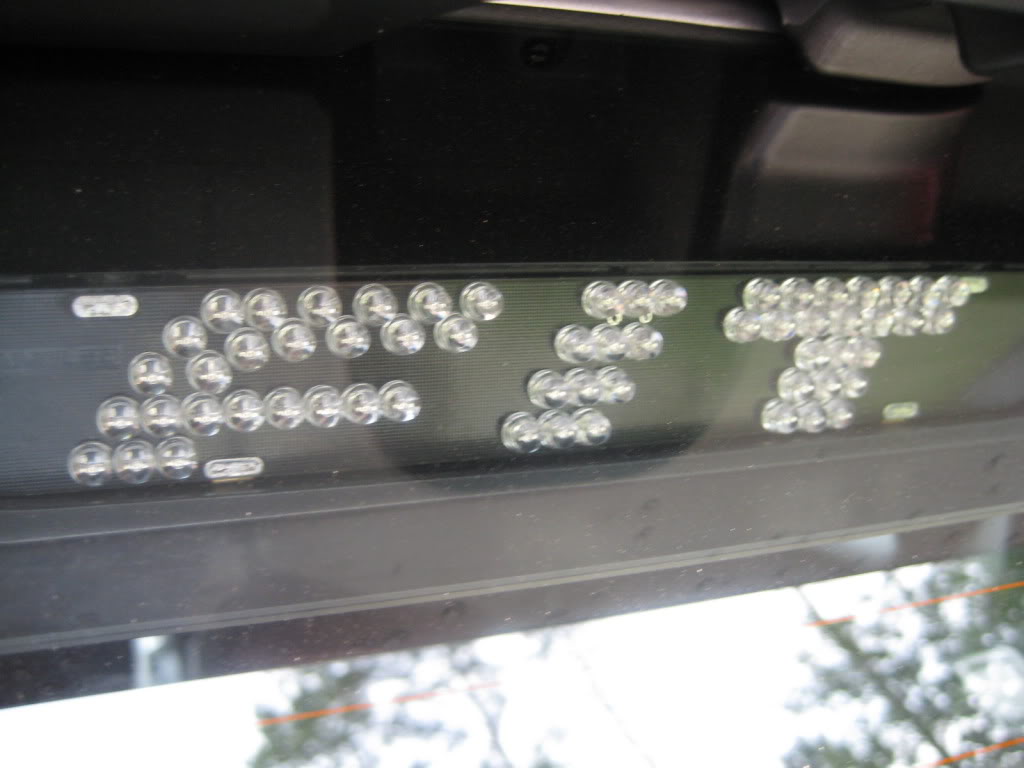
First pop the hatch and locate the third brake light and remove the back cover
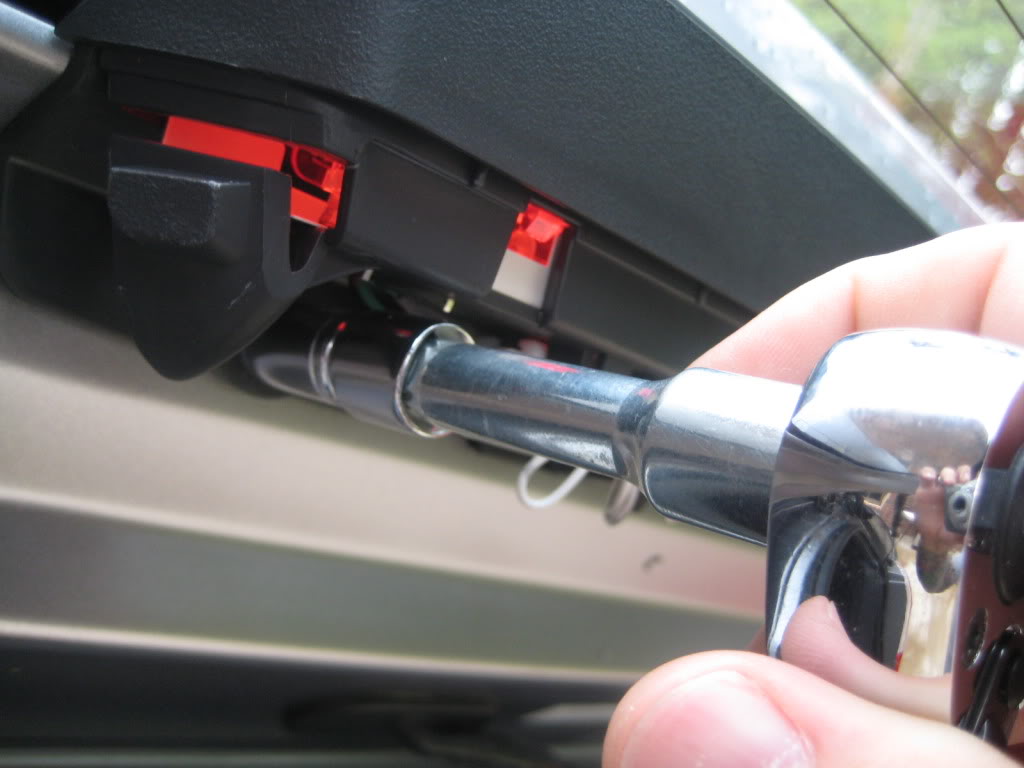
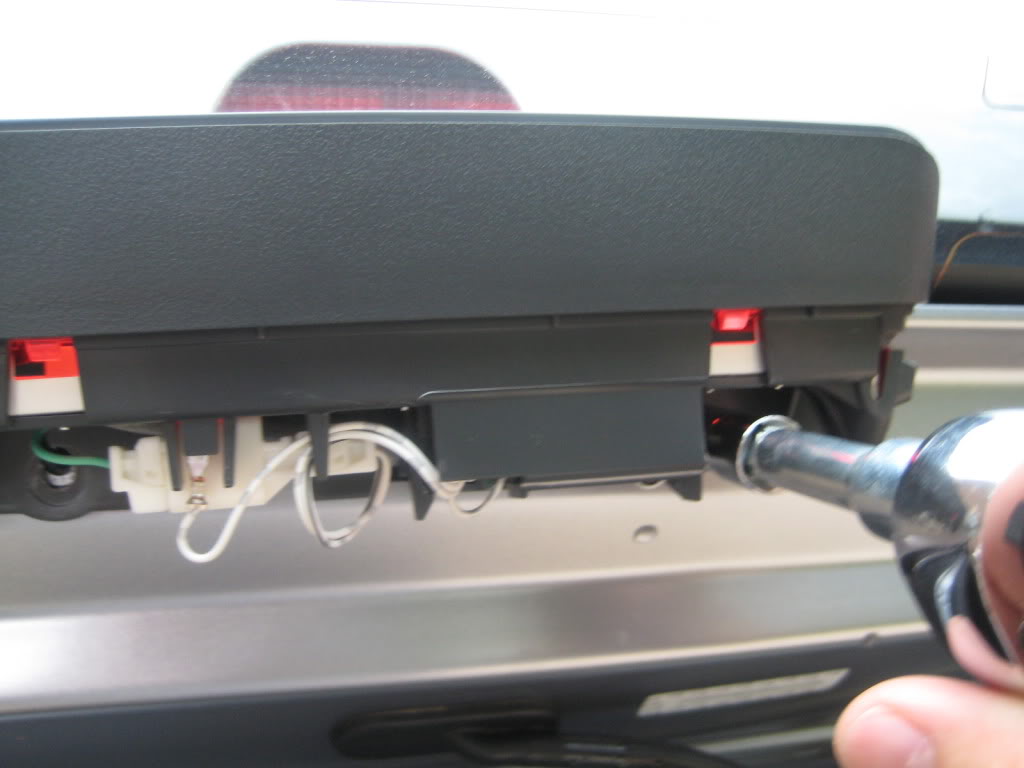
Grab a 10mm socket and remove the two 10's on both side of light.

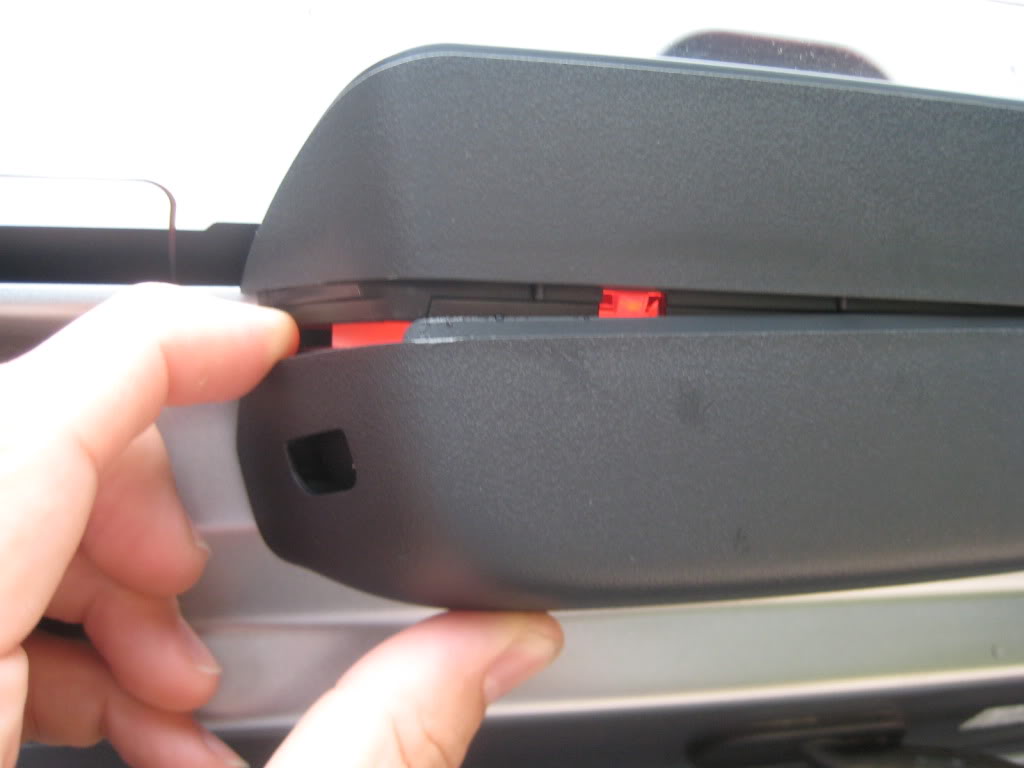
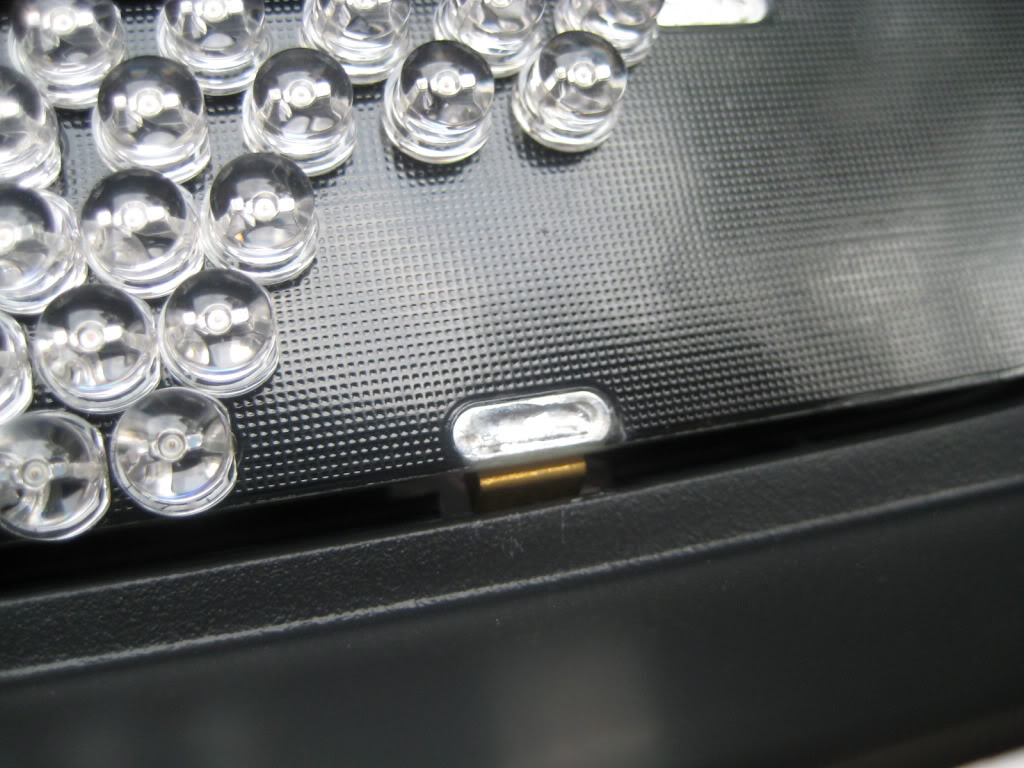
Pop light out by squeezing the two tabs, unplug the white connector and fish the wires out of the light housing
Use a small flat head and remove the red reflector(two tabs on each side)

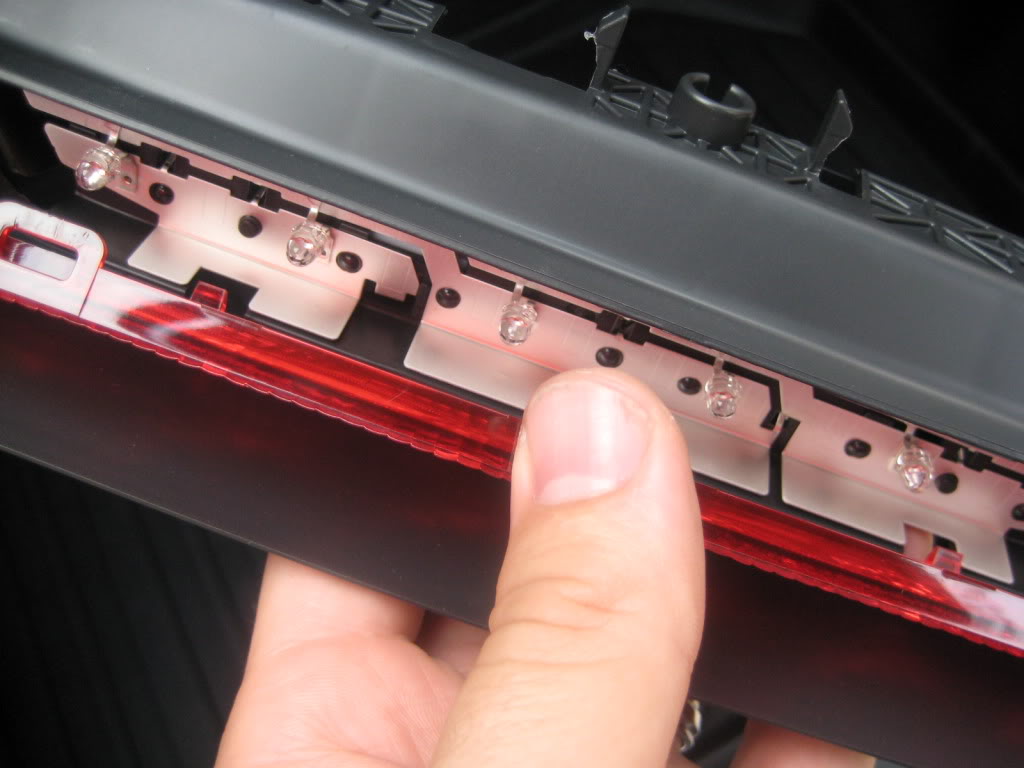
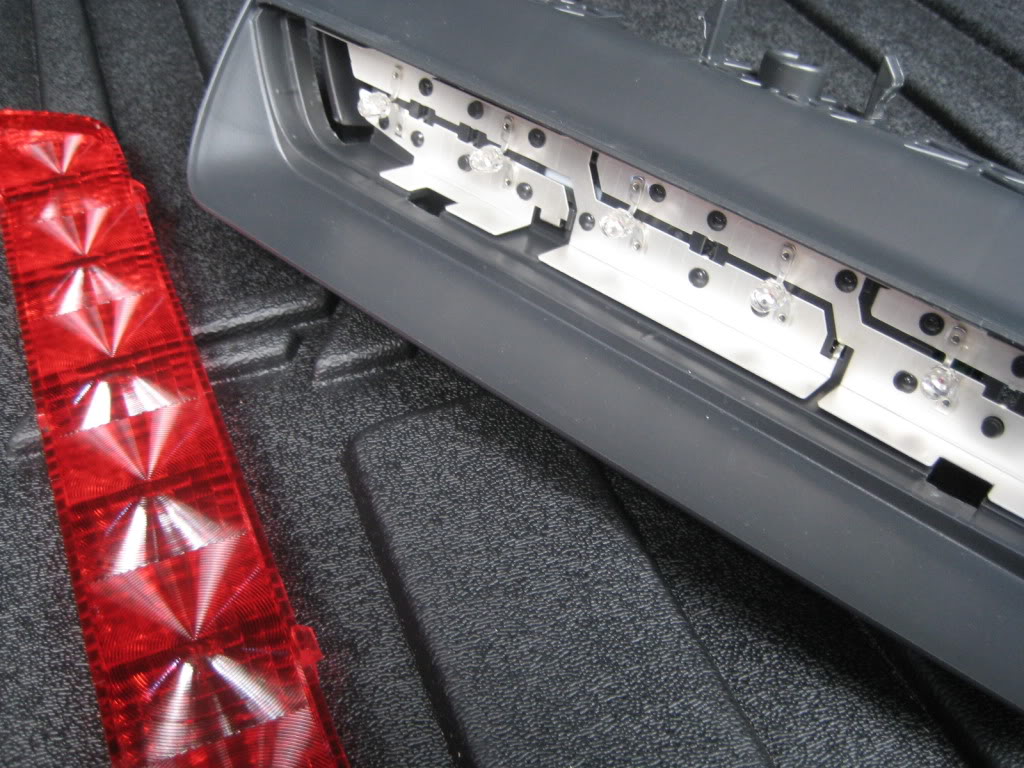
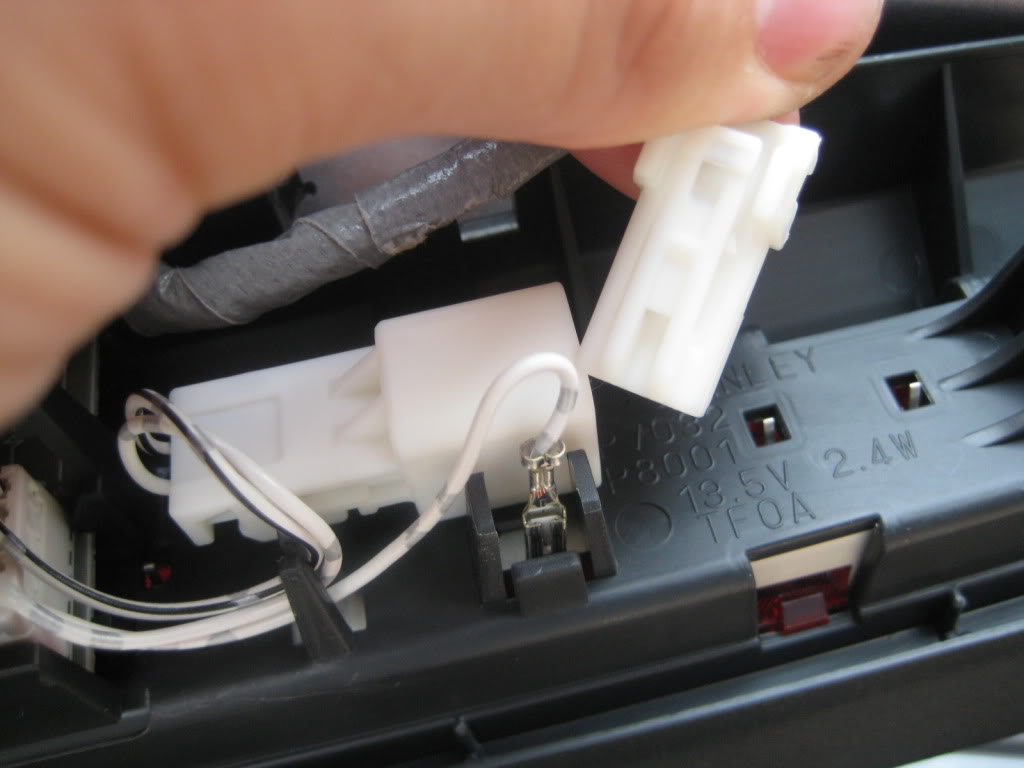
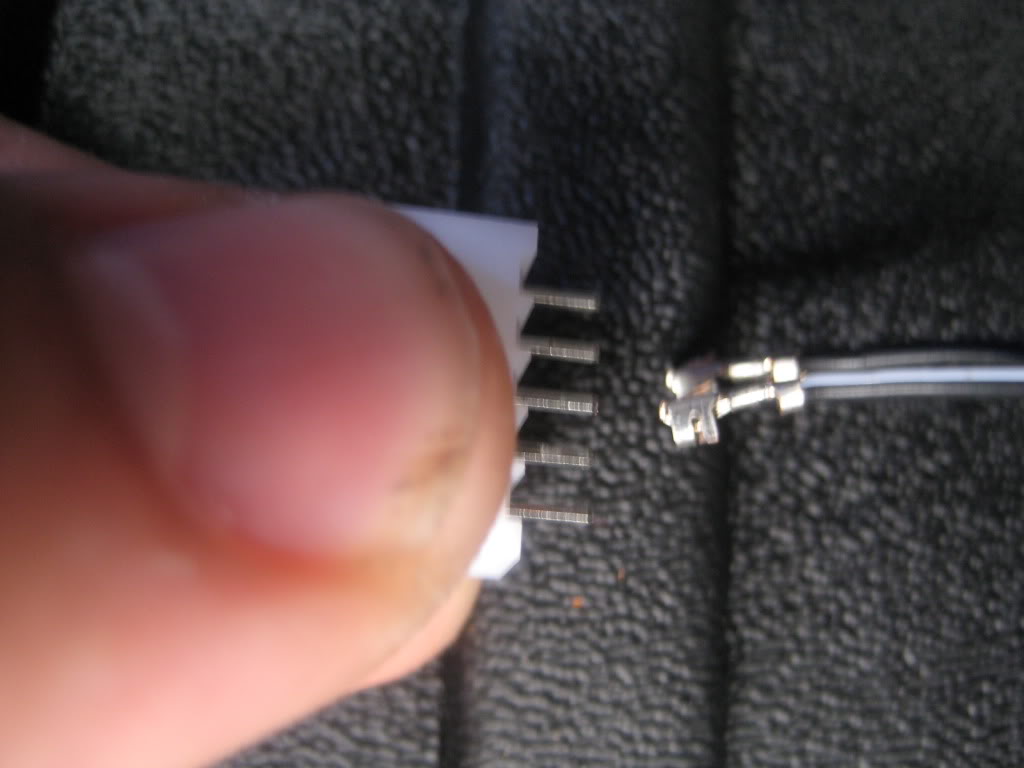
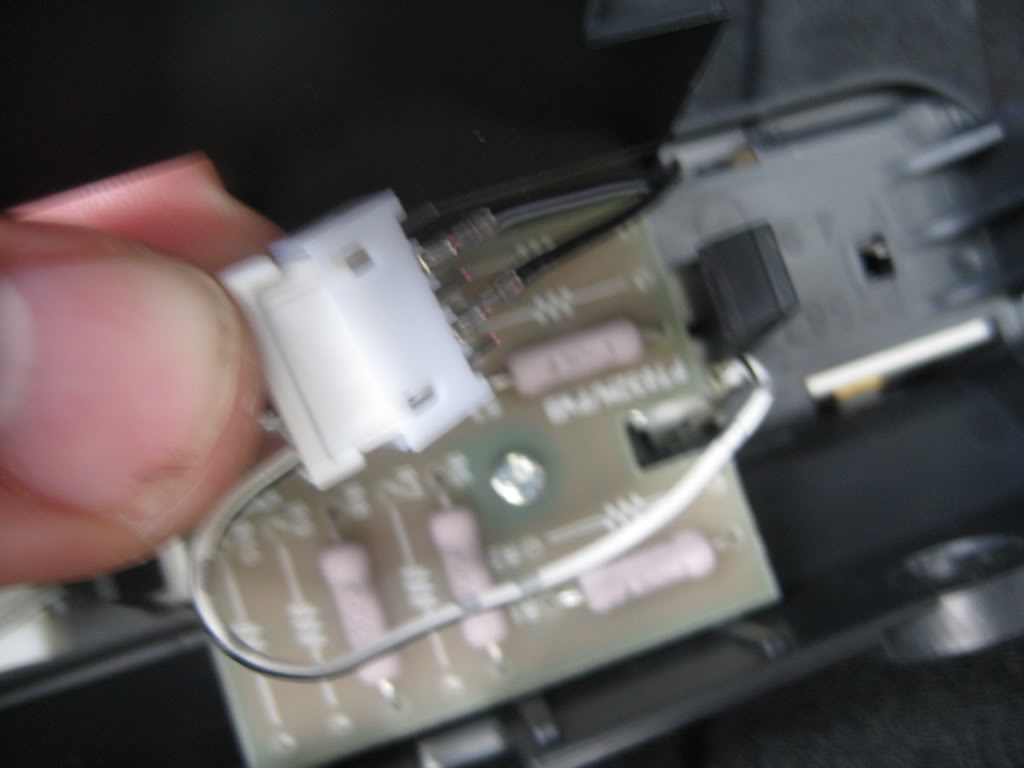
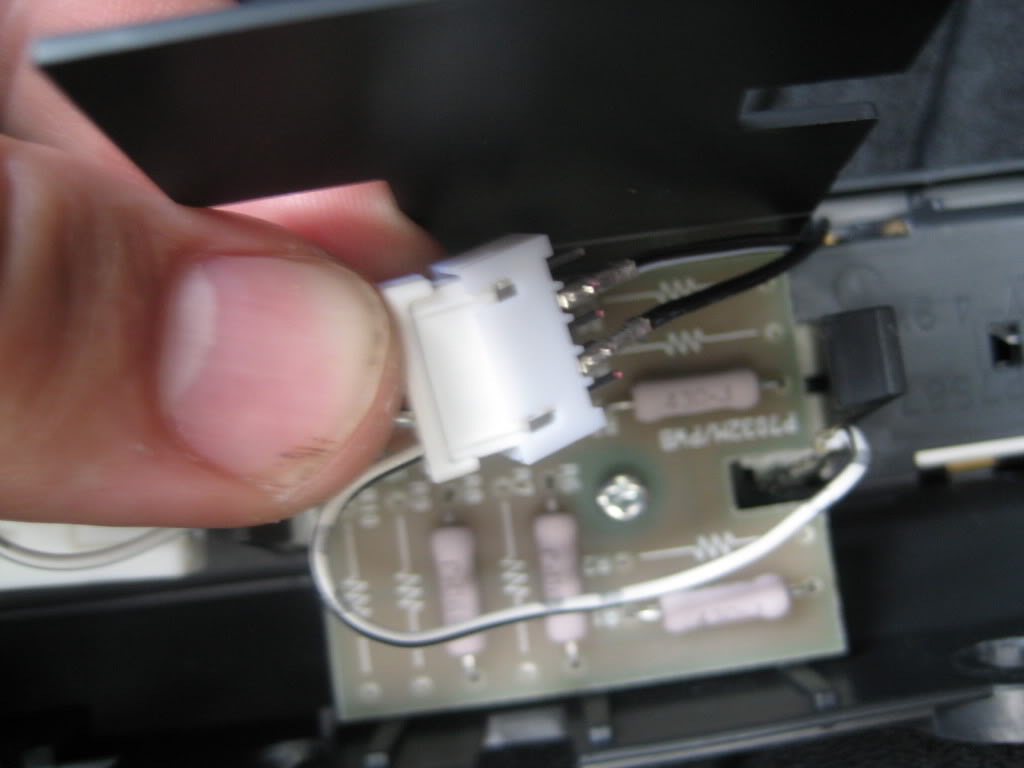
Unplug the tiny 5 pin white connector, then unclip the tabs on each side of light that cover the led board electronics
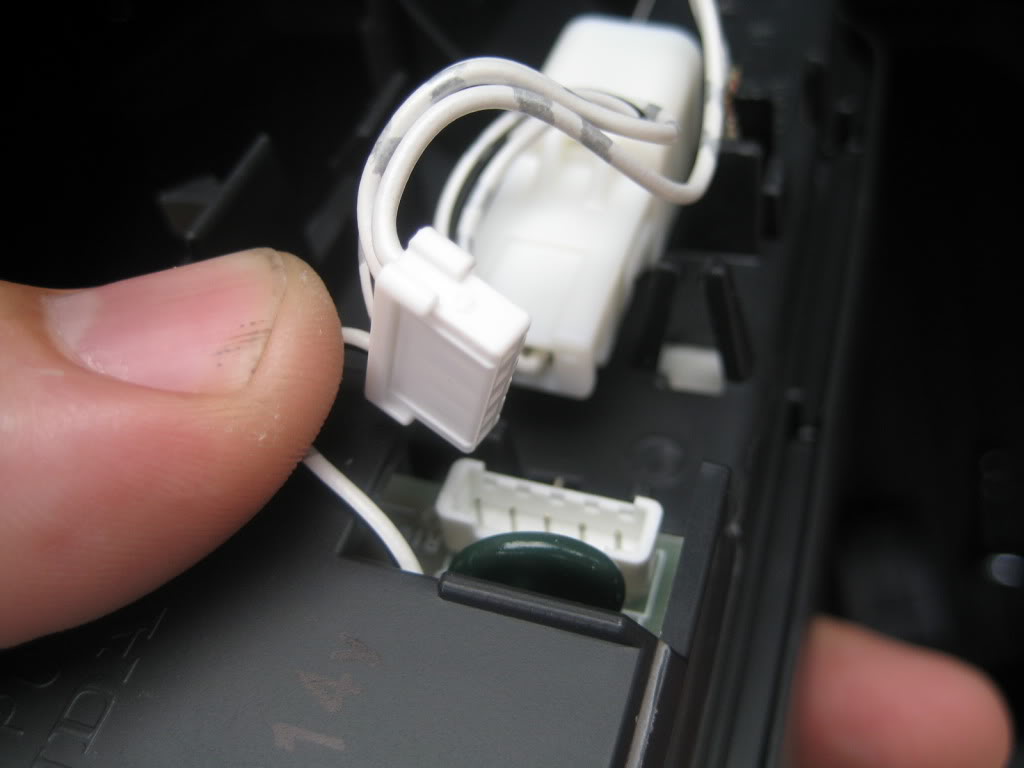
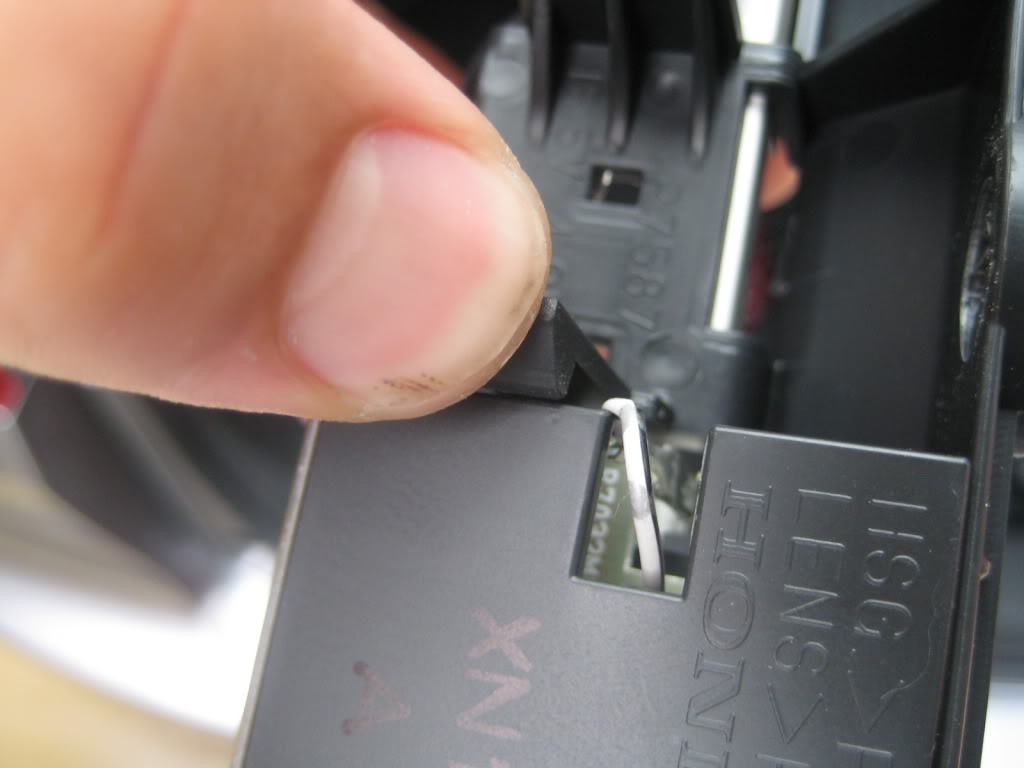
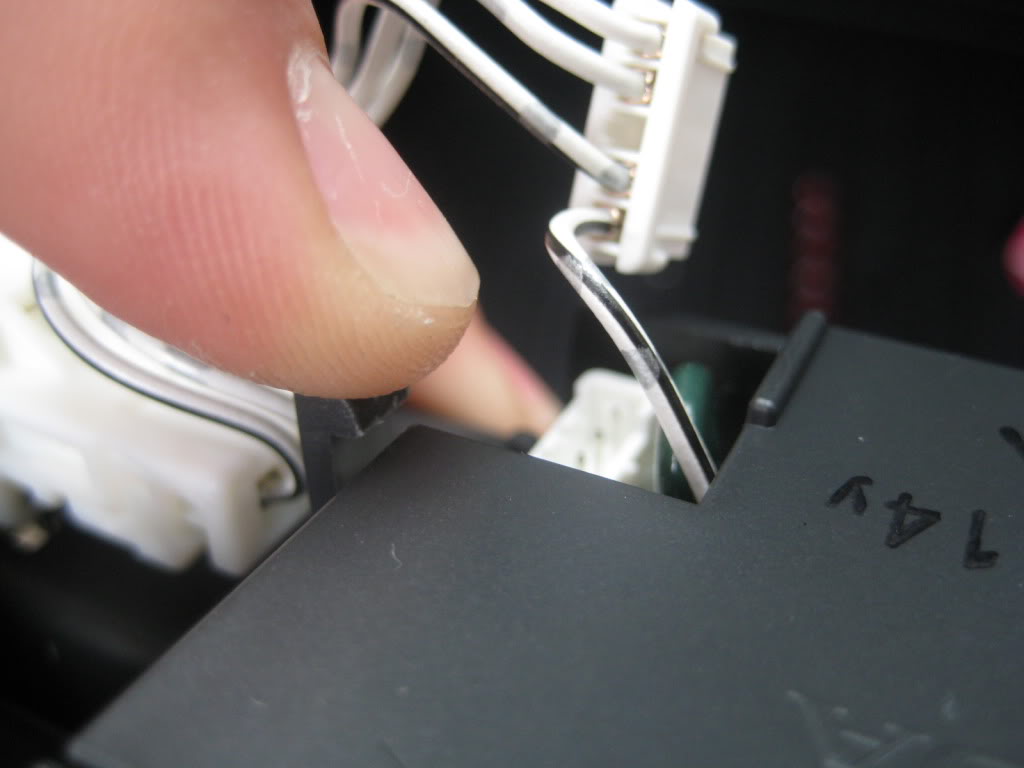
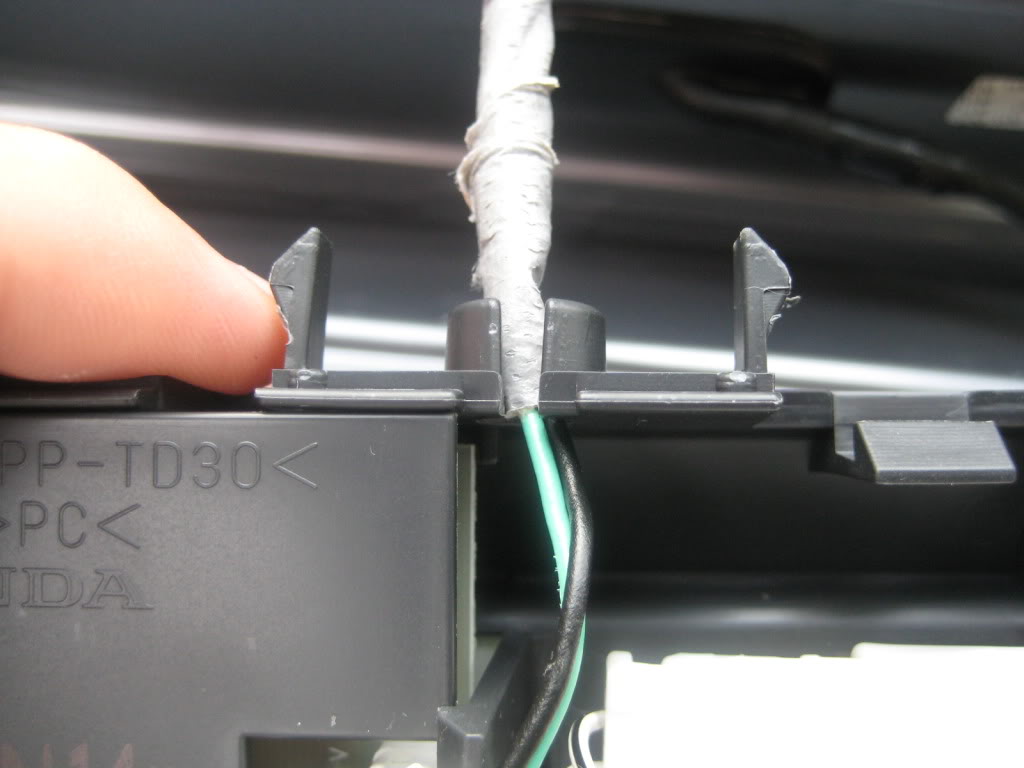
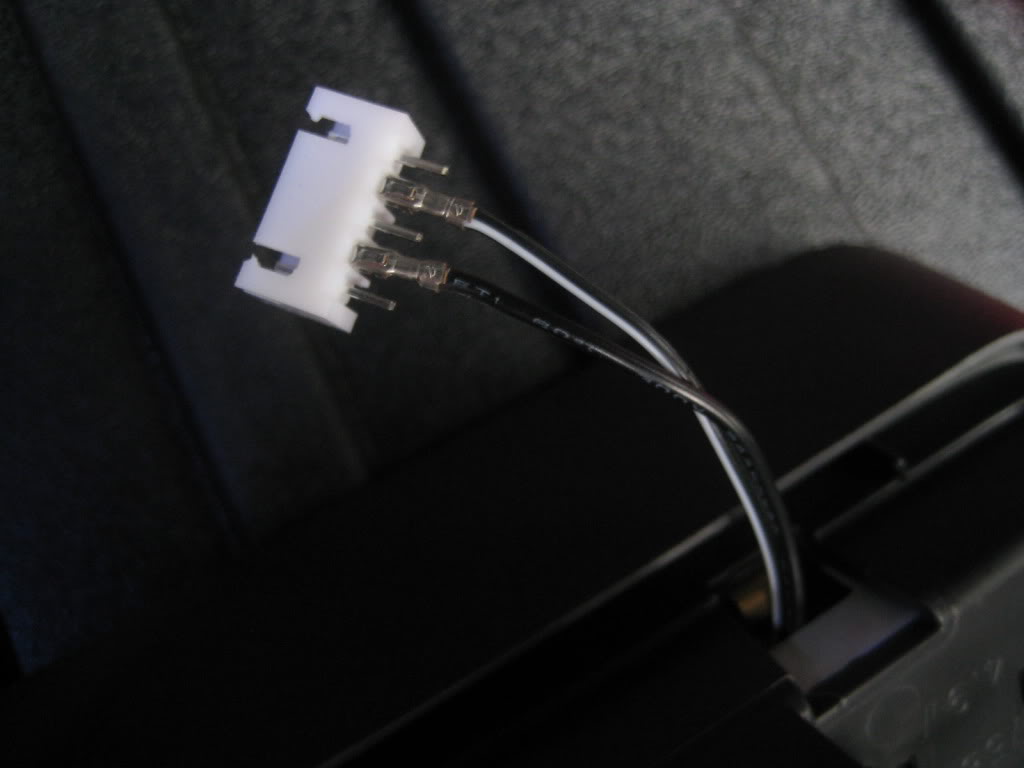
Remove the white connector from the FIT led brake light and fish the two wires through the small opening on the light, then reconnect the wires to the connector to the second and four pin
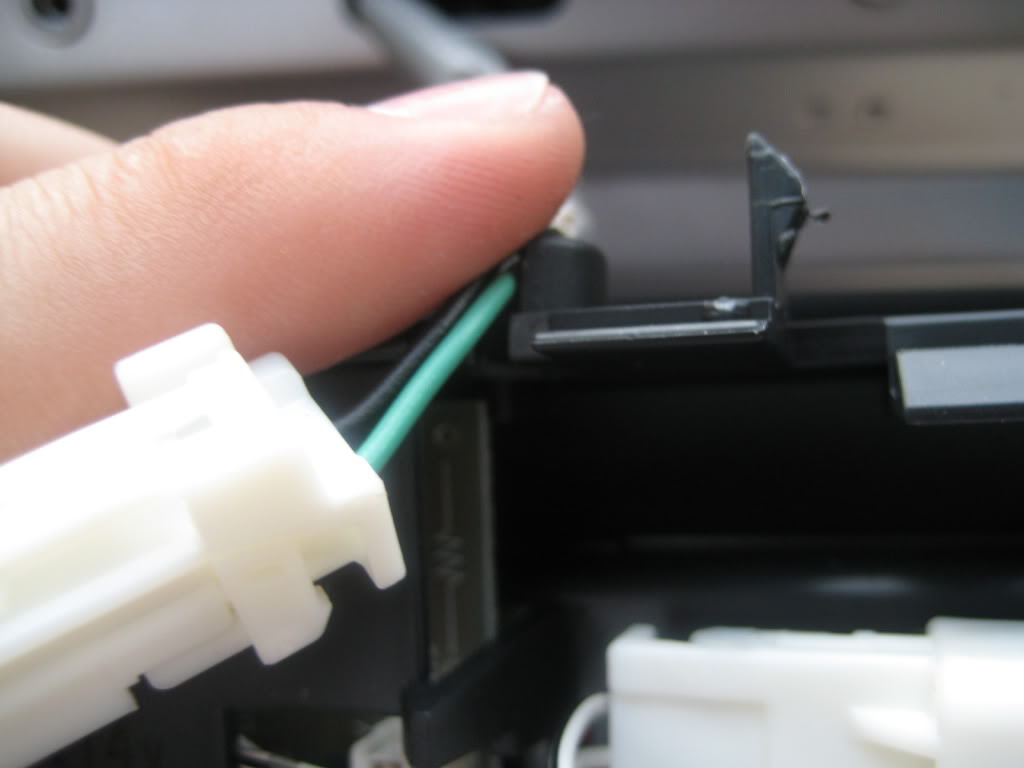
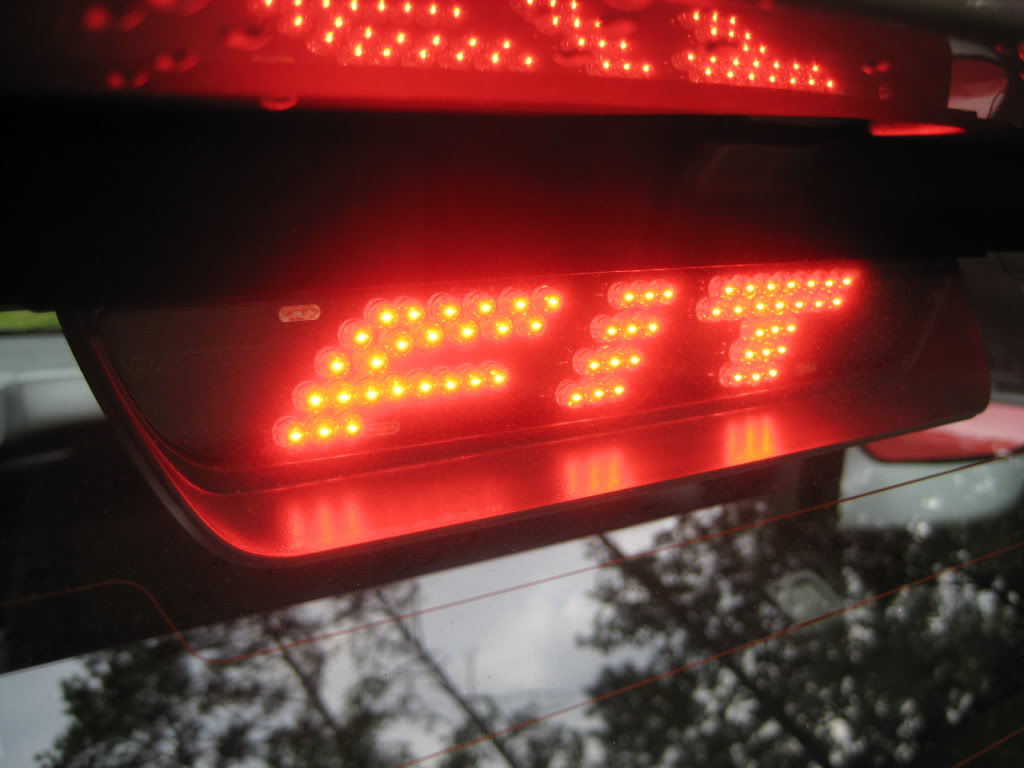
Now connect the led connector to the connector you unplug earlier, tuck the plugged in connector under cover and snap back.

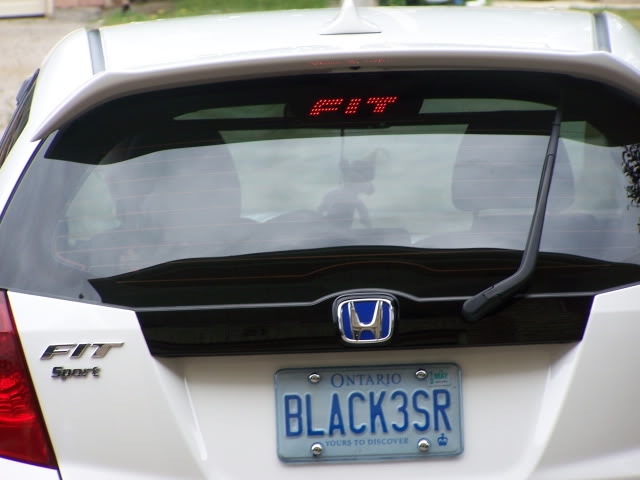
Reconnect main plug and reverse beginning steps, and your done

I hope this DIY is helpful and if you have any questions please dont hesitate to ask.
Ok here you go:
First pop the hatch and locate the third brake light and remove the back cover
Grab a 10mm socket and remove the two 10's on both side of light.
Pop light out by squeezing the two tabs, unplug the white connector and fish the wires out of the light housing
Use a small flat head and remove the red reflector(two tabs on each side)
Unplug the tiny 5 pin white connector, then unclip the tabs on each side of light that cover the led board electronics
Remove the white connector from the FIT led brake light and fish the two wires through the small opening on the light, then reconnect the wires to the connector to the second and four pin
Now connect the led connector to the connector you unplug earlier, tuck the plugged in connector under cover and snap back.
Reconnect main plug and reverse beginning steps, and your done
I hope this DIY is helpful and if you have any questions please dont hesitate to ask.


#13
07-06-2012, 06:02 PM

I'd be interested in that, do you still have any? and how much? you can pm me for that if you want.
Thanks
I'm still not sure which gen I have, will that work or "fit" on either?
Thanks
I'm still not sure which gen I have, will that work or "fit" on either?
Last edited by running; 07-06-2012 at 06:04 PM. Reason: 1st or 2nd gen
#14
07-28-2012, 10:44 AM
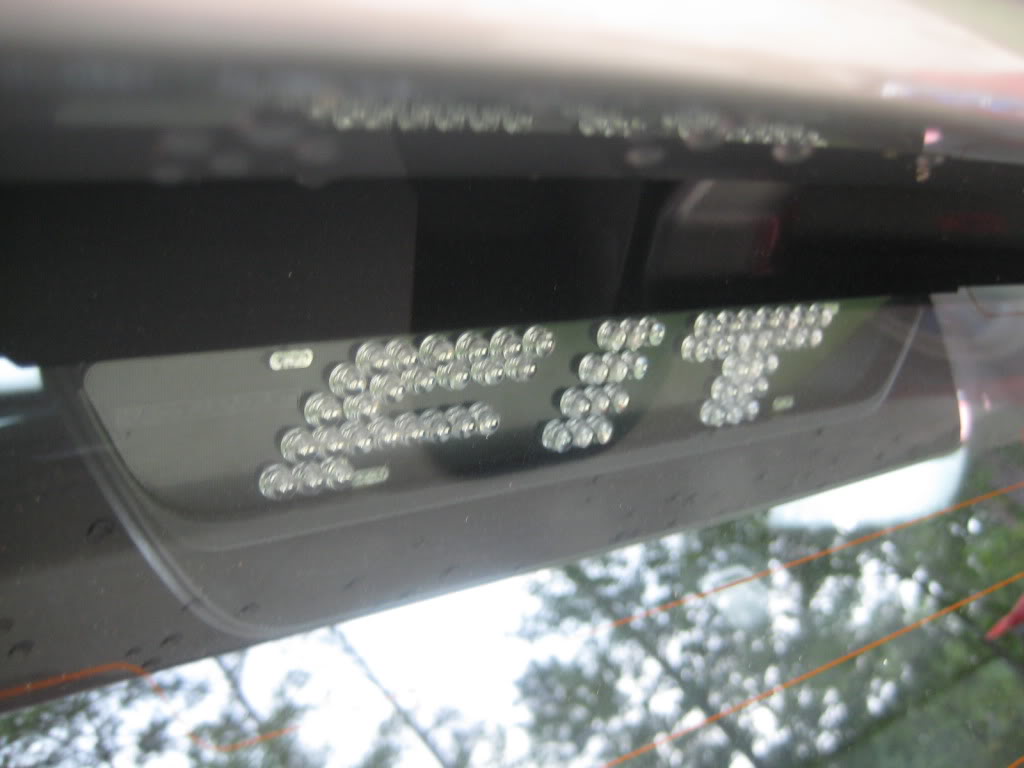
I finally installed one.
THe DIY was a big help.
A couple small points. On the exisiting light what you are doing is removing the lens only. The LEDs remain but are disconnected.
The new light comes with a small plug with the two wires attached. You need to disconnect them from the plug in order to snake them through the housing. The slot in housing id rather tiny. I was able to bend down the bit of aluminum that is in the space enuf not to break it but allow the wires to go through.
