Door Trim Kits, questions,answers, photos
#121
I haven't ordered from these guys... yet. But they have an awesome trim kit available in just about any finish/material you want including different colors of real carbon fiber and also a real brushed aluminum option.
About $300 for a 48-piece REAL carbon fiber dash trim kit, but it's got just about everything in it.
They also offer exterior pieces for the pillars.
Honda Dash Kits, Wood Dash Kits, Trim Dash Kits, Wood Grain Dash Kit, Carbon Fiber Dash Kit, Molded Dash Kits
About $300 for a 48-piece REAL carbon fiber dash trim kit, but it's got just about everything in it.
They also offer exterior pieces for the pillars.
Honda Dash Kits, Wood Dash Kits, Trim Dash Kits, Wood Grain Dash Kit, Carbon Fiber Dash Kit, Molded Dash Kits
#123
I haven't ordered from these guys... yet. But they have an awesome trim kit available in just about any finish/material you want including different colors of real carbon fiber and also a real brushed aluminum option.
About $300 for a 48-piece REAL carbon fiber dash trim kit, but it's got just about everything in it.
They also offer exterior pieces for the pillars.
Honda Dash Kits, Wood Dash Kits, Trim Dash Kits, Wood Grain Dash Kit, Carbon Fiber Dash Kit, Molded Dash Kits
About $300 for a 48-piece REAL carbon fiber dash trim kit, but it's got just about everything in it.
They also offer exterior pieces for the pillars.
Honda Dash Kits, Wood Dash Kits, Trim Dash Kits, Wood Grain Dash Kit, Carbon Fiber Dash Kit, Molded Dash Kits
#124
Nice some real carbon fiber. I'm looking into purchasing an interior kit soon. This one look very nice! 48 piece kit for interior in real carbon fiber would look great with my black interior! Also the outside kit as well would look pretty good too. Just wish they had real pics install on a fit.
Yeah, pics would be nice. I'm thinking either the "real brushed aluminum" "silver wire RCF" or the "blue & black RCF" for my SSM Fit.
Just going by the pics of the Woodview kits, the satin silver really is a sharp-looking bit of contrast to the black, so I've been leaning towards the real brushed aluminum or silver wire RCF for a bit of contrast.
Definitely CF for the exterior kit I"ve really liked subtle blue accents on SSM, too. Pretty torn, as you can tell. But I think the interior really begs for it, and this kit is very "complete" really matching every component unlike other kits that would force you to do some mix-n-match.
#125
USDM GD3 Carbon Fiber Door Handle Cover with DIY
USDM GD3 Carbon Fiber Door Handle Cover
Installation Guide
Tools needed is: Philips Flat Head Screw Driver
Installation Time: 5-10 minutes
USDM OEM and Carbon Fiber Door Handle Cover Comparison:
Front Driver Side:
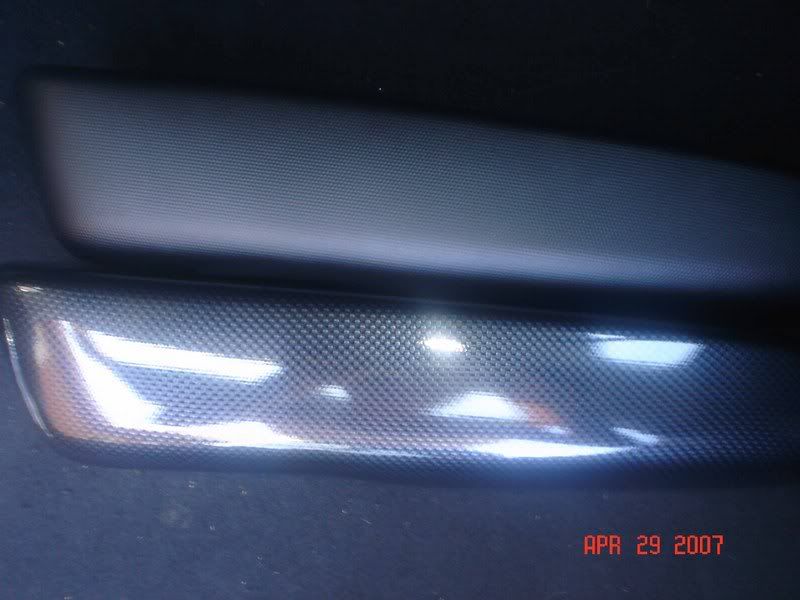

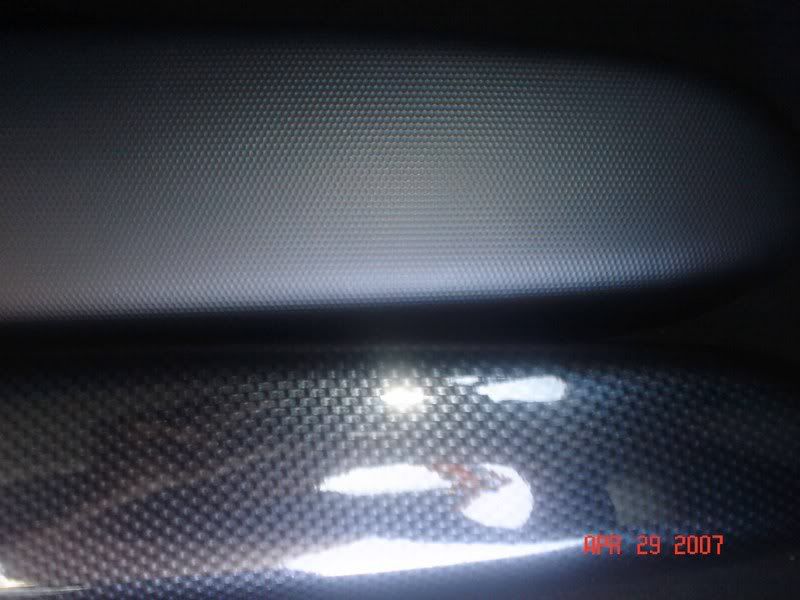
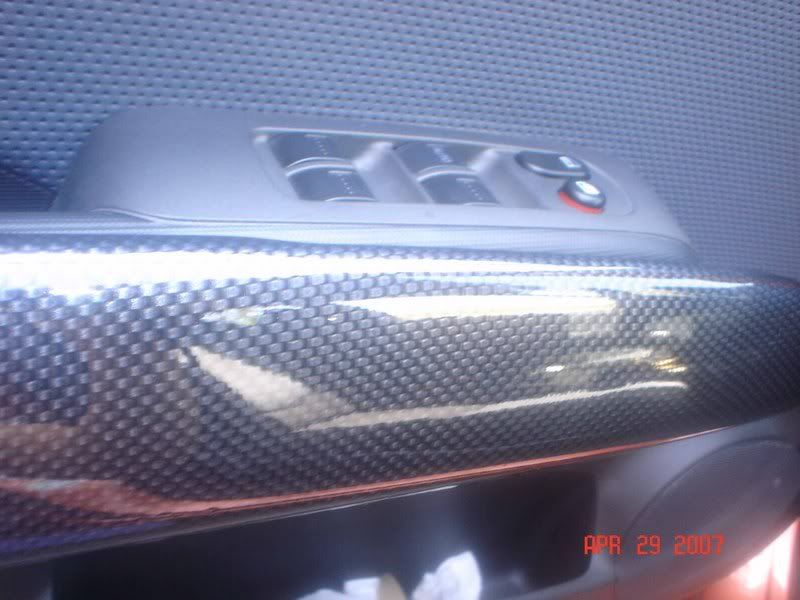

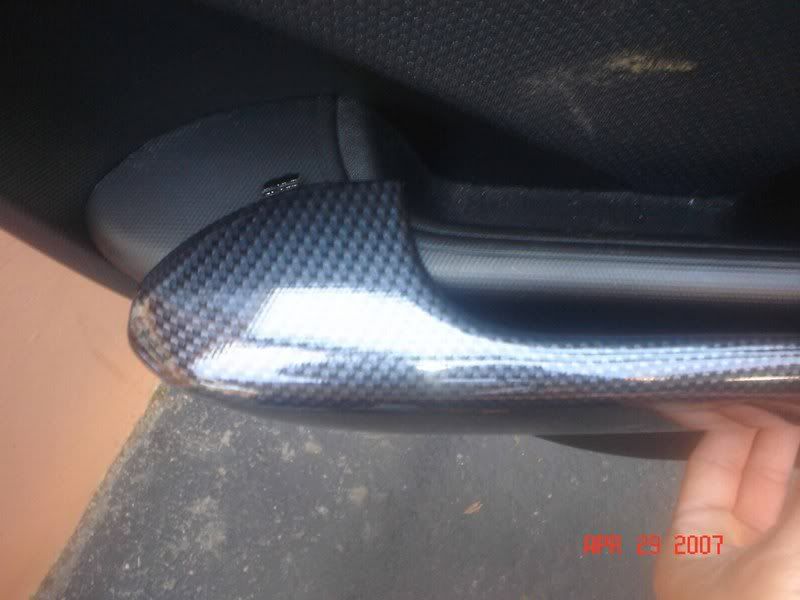
Rear Left Passenger Side:

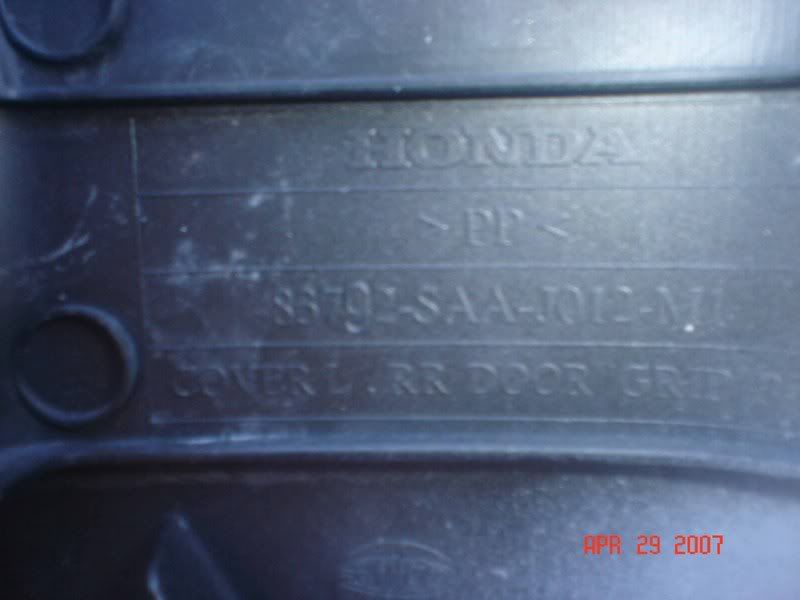
1. Start by locating the brackets under the door handle cover on the driver side.
Or which ever side you want to start off first.

2. Then use the philips flat head screw driver to push up the brackets to release it. Do this to all three and then pull it loose.
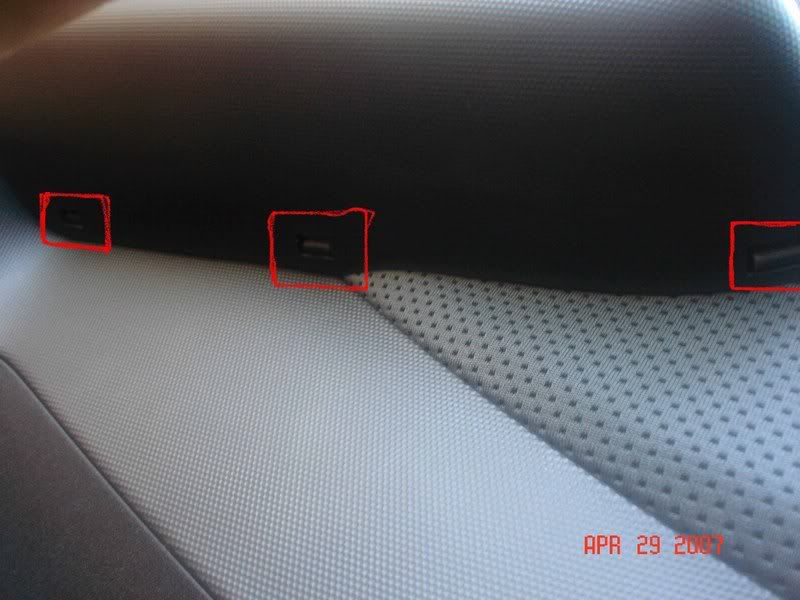
3. Then it would look like this
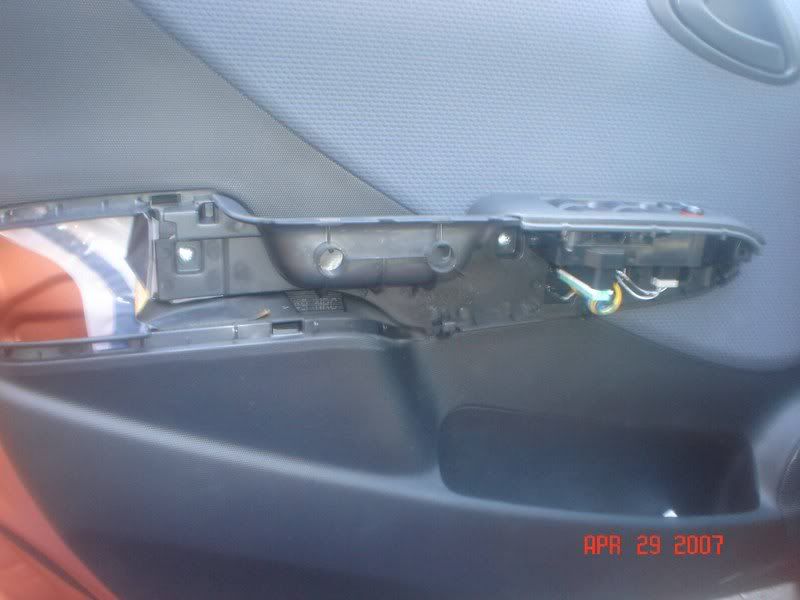
4. Then start by putting the cover in from the left side and work your way to the right.
By pushing the cover in and make sure all the bracket click to secure the cover.
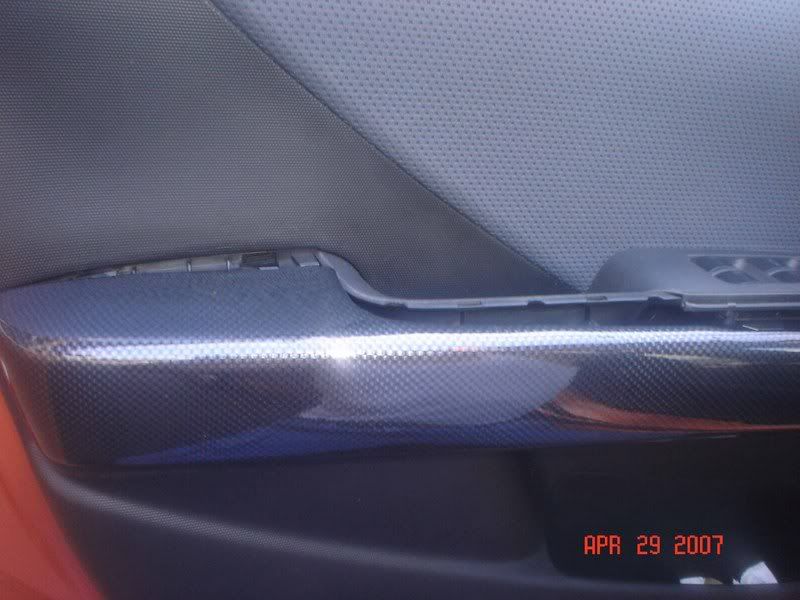
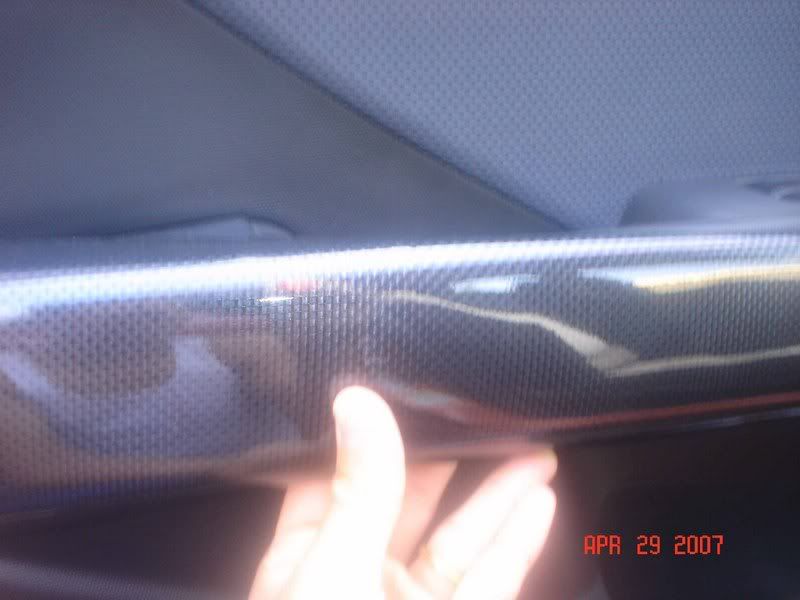
5. Once it is installed it should align correctly just like the OEM ones.
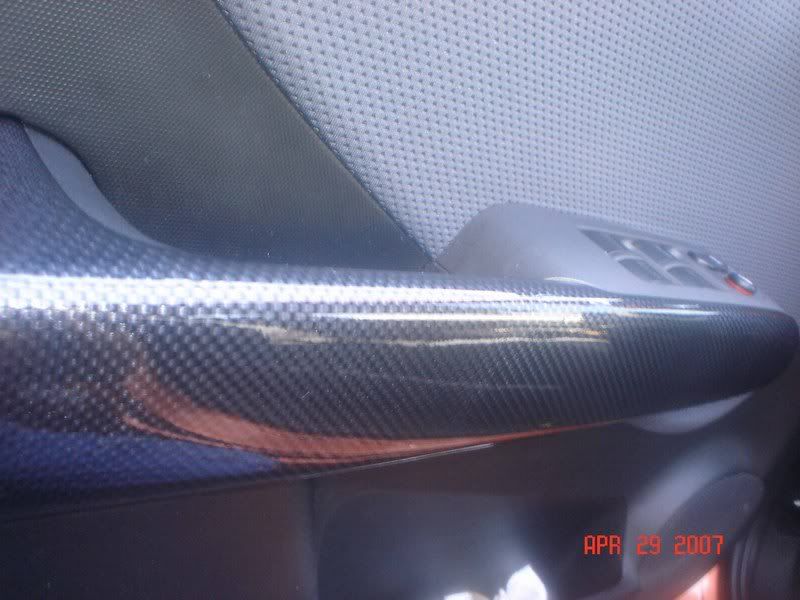
6. Now that you got one done. You should go ahead and take all the OEM covers off. Then install the carbon fiber covers. Instead of taking one off and installing one by one.
This is from the left, rear passenger side. Follow same steps above and you'll be good!
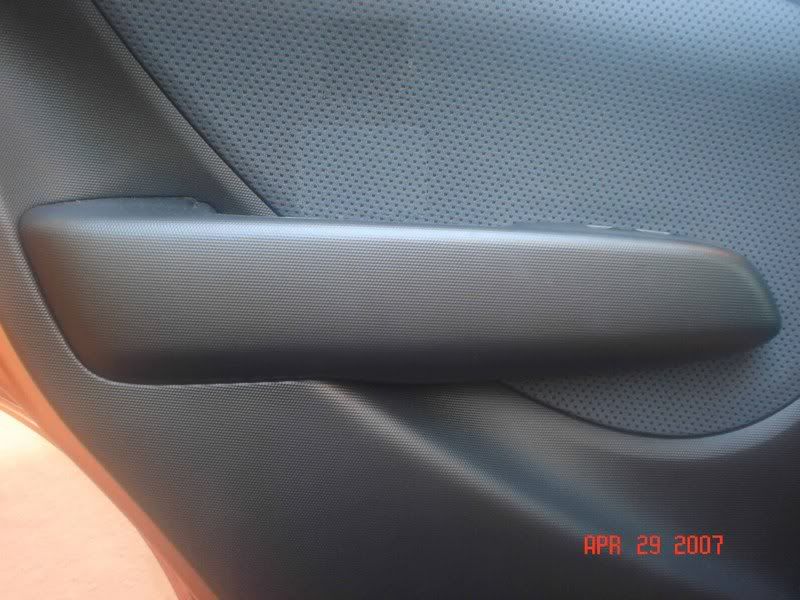
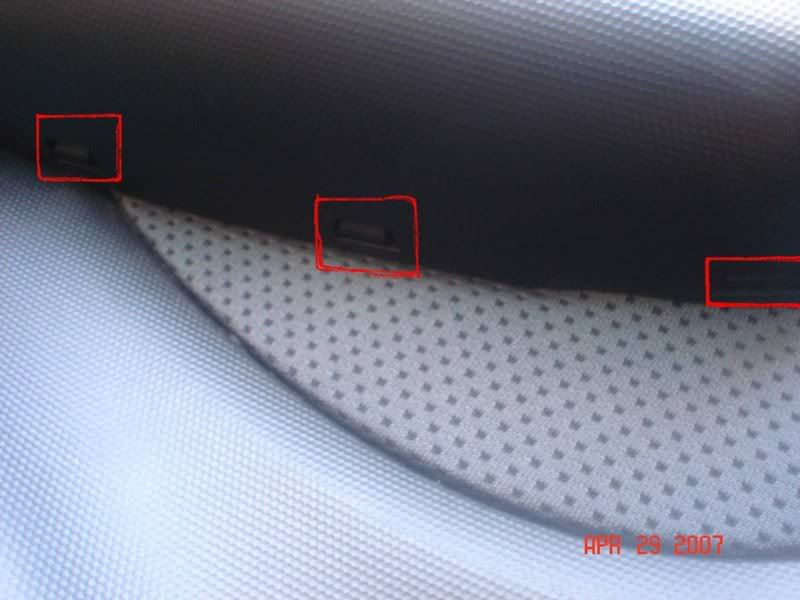
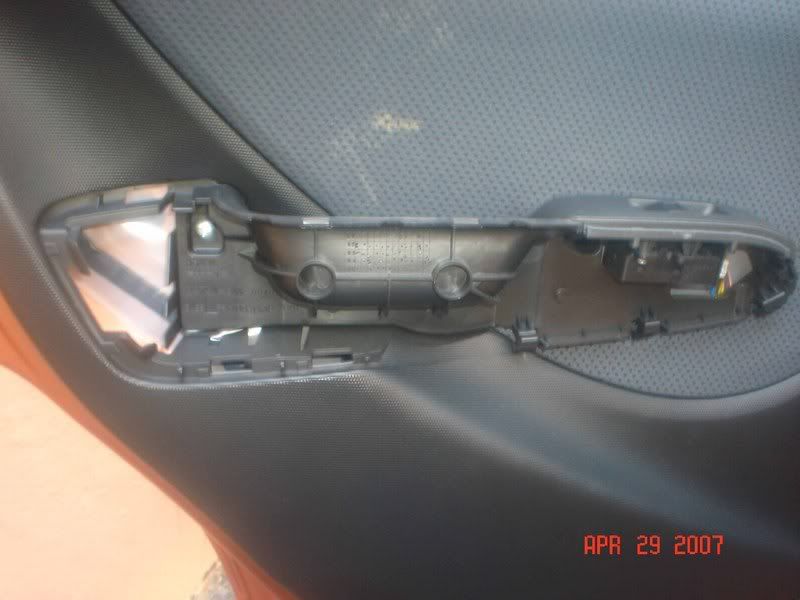

These 2 pictures are the ones on the Right side.
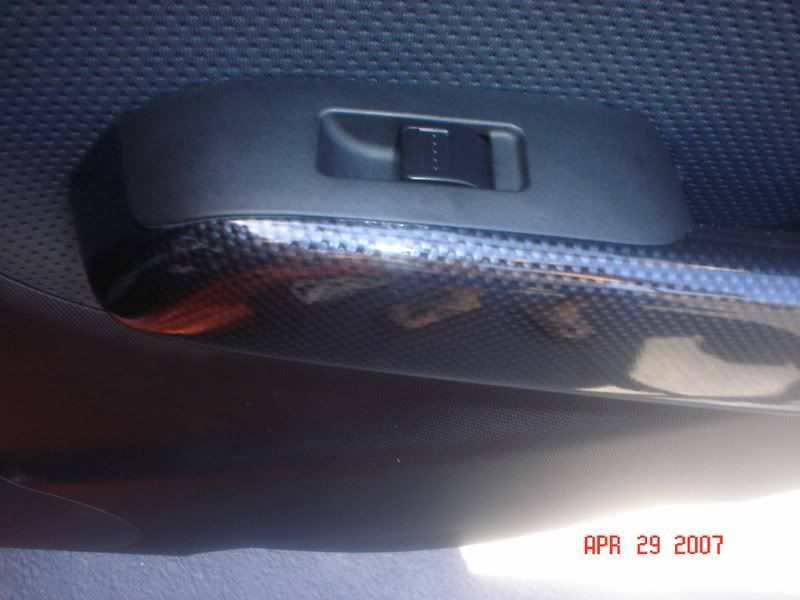
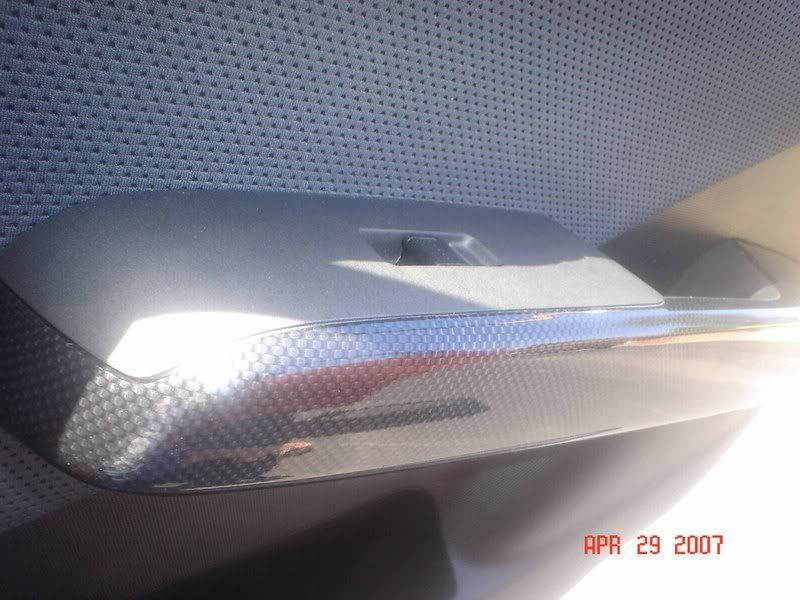
If you are interested in these parts. You may contact Norman and his crew at: Welcome to N1 Concepts
THANKS!!
Installation Guide
Tools needed is: Philips Flat Head Screw Driver
Installation Time: 5-10 minutes
USDM OEM and Carbon Fiber Door Handle Cover Comparison:
Front Driver Side:


Rear Left Passenger Side:


1. Start by locating the brackets under the door handle cover on the driver side.
Or which ever side you want to start off first.

2. Then use the philips flat head screw driver to push up the brackets to release it. Do this to all three and then pull it loose.

3. Then it would look like this

4. Then start by putting the cover in from the left side and work your way to the right.
By pushing the cover in and make sure all the bracket click to secure the cover.


5. Once it is installed it should align correctly just like the OEM ones.

6. Now that you got one done. You should go ahead and take all the OEM covers off. Then install the carbon fiber covers. Instead of taking one off and installing one by one.
This is from the left, rear passenger side. Follow same steps above and you'll be good!


These 2 pictures are the ones on the Right side.


If you are interested in these parts. You may contact Norman and his crew at: Welcome to N1 Concepts
THANKS!!
#132
What black pieces? Do you mean if they have the window switch in carbon fiber too? No, just the cover. It would a nicer if it was ALL Carbon! Thats what I think.
#133
Well give you guys a comparison later on this week... it looks like its real, thats what they told me it is....
#135
he said back, not black.
I think he was asking about the back seats...
#136
whoopss.... yeah, it comes with all four sides! If you guys like I can try to take better pictures when my new digi comes sometimes this week!
Last edited by LB3DR; 05-01-2007 at 02:39 AM. Reason: misspelled word
#137
well.... since i do not have anytime to take any new pictures at all... here
are some of my collection of pictures of carbon fiber parts: jdm ITR parts, passwordjdm.... see for yourself and see if there is a difference until i get new ones all in one shot....
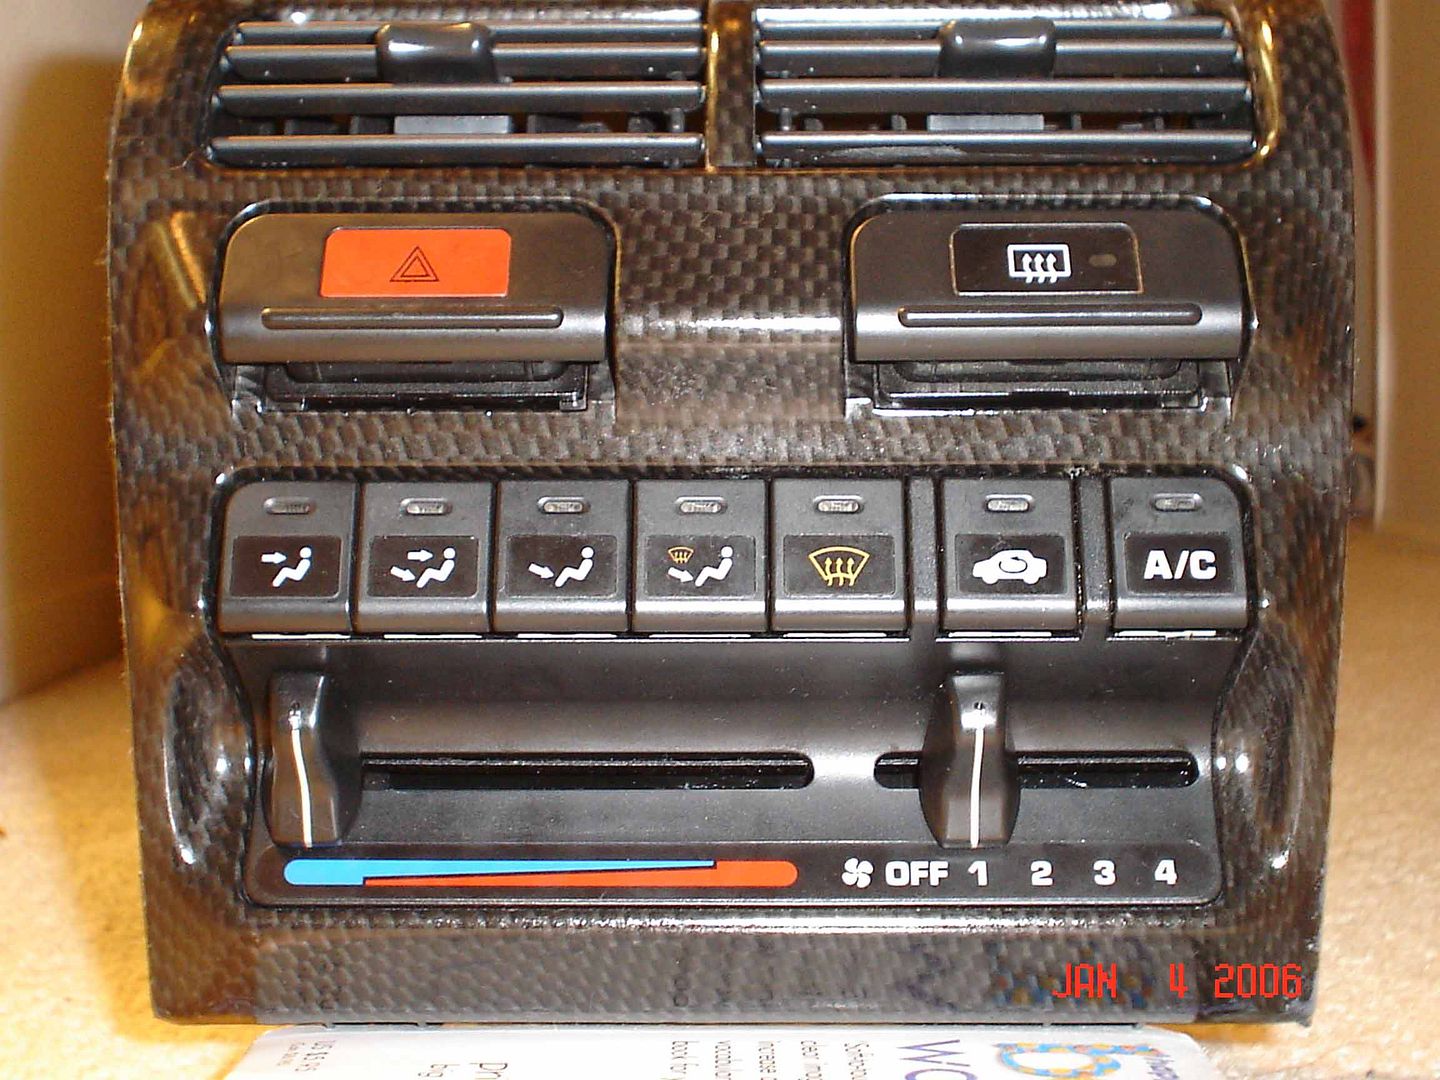
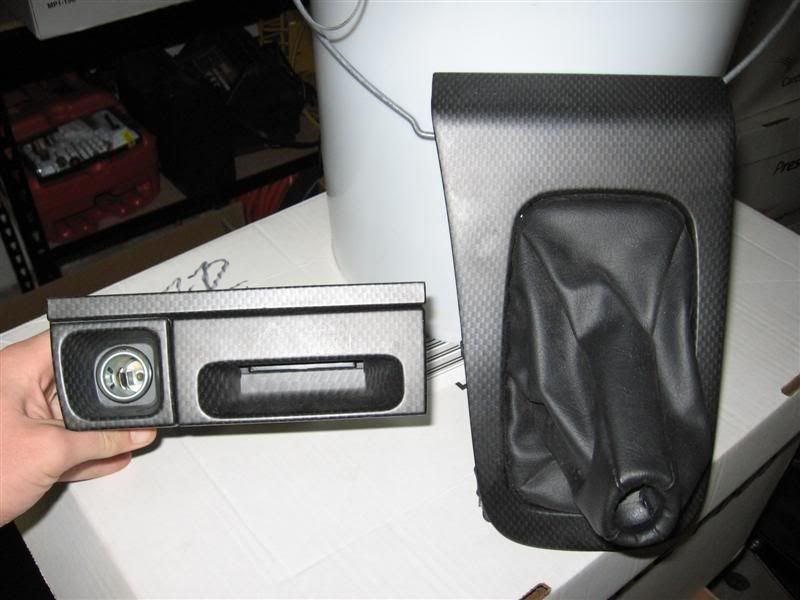

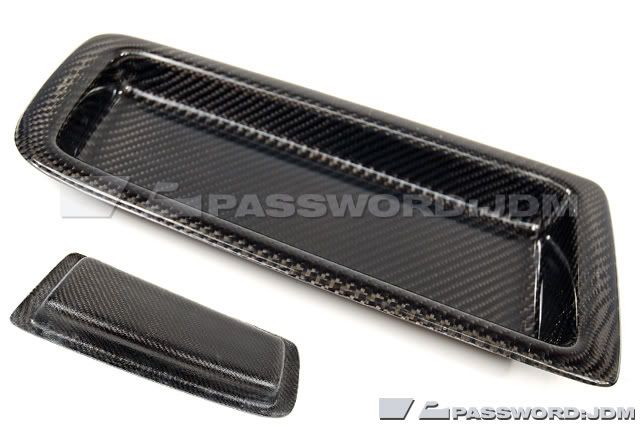

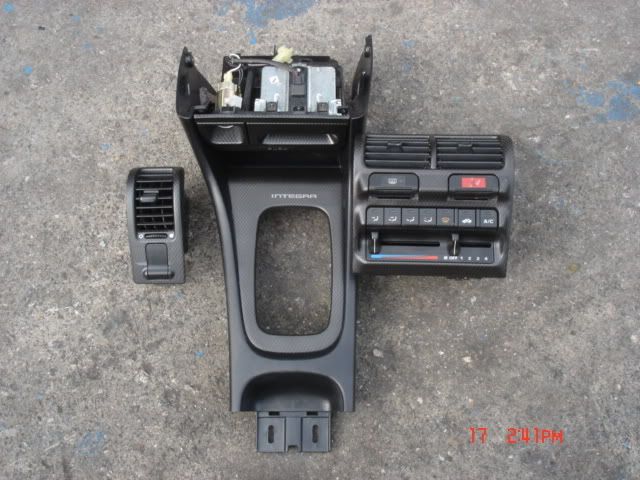
are some of my collection of pictures of carbon fiber parts: jdm ITR parts, passwordjdm.... see for yourself and see if there is a difference until i get new ones all in one shot....


Last edited by LB3DR; 05-11-2007 at 01:33 AM. Reason: link does not work
#138
OEM Interior Door Trim Kit
In case you were curious to see what the Honda (OEM) Interior Door Trim Kit looks like installed...
Front Driver Side (Before)

Front Driver Side (After)

Front Passenger Side (Before)

Front Passenger Side (After)

Rear Driver Side (Before)

Rear Driver Side (After)

The installed trim piece for the Rear Passenger Side looks the same as the pic above.
Front Driver Side (Before)

Front Driver Side (After)

Front Passenger Side (Before)

Front Passenger Side (After)

Rear Driver Side (Before)

Rear Driver Side (After)

The installed trim piece for the Rear Passenger Side looks the same as the pic above.
#139
Thank You.
Wow, I was hoping someone on here would post this up. Much Thanks.
Very classy, now the interior doors have a little visual tie in with the front dash area's silver trim bits. Yeah, the colored stuff was too gaudy anyhow.
How much did you pay? I ended up getting a set for $50.00 including shipping, fair price I thought?
Oh just wanted to share my eye shopping online, I stumbled on these...too expensive but preeeety. (Set of 4 $78.18 USD)


Last edited by stephanpark; 06-13-2007 at 04:08 AM.


 I LOVE IT! its my OEM license plate and some zip ties to secure it. will post up a few pictures later.