Fit DIY: Repair & Maintenance Threads discussing repairs and maintenance you can do yourself

Single Stage Lancer Evolution paint restoration by Tru Shine

Thread Tools
 
Search this Thread
 
  #1  
Old 02-01-2011, 11:13 AM
Fallen_Rock's Avatar
Member
Thread Starter
iTrader: (2)
Join Date: Jun 2009
Location: Knoxville TN
Posts: 365
Single Stage Lancer Evolution paint restoration by Tru Shine


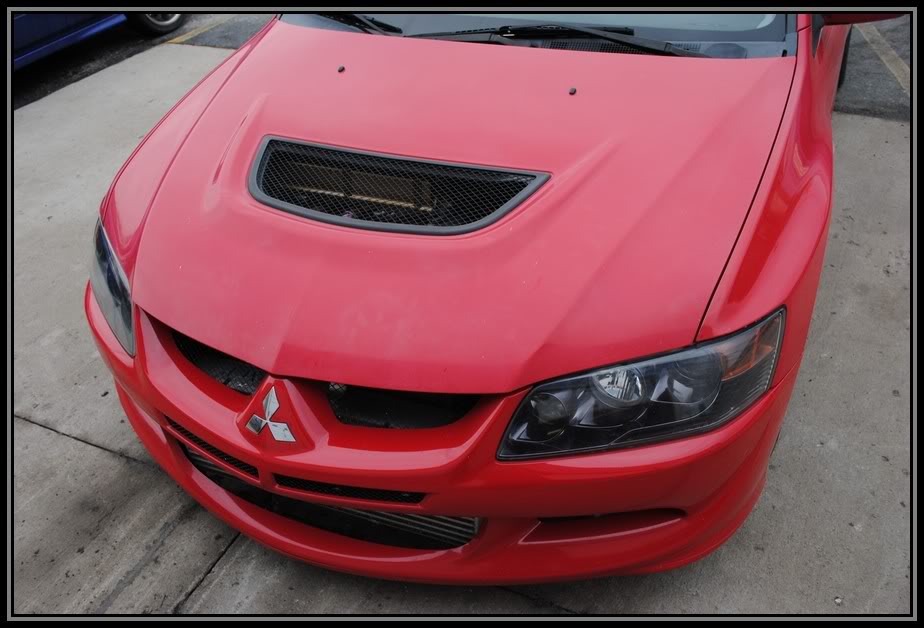
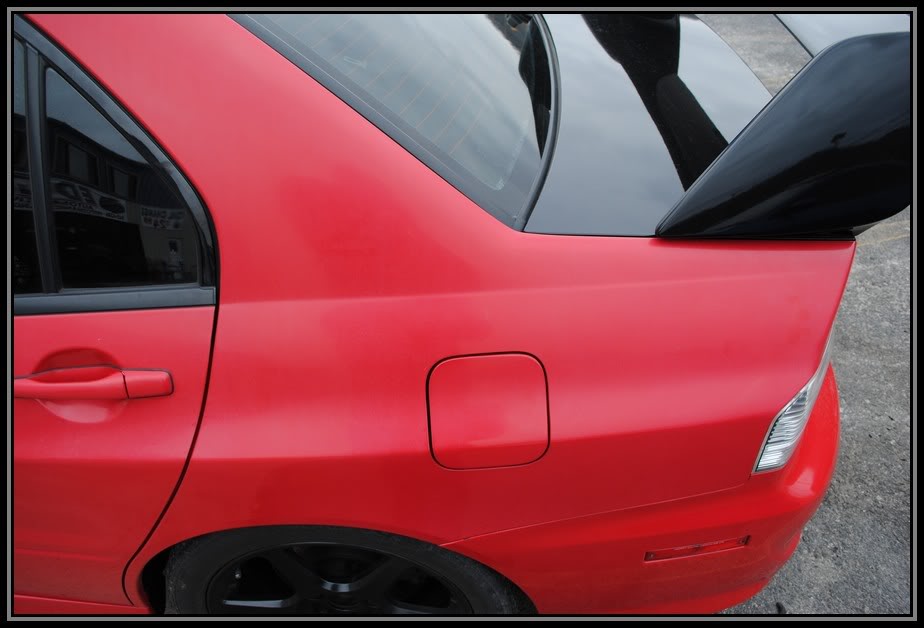
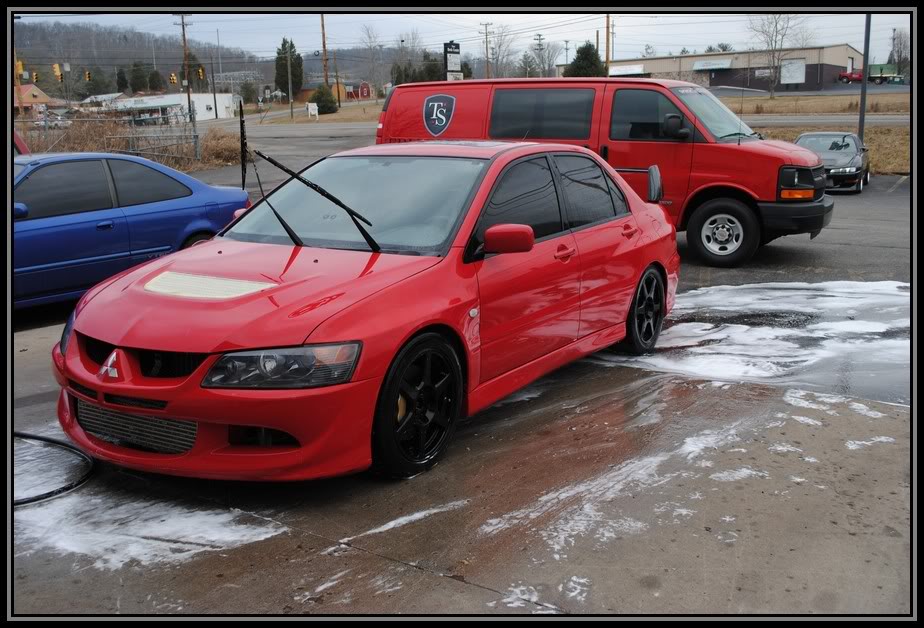
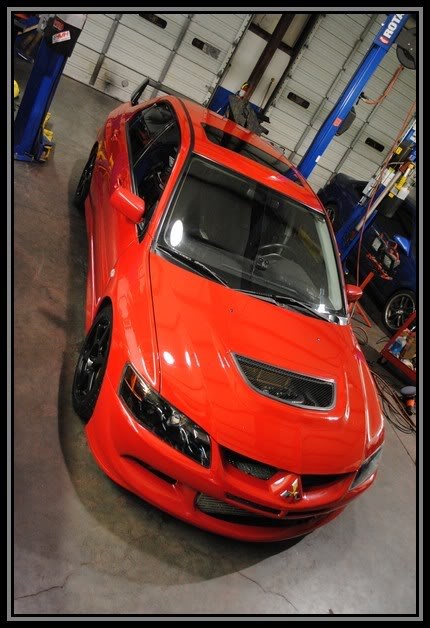
I had one of my clients call me out to see if I could help his pink Evo8. These cars come with single stage paint from the factory, and can easily fade out to pink if not properly maintained and protected.


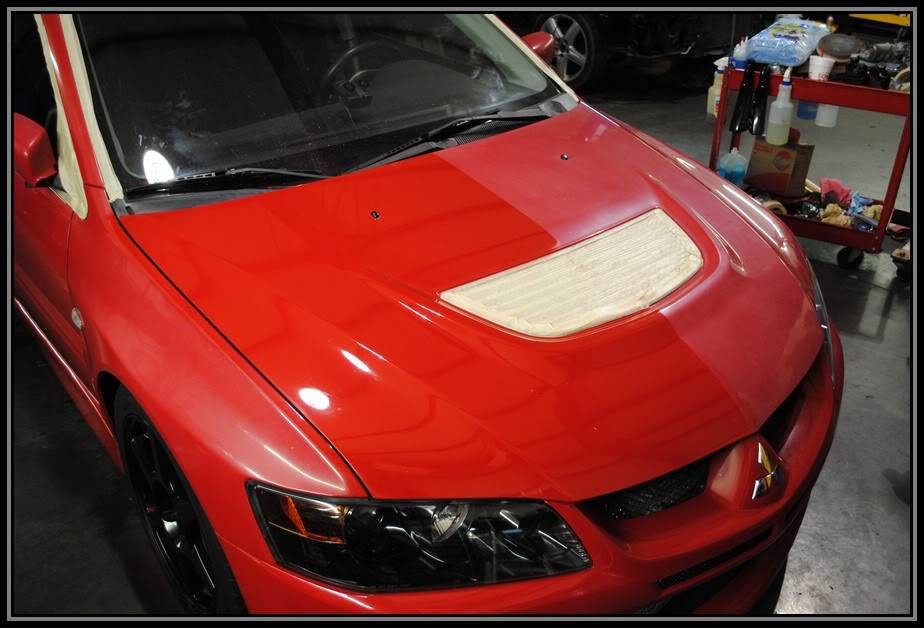
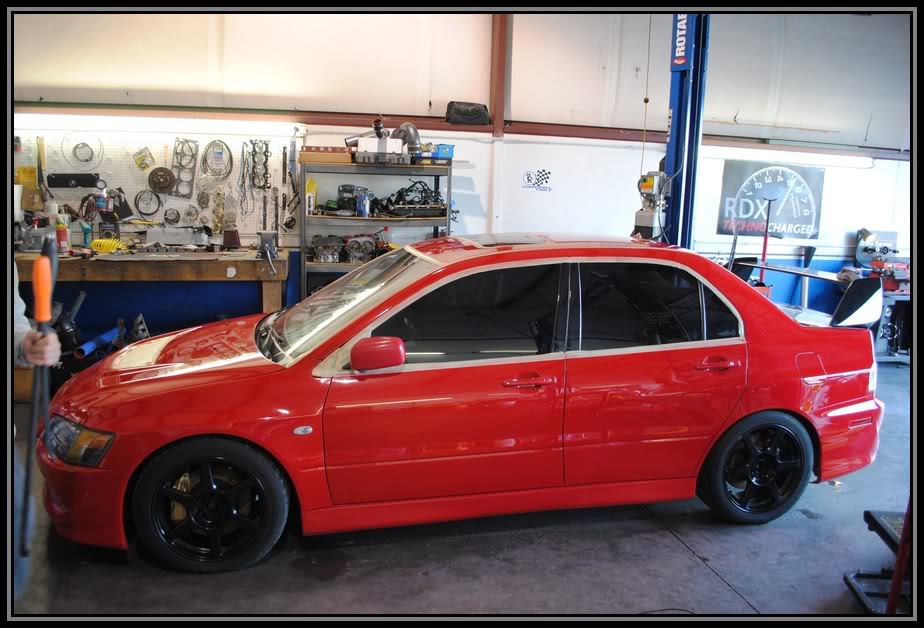
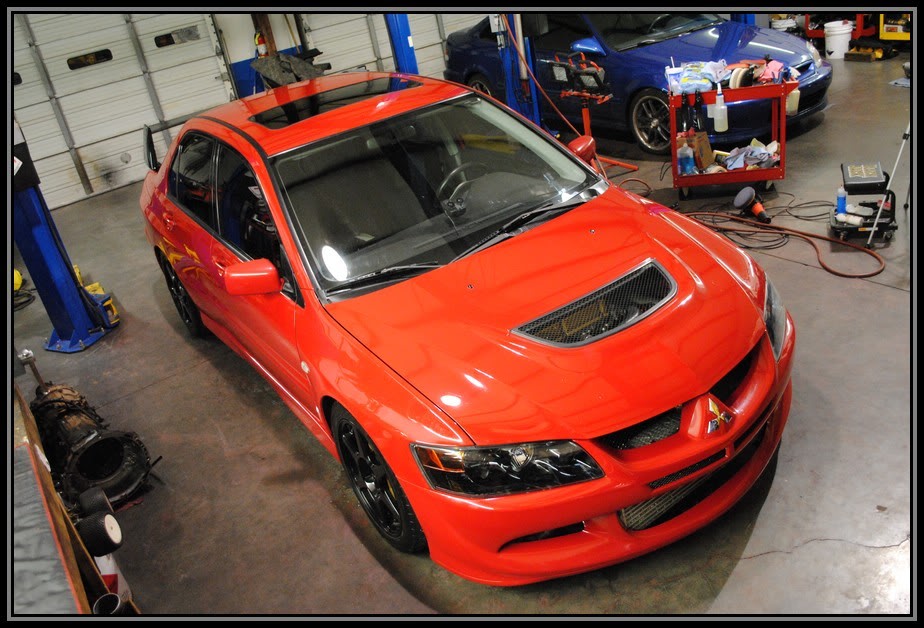
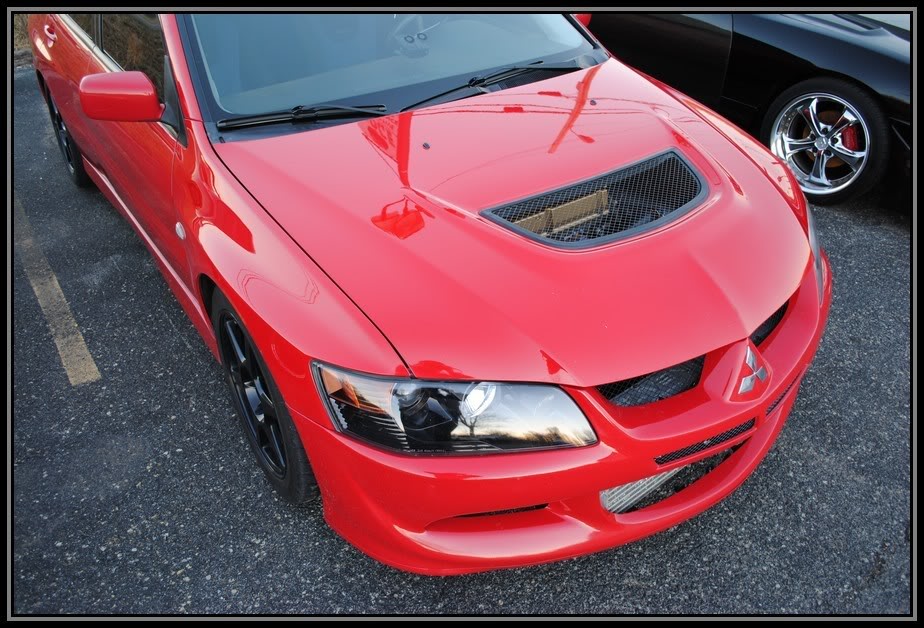
When I arrived, I did a walk around to see what I had to work with. Overall the car was in good condition, and all that was really needed was a good paint correction. Let see what I had to work with!


Name:  Evo8001.jpg
Views: 710
Size:  108.4 KB

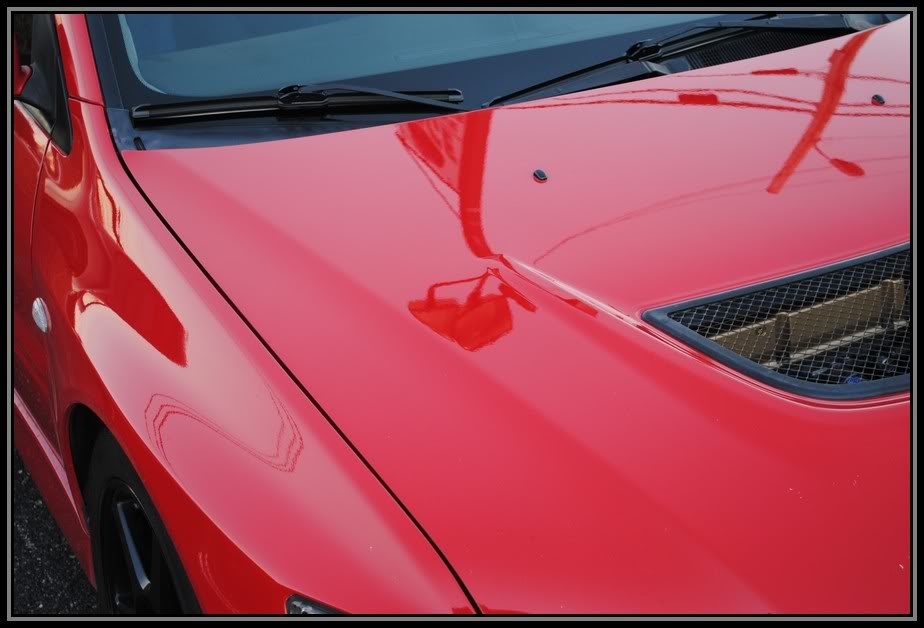
It was early morning so the sun wasn't completely out yet, but you should be able to get an idea of its condition.
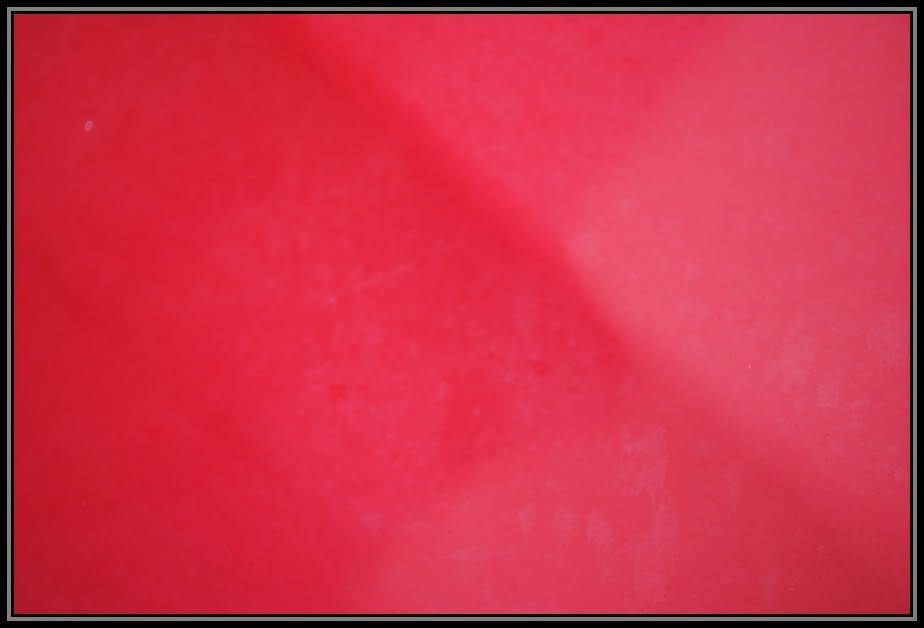
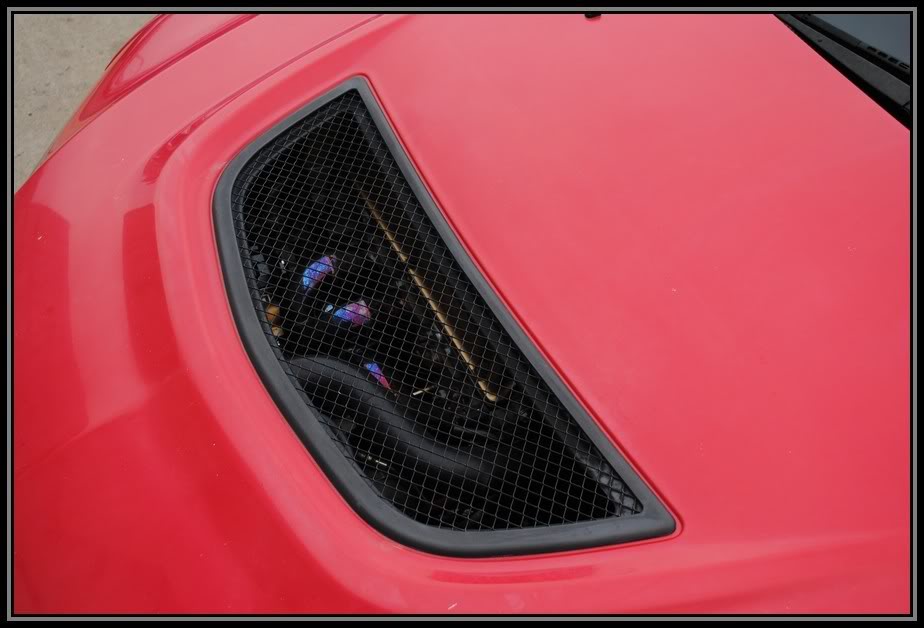
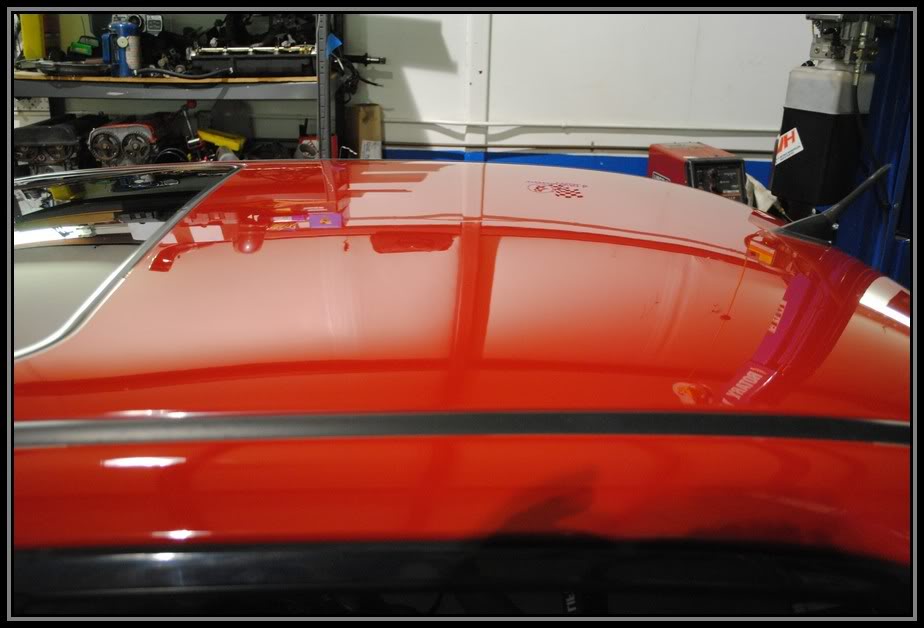
Name:  Evo8005.jpg
Views: 810
Size:  81.4 KB

Name:  Evo8006.jpg
Views: 472
Size:  31.2 KB

Name:  Evo8007.jpg
Views: 467
Size:  25.1 KB

Name:  Evo8008.jpg
Views: 496
Size:  34.4 KB

Name:  Evo8009.jpg
Views: 495
Size:  68.1 KB

Pink quater panels

Name:  Evo8010.jpg
Views: 496
Size:  64.6 KB

Name:  Evo8011.jpg
Views: 509
Size:  49.0 KB

Name:  Evo8014.jpg
Views: 487
Size:  92.7 KB

Name:  Evo8015.jpg
Views: 469
Size:  76.2 KB

Name:  Evo8018.jpg
Views: 531
Size:  98.4 KB

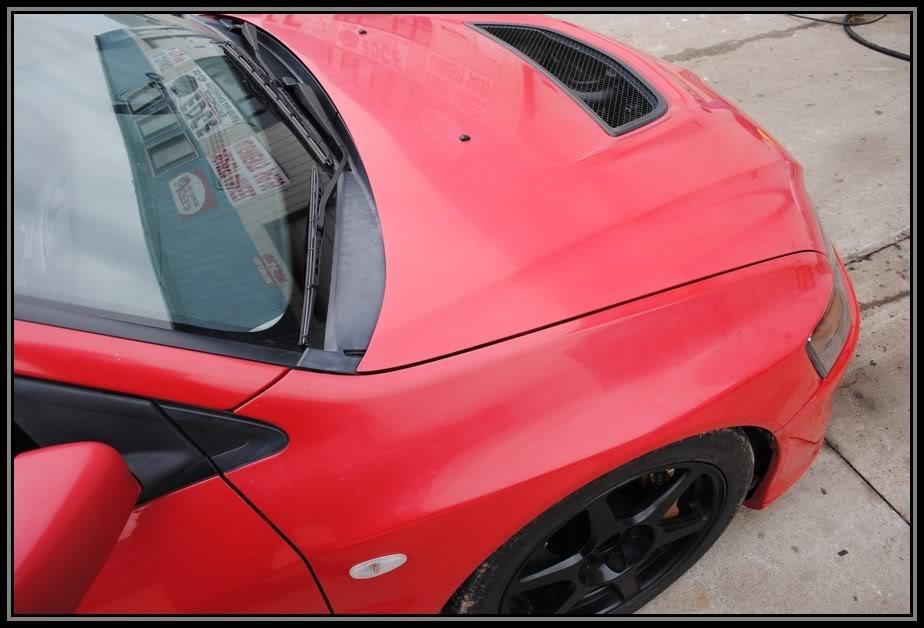
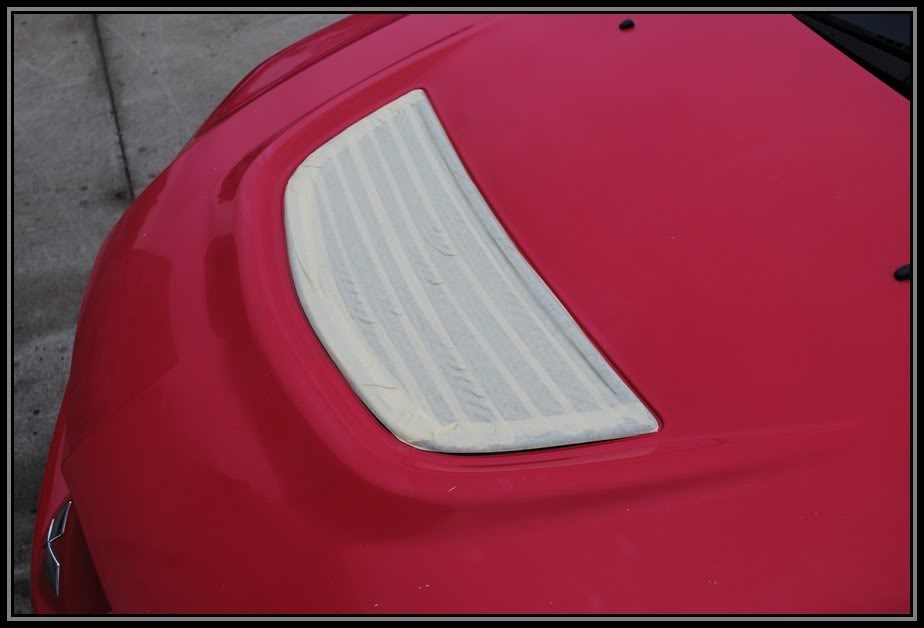
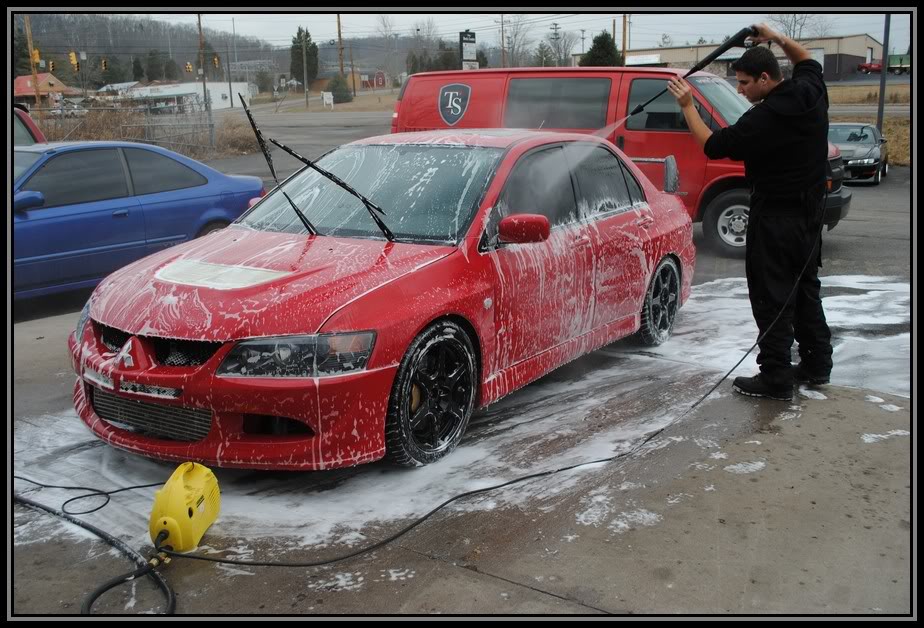
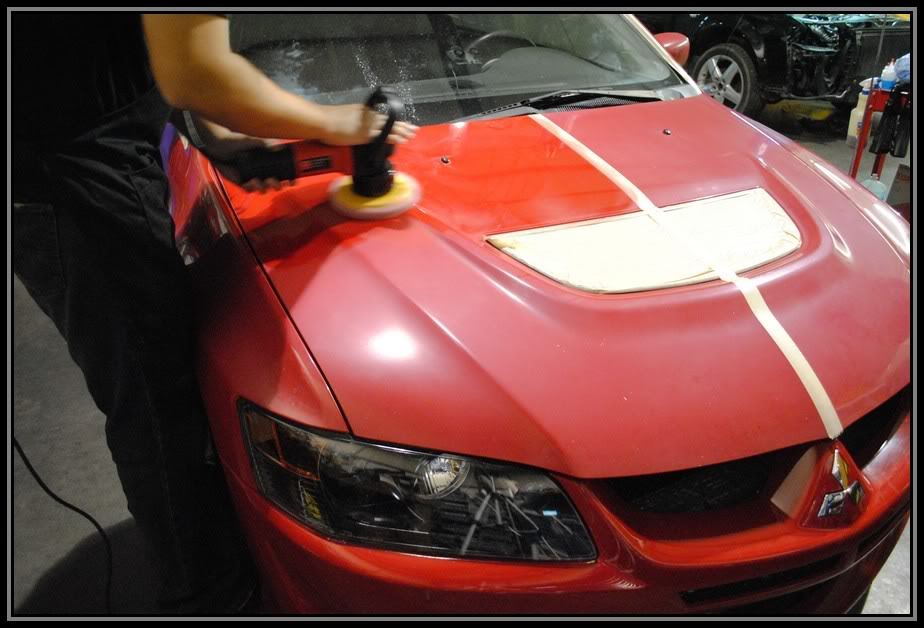
The motor had a lot of after market products on it, and I didn't want to take any chances on damaging anything on it, so I taped up the hood vent to prevent any water getting down into the engine bay.

Name:  Evo8022.jpg
Views: 909
Size:  67.7 KB

Name:  Evo8023.jpg
Views: 476
Size:  39.2 KB

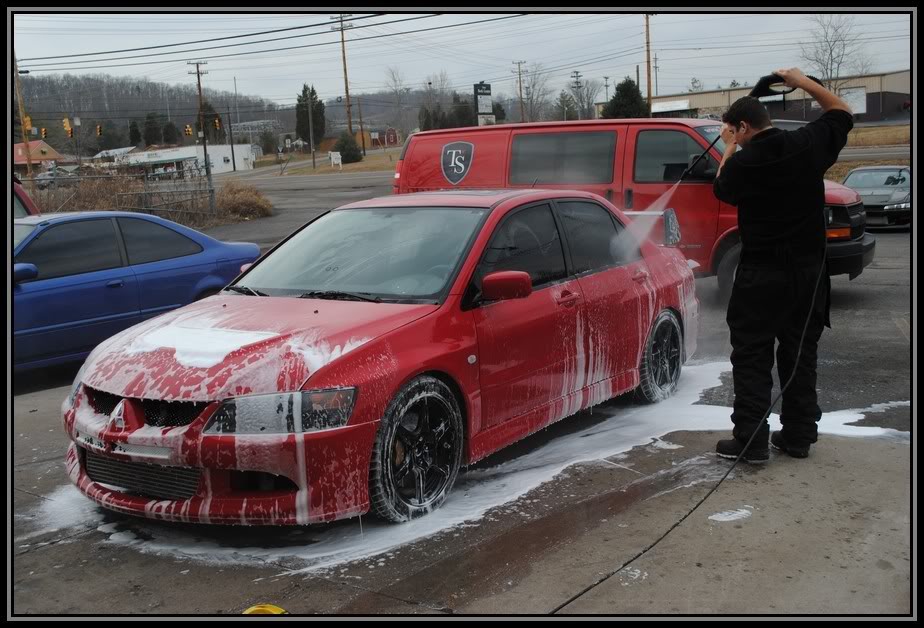
after gearing up and getting my winter gear on, I began by foaming the car down with Ultra concentrated Dawn detergent to strip off any type protection or wax off of the paint.

Name:  Evo8024.jpg
Views: 480
Size:  106.5 KB

Name:  Evo8025.jpg
Views: 474
Size:  119.8 KB

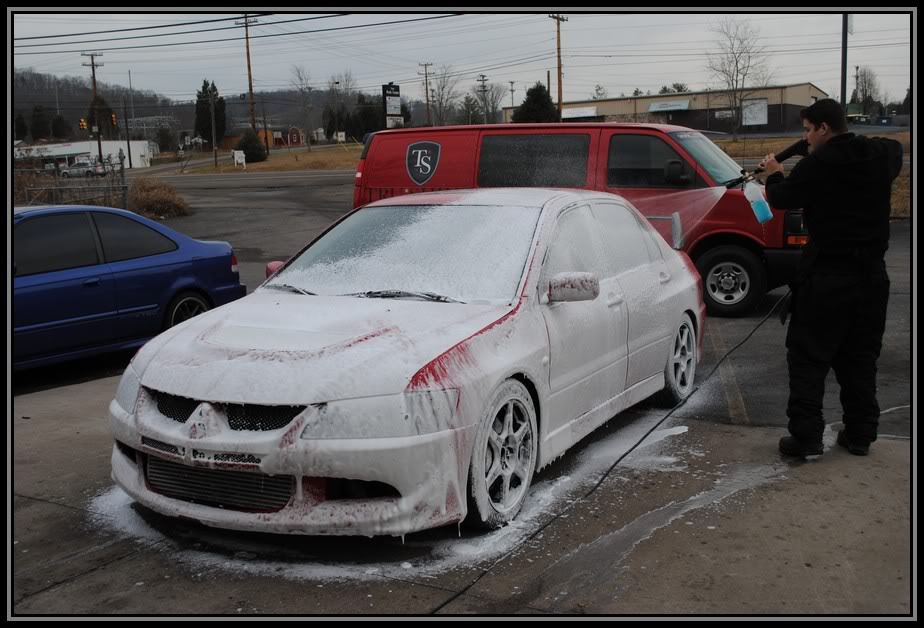
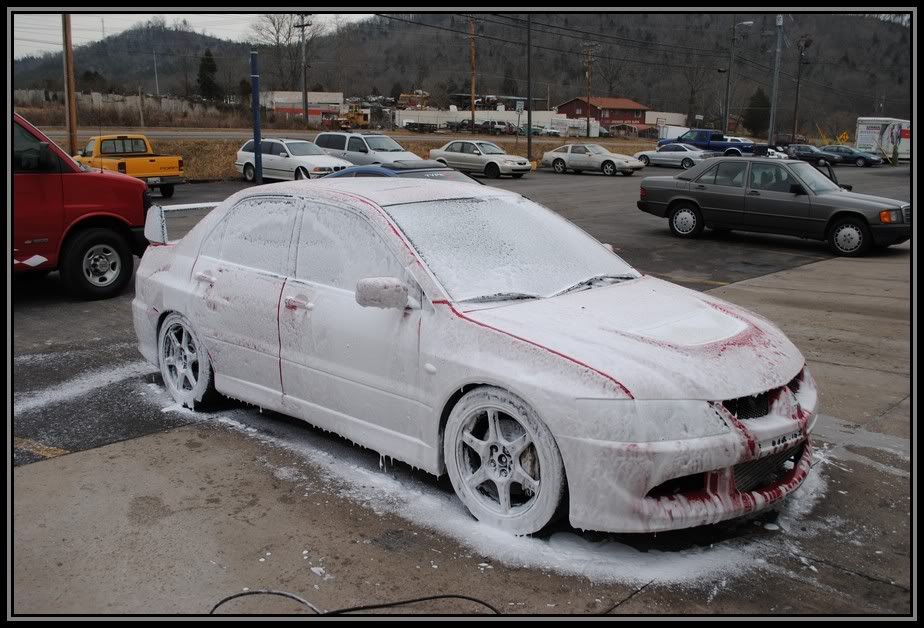
The First foaming is left to dwell for a bit to let the dirt and grime break up and roll off the paint without damaging the surface.

Then I spray off all of that foam, rinsing away all of the heavy grime.

Name:  Evo8027.jpg
Views: 489
Size:  117.8 KB

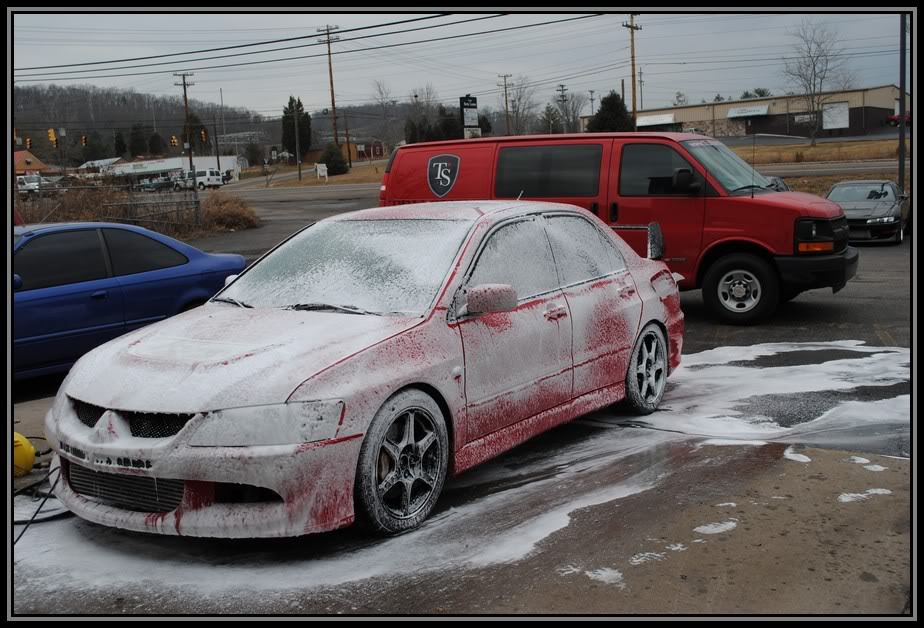
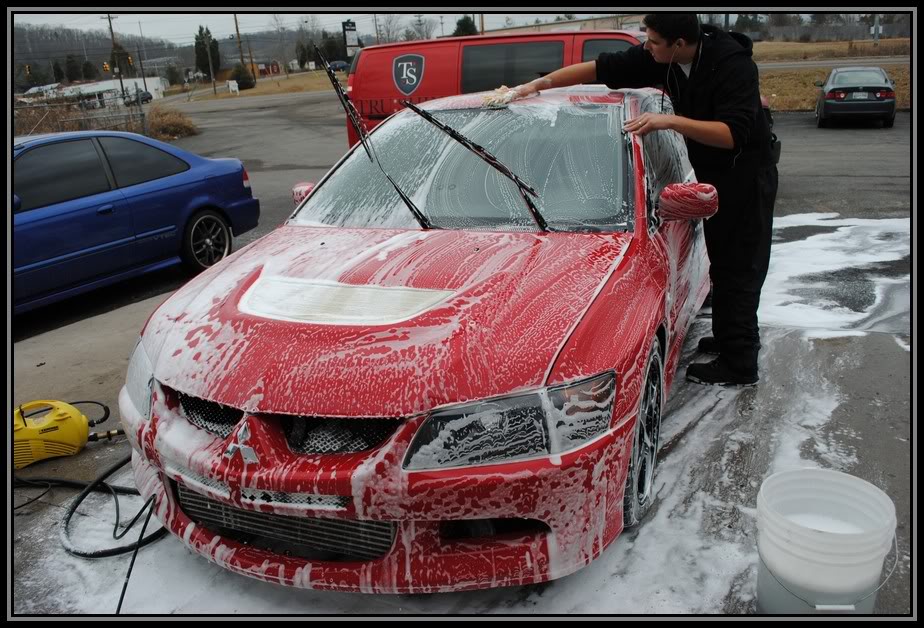
Then I give it another coat of foam for the hand washing stage, using a 100% sheep skin wash mitt to wash with.
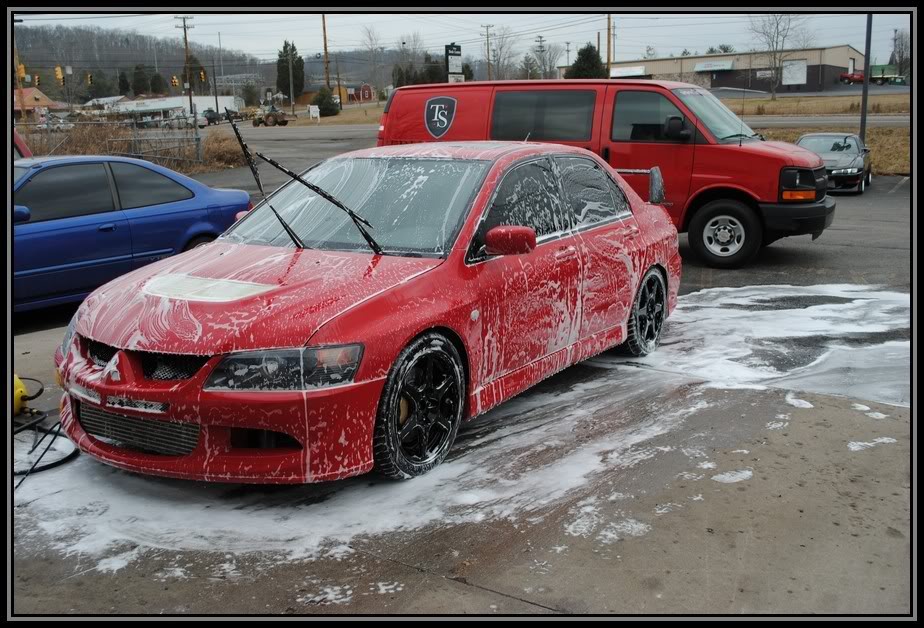
Name:  Evo8029.jpg
Views: 479
Size:  128.0 KB

Name:  Evo8031.jpg
Views: 473
Size:  145.7 KB

Name:  Evo8032.jpg
Views: 485
Size:  144.6 KB


Then the rinse

Name:  Evo8033.jpg
Views: 536
Size:  136.6 KB

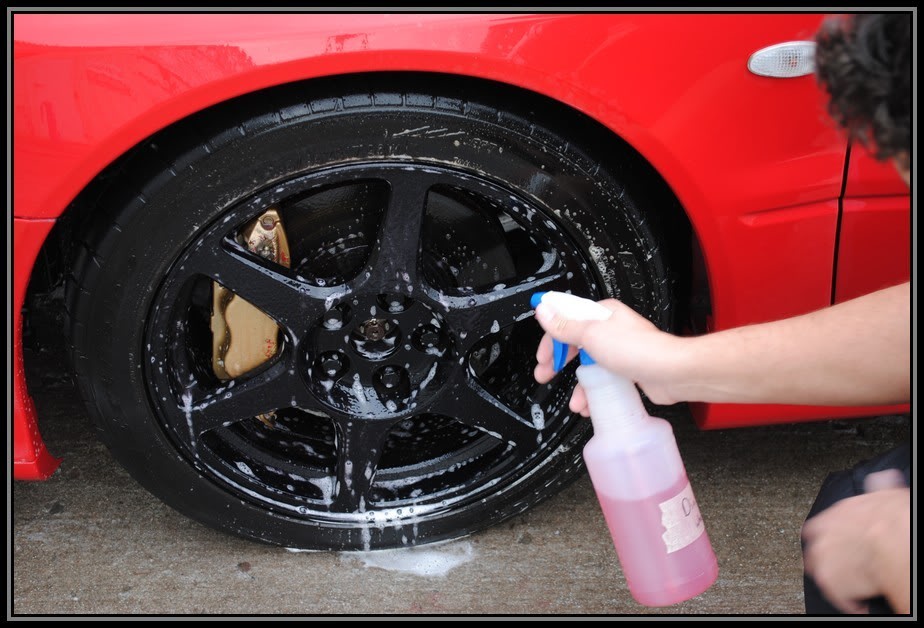
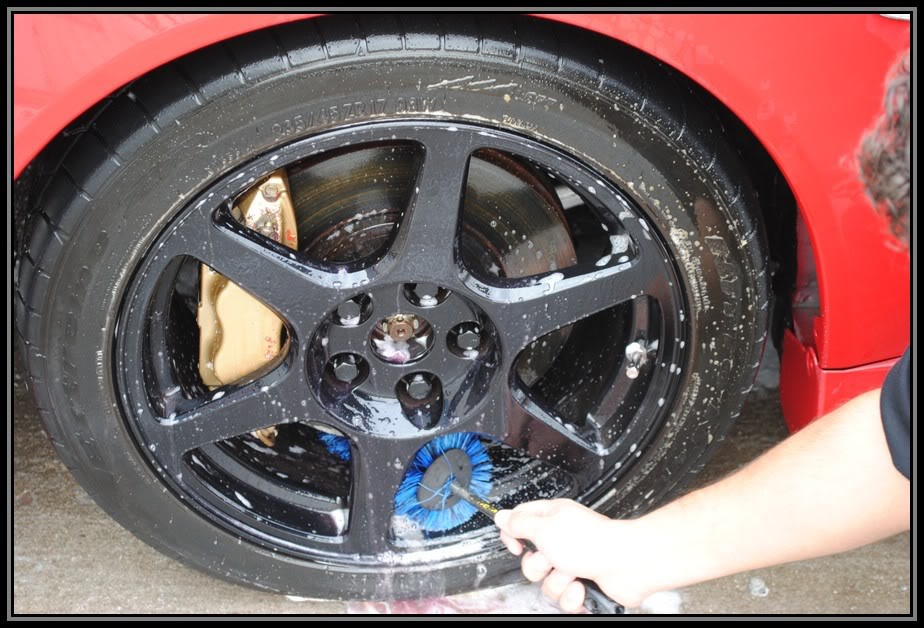
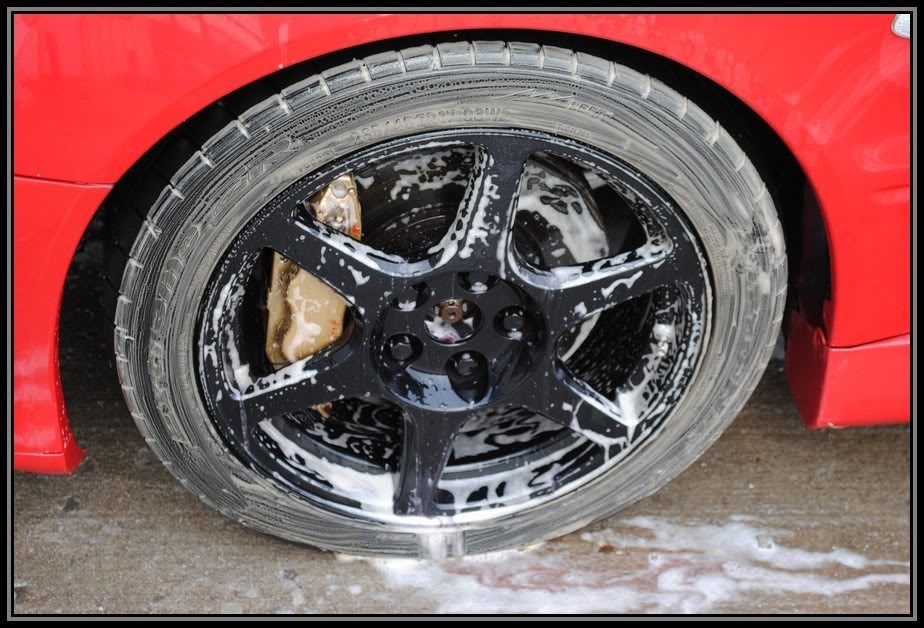
These wheels were cleaned with Chemical guys Diablo Wheel gel and various brushes.

Name:  Evo8036.jpg
Views: 493
Size:  111.4 KB

Name:  Evo8038.jpg
Views: 471
Size:  128.6 KB

Name:  Evo8039.jpg
Views: 435
Size:  129.1 KB

Name:  Evo8035.jpg
Views: 505
Size:  122.5 KB

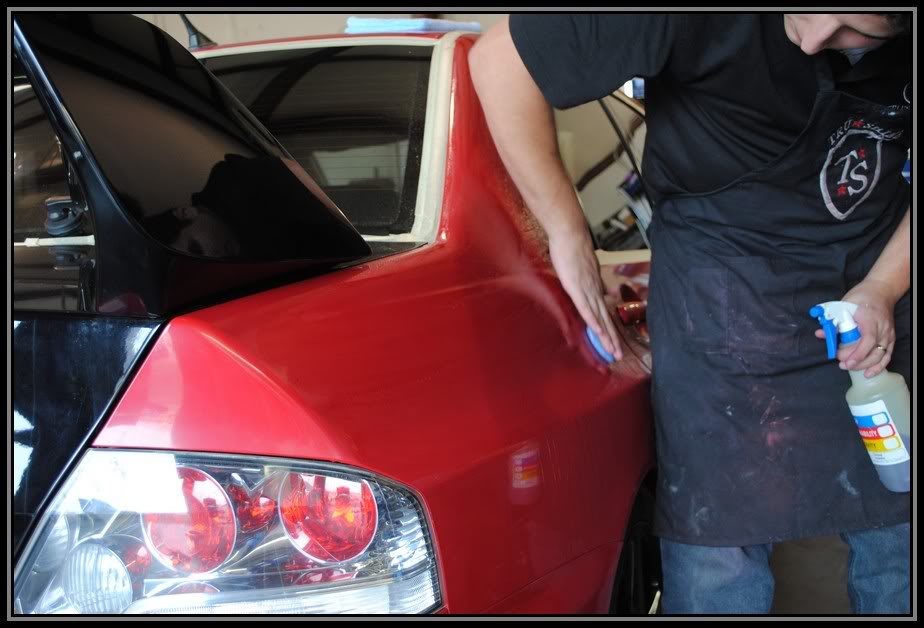
Next the car was dried off and brought inside to be clayed and taped off.

Name:  Evo8044.jpg
Views: 419
Size:  73.1 KB

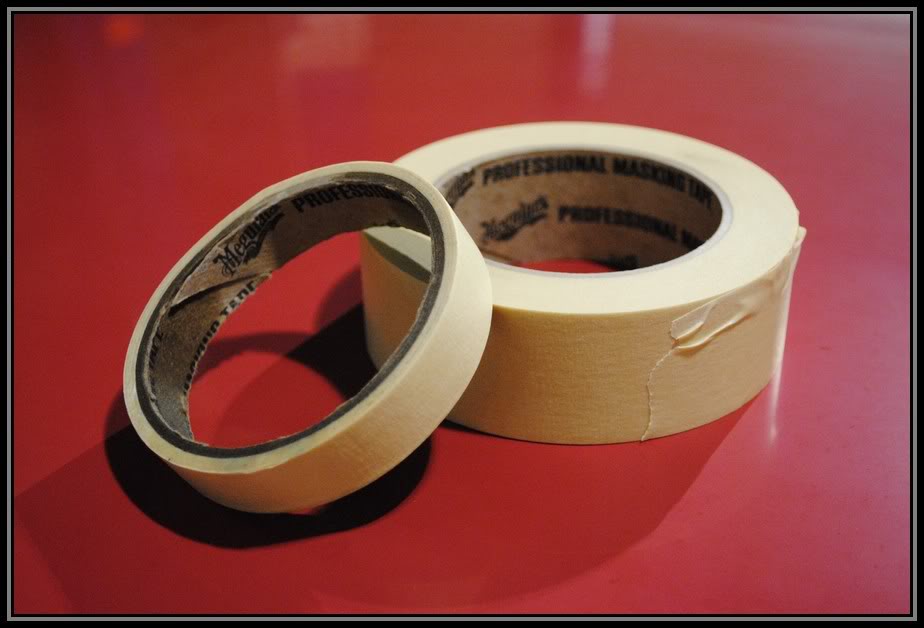
I used the new Meguiars professional masking tape to tape up this car. I am a big fan of this tape because it tears nicely, sticks and releases real good and doesn't leave behind any residue. To me it is equivalent or better then the blue or green 3M painters tape.

Name:  Evo8045.jpg
Views: 438
Size:  52.9 KB


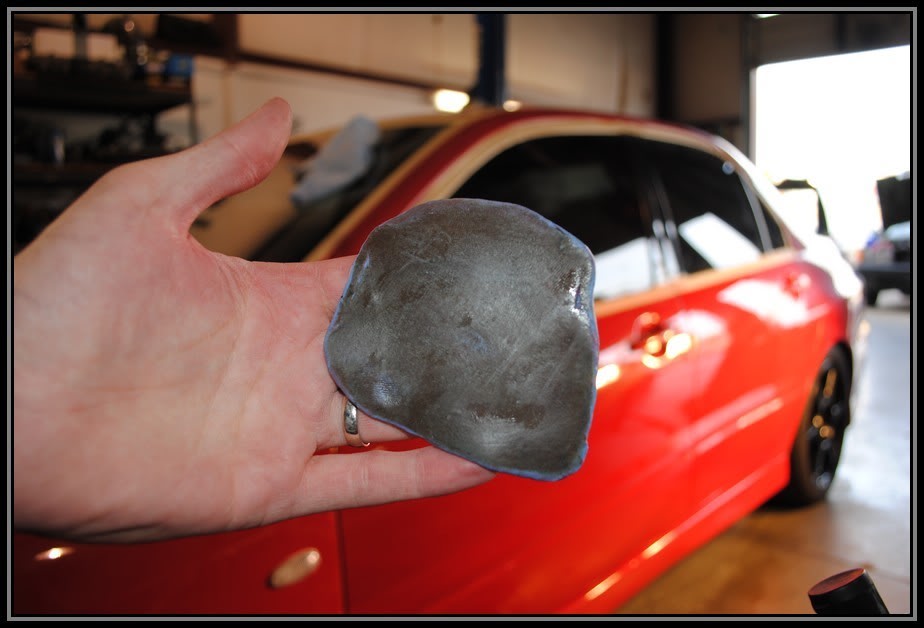
Then the car was clay bared using blue fine clay by Claymagic with Wonder Shine as lubricant

Name:  Evo8067.jpg
Views: 474
Size:  76.8 KB

Name:  Evo8069.jpg
Views: 446
Size:  66.2 KB

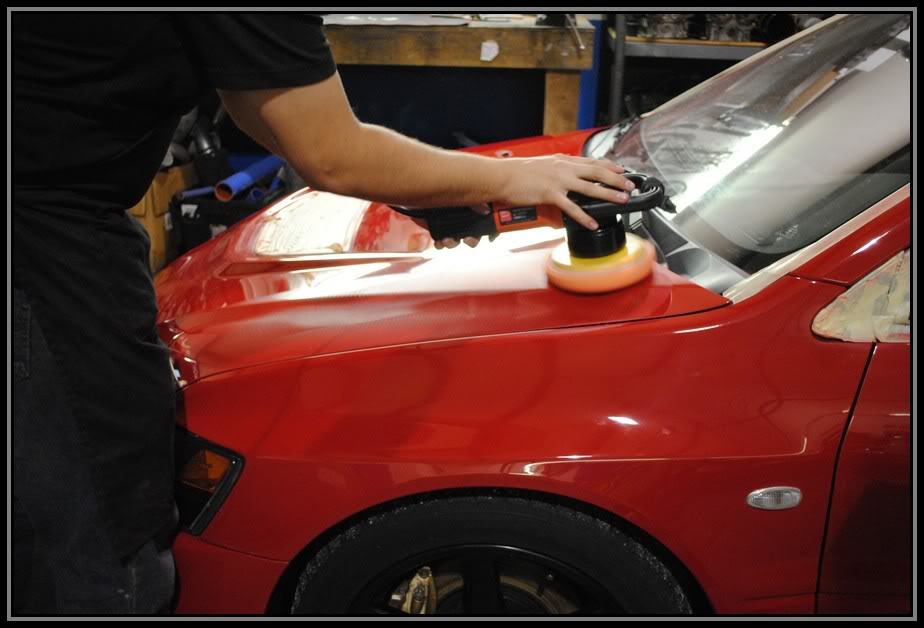
For the correction process I used the Griots 6in DA with a Surbuff pad using M105 compound.

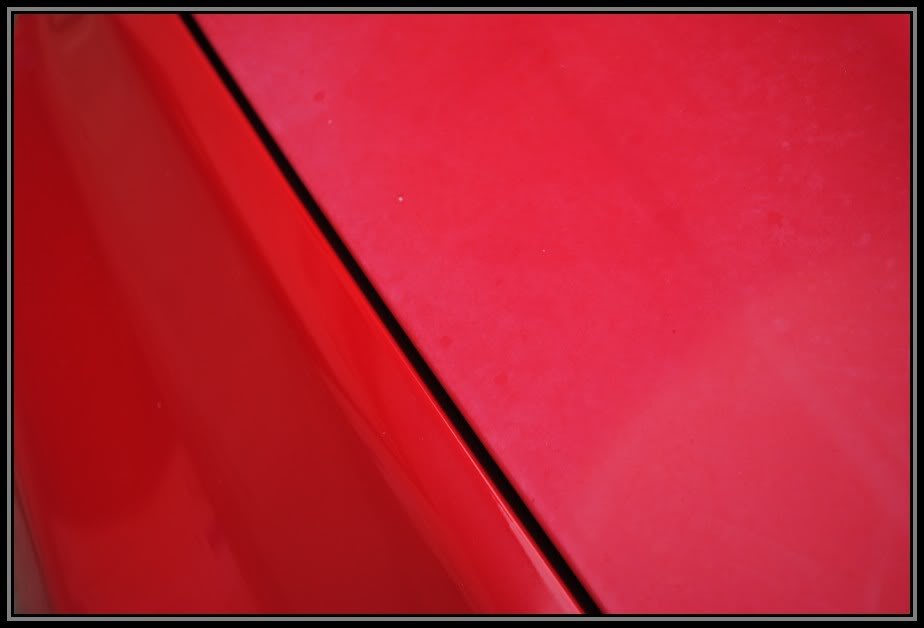
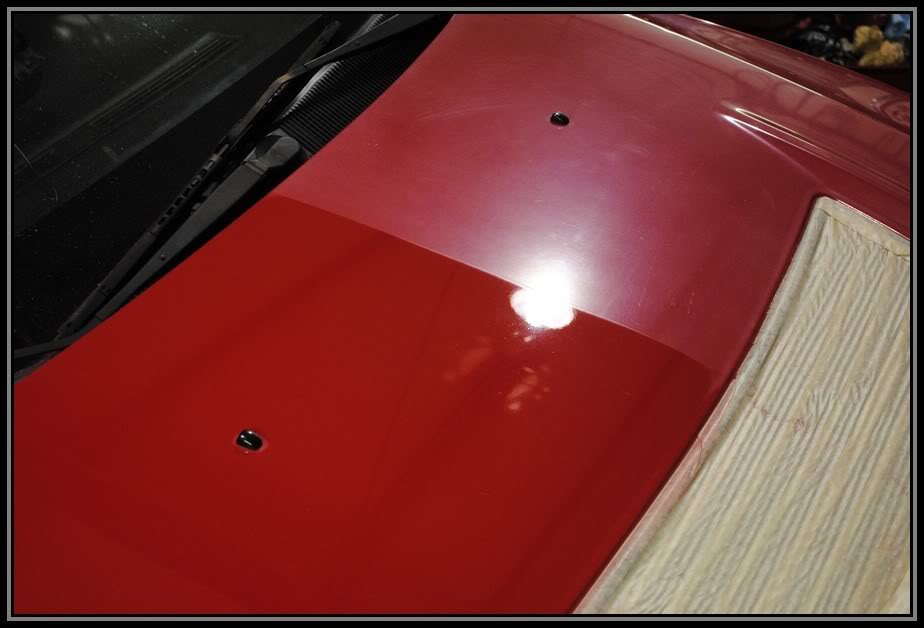
I started on the hood taping it down the middle for a nice 50/50 shot.

Name:  Evo8048.jpg
Views: 472
Size:  80.9 KB

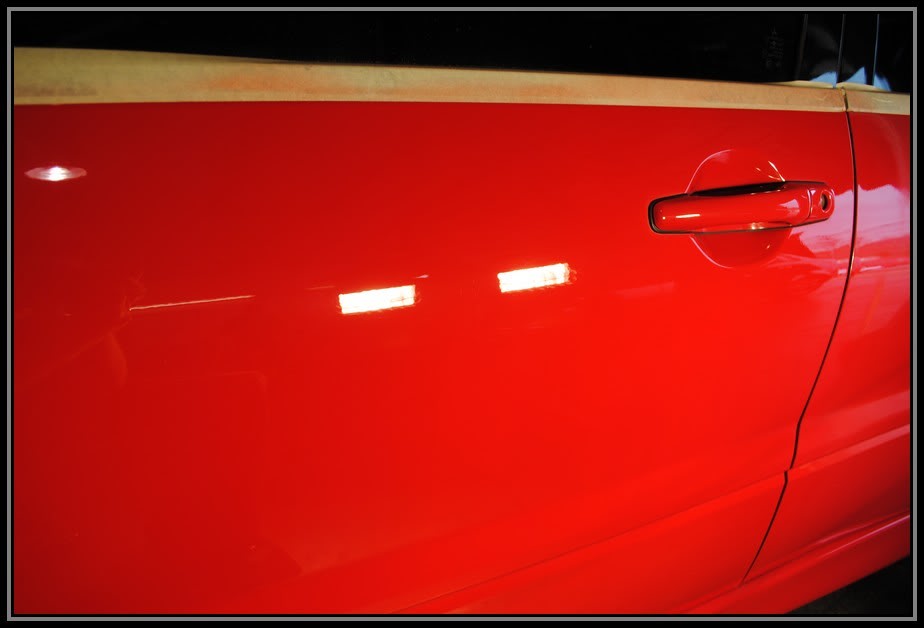
and here is the 50/50. Pretty dramatic difference huh?

Name:  Evo8049.jpg
Views: 471
Size:  85.7 KB

Name:  Evo8050.jpg
Views: 468
Size:  53.1 KB

Name:  Evo8052.jpg
Views: 524
Size:  97.1 KB

Then I worked my way around the car from the driver side to passenger side.

Name:  Evo8055.jpg
Views: 491
Size:  85.0 KB

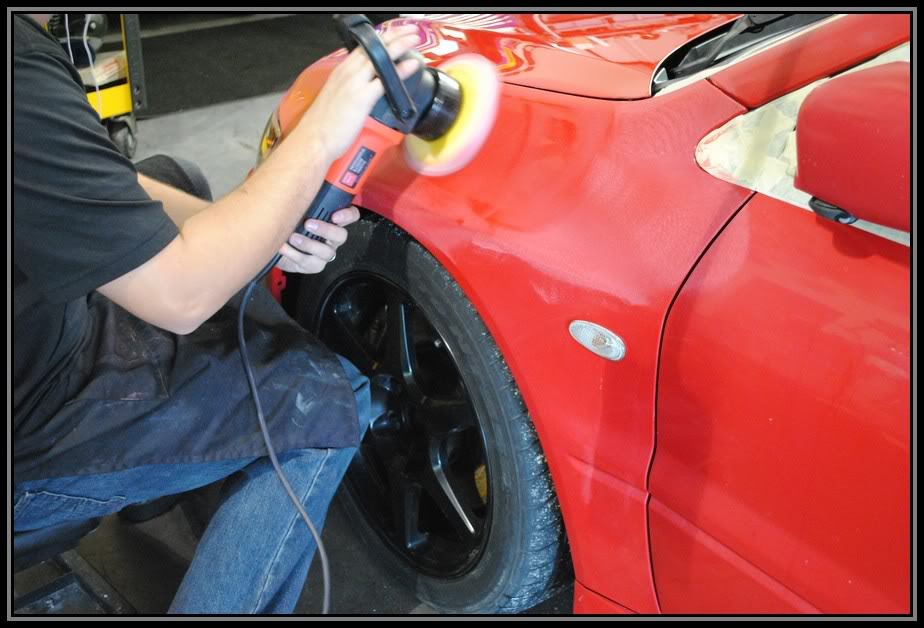
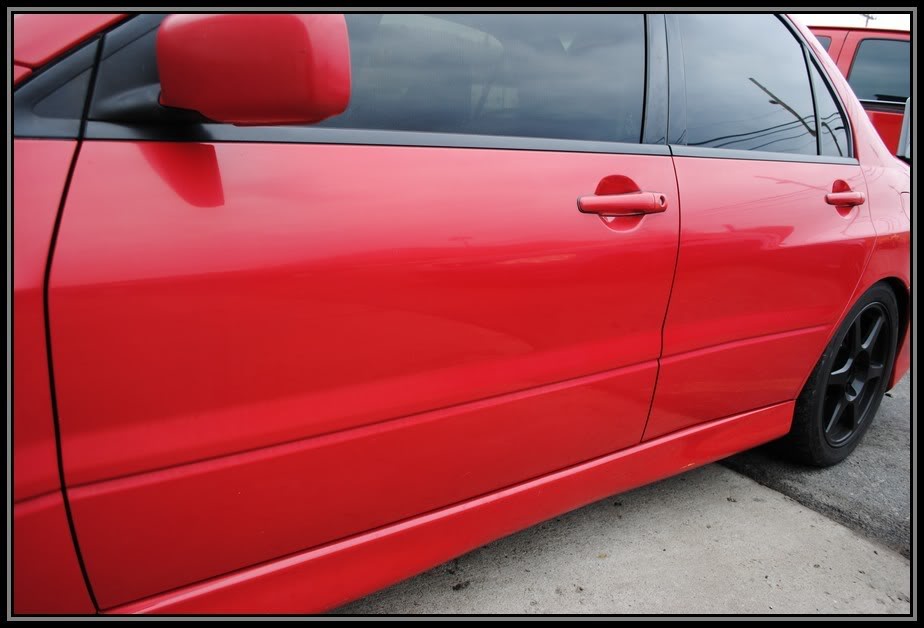
here is the front door before.

Name:  Evo8057.jpg
Views: 456
Size:  28.9 KB


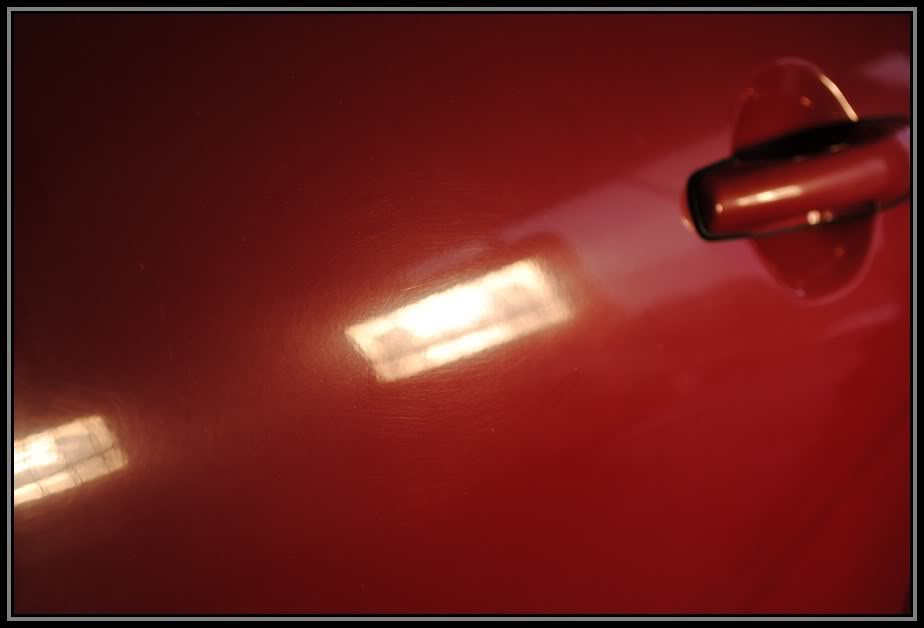
here is a 50/50 of the front door.

Name:  Evo8059.jpg
Views: 453
Size:  25.1 KB

Name:  Evo8060.jpg
Views: 427
Size:  48.4 KB

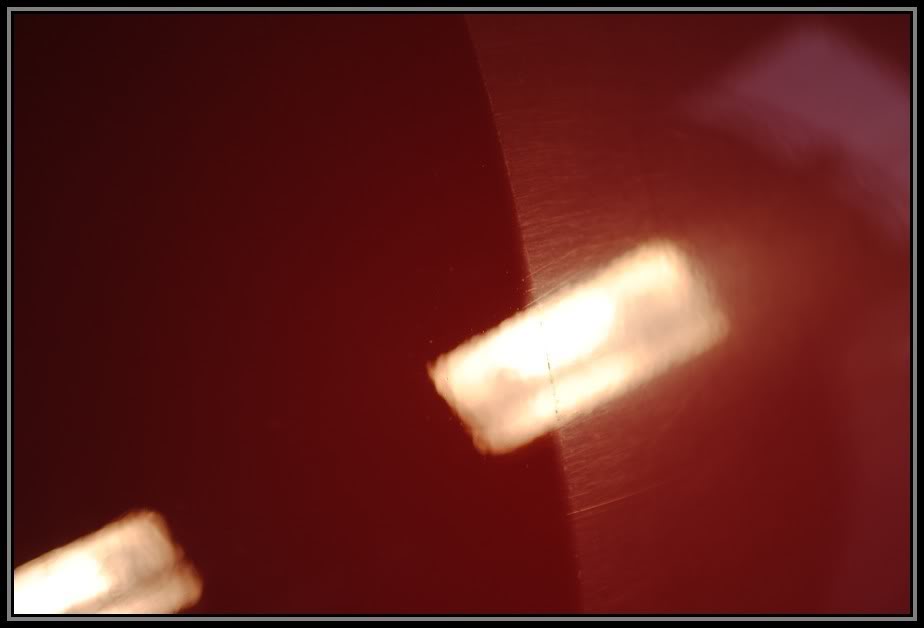
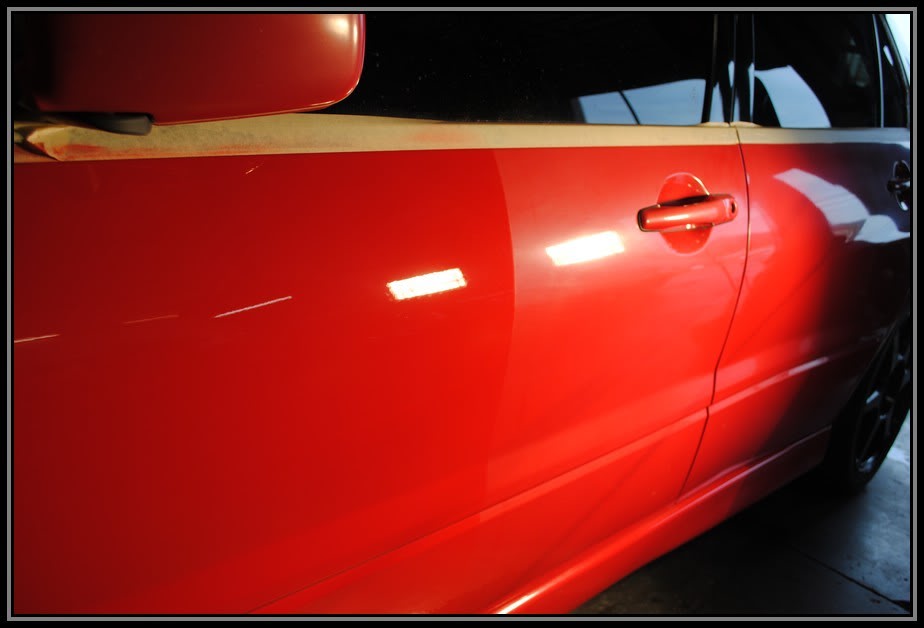
And then the final on the door

Name:  Evo8062.jpg
Views: 492
Size:  21.5 KB

Name:  Evo8065.jpg
Views: 424
Size:  41.1 KB

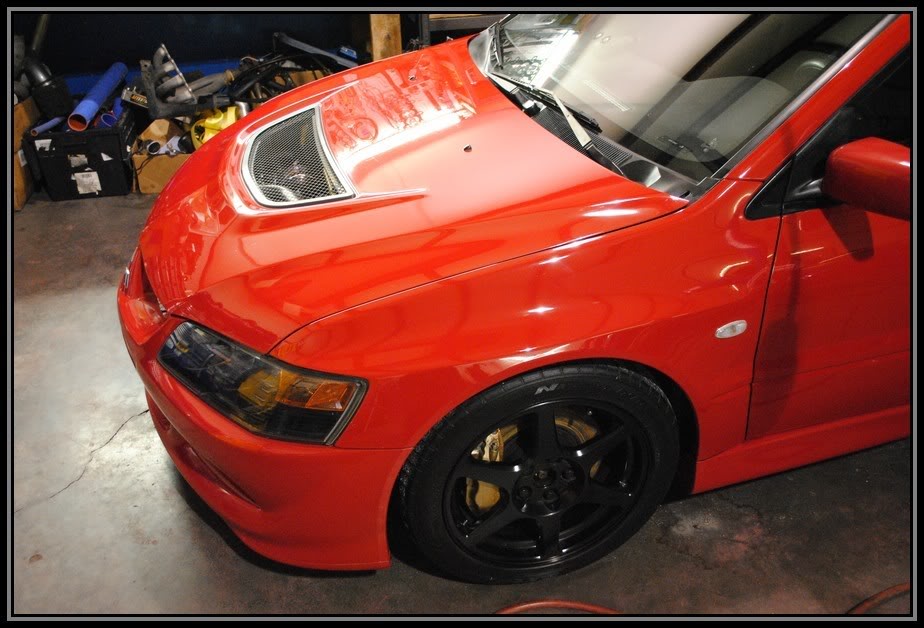
Cutting stage complete, now for the polishing. I used the Griots, 6in DA with Lake country Tangerine polishing pad and M205 polish.

Name:  Evo8074.jpg
Views: 529
Size:  103.2 KB


Name:  Evo8077.jpg
Views: 465
Size:  66.2 KB

After polishing, the paint was sealed with Black fire Wet diamond using a LC blue finishing pad

Name:  Evo8079.jpg
Views: 426
Size:  82.8 KB

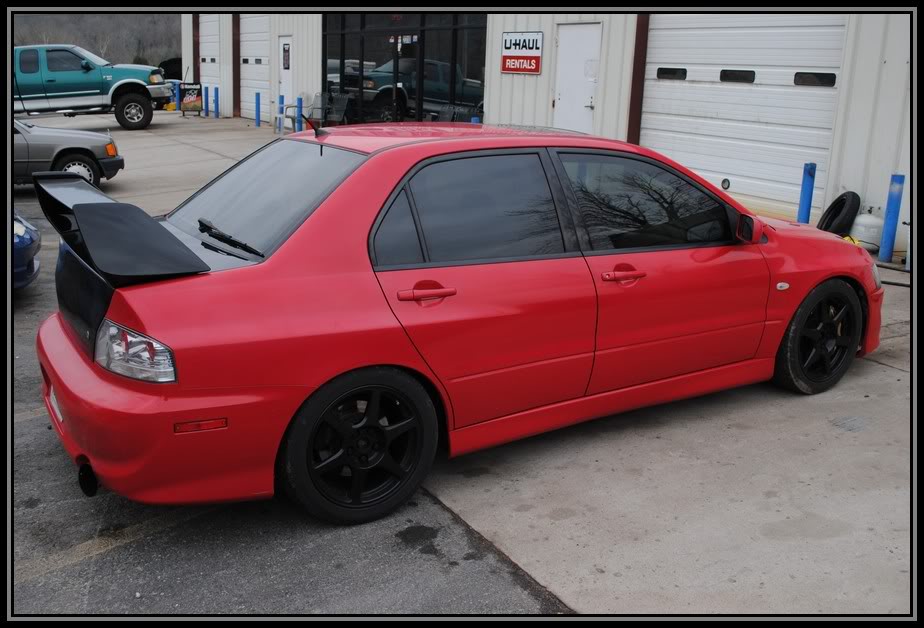
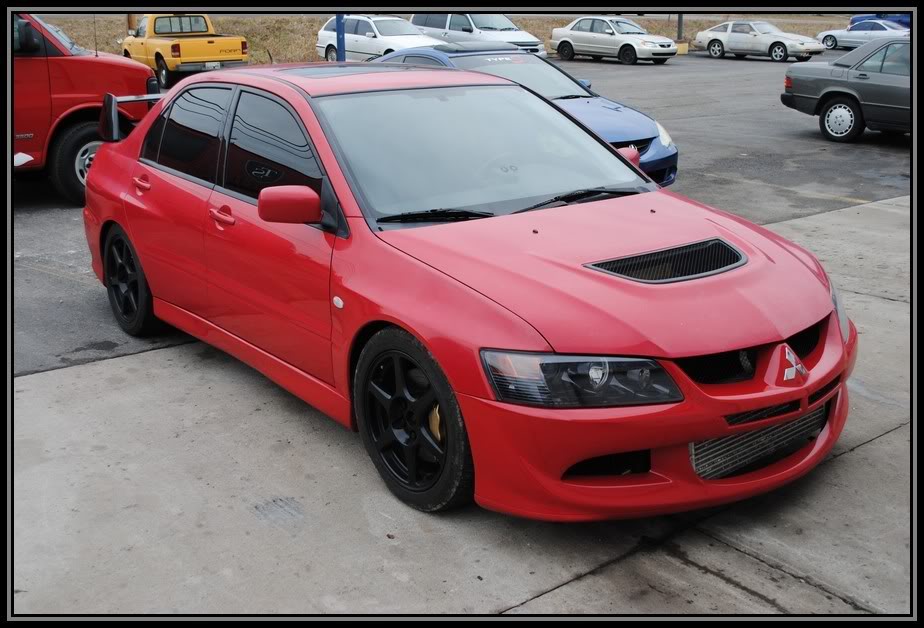
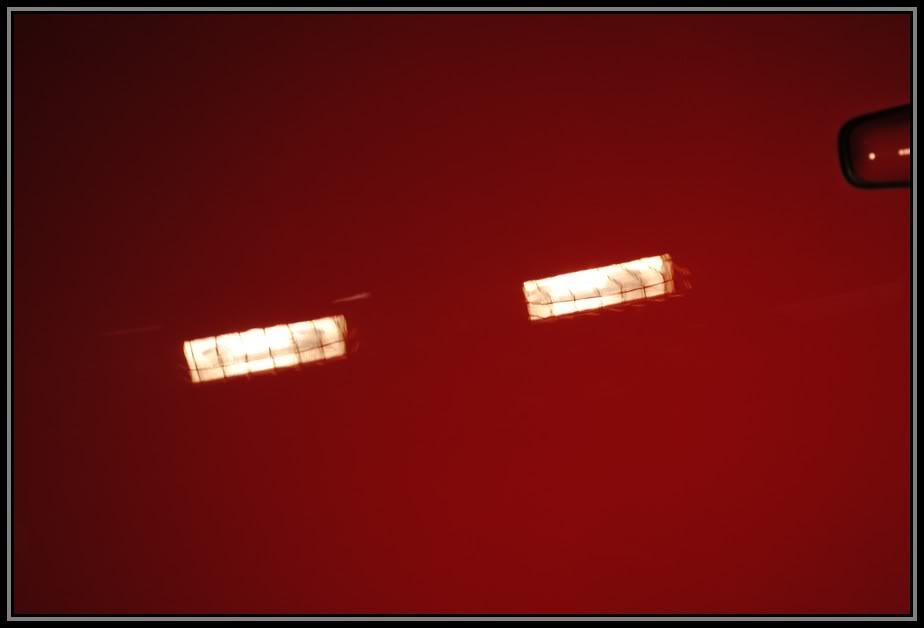
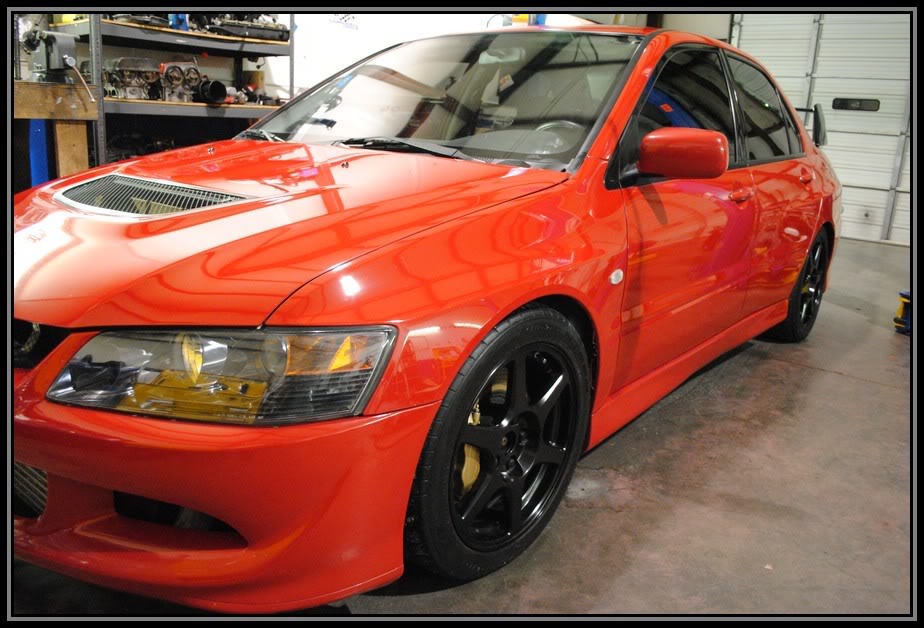
I finished up that night and came back the next day for some outside pics, unfortunately there wasn't any sun out.

Name:  Evo8081.jpg
Views: 512
Size:  99.7 KB

Name:  Evo8087.jpg
Views: 420
Size:  60.2 KB

Name:  Evo8089.jpg
Views: 453
Size:  131.2 KB

Name:  Evo8094.jpg
Views: 457
Size:  109.4 KB

Name:  Evo8096.jpg
Views: 479
Size:  65.2 KB

Name:  Evo8099.jpg
Views: 476
Size:  132.4 KB

Name:  Evo8101.jpg
Views: 517
Size:  142.4 KB

Name:  Evo8102.jpg
Views: 485
Size:  65.4 KB

Name:  Evo8104.jpg
Views: 490
Size:  144.5 KB

Name:  Evo8105.jpg
Views: 493
Size:  143.4 KB

Thanks for Viewing, Have a blessed day!

 
  #2  
Old 02-01-2011, 11:56 AM
GD3_Wagoon's Avatar
Member
5 Year Member
iTrader: (12)
Join Date: May 2008
Location: eightONEeight
Posts: 5,244
that hood 50/50 shot is shocking. i love reading your detailing threads, great job as usual
 
  #3  
Old 02-02-2011, 04:13 AM
doctordoom's Avatar
Supervillain
5 Year Member
iTrader: (7)
Join Date: Sep 2006
Location: Los Angeles/Orange County
Posts: 4,261
wow you cleaned that one up a LOT
 
  #4  
Old 02-27-2011, 08:20 PM
Tauwolf's Avatar
Member
iTrader: (2)
Join Date: Dec 2010
Location: Ohio
Posts: 369
These detailing threads never fail to impress me, and they *never* get old. Great job!
 
  #5  
Old 02-28-2011, 03:35 PM
jmag310's Avatar
Member
Join Date: Jan 2011
Location: LA CA
Posts: 246
very nice!
 
  #6  
Old 02-28-2011, 03:59 PM
GGPJON's Avatar
Member
5 Year Member
Join Date: Nov 2010
Location: San Diego
Posts: 192
WOW! that is some good stuff, FR!


Keep up the good work and thanks for sharing!
 
  #7  
Old 03-01-2011, 01:24 AM
Dougr320's Avatar
Member
iTrader: (2)
Join Date: Aug 2010
Location: Indy
Posts: 115
how much does a detail like that cost
 
  #8  
Old 03-09-2011, 07:50 PM
SSMTEN's Avatar
Member
iTrader: (5)
Join Date: Feb 2011
Location: 850
Posts: 850
Wow nice work. Made a word of difference
 
  #9  
Old 03-09-2011, 08:29 PM
Perrenoud Fit's Avatar
Member
5 Year Member
iTrader: (2)
Join Date: Dec 2008
Location: Chesapeake, VA. -USA
Posts: 4,429
Have you ever met a car you couldn't bring back to Like New Condition?
Thanks for telling us the products and tools used in these threads. Another great transformation. The Light really reflects in your works.
Mike
 
Related Topics
Thread
Thread Starter
Forum
Replies
Last Post
Fallen_Rock
Fit DIY: Repair & Maintenance
11
11-29-2011 09:22 AM
qbmurderer13
Fit Photos & Videos
25
12-11-2010 08:10 AM
Fallen_Rock
Fit DIY: Repair & Maintenance
13
08-16-2010 03:44 PM
qbmurderer13
Other Car Related Discussions
22
04-14-2010 03:10 AM
qbmurderer13
Other Car Related Discussions
21
06-12-2009 12:27 PM


Quick Reply: Single Stage Lancer Evolution paint restoration by Tru Shine


All times are GMT -4. The time now is 10:48 AM.