
Before and After Modification Thread


#7
 04-02-2008, 11:47 PM
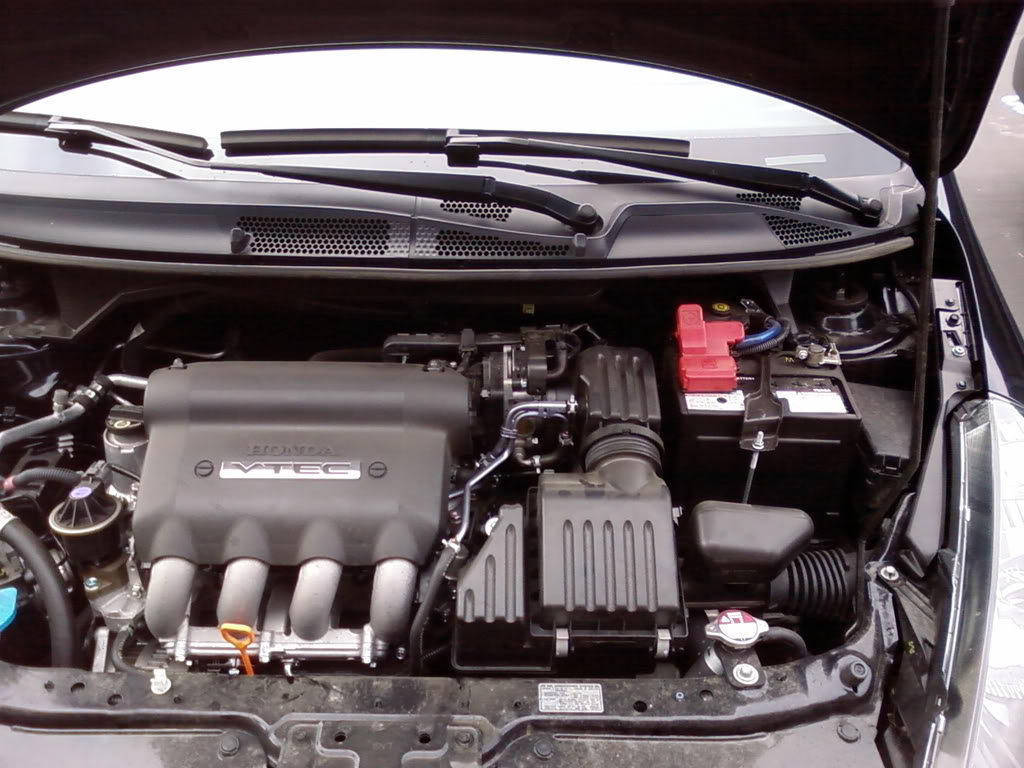
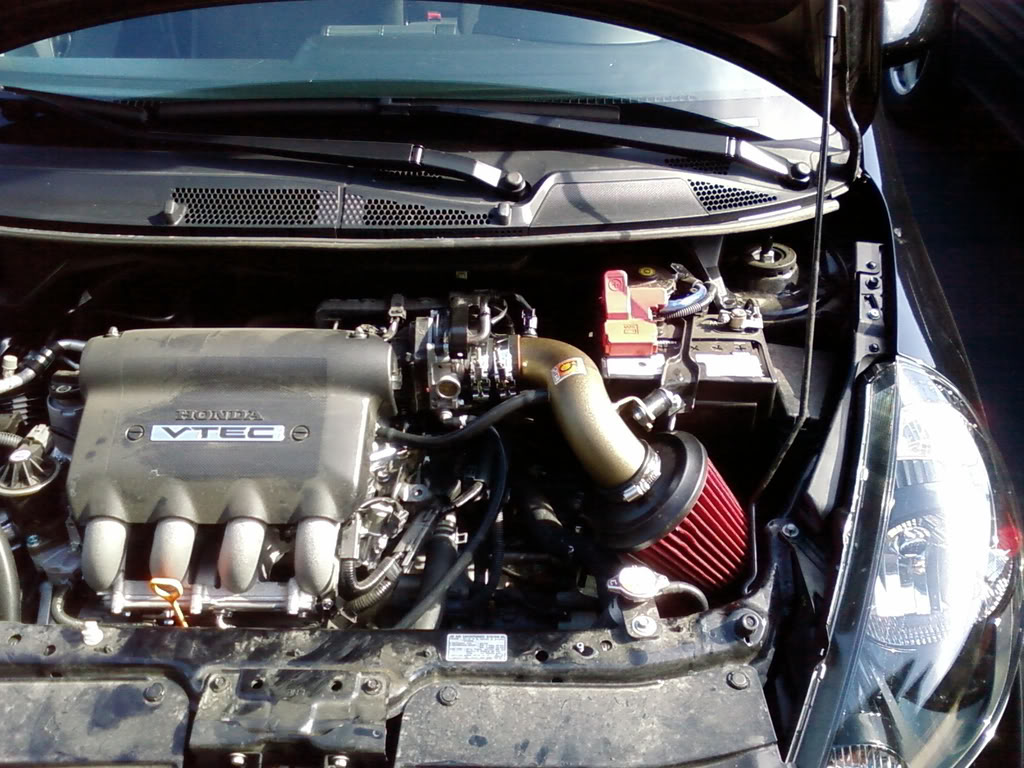
yeaaaa i know. i got coolant all over the engine when i took the stock intake off. you can see, i just wiped it off the engine cover. the next time i get it washed i'll have 'em clean the engine.

#11
04-03-2008, 01:12 PM
i know james and i both made ours, it it cost us each between 2-4 dollars. go to any hardware store, get 2 L brackets (mine are 2-inches), 6 screws (4 small ones to go into the bumper, 2 larger ones for the license plate), 2 locking nuts, and 2 washers. i also got 4 of those little plastic anchors that expand when a screw is drilled into them for the bumper. if you want, you can spray paint the L brackets to match your car, but you don't see them too much so i didn't worry about it.
loosely attach the L brackets to the license plate. do not use the locking nuts for this part. attach the brackets with something else. i used scotch tape. align the plate where you want it on your bumper, and using a permanent marker, mark the holes where you'll need to drill on the bumper. mark and drill 2 holes for each side. be sure the holes you drill aren't too big, because then you're screwed. take the license plate off the L brackets before mounting the brackets on the bumper. line up the holes in the bracket with the holes in your bumper, and push the 4 plastic mounting anchors through. using the smaller screws, drill them through the center of the plastic mounting anchors. this will cause the anchors to expand within your bumper, ensuring your plate wont fall off at freeway speeds. now stick your license plate onto the L brackets, using the larger screws, the washers, and the locking nuts. use the locking nuts because regular nuts have a way of loosening when rattled.
i'll take some pics and upload them so you can see the final product.
#12
04-03-2008, 02:48 PM
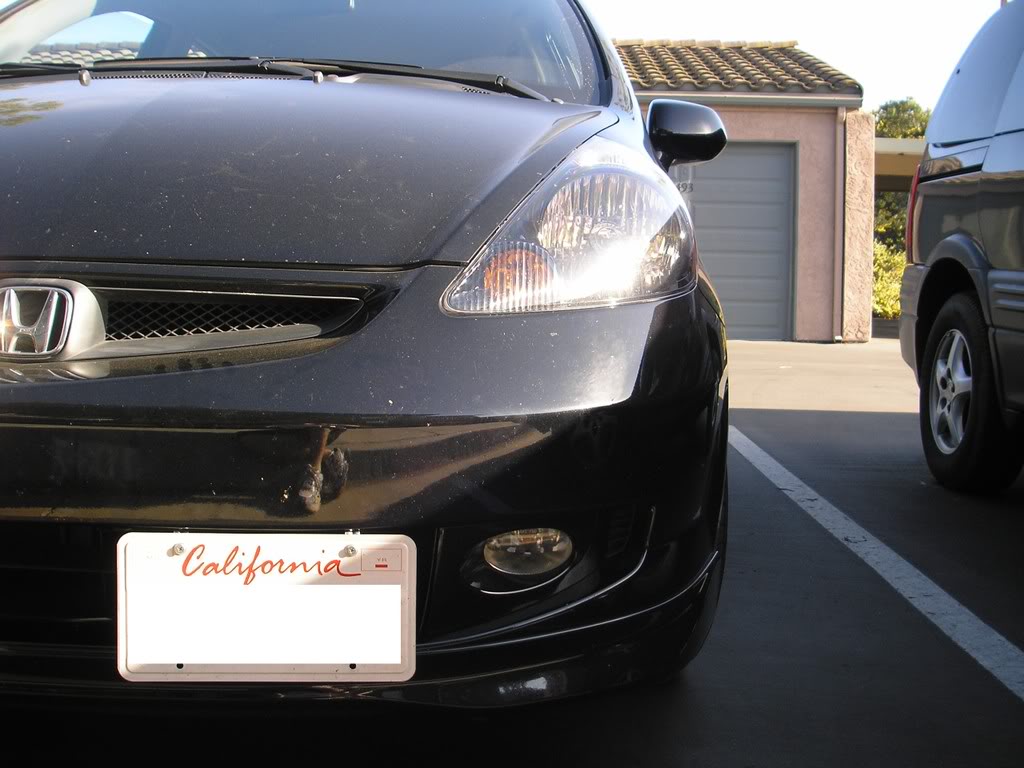
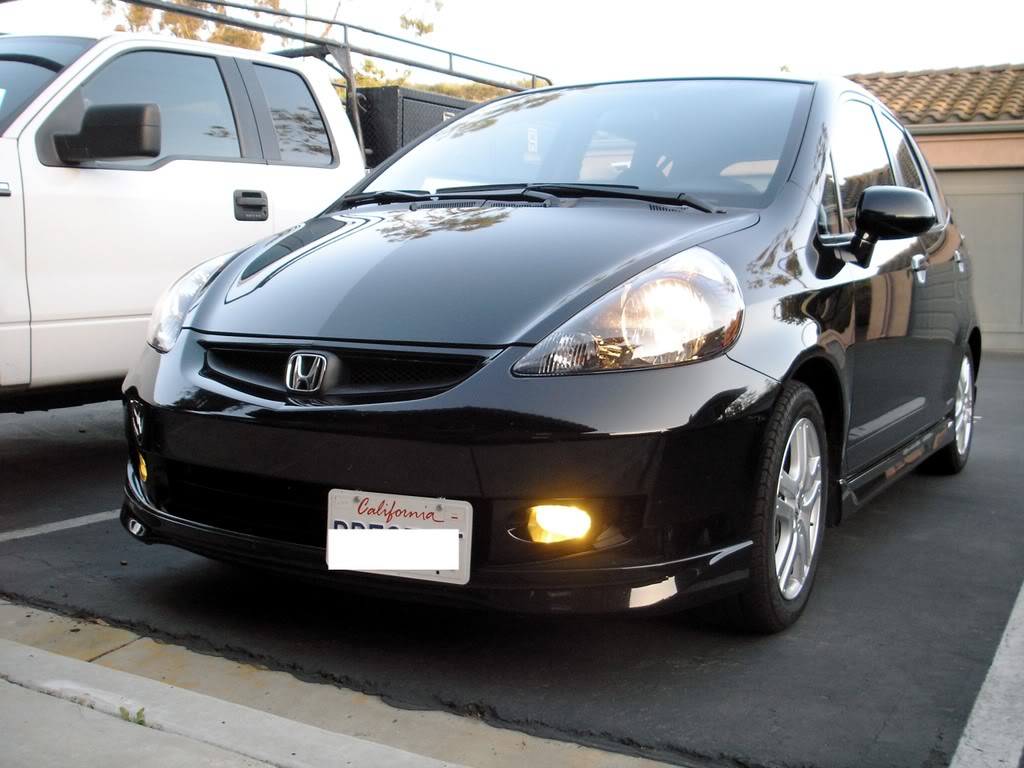
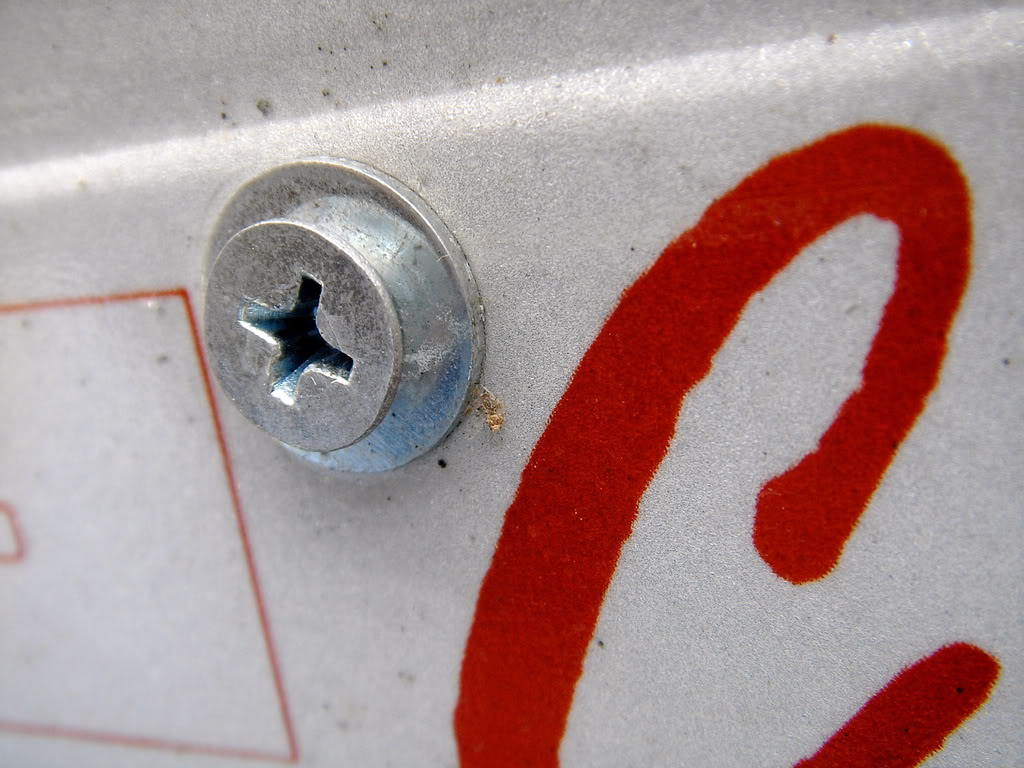
From the front, you can see the washer and screw:
From the back, you can see the brackets, plastic anchors, and locking nuts.

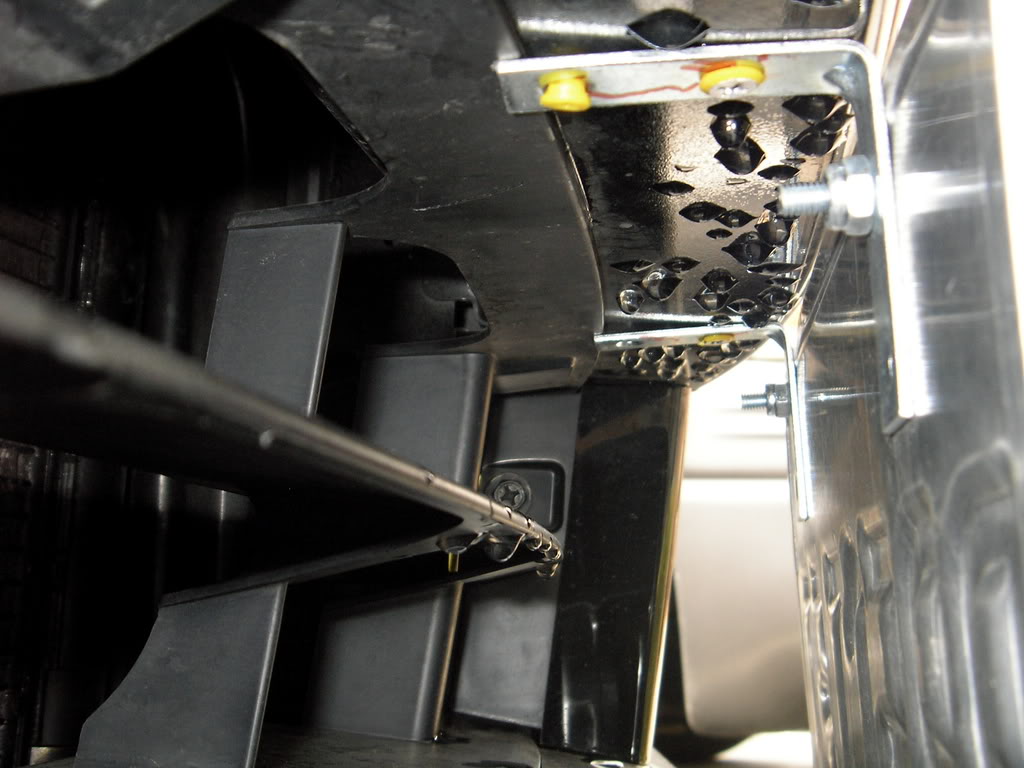
As you can see, I was not able to get a screw into the far back anchor, because my drill didn't have an extension. If you can get a screw into the rear hole tho, I recommend it.
From the back, you can see the brackets, plastic anchors, and locking nuts.
As you can see, I was not able to get a screw into the far back anchor, because my drill didn't have an extension. If you can get a screw into the rear hole tho, I recommend it.
#13
04-03-2008, 06:01 PM
mine costed exact 1.33 at homedepot and thats including all the hardware you will need.
but it ended up to be like ten bucks, because i went out and bought something to eat and some extra snacks haha j/k.
so 1.33.
you can do it burbios way...but my way you can adjust the license plate up and down if needed
then look for the roof truss clip(should be 42 cents at home depot)
get the single truss clip. if it is a simpson strong tie brand, get model stc-r.
if they dont have what im talking about. just ask them for a 90 degree bent bracket with a slot in the middle for moving the screw up and down on one side.
now, you get #8-32 x 1/2" stanless steel cap screw to hold you license plate onto the bracket. (2 quantity)
then you get the #8x1" self tapping screws(4 quantity)
so now you have all your parts.
take a look at the bracket, and you will see that on one of the sides it has a slot were you can move the cap screw up and down. that will be your license plate mounting face. where as on the top it will have 2 holes to put your self taping screws in.
everything should be common sense from there
you will be install this kit...along under the bumer above the lower grill.
.put the plate on the brackets...screw it on. put it where ever you want on your car....take a sharpie and make two dots on where your self tapping screws are located. then take off the bracket so you can make the holes....and then put your kit on.


#15
04-07-2008, 10:31 PM
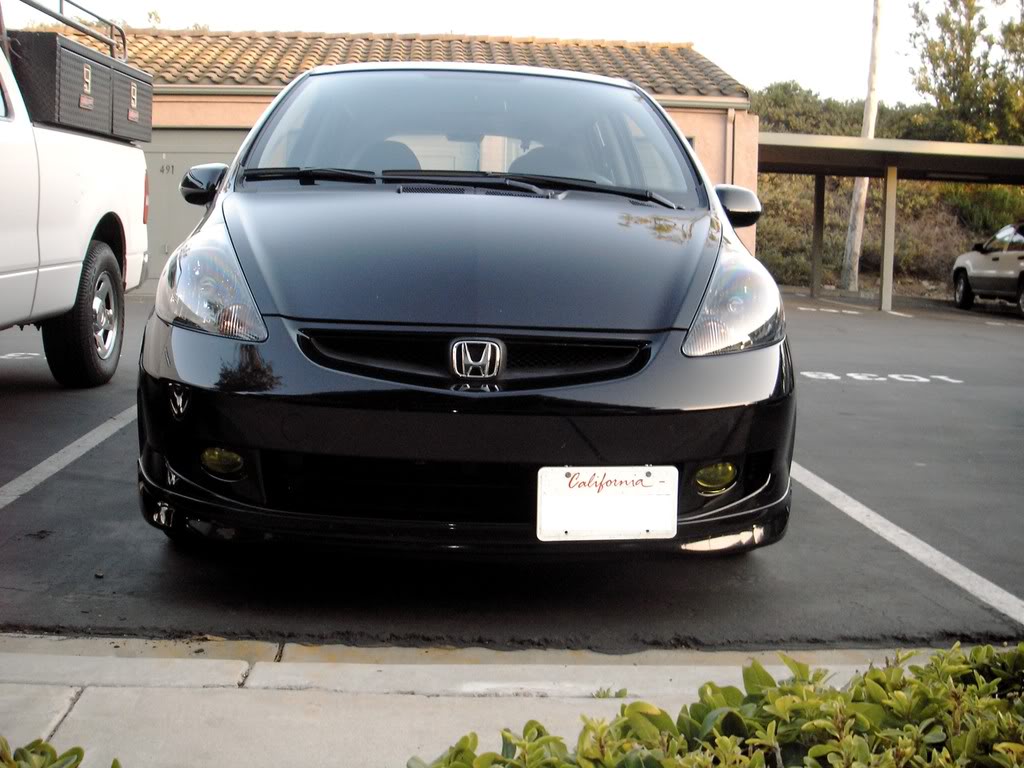
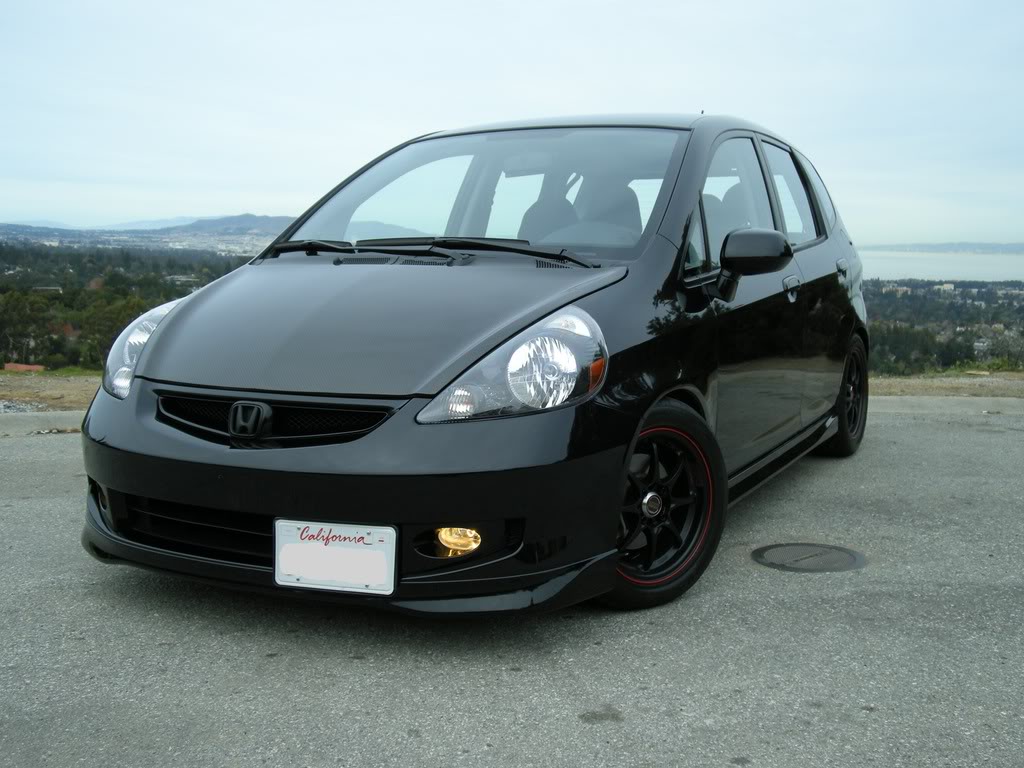
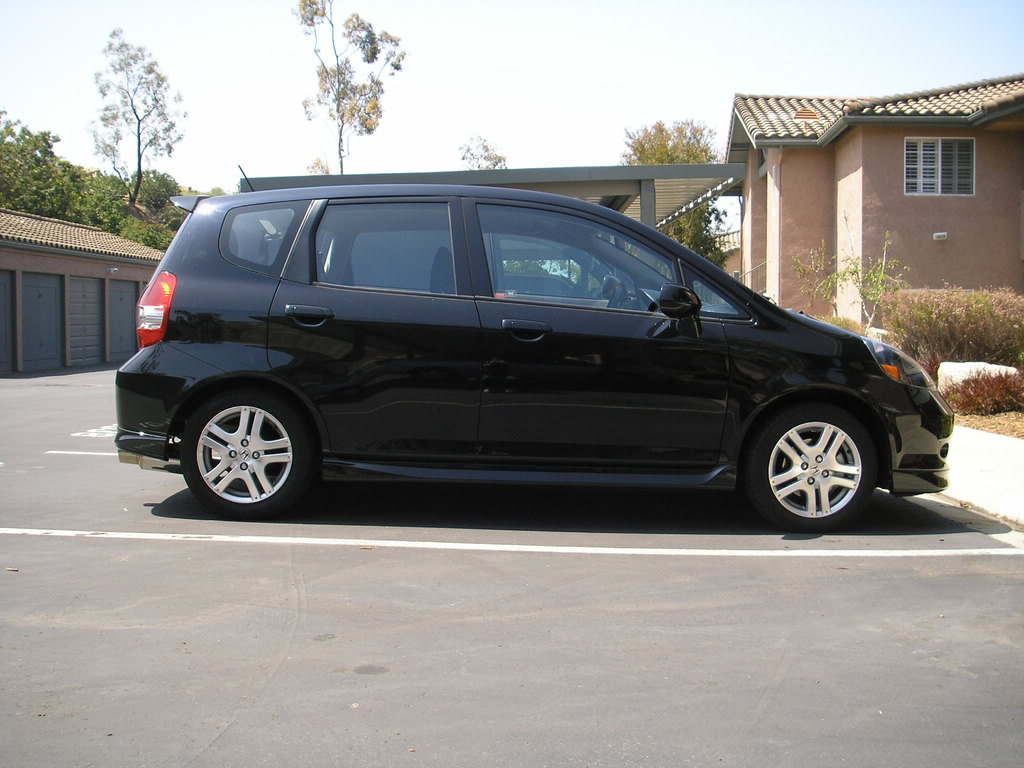
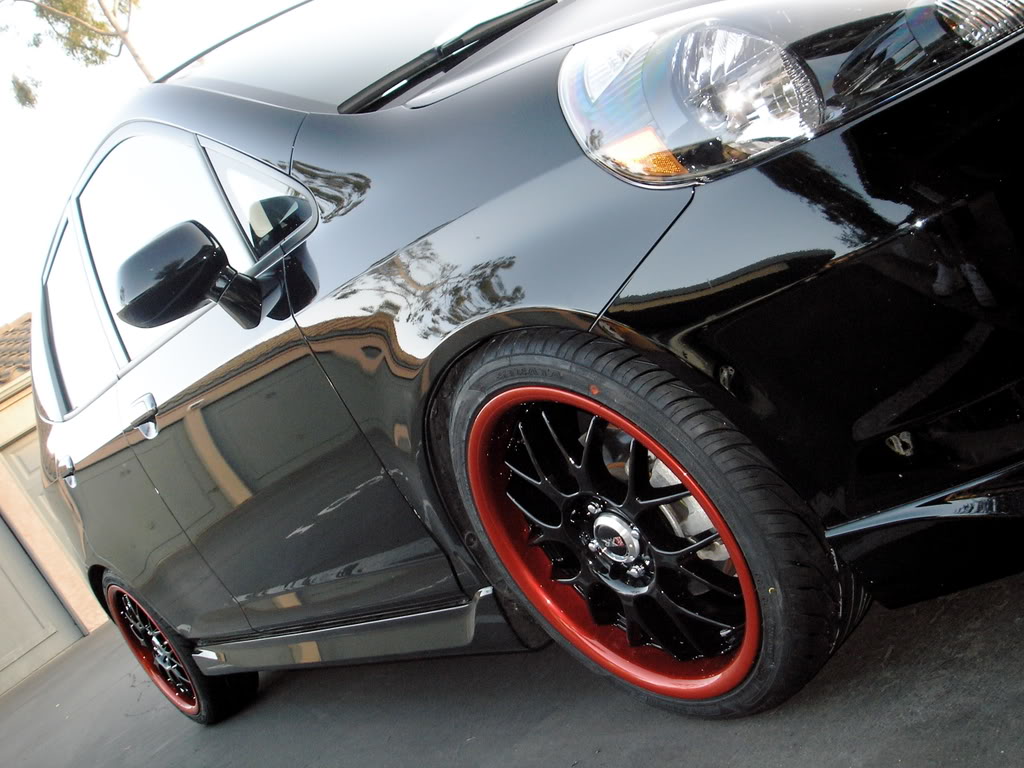
F**K that shit is sooo clean. im jealous doug. your car has evolved in the last 2 weeks man.
i knew you when your car was bone stock haha.
anyways i knew those wheeels would have looked good on the fit.
just a little bit more of a drop and that will set those wheels off.
but for now it looks good.
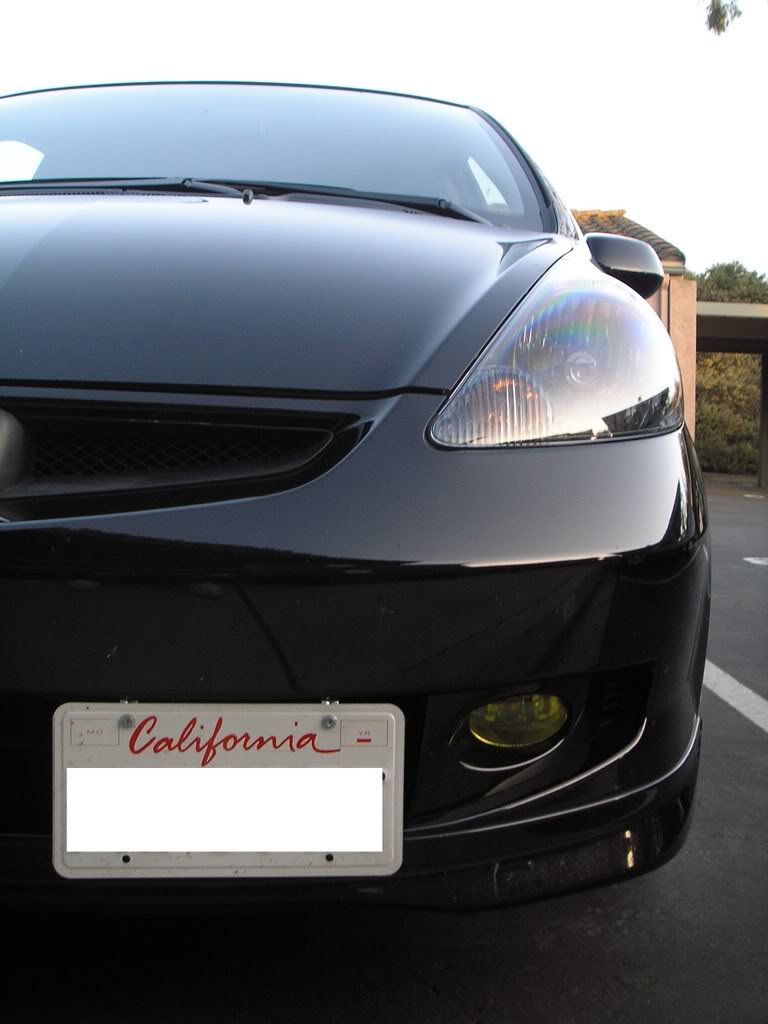
we should trade headlights. i think that will set off both our cars. seriously, if it doesnt look good, we can always switch back heh. but i think it would look pretty good.
i knew you when your car was bone stock haha.
anyways i knew those wheeels would have looked good on the fit.
just a little bit more of a drop and that will set those wheels off.
but for now it looks good.
we should trade headlights. i think that will set off both our cars. seriously, if it doesnt look good, we can always switch back heh. but i think it would look pretty good.
#17
04-07-2008, 10:40 PM
That looks good, Doug. How's the ride? Nice to meet you yesterday as well. I guess I'll have no other choice but to keep track of your future upgrades 
#18
04-07-2008, 10:45 PM
...nice to meet you too! Can't wait to see you again at the next meet.
#19
04-07-2008, 11:15 PM
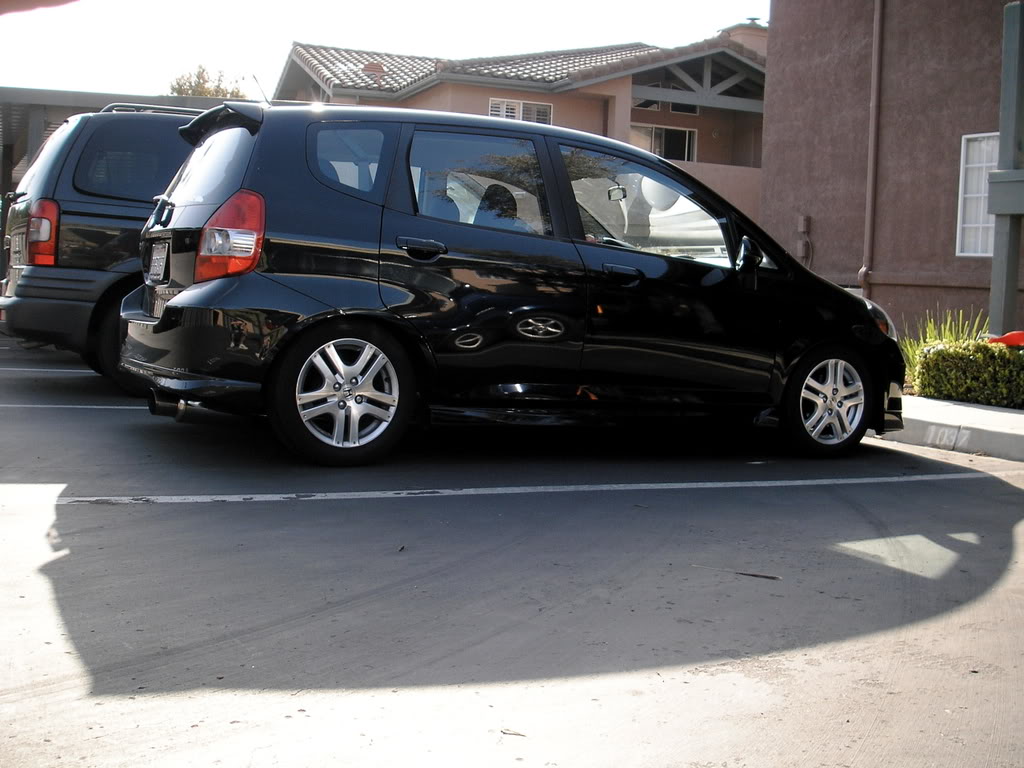
alright, so after i took the e-brake off and put it into drive, it sunk down about another inch. there's no wheel gap at all, and actually there's about a finger of gap between the tire and side wall on the front wheels. i rubbed driving over a reflector in the road.... soooo i guess the side walls are coming off tomorrow.
#20
04-11-2008, 02:34 AM
so the tires rub, but i like the wheels too much to get rid of them, so what i'm gonna do is take the eibachs off and put the stock springs back on. that will give me an extra 2 inches of clearance, and i'm pretty sure i won't rub then. i'll sell the eibachs for 150 dollars if anyone wants them. i paid 203 for them only 2 weeks ago, so that's a pretty good deal.