
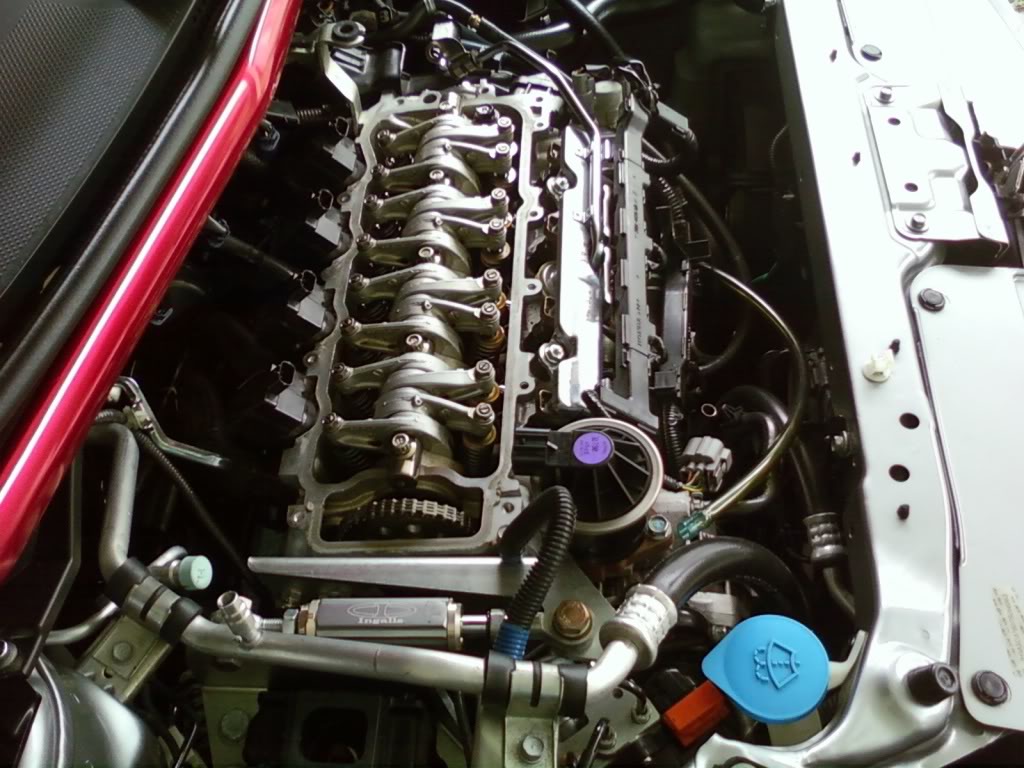
valve clearance


#5
 04-03-2009, 12:36 AM
Join Date: Jul 2008
Location: plantation,florida
Posts: 787
awsome thanks for your help, I looked around the forum for awhile and couldn't anything, so +1 rep
#6
04-03-2009, 12:46 AM
need any other info let me know....i can explain how to adjust the valves...proper cylinder order....how to set each cylinder at tdc....how many ft lbs to torque the set screw nut to....etc etc...
#8
04-03-2009, 01:02 AM
NOTE: Valves should be adjusted only when the cylinder head temperature is less than 38�C (100�F).
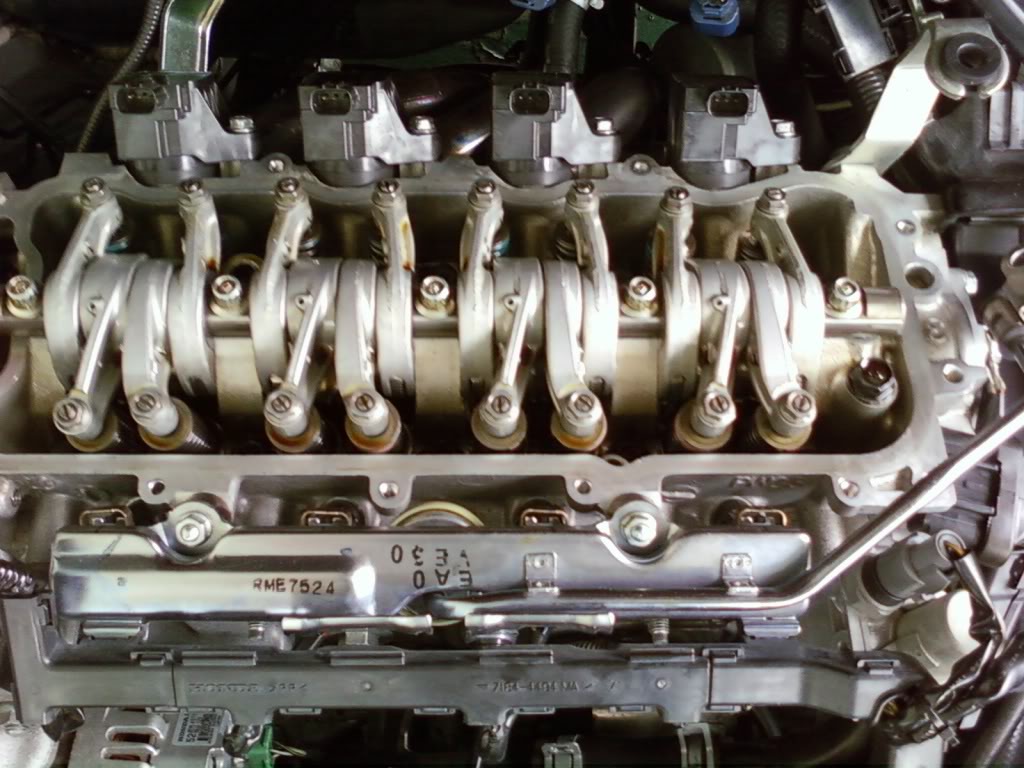
1.Remove the cylinder head cover.
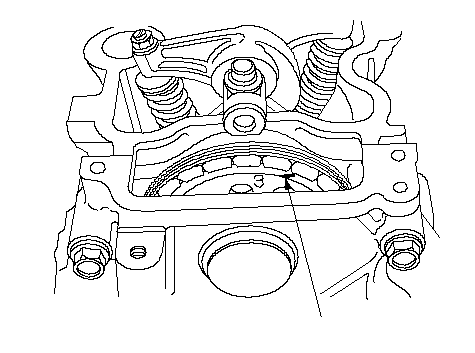
2.Set the No. 1 piston at Top Dead Center (TDC). The ‘‘UP'' mark (A) on the camshaft sprocket should be at the top, and the TDC grooves (B) on the camshaft sprocket should line up with the top edge of the head.
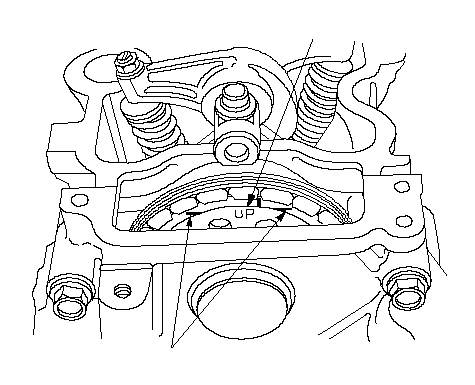 AB
AB
3.Select the correct thickness feeler gauge for the valves you're going to check.
Intake: 0.15-0.19 mm (0.006-0.007 in.) Exhaust: 0.26-0.30 mm (0.010-0.012 in.)
Adjusting screw locations:
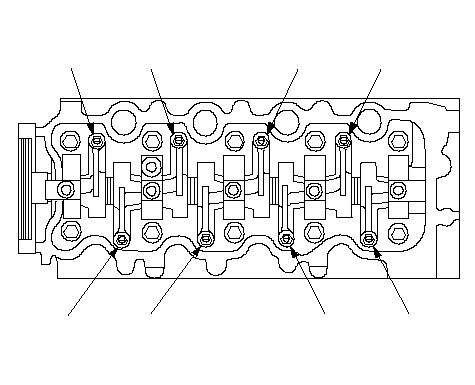 No. 1No. 2No. 3No. 4No. 1No. 2No. 3No. 4EXHAUSTINTAKE
4.Insert the feeler gauge (A) between the adjusting screw and the end of the valve stem and slide it back and forth; you should feel a slight amount of drag.
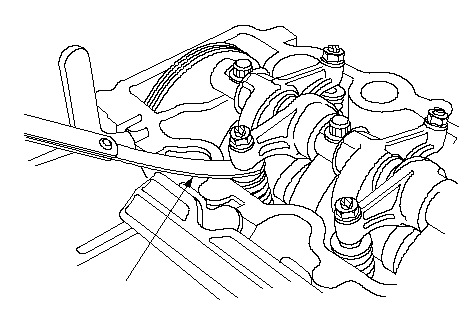 A
A
5.If you feel too much or too little drag, loosen the locknut (A), and turn the adjusting screw (B) until the drag on the feeler gauge is correct.
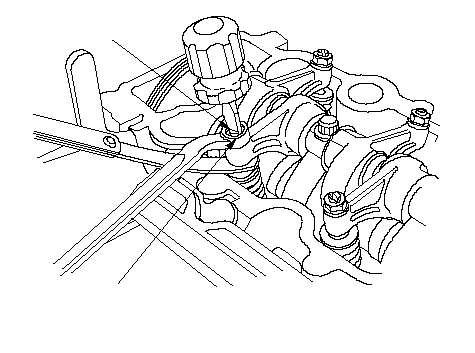 A
A
14 N�m
(1.4 kgf�m, 10 lbf�ft)B
6.Tighten the locknut and recheck the clearance. Repeat the adjustment if necessary.
7.Rotate the crankshaft clockwise. Align the No. 3 piston TDC groove (A) on the camshaft sprocket with the top edge of the head.
 A
A
8.Check and if necessary, adjust the valve clearance on No. 3 cylinder.
9.Rotate the crankshaft clockwise. Align the No. 4 piston TDC groove (A) on the camshaft sprocket with the top edge of the head.
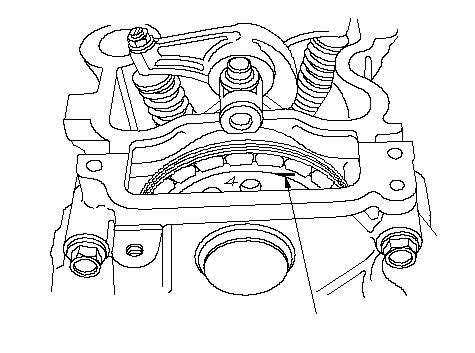 A
A
10.Check and if necessary, adjust the valve clearance on No. 4 cylinder.
11.Rotate the crankshaft clockwise. Align the No. 2 piston TDC groove (A) on the camshaft sprocket with the top edge of the head.
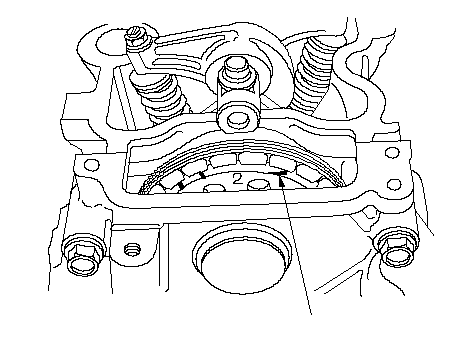 A
A
12.Check and if necessary, adjust the valve clearance on No. 2 cylinder.
13.Install the cylinder head cover.
found this online....this is exactly what my service manual says for the L15a
1.Remove the cylinder head cover.
2.Set the No. 1 piston at Top Dead Center (TDC). The ‘‘UP'' mark (A) on the camshaft sprocket should be at the top, and the TDC grooves (B) on the camshaft sprocket should line up with the top edge of the head.
AB3.Select the correct thickness feeler gauge for the valves you're going to check.
Intake: 0.15-0.19 mm (0.006-0.007 in.) Exhaust: 0.26-0.30 mm (0.010-0.012 in.)
Adjusting screw locations:
No. 1No. 2No. 3No. 4No. 1No. 2No. 3No. 4EXHAUSTINTAKE4.Insert the feeler gauge (A) between the adjusting screw and the end of the valve stem and slide it back and forth; you should feel a slight amount of drag.
A5.If you feel too much or too little drag, loosen the locknut (A), and turn the adjusting screw (B) until the drag on the feeler gauge is correct.
A14 N�m
(1.4 kgf�m, 10 lbf�ft)B
6.Tighten the locknut and recheck the clearance. Repeat the adjustment if necessary.
7.Rotate the crankshaft clockwise. Align the No. 3 piston TDC groove (A) on the camshaft sprocket with the top edge of the head.
A8.Check and if necessary, adjust the valve clearance on No. 3 cylinder.
9.Rotate the crankshaft clockwise. Align the No. 4 piston TDC groove (A) on the camshaft sprocket with the top edge of the head.
A10.Check and if necessary, adjust the valve clearance on No. 4 cylinder.
11.Rotate the crankshaft clockwise. Align the No. 2 piston TDC groove (A) on the camshaft sprocket with the top edge of the head.
A12.Check and if necessary, adjust the valve clearance on No. 2 cylinder.
13.Install the cylinder head cover.
found this online....this is exactly what my service manual says for the L15a
#10
04-03-2009, 01:48 AM
Honda Jazz 1.4 CVT Making Comfortable
Valve Clearance Adjustment (L12A/L13A)
the little button with the drawing compass on it...click it...its the pictures
and yes its the exact same for the L15A
Valve Clearance Adjustment (L12A/L13A)
the little button with the drawing compass on it...click it...its the pictures
and yes its the exact same for the L15A
#16
04-05-2009, 12:05 AM
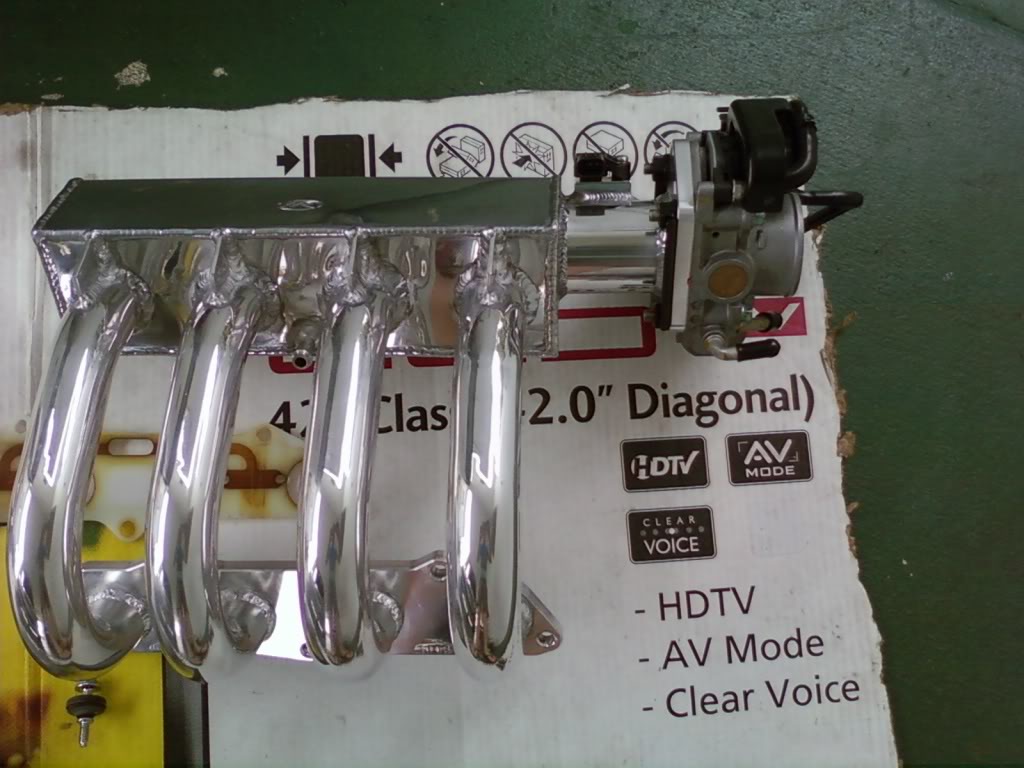
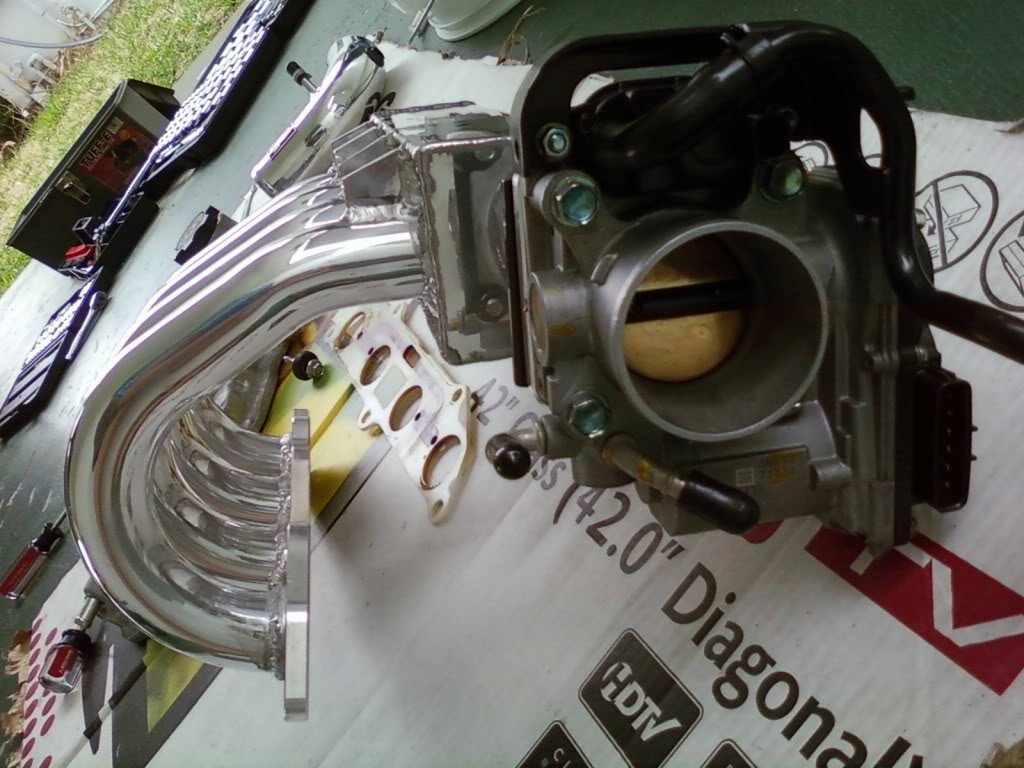
Ick... upper manifold removal.
Related question-- how much does Honda charge to do it?
I've done it myself on a couple Hondas many times but never on a car under warranty. Got darn good at the y8, I could do the whole job in about 15 minutes from cover off to cover on with new gasket and hondabond. Dumb exhaust valves always changed on that car.
#17
04-05-2009, 11:09 AM

planning on doing this next weekend if the weather holds up. Thanks for putting up pics. ?'s...
what's the best way to adjust the crank for each cylinder. Did you remove the belt and turn the pulley or is there another way? don't want to over torque the bolt.
what's the size of the valve adjustment locknut? 10 or 12 mm?
My valves really need an adjustment. Ticking like crazy especially at cold startup. plus i have an annoying exhaust leak at the header that i can't seem to get rid of.
Last edited by leonine; 04-05-2009 at 11:37 AM.
#18
04-05-2009, 04:09 PM
Join Date: Jul 2008
Location: plantation,florida
Posts: 787
the best way to turn the crank wich was what I did was jack up the front driver side and put it in 5th gear and spun the tire with my hands,with a A/T your gonna have to turn the wheels to the right and put a 17mm wrench on the crank bolt