When you click on links to various merchants on this site and make a purchase, this can result in this site earning a commission. Affiliate programs and affiliations include, but are not limited to, the eBay Partner Network.
Over time these proved to be less than satisfactory. In the summer the light fixture gets rather hot in the Virginia sun, and the LEDs would fail over time. I was needing to replace the ceiling LEDs around 1 or 2 times a year as they flickered and died. I got tired of this, so I found an
I thought might work better.
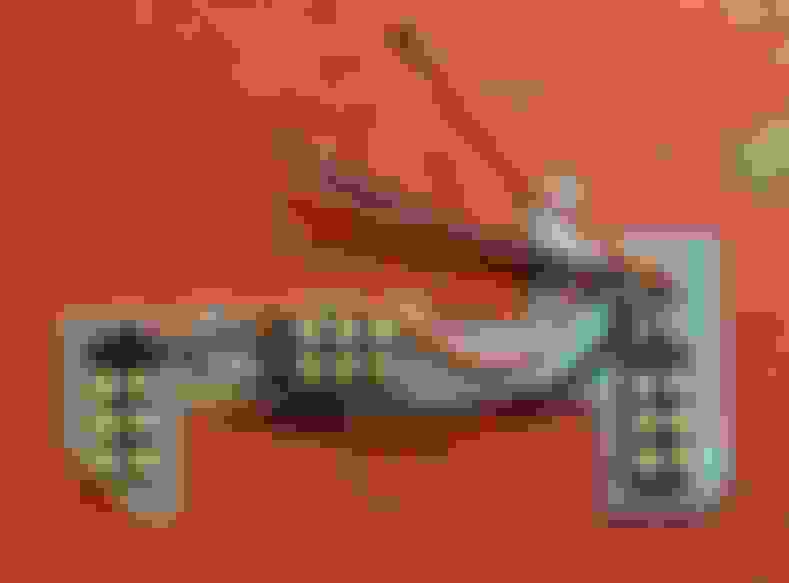
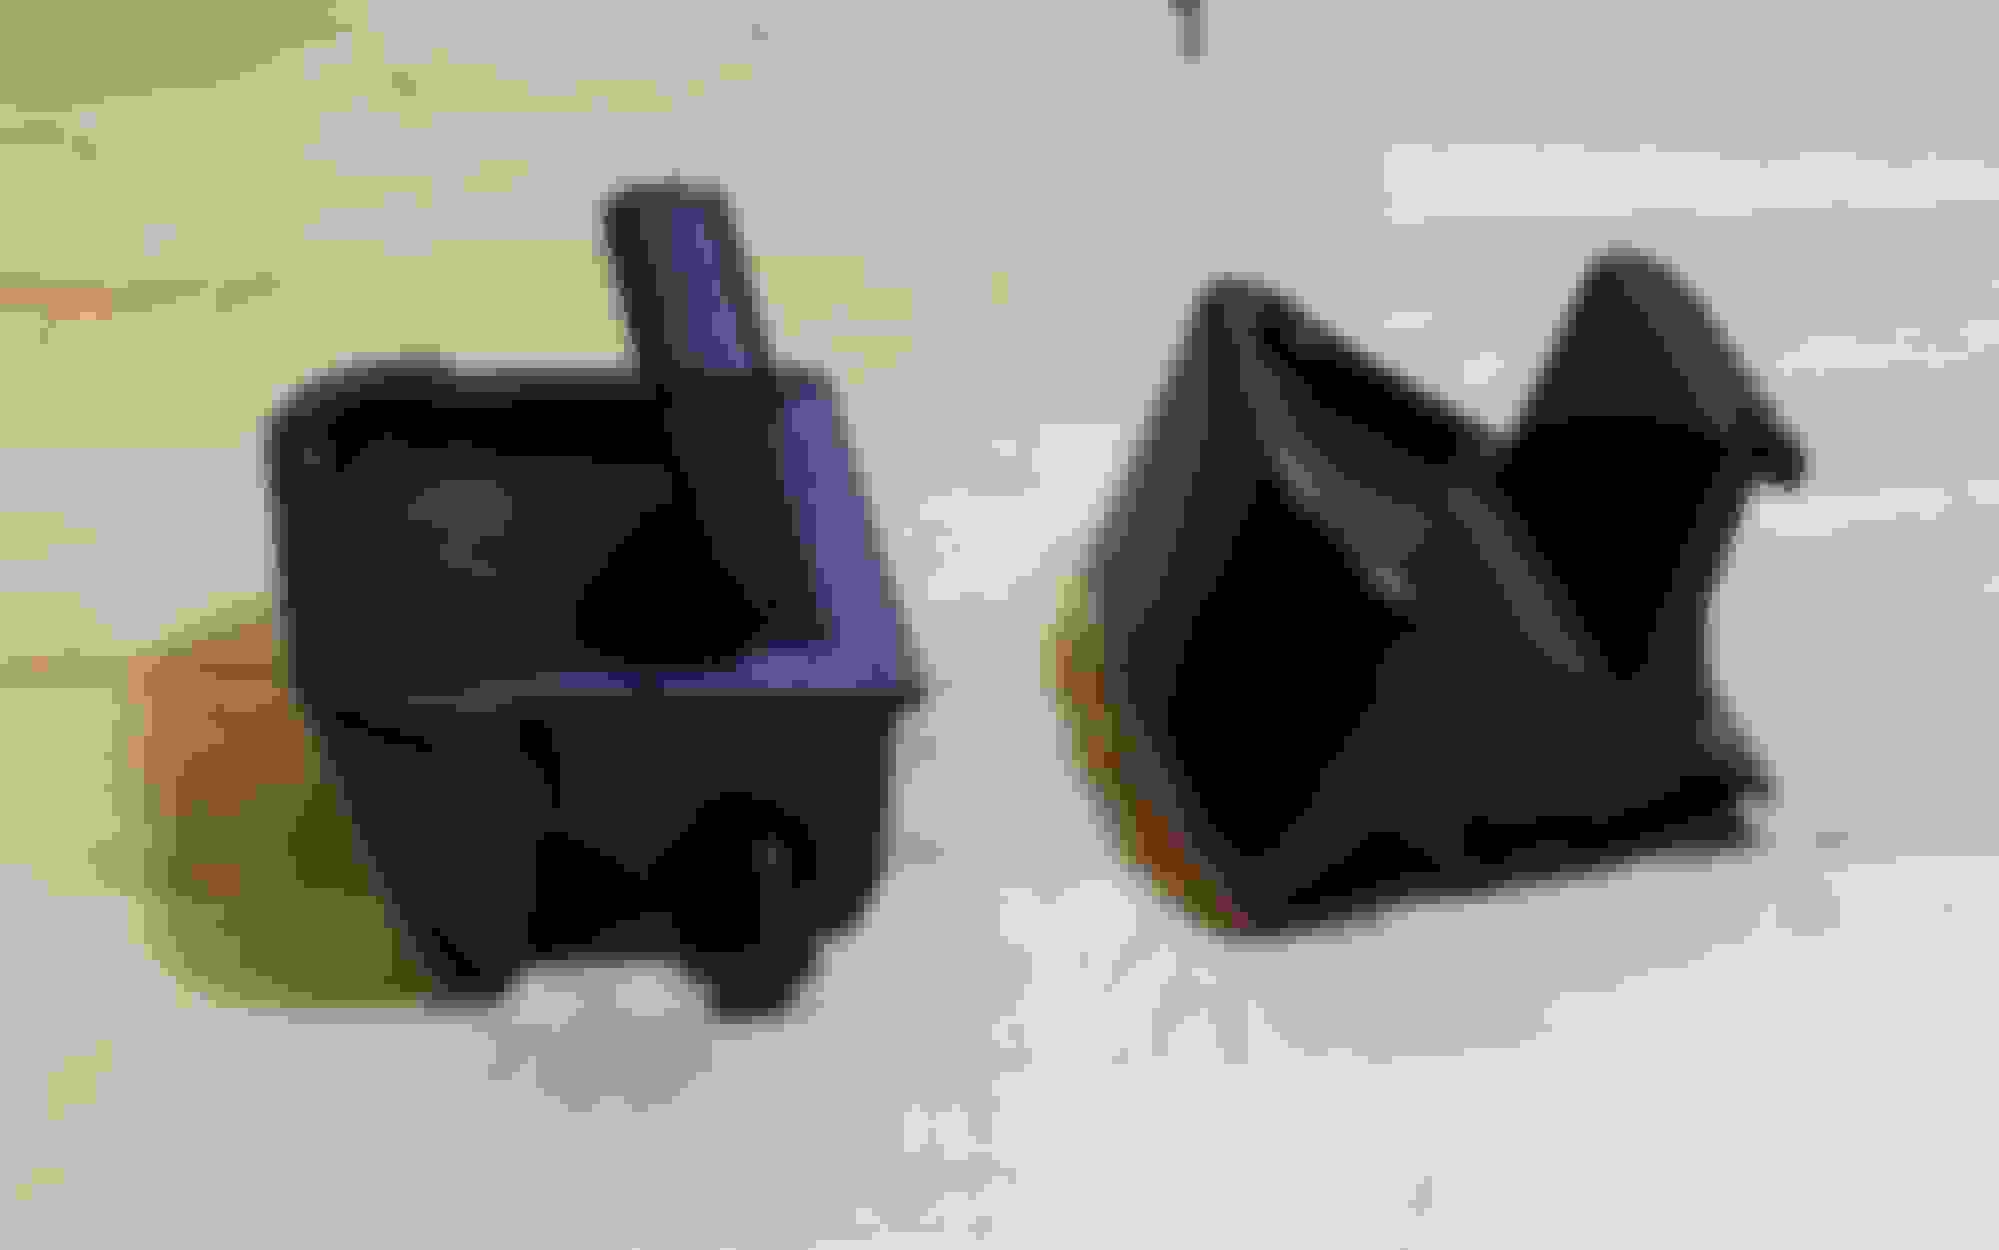
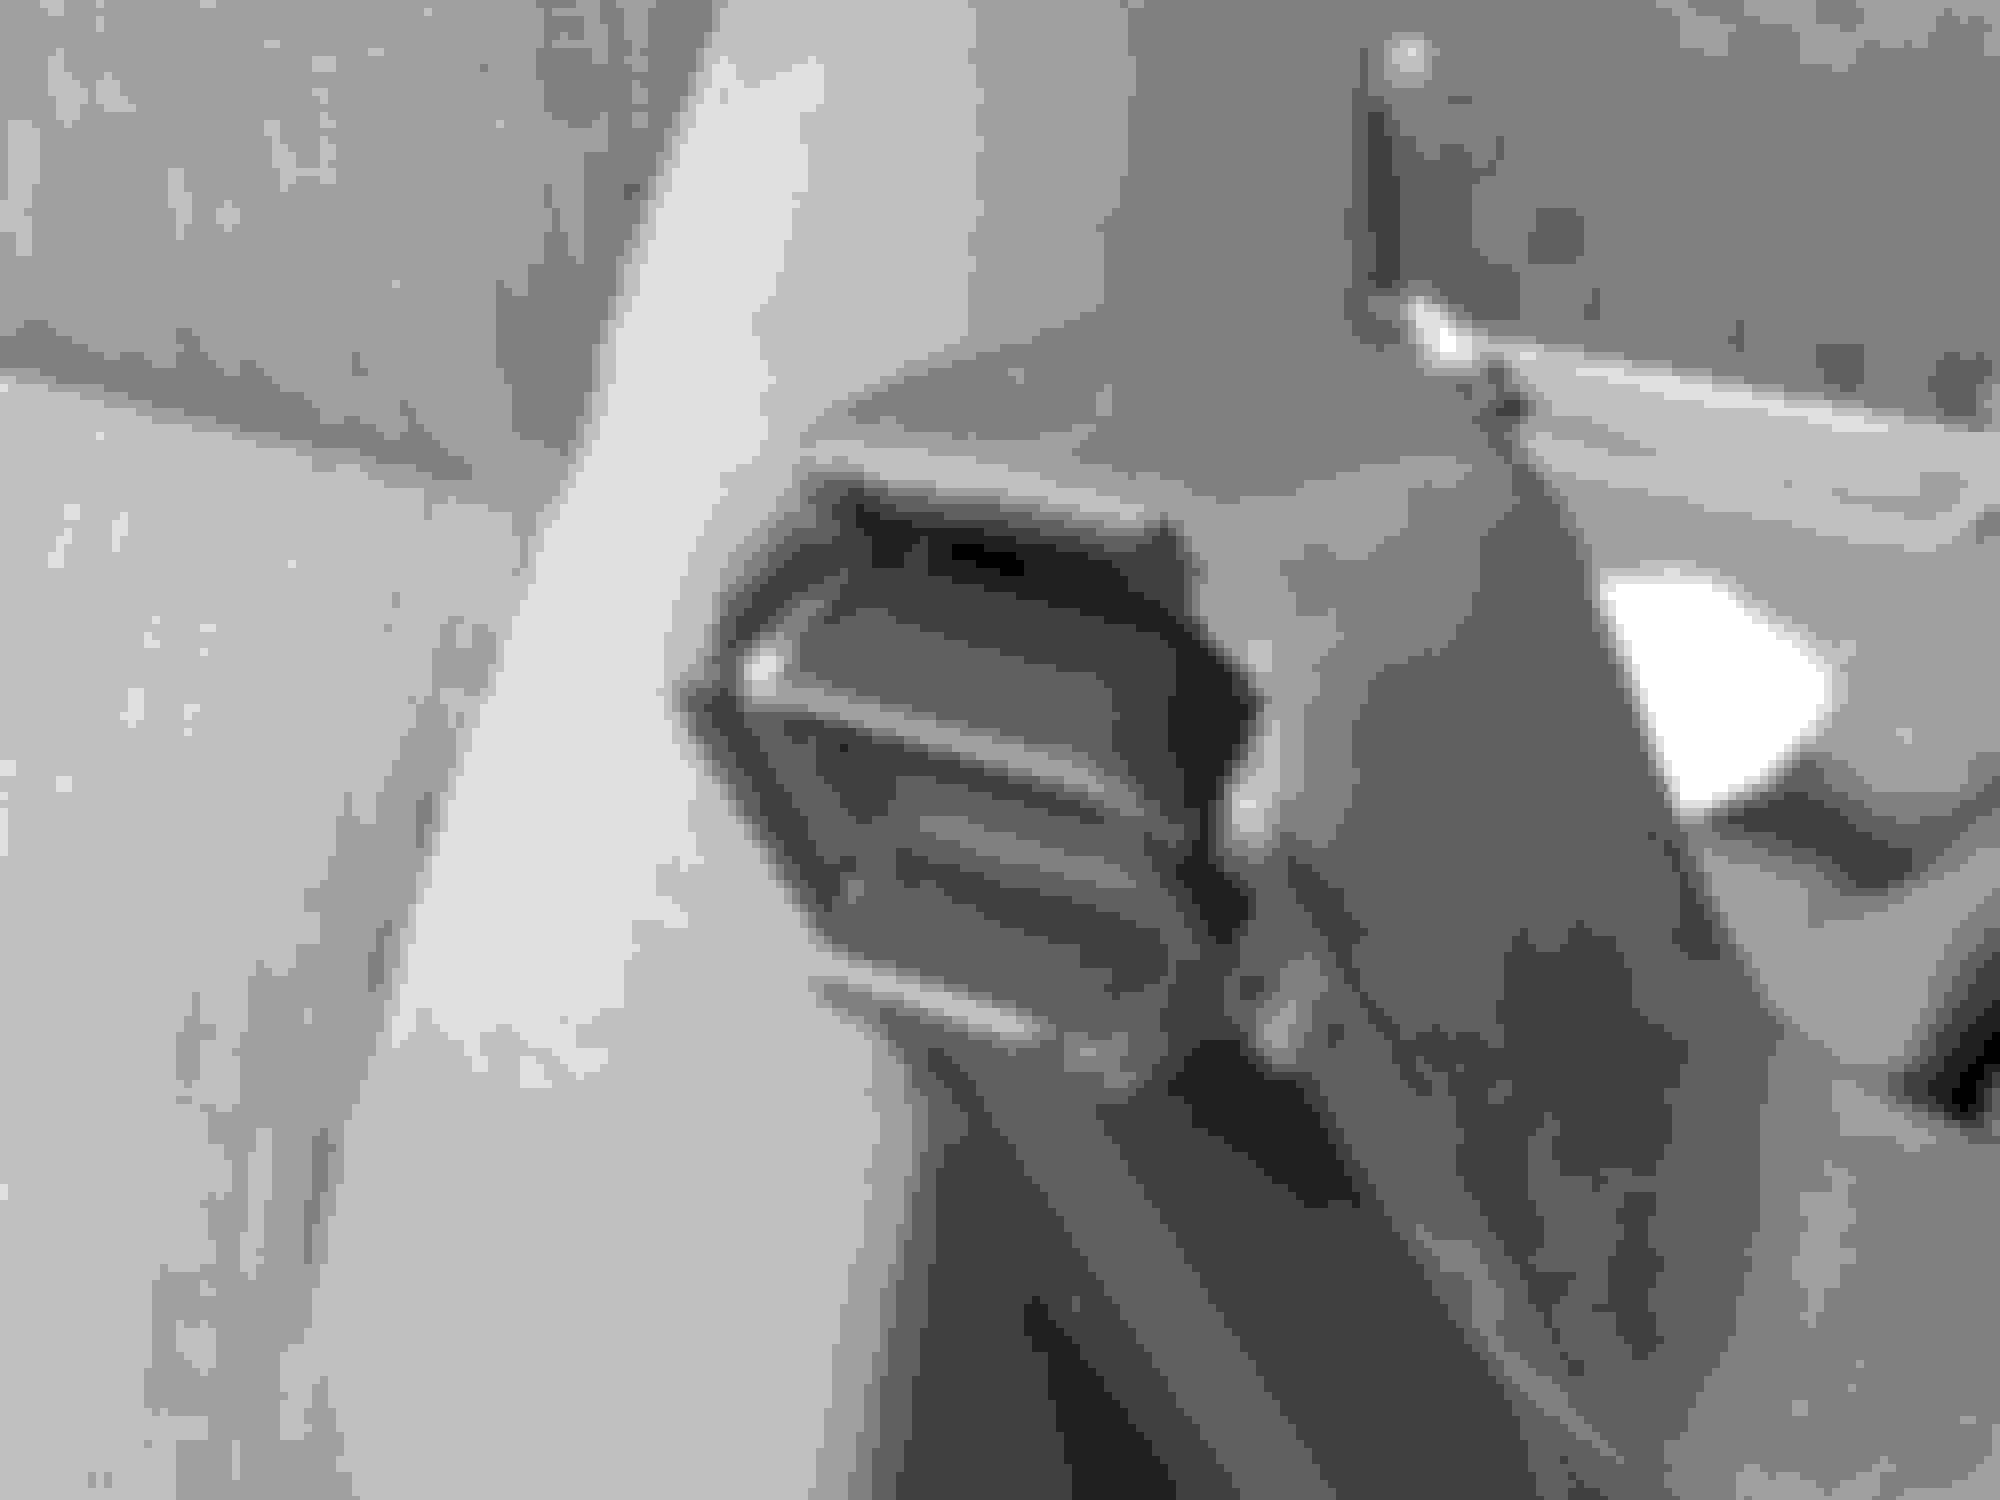
I had always thought the old ceiling light was a little dim, and decided to step it up a little. In addition to the one in the existing bulb socket I decided to add more in the ceiling recess. I started the process by taking cutting up an empty kleenex box to get a piece of thin cardboard. I trimmed the cardboard to fit into the ceiling recess around the LED in the stock socket. Then I covered the cardboard with aluminum tape to increase the reflectivity of the inside of the socket. Next I used 2 part epoxy to glue three more of the LED "bulbs" to the backer.
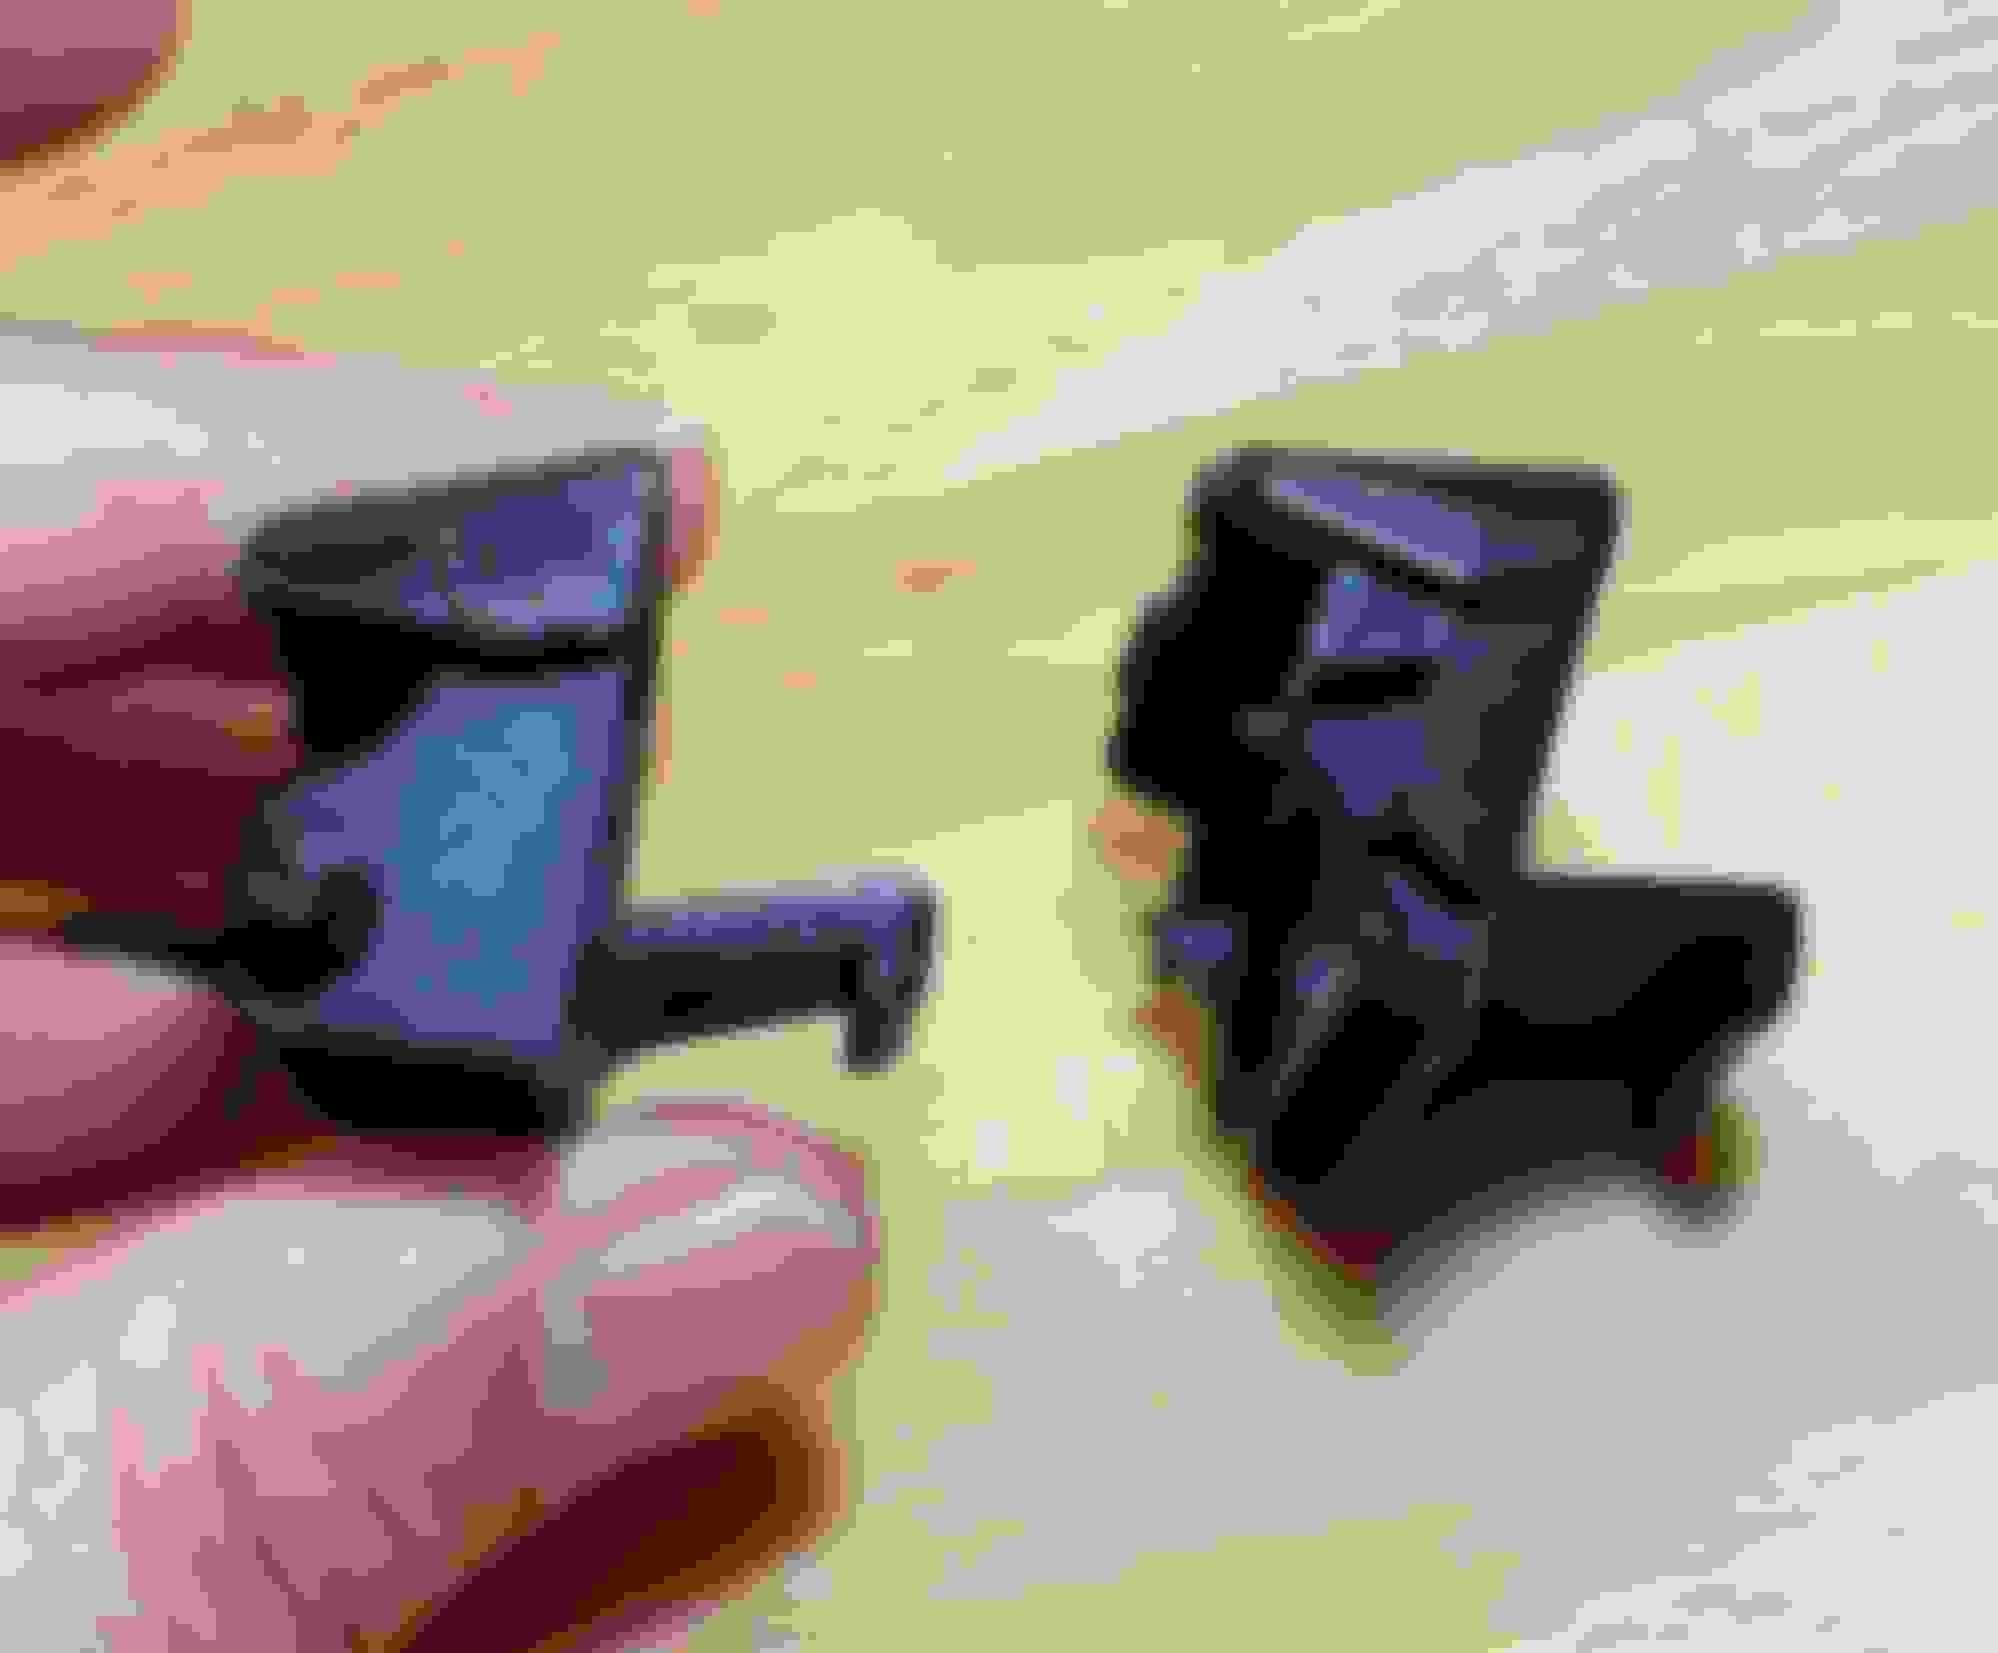
Next came the wiring. To do this, you need to use a power supply to check the polarity of the lights, as they won't light if they are connected backwards. I wired them together using some 22 gauge silicone insulated wire I use for building light sabers. I cut a couple contacts from brass shim stock to use to connect to the contacts in the stock socket.
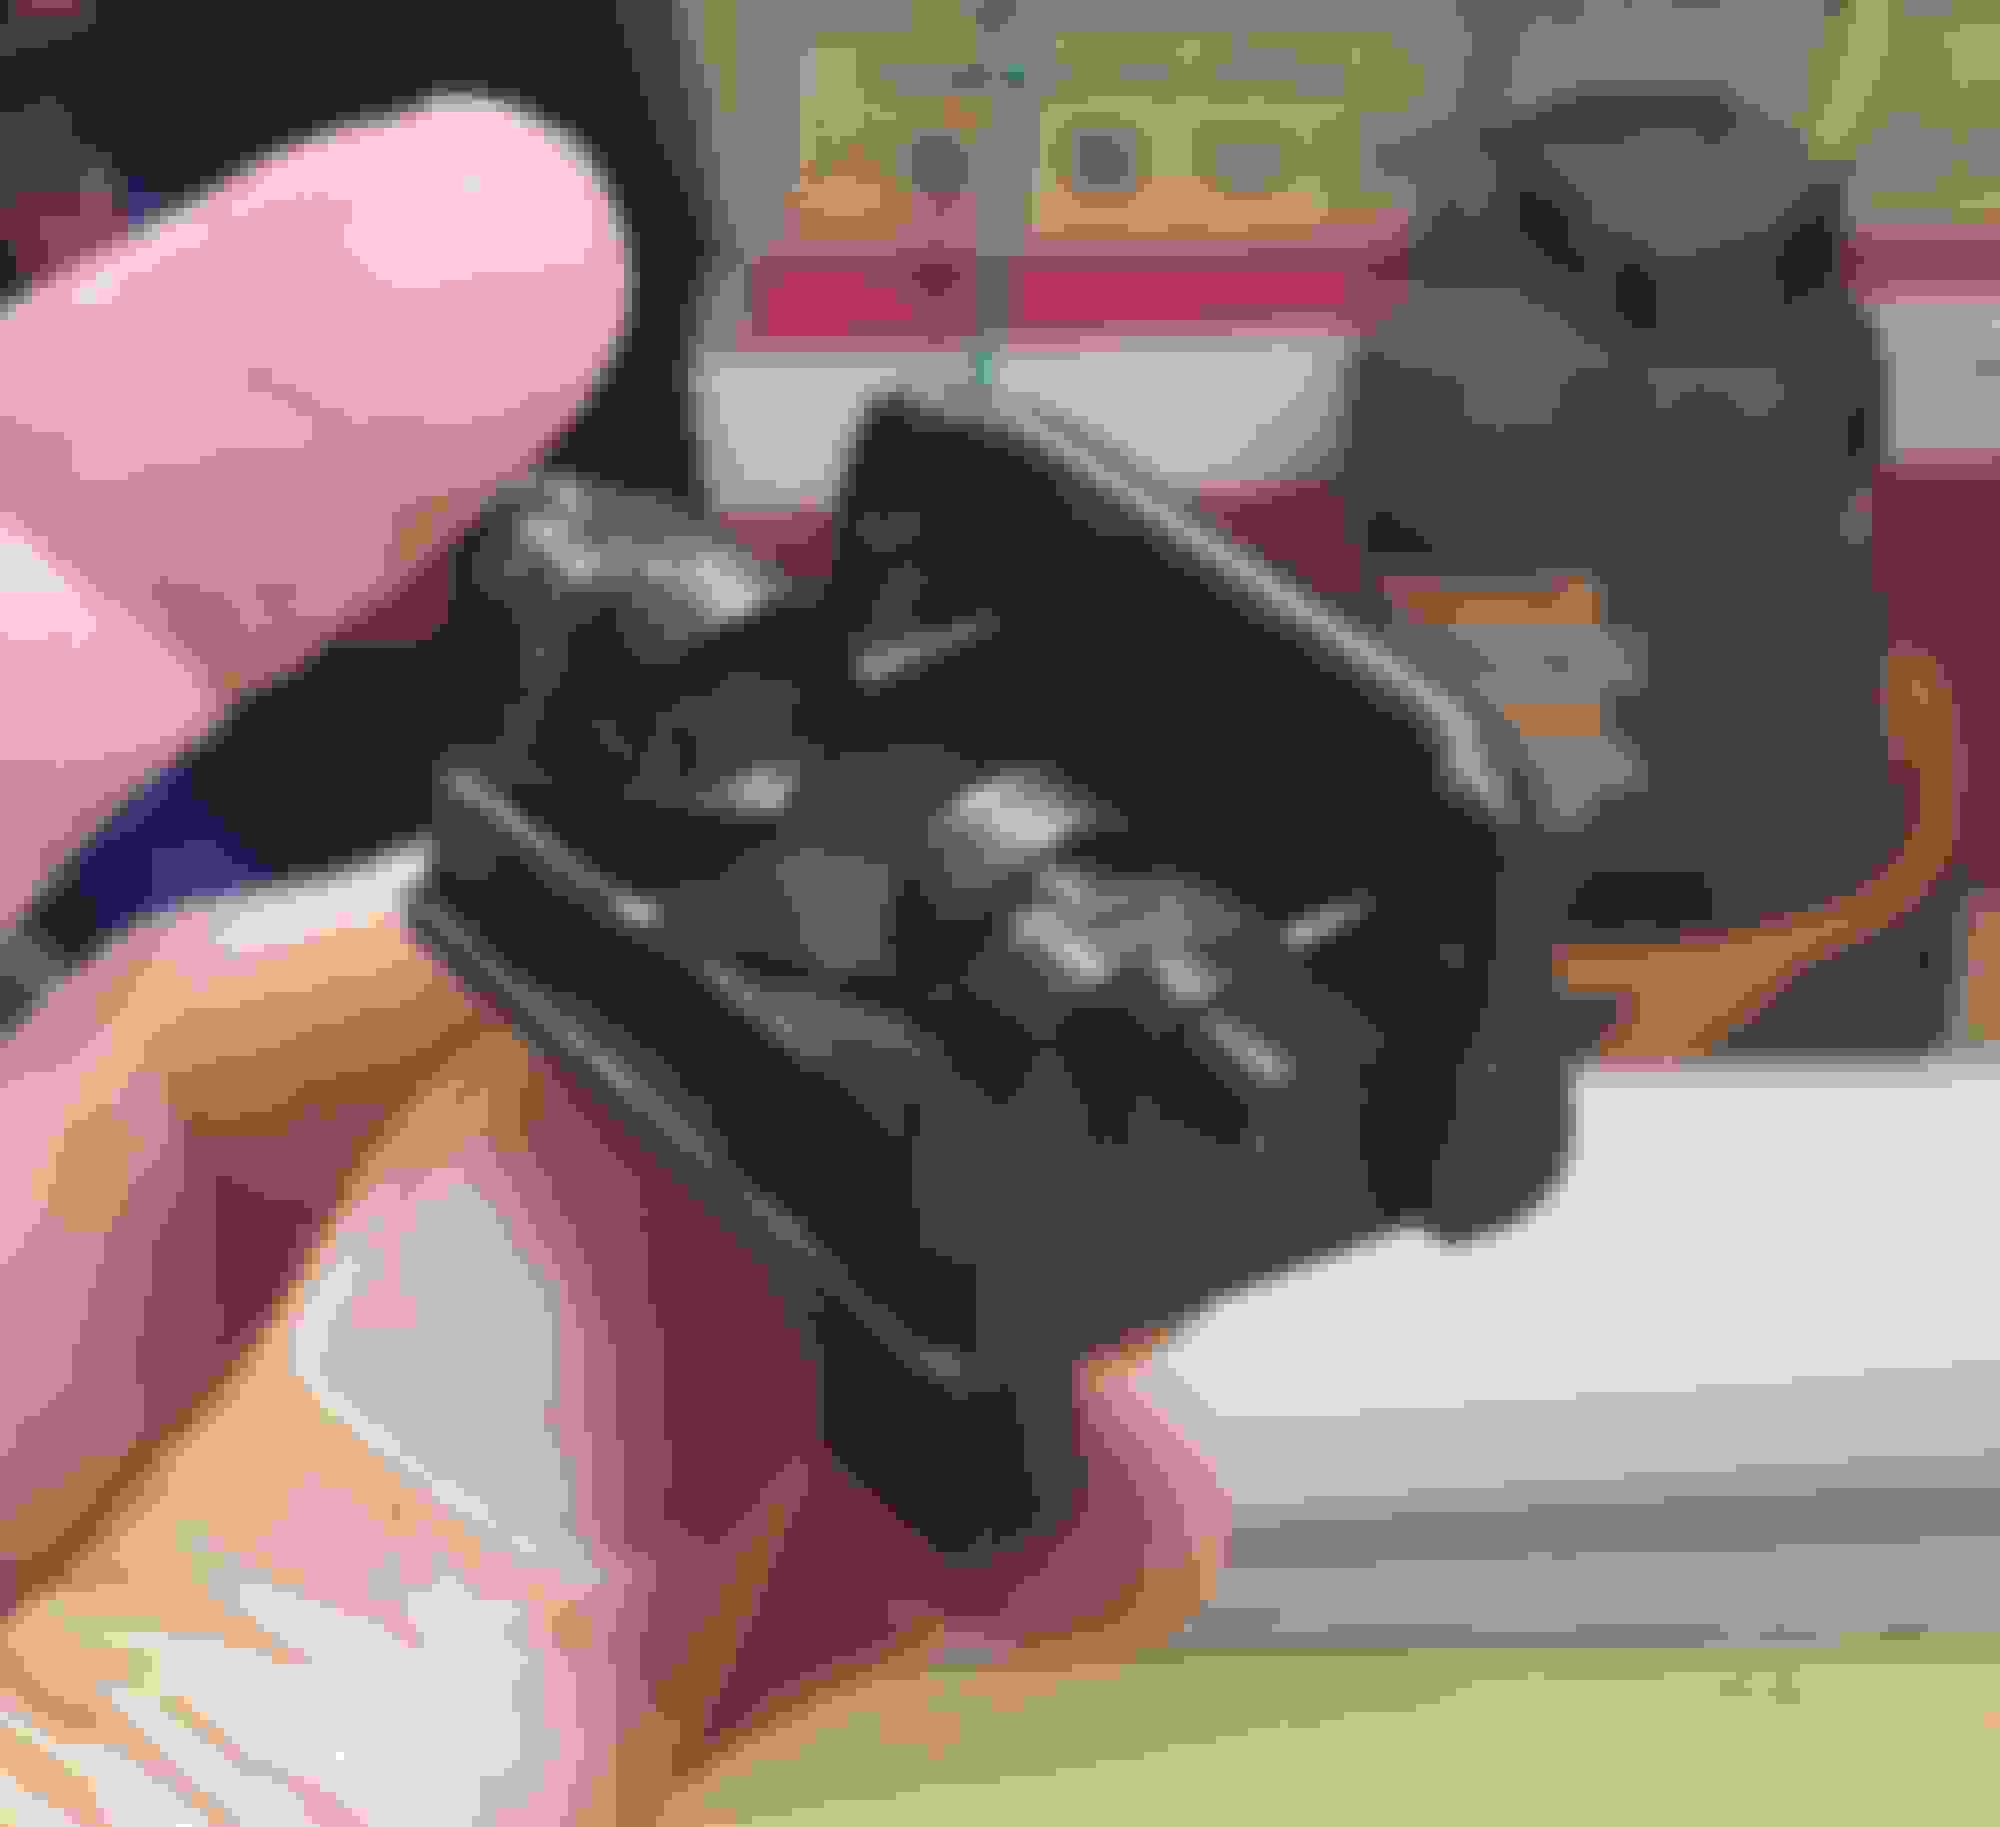
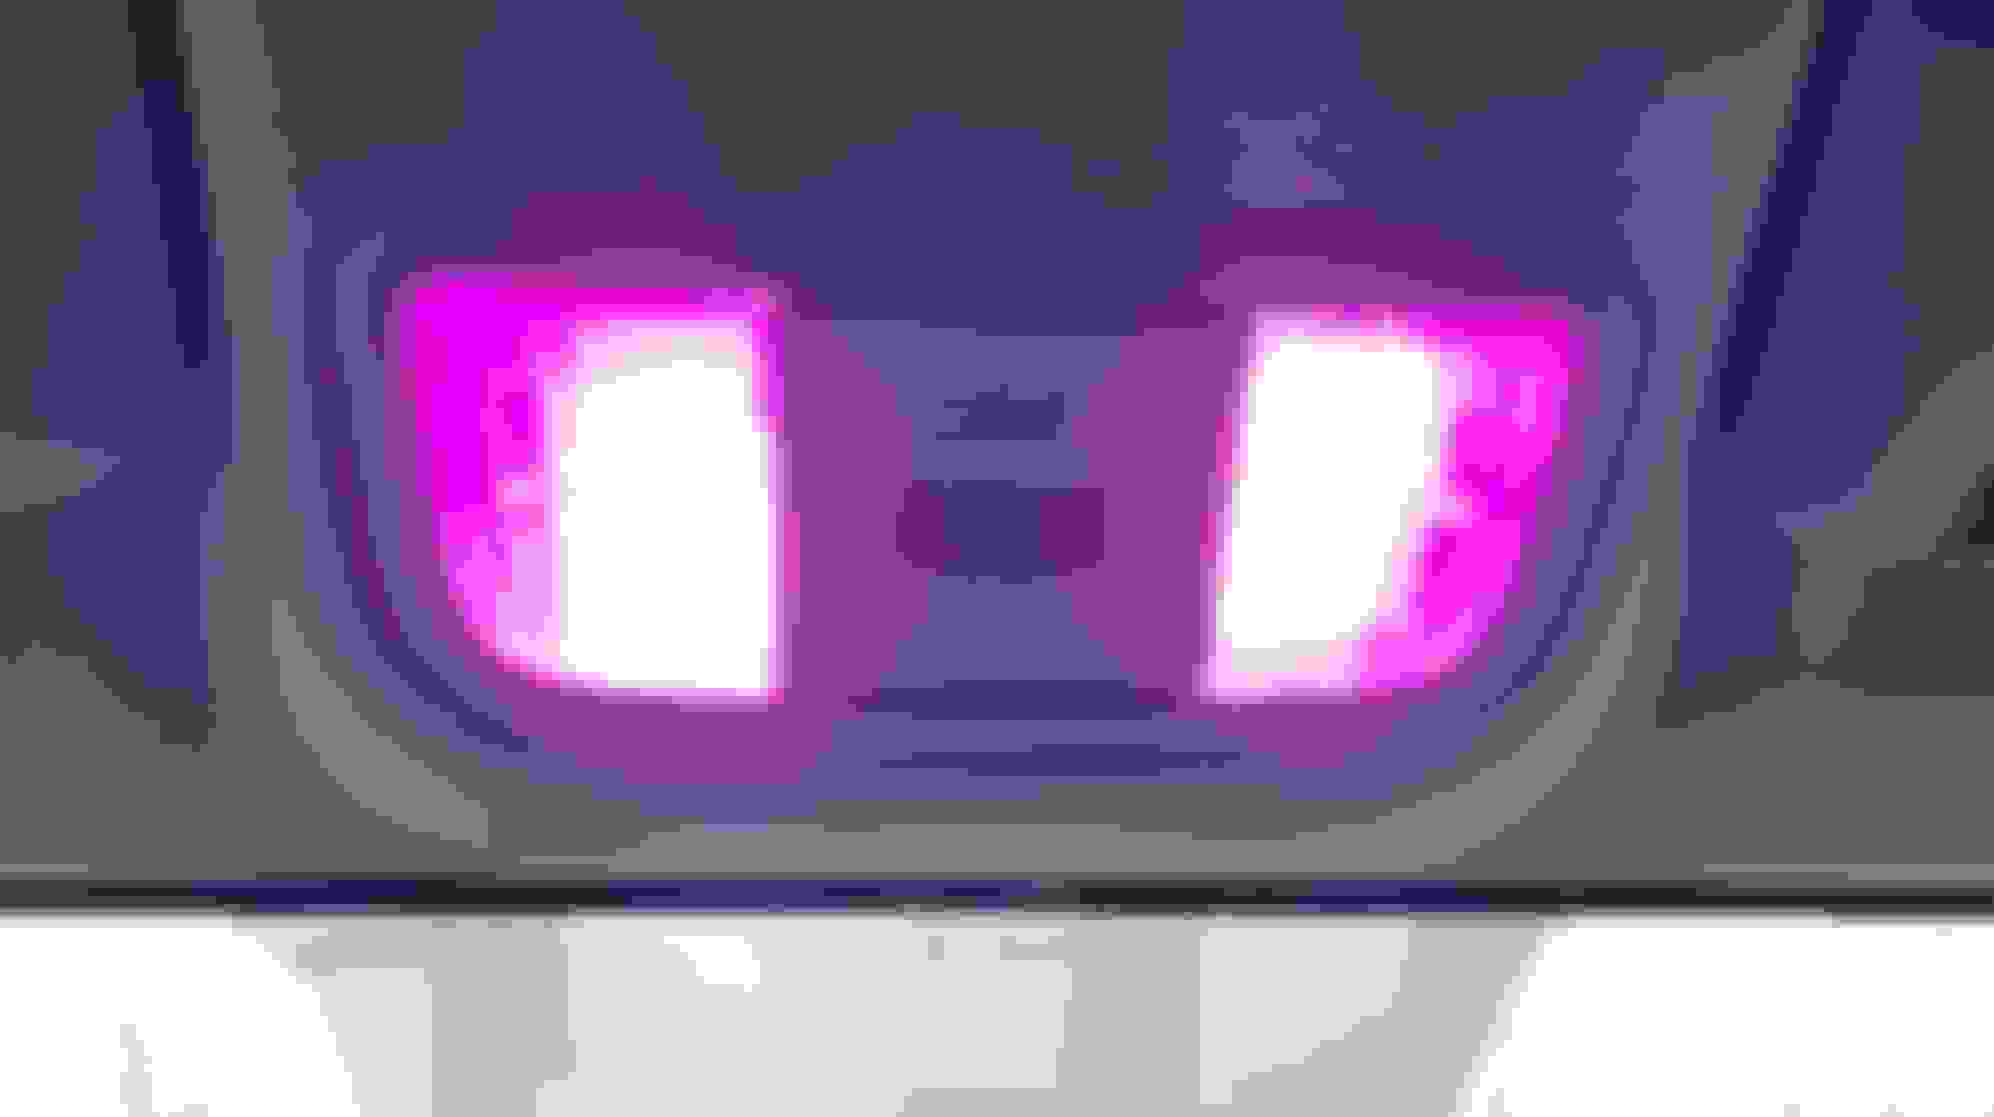
Next, I installed the new lights in the ceiling recess. I slid the brass contacts into the stock socket so they were pinched between the socket wiper contacts and the new LED light installed in the socket.
Here's what it looks like when it's fired up. 24 LED dies worth of purpley photons.
With the diffuser lens replaced, the ceiling light now illuminates the entire cabin. Way brighter than it was before.
Ever since I started modding this car I've wanted to upgrade the headlights and tail lights. Even though there were some really cool designs out there, I could never bring myself to pay the high price for replacement units. I hadn't see what was out there for a couple years, but recently did a new search and found a new design I really liked, and found one on ebay for a slightly lower price. So I bit the bullet and took the plunge. Here is the tail light/pillar light set I bought.
I have to admit that the thing that really sold me on the set was a video of the animated functions.
Note that the tail light installation did not go smoothly. I needed to do some surgery on the light's back housing and rewire both lights to get them to work with my car's existing wiring harness. It was not the plug and play swap out which I expected.
These next two videos aren't strictly about the Fit, but go towards what I use my car for. With all the shutdowns from the coronavirus, I've not been able to pursue my normal hobbies, so have fallen back on hobbies from years gone by. I used to do tons of kayak fishing, carrying my kayaks on the roof racks of my previous cars. Because of this I know that this can be hard on the paint. No matter how careful you are, eventually you are going to scratch up your car getting the kayak on or off. I wasn't going to take a chance of this happening with a car I care about, so I invested in a trailer for large item hauling. Despite having it for more than a year, I really hadn't used it much until recently. The thing that really made the difference was purchasing a second hand Yakima Skybox cargo carrier and installing it on the trailer. Here's how I did that installation.
One issue with used equipment is that it almost never is in perfect condition. Being a handy guy, I'm willing to do a little repair work to save some cash off the purchase price. In this case, the Skybox lid supports needed replacing. Rather than paying $730 for a new one, I paid $150 for the box and $20 for replacement lid supports. Here is how I upgraded the lid supports.
Though the Skybox is great for all the kayaking gear I want to haul, I didn't want my nice rods and reels rattling around in the cargo carrier with everything else. And I didn't like the various other solutions people have come up with for carrier rods on their trailers. I've always liked the security of carrying them in my car. But, if I'm going to do that, the rod holders need to be nice, not some cheap looking hack. Here are the rod holders I made for the Fit, from quarter-sawn oak.
If you really want to see the details of how they were made, there are videos on my channel showing every step of the process. I won't bother linking to them in this thread.
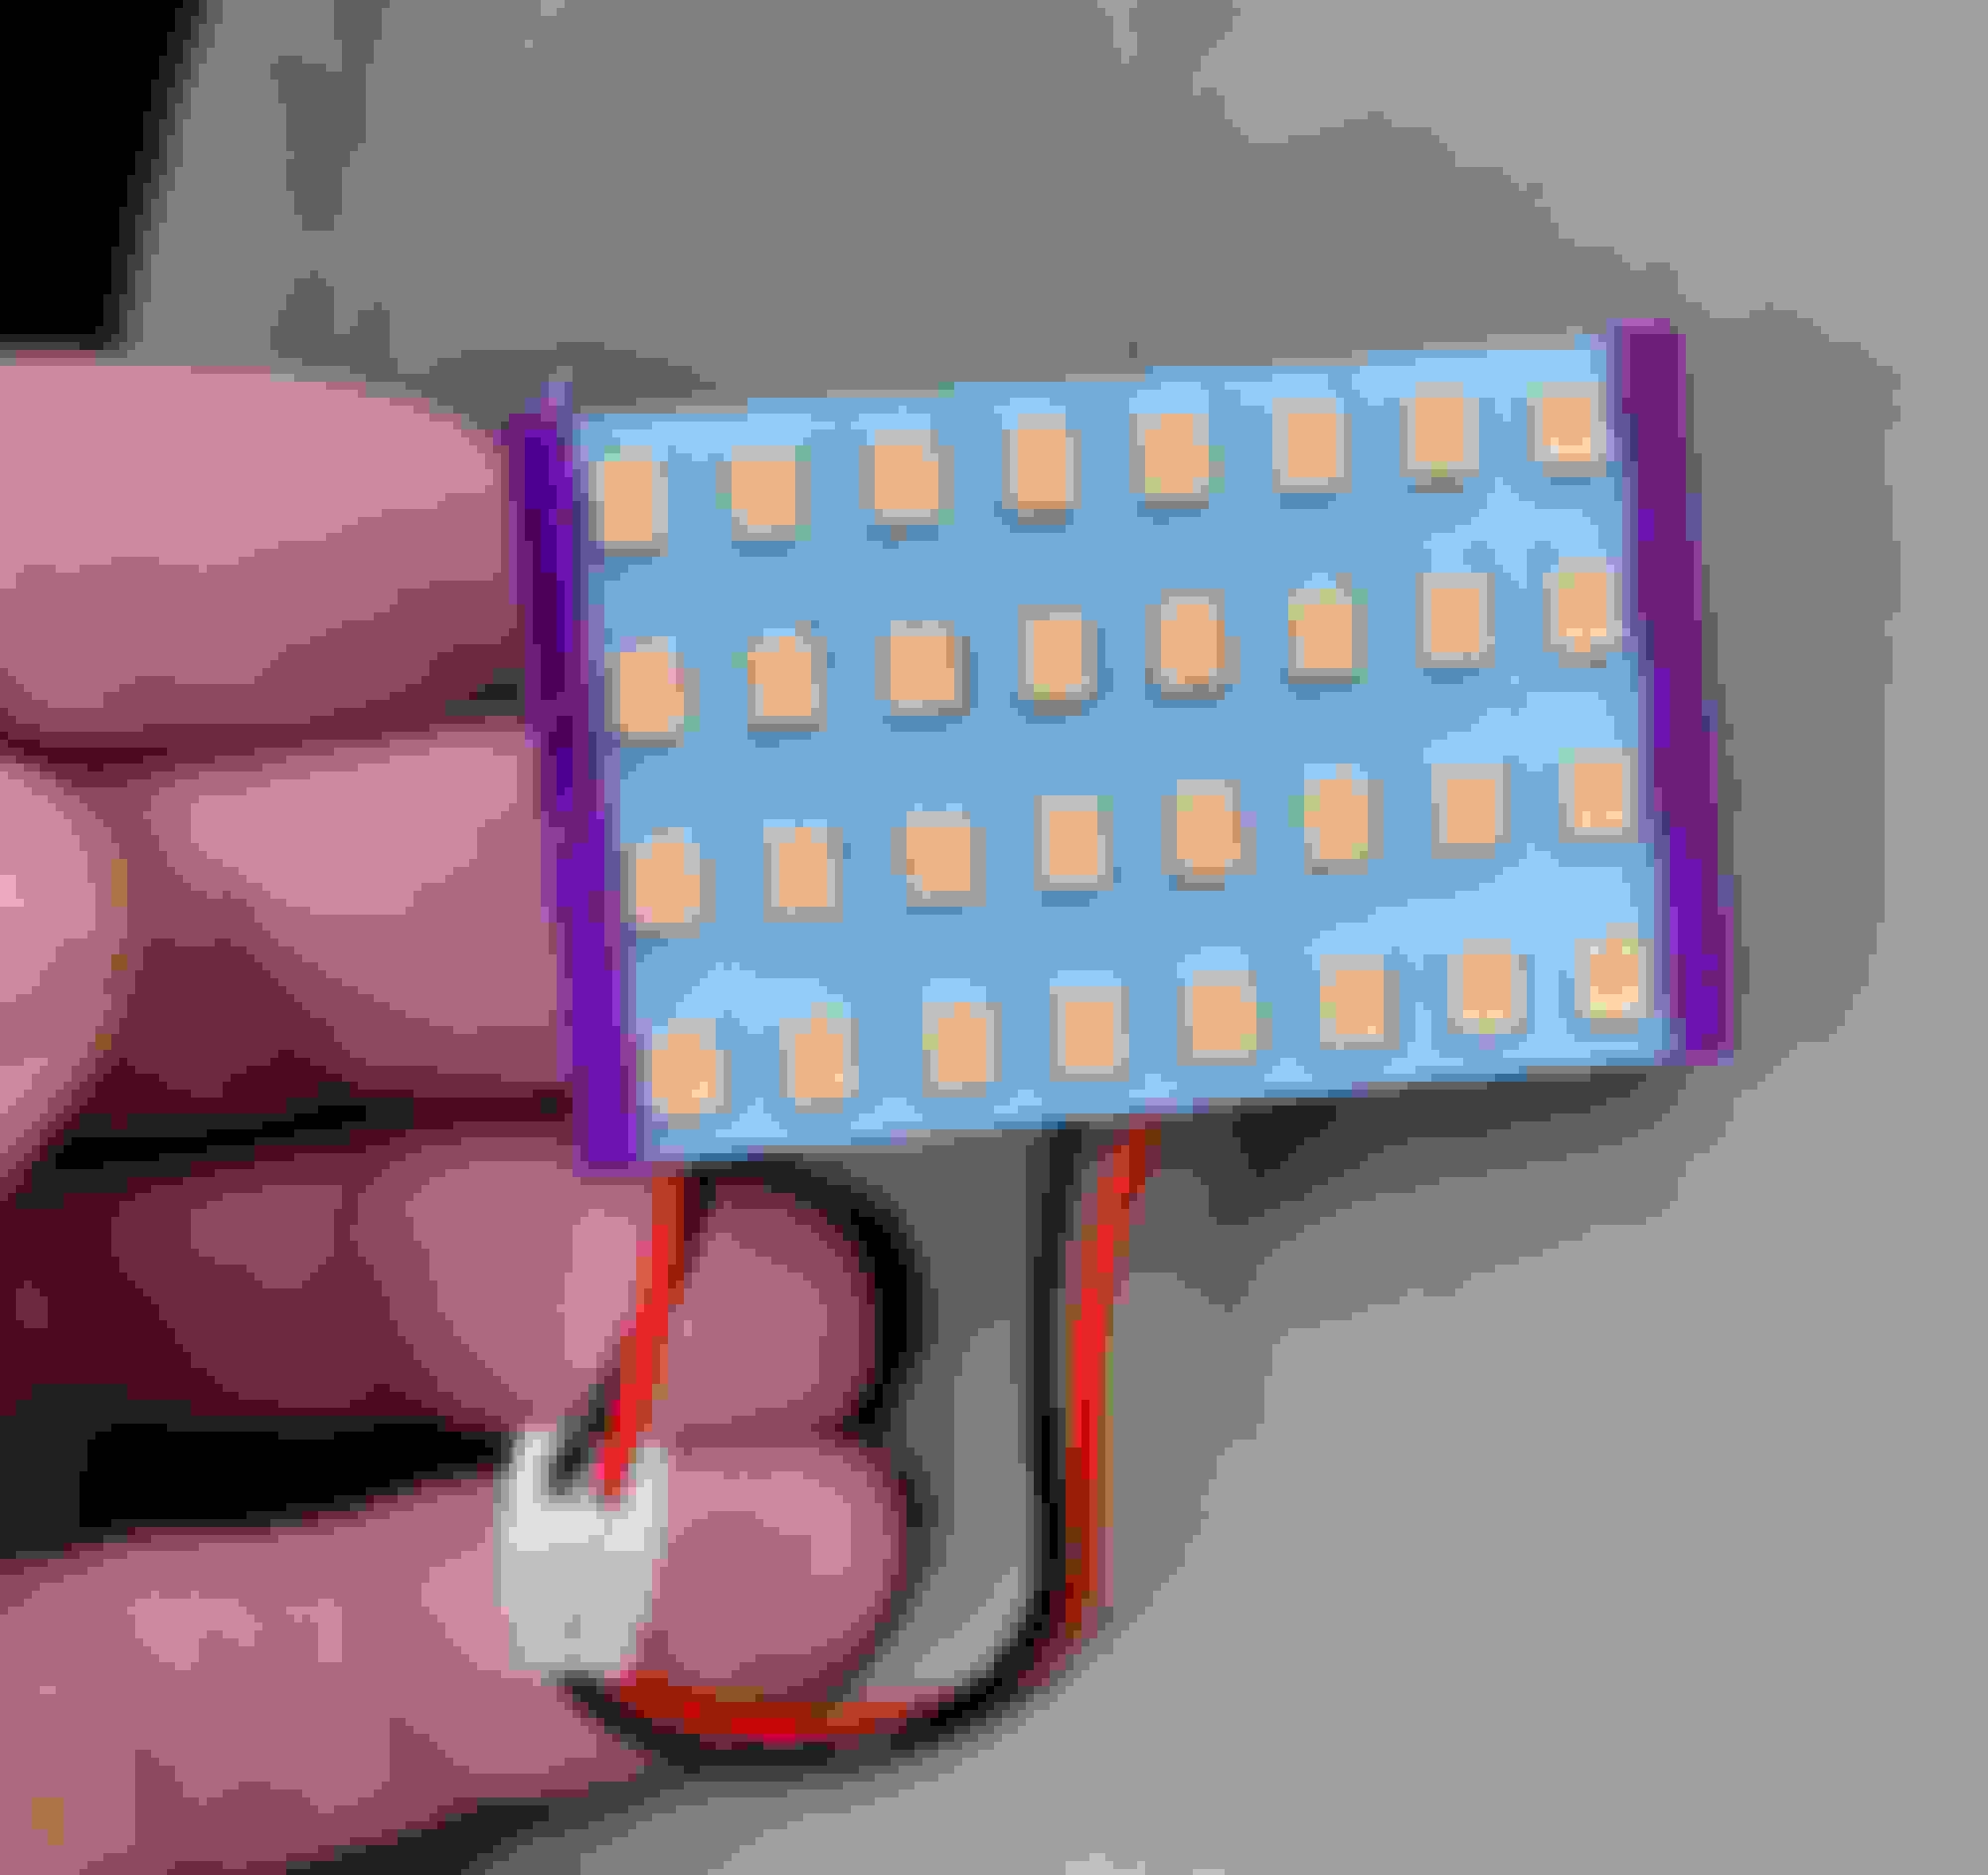
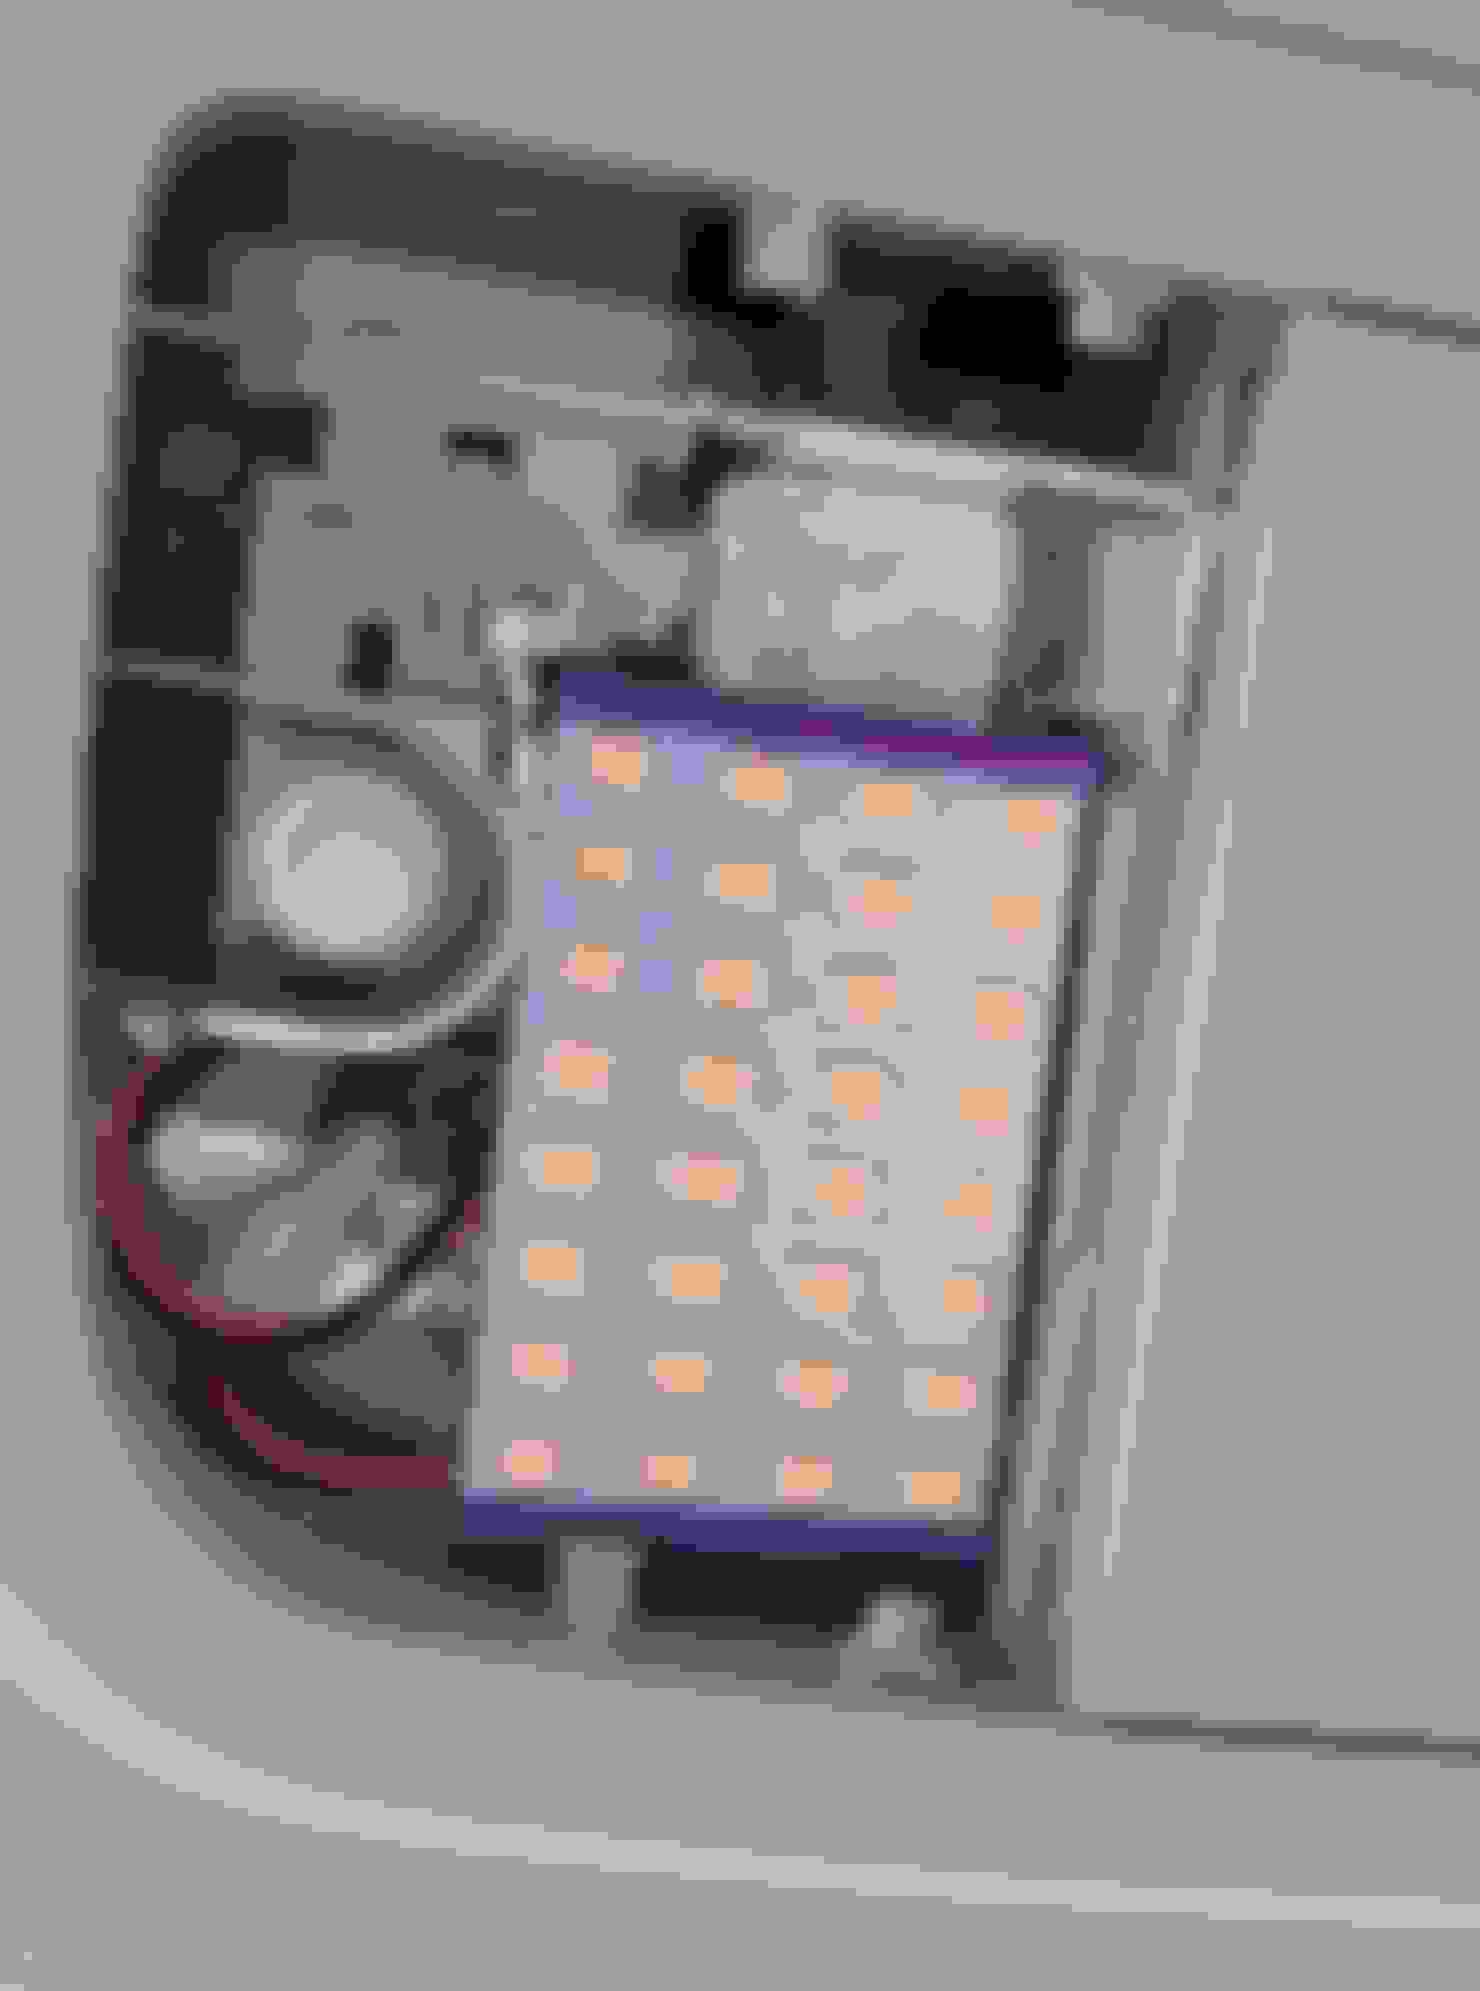
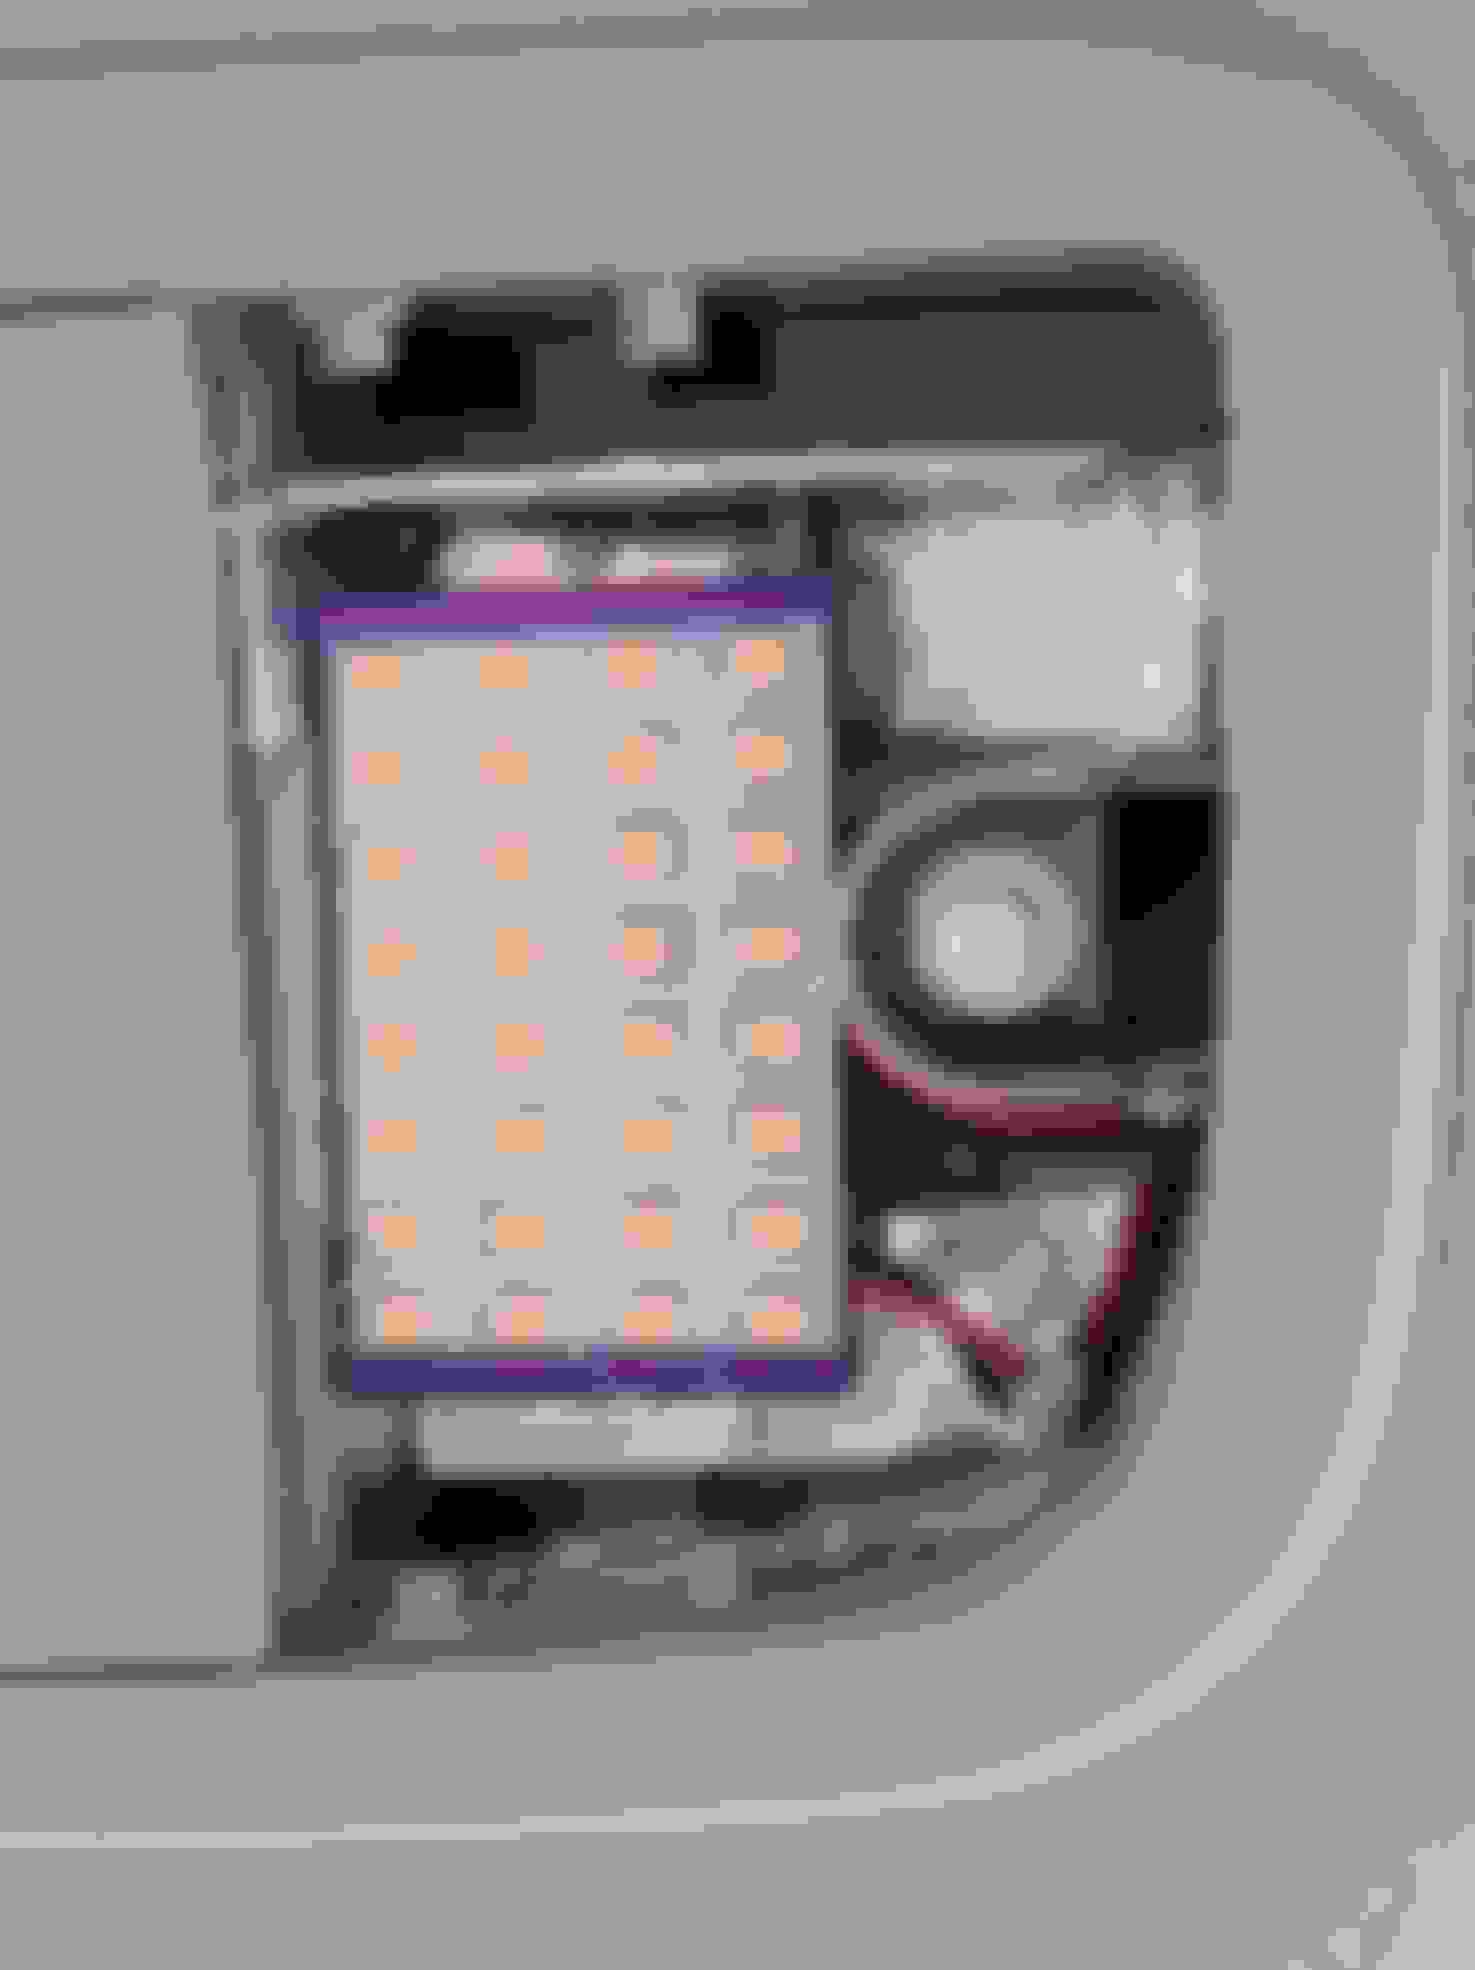
I haven't made any large changes to my car in a while, but it needs a bit of maintenance. I'm tired of swapping in new LED map light bulbs when they die, so I got some
. I made some 3D printed parts to hold these panels up in the fixture. The two sides are different, so there is a LH and a RH part. If you want to use my parts, you can https://www.printables.com/model/883271-honda-fit-overhead-led-panel-holder and print your own.
My 4 channel amp that was driving the door speakers died about a year ago and I finally got around to replacing it. Unfortunately, the original is discontinued, so I couldn't do a direct replacement. I had to swap in an
. (Kenwood KAC-M1814 4-Channel Compact Bridgeable Marine/Motorsports 400W Max Power Digital Amplifier) It was a little larger than the NVX amp, but I managed to wedge it into the same space in the dashboard.
 04-21-2020, 08:37 AM