
MODS/ACCESSORIES for the GK
#1001
 03-23-2015, 09:26 AM


I'm glad to see there's a K&N filter available for it. I'll get one when it's time for a filter change. I've been using them for years.
#1002
03-24-2015, 07:19 AM

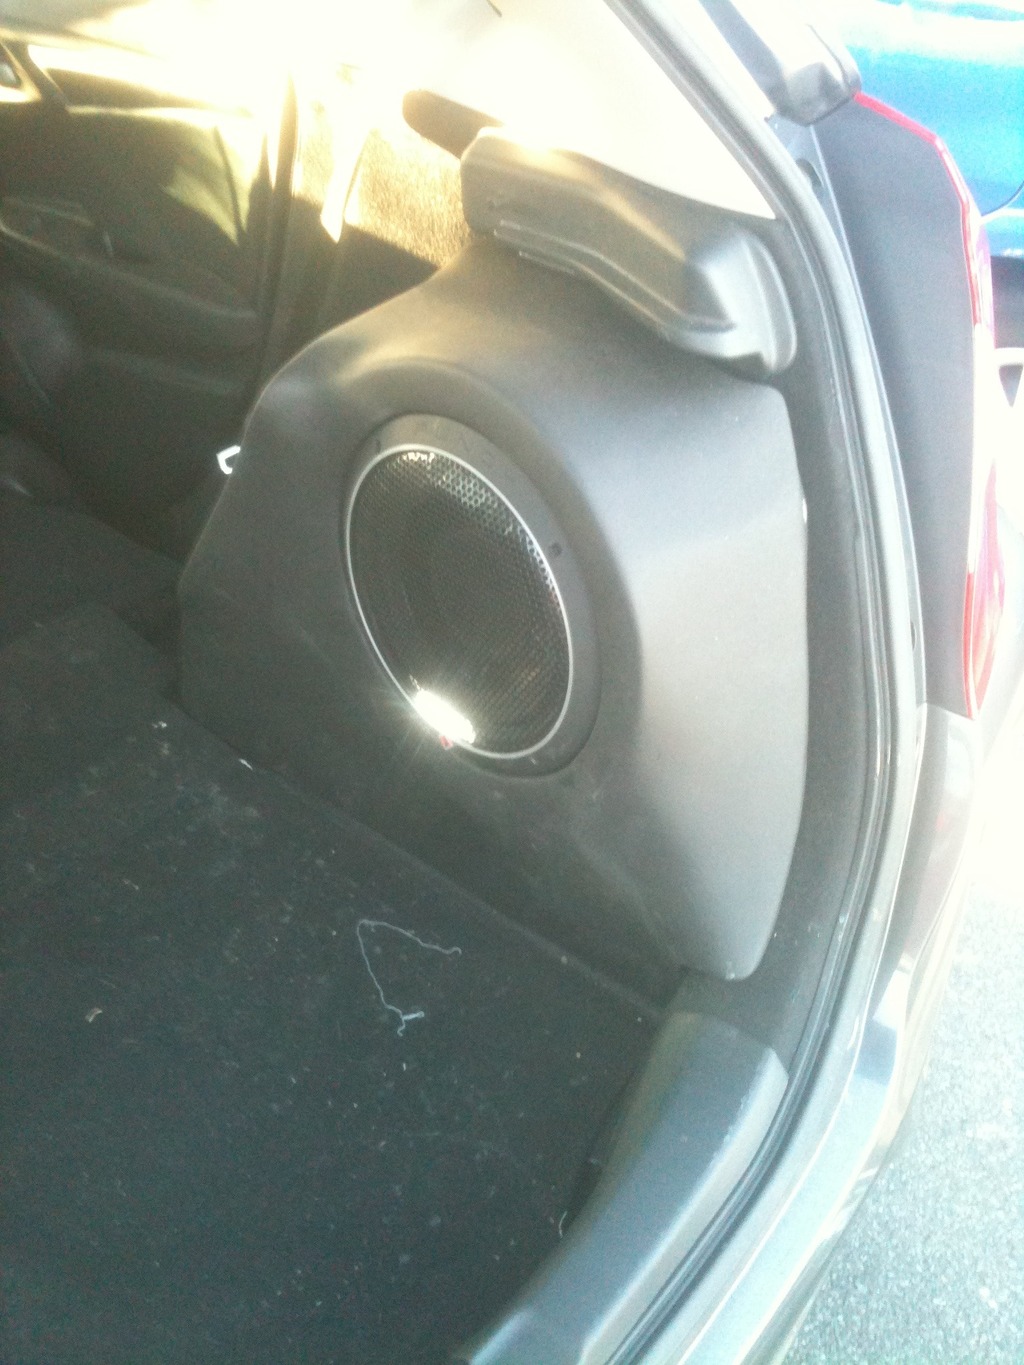
Finally got the sub and amp in and running. The spare is still accessible but the trunk light needed to be relocated.
 [/URL]
The amp tucked neatly into the other side, it still needs some fitting but am holding off until I decide if I want to put in another trunk light on that side.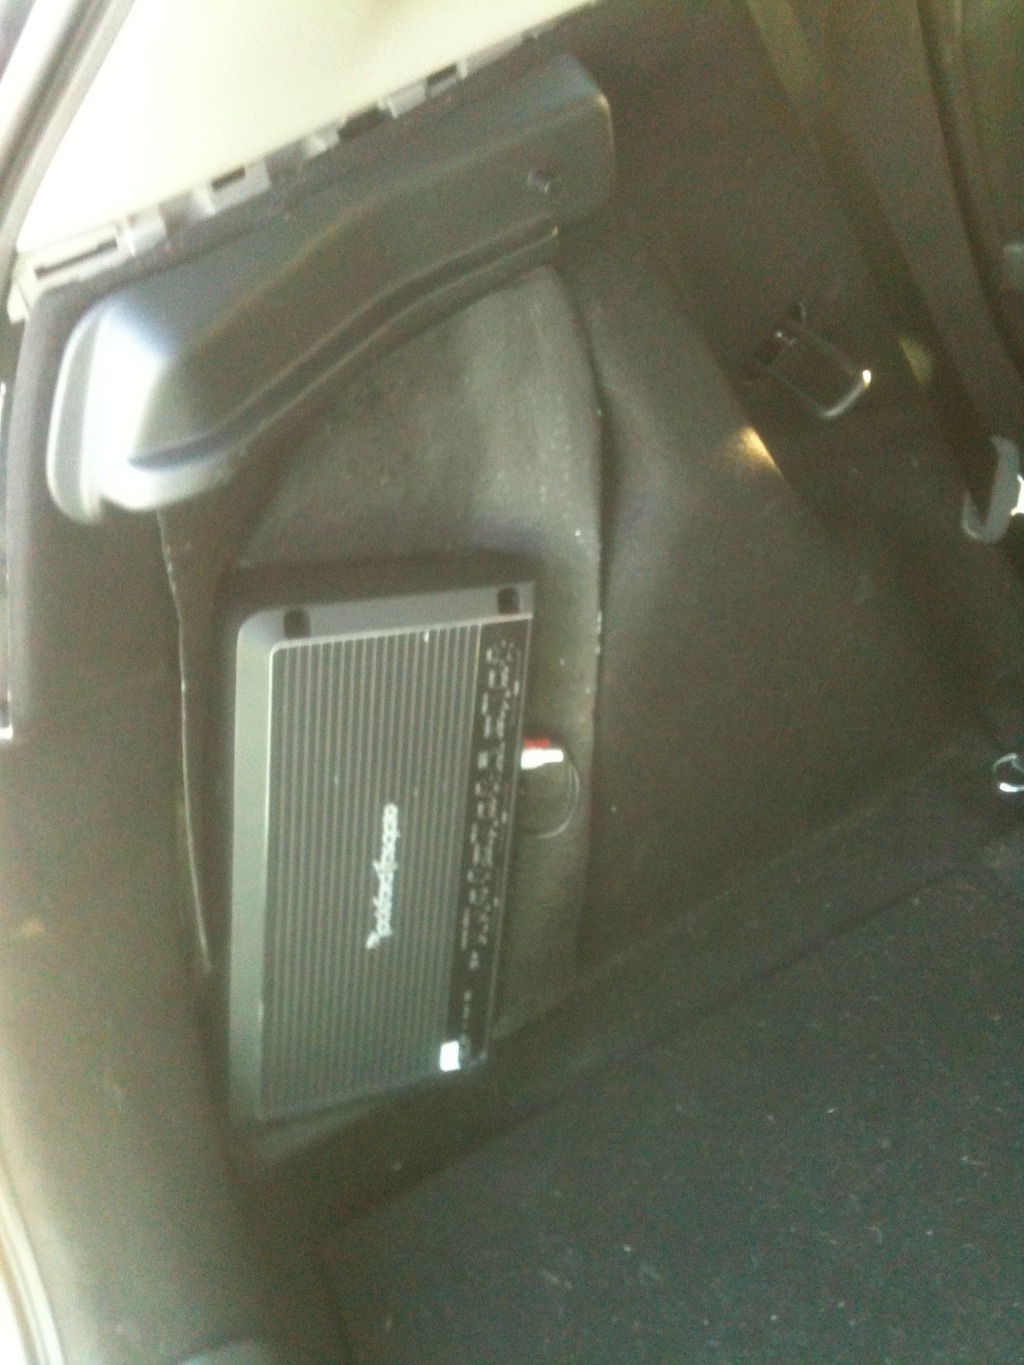 [/URL]
[/URL]The amp tucked neatly into the other side, it still needs some fitting but am holding off until I decide if I want to put in another trunk light on that side.
[/URL]
#1004
03-24-2015, 08:50 AM
Yes, thank goodness for shallow mount subs. MY old ported 12 inch MTX used to take almost the whole boot of a large sedan. This one is a 10 inch and still needs a little tuning but is making some good bass.
If I did it again, I would probably do the fibreglass with the hatch shut and the parcel shelf in and go all the way to them to get a bit more volume in those directions and slim it down about a quarter of an inch at the front to allow for bondo and vinyl.
I would also do for the sub what I did for the amp which is run the fibreglass up under the parcel shel support to anchor it in from the top as mine is mostly held from the bottom.
#1005
03-24-2015, 11:17 AM
Yes, thank goodness for shallow mount subs. MY old ported 12 inch MTX used to take almost the whole boot of a large sedan. This one is a 10 inch and still needs a little tuning but is making some good bass.
If I did it again, I would probably do the fibreglass with the hatch shut and the parcel shelf in and go all the way to them to get a bit more volume in those directions and slim it down about a quarter of an inch at the front to allow for bondo and vinyl.
I would also do for the sub what I did for the amp which is run the fibreglass up under the parcel shel support to anchor it in from the top as mine is mostly held from the bottom.
If I did it again, I would probably do the fibreglass with the hatch shut and the parcel shelf in and go all the way to them to get a bit more volume in those directions and slim it down about a quarter of an inch at the front to allow for bondo and vinyl.
I would also do for the sub what I did for the amp which is run the fibreglass up under the parcel shel support to anchor it in from the top as mine is mostly held from the bottom.
#1006
03-24-2015, 04:01 PM

@Unofficial Honda FIT Forums - View Profile: morrijo
Did you add some sort of rubber trim around where you sectioned out the bumper cover for the 2" hitch?
Did you add some sort of rubber trim around where you sectioned out the bumper cover for the 2" hitch?
#1007
03-24-2015, 04:10 PM
 I didn't put my trim on - I forgot about. You'd have to crawl underneath it to see the rubber, anyway.
#1008
03-24-2015, 04:51 PM

So far:
- 2.25" custom resonated exhaust, straight-through Magnaflow muffler
- 15x7 +35 Kosei K6R wheels with 195/55/15 Star Spec ZII
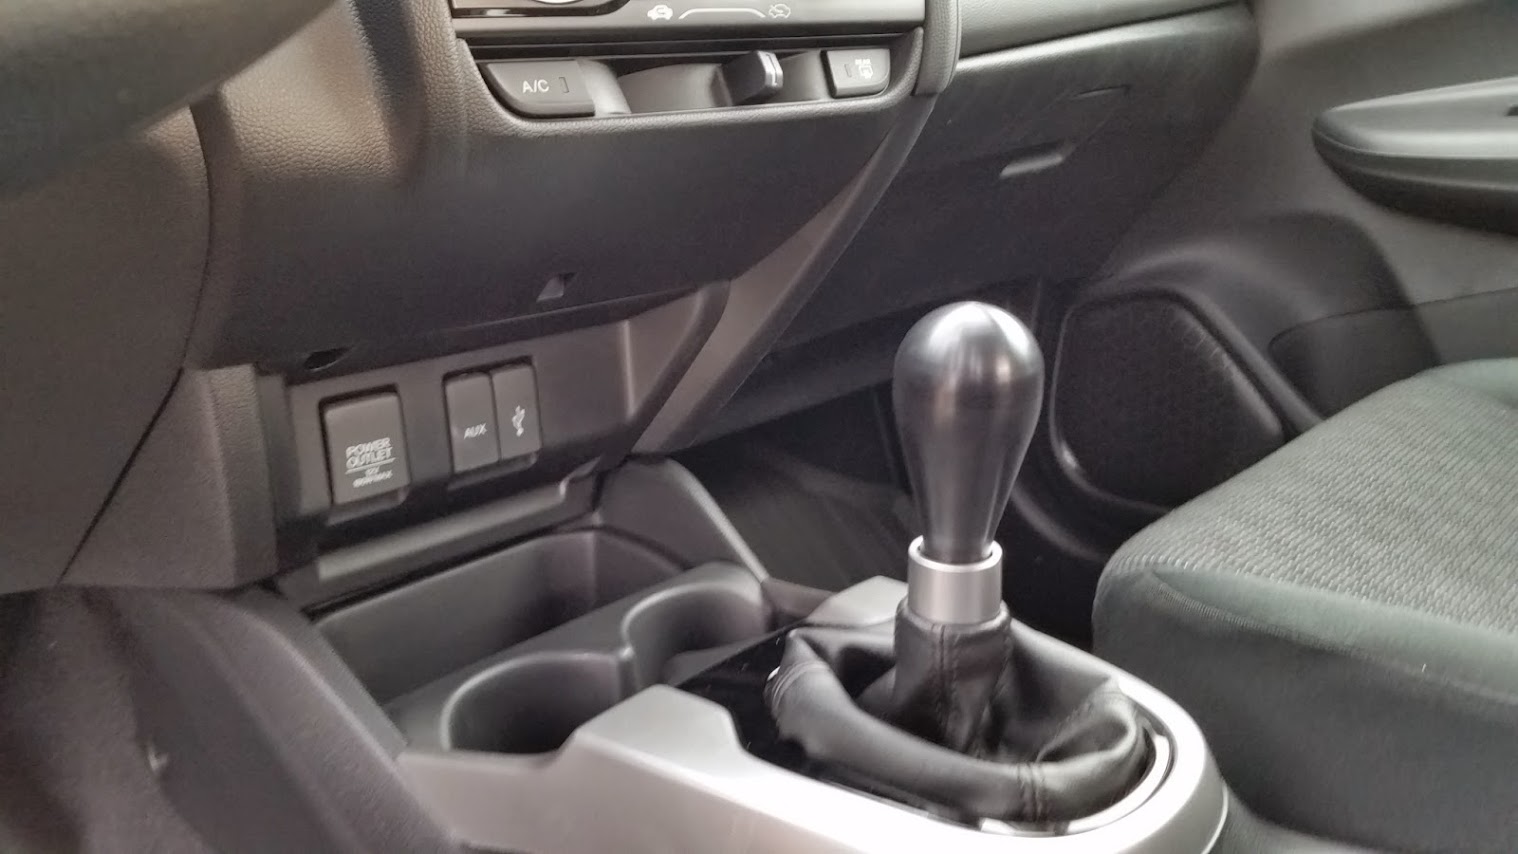
- Karcept shiftknob
- Removed airbox resonator
- Flat-black grills with gloss-black emblems


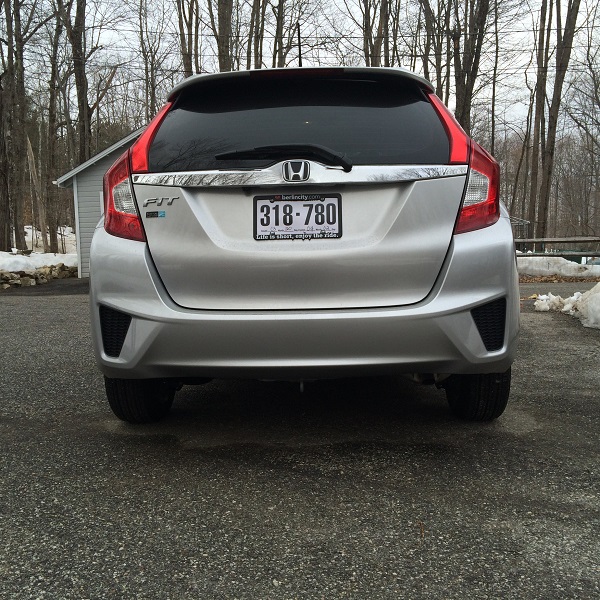
Installed the iJDMToy LED taillights last week:

- 2.25" custom resonated exhaust, straight-through Magnaflow muffler
- 15x7 +35 Kosei K6R wheels with 195/55/15 Star Spec ZII
- Karcept shiftknob
- Removed airbox resonator
- Flat-black grills with gloss-black emblems
Installed the iJDMToy LED taillights last week:
Last edited by stealthpenguin; 03-24-2015 at 04:55 PM.
#1009
03-24-2015, 05:26 PM
Being able to form your own fiberglass is a nice talent to have. Where did you learn how to do that? I imagine it takes a lot of practice and experience before your finished projects actually start to look professional (I'm thinking pottery making and how the initial pots always come out looking like a 5 year old made them).
I started buying the supplies from our version of Lowes but needed way more than I thought and ended up finding an online supplier and was able to get bulk resin and mat for about 40% of the cost from the hardware store.
#1010
03-24-2015, 06:29 PM
these were my first go with fibreglass, i learnt from youtube, lots and lots of youtube was used to plan it. It is just a matter of taking your time and keeping a grinder handy. Bondo and sand paper take it from a rough job to a nice smooth job.
I started buying the supplies from our version of lowes but needed way more than i thought and ended up finding an online supplier and was able to get bulk resin and mat for about 40% of the cost from the hardware store.
I started buying the supplies from our version of lowes but needed way more than i thought and ended up finding an online supplier and was able to get bulk resin and mat for about 40% of the cost from the hardware store.
#1011
03-25-2015, 05:26 PM
I'm having trouble finding the correct part for the LX rear garnish in black. from the below link, does anyone know which part it is?
TAILGATE for 2015 Honda FIT
Thanks

TAILGATE for 2015 Honda FIT
Thanks
#1012
03-25-2015, 09:08 PM
Yeah Tofu
The Honda Fit LX rear garnish is
74890-T5A-J12
OEM Honda Part 74890-T5A-J12 | Rear License Garnish Assembly
I did the LX rear garnish swap on my black EX. It looks so much better than the "chrome"
The Honda Fit LX rear garnish is
74890-T5A-J12
OEM Honda Part 74890-T5A-J12 | Rear License Garnish Assembly
I did the LX rear garnish swap on my black EX. It looks so much better than the "chrome"
#1013
03-29-2015, 02:13 PM

Mudguards, cargo tray and rear bumper applique
After finding a link to BernardiParts.com here and seeing the pricing, just ordered their OEM Splashguards, Rear Bumper Applique plate and Cargo Tray for my Silver '15 Fit EX
Had the dealer tint as dark as ME legal allows and the OEM all-season mats (in addition to carpet) when I just bought it a little over a week ago
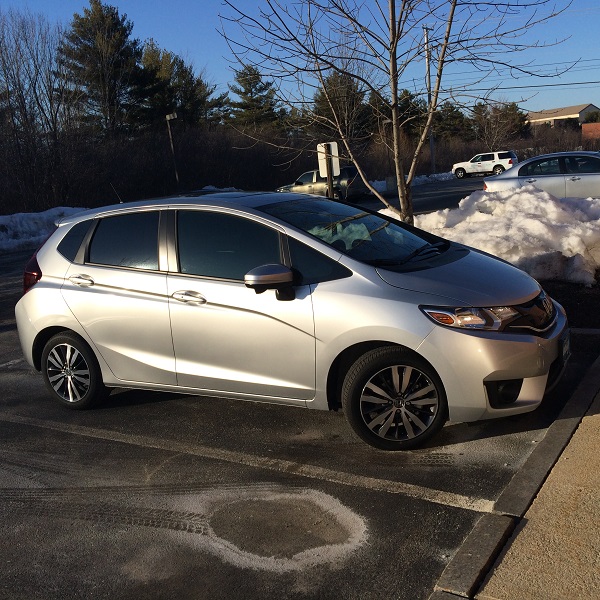
This is replacing my '97 Civic that I dynamat'd and swapped a ton of JDM/EDM parts into after I painted the thing- so look out for plenty of mods in the future
Had the dealer tint as dark as ME legal allows and the OEM all-season mats (in addition to carpet) when I just bought it a little over a week ago
This is replacing my '97 Civic that I dynamat'd and swapped a ton of JDM/EDM parts into after I painted the thing- so look out for plenty of mods in the future
#1014
03-29-2015, 02:24 PM

Just ordered these
I just ordered this. Hopefully this fits on my EX just fine. Any documentation on installing this??
Yeah Tofu
The Honda Fit LX rear garnish is
74890-T5A-J12
OEM Honda Part 74890-T5A-J12 | Rear License Garnish Assembly
I did the LX rear garnish swap on my black EX. It looks so much better than the "chrome"
The Honda Fit LX rear garnish is
74890-T5A-J12
OEM Honda Part 74890-T5A-J12 | Rear License Garnish Assembly
I did the LX rear garnish swap on my black EX. It looks so much better than the "chrome"
#1015
03-29-2015, 05:07 PM
I Dynamatted a '99 Escort ZX2, and I'll do the same to my Fit when the weather gets warmer.
#1016
03-30-2015, 09:41 AM
Yeah it fits exactly the same. When I did it was too easy to even require a how to guide. I initially thought about documenting it, but didnt after I got started. I did use this jdm wiper mod thread to help a little.
https://www.fitfreak.net/forums/fit-diy-repair-maintenance/56562-jdm-wiper-mod.html
EDIT: REMOVAL OF INTERIOR TRIM IS NOT A NECESSITY. SEE NEXT POST
The hardest part was pulling off the interior plastic gate cover because I was scared I might break it. I got my fingers in on either side and while sitting inside the trunk was able to just pop two tabs out and could then go around popping the rest out. You just have to give a bit of jerking force. After that it was just a matter of removing the screws on either side of the garnish and I used needle nose pliers to get the tabs started working their way out.
Last edited by robertsmithfromthecure; 03-31-2015 at 12:38 PM. Reason: incorrect info
#1017
03-30-2015, 09:07 PM

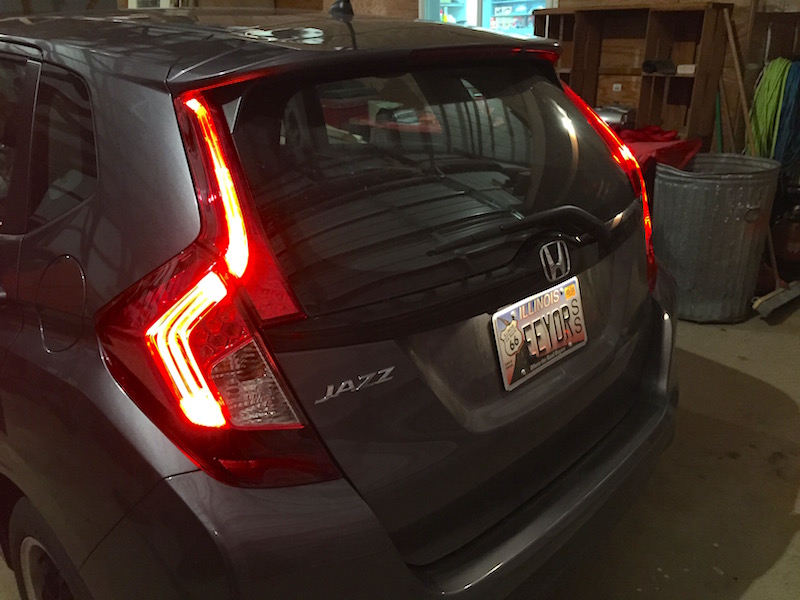
(My fit is now a Jazz with JDM OEM taillights)
es
#1018
03-31-2015, 12:37 PM
Oh well there you go Osnickers, its even easier than I thought. Sorry for the confusion as I replaced it while doing the rear wiper mod.
