When you click on links to various merchants on this site and make a purchase, this can result in this site earning a commission. Affiliate programs and affiliations include, but are not limited to, the eBay Partner Network.
going to be ordering up some front brakes. I have the moog Steering tie rod ends, but going to hold off on installing them since i dont think my car is off too much from the coilovers, and since everyone in town is either not wanting to touch the car since its not stock, or trying to tax the hell out of me when i tell them the car is lowered. ridiculous ... ($60 for non modified for an alignment, $110 for modified..plus $20 more if i want camber bolts adjusted) . nevermind the camber bolts for 1degree adjustment. all i need is my damn toe adjusted after installing the tie rod ends. and i really dont even need them, just was going to replace them to have fresh parts. car currently tracks straight. Ill shop around for an alignment some more later.
15mm rear spacers should be in this week along with jdm taillights
i lowered the front about 1/4''...which puts it about 1/2'' of travel before hitting bump stops. Didnt touch the rears yet, but am going to lower it 1/4'' also when i install the rear spacers. after lowering the 1/4'' it should have about 1.5'' travel. The front feels fine driving so far the past couple of days, and Im not feeling the front bottom out. after lowering the rear this is the lowest Im going with these.
In the mean time...heres some pics of the car actually cleaned inside and out for once...
this is the reason I do my own alignments, shops crying about camber bolts and not wanting to align beyond what oem recommends.
here's my recommend:
-buy one of those el-cheap-o magnetic camber bubble gauge thingees
-stick in thru your wheels and measure your camber, write it down.
-jack up your front end and remove wheels
-take another camber reading .... write it down.
-remove oem bolt and install camber bolt (follow the instructions, and pay attention to arrows/tab orientation)
-turn the bolt as needed, to add 1 degree of camber
-tighten down nuts, slap on wheels, lower the car
-you'll need to let the camber settle. you can roll the car forwards and backwards. I for one like the trash bags under the wheels method, and then, bump on the car a few times
-measure camber one last time. the ground reading will be different than the reading you took in the air, so .... this process may take 2 or 3 tries (it took me, 3 tries)
I changed the transmission fluid and filter. Hardest part was getting the rubber hose clamp off the back of the filter for some reason lol. pliers kept slipping and not good angle. I removed the filter with the transmission cold and drained so there wouldnt be too big of a mess. not sure if it made a difference or not. Only a couple of drips came out of the filter. I plan on cutting it open for fun to see how soiled it is at 55,000 miles. The dealer did a transmission change when they posted the car for sale, so with the change I just did Im hoping most of the old fluid is out. Ill probably do another one when I change the oil in maybe 6-8 months (dealer did oil change also, so its pretty fresh). Transmission is a bit smoother, but wasnt ever all that bad. Well aside from the somewhat jerky 1-3 gear changes when flooring it with a somewhat cold engine, with AC on, going uphill thing that others seem to experience. That laggy rookie driver changing gears type of shift thing. Still trying to get use to that.
Heres what came out with my drain. I put 3 bottles in, and when it was cold it was on the lower part of the "hot" line on the dipstick. After getting the tranny hot, it goes about 3 millimeters above the "hot" max line. I was going to stick a syringe in there and suck a bit out, but its not frothing so might just leave it. Too high....too low ...whatever.
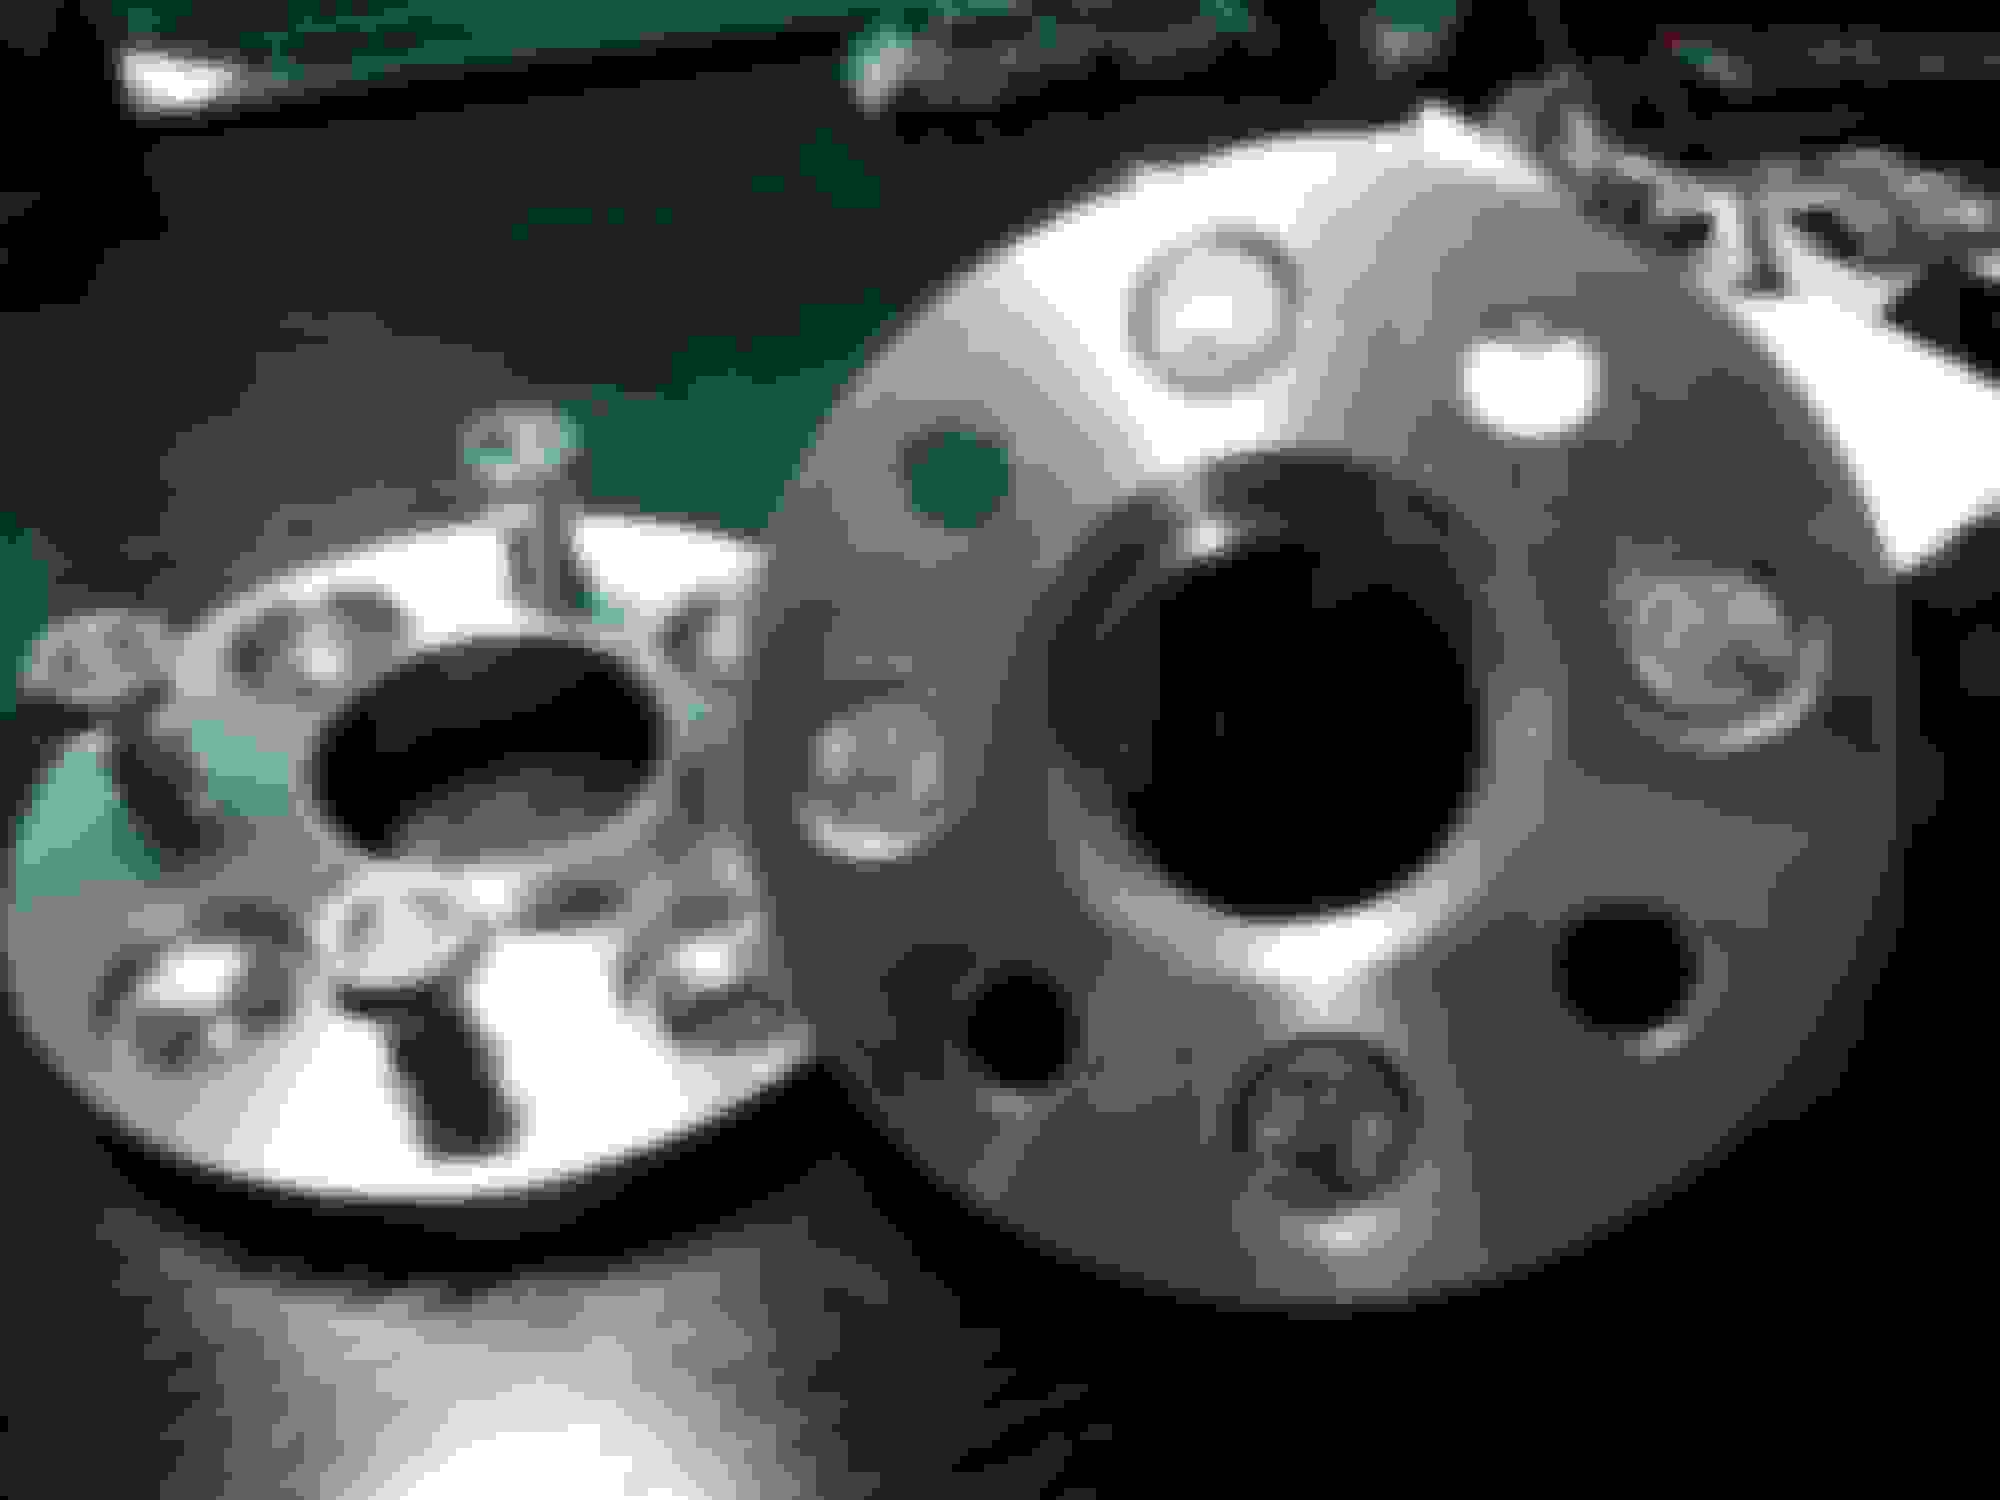
Installed my ebay 15mm bolt on spacers. Torqued to 80 ft lbs. Still think 10mm would have been perfect, but 15 is the smallest made in bolt ons. Overall happy with the quality of the spacers, and the look of the car. Only problem now is that the different brand of my front and rear tires is more obvious now. Thinkin of getting some 205/50s, but the tires I have now are only about 20% worn, so its at the bottom of my to do list....plus not sure on which tire I want...and dont really have the funds right now. Sold my XXRs , which covered most of the mods of done thus far, and the money is dwindling out. Cars almost where I want it...just a few more tweaks.
While I was in there pulled the drums to take inventory and rear brakes look about 75%. Sprayed them clean with brake cleaner, then sprayed my wheel wells and rear undercarriage with black undercoat spray and high temp paint. Should have bought some satin black so it would be deeper in color, but used up some flat black I had in my paint box. Kinda greyish. ended up spraying the muffler with it too, which is not in the pic. I think im going to do the front calipers and rear drums satin or gloss black, so I left the rear drums alone....aside from spraying the face with a bit of the black high temp paint to prevent the spacer from seizing to the drum. Amazing the difference it makes having black clean wheel wells and undercarriage. Something weird I notice on cars. Forgot to take a before pic, but mine were red with a bunch of brown dirt road nastiness. I can of undercarriage paint is just enough for 4 wheel wells. Going to paint the front wheel wells when I do the front brakes. Maybe ill do silver calipers and black drums.....
Dropped the rear coilovers 1/4''. I think Im dont playing with them. Kinda wish I got the street advance....prefer a bit stiffer ride...in the rear at least. no homo.
Also installed my JDM taillights. When I first saw them online I thought they were just ok, but the more I look at them the more I like them. No more annoying red reflector on the side....and the bulbous turn and reverse sections are growing on me. Nice having something a little different in a sea of Fits.
I got my Motul brake fluid and Hawk pads. Still trying to decide how much I want to spend on front rotors.
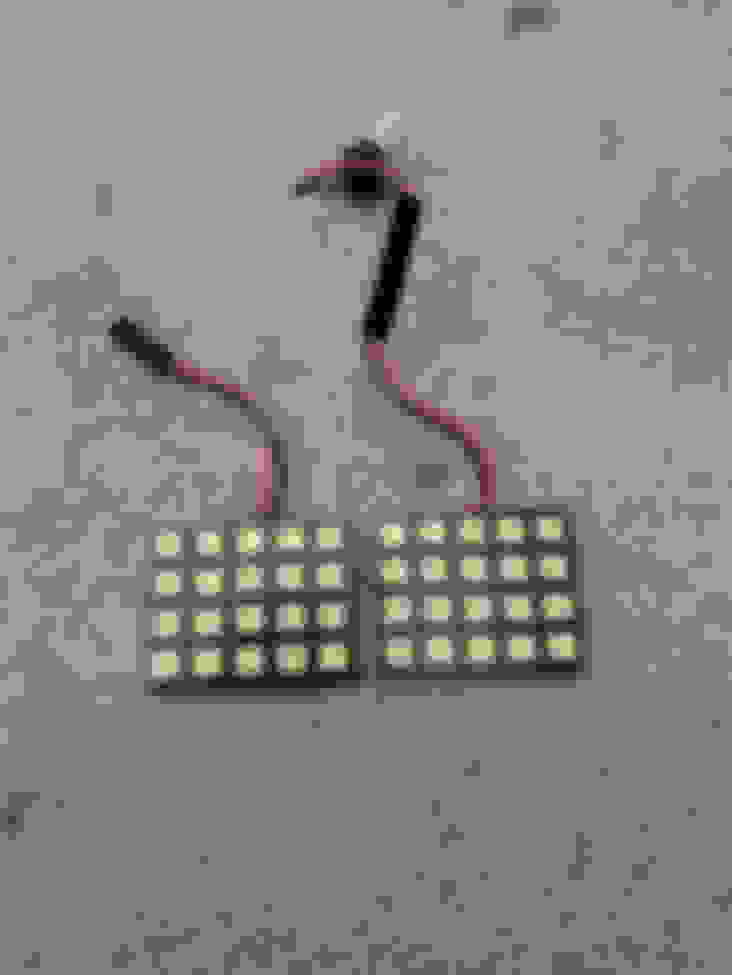
last week i finally got my larger dome light leds in. barely fit. i never use the map or dome lights...but when i do i have no excuse not to find what im looking for as they are bright as hell.
it was probably more trouble than it was worth, but i had some extra switches laying around and was in the mood last night to try to add a switch to my trunk light. initially i was going to just cut a little hole in the trunk panel for the switch, but then i thought id copy the oem switched lamp. cutting the hole kinda sucked and made it a tiny bit too wide but it looks fine to me installed. since i am able to turn on and off the light when i want, i decided to put an extra panel led i had in. overall i am happy with the results. theres actually 3 copper pieces inside, i just pryed it all apart and used a short jumper from the positive copper terminal to the switch, and then cut the diode and bent it down to touch the other side of the switch and soldered the 2 connections before pressing everything back in. not sure why we dont get a switch in the first place.
next up is likely the front brakes. i have the pads, brake fluid, hardware and grease ready to go. i ordered the final pieces, DRT rotors, and should have them this week. Had their slotted/drilled rotors on my last car for about 7-8 years with no issues, so im hoping the new ones provide the same service.
holy crap, 48 led? I tried that and failed.... lol. I had to settle for a make shift "40 led" panel
Hah...yea mine is 2 pieces too...just peeled the double sided tape and jammed em in there!
-----------------------
New Brakes, OBD Reader/ Torque App
I have been wanting an OBD tool for reading CELs for a good while now. Also use to want a Scangauge ii. well the other day my gf cars CEL went on and decided it was the last time Im driving to Autozone to have them pull the code. Ordered a BAFX OBD reader mostly for trouble codes...but soon realized that with the Torque app (paid version) it is everything I ever wanted! With how inexpensive these things are, and the information available online nowadays, from what the codes mean to how to fix them there really is no reason for a person to be driving to a parts store anymore, even if they do read it for free. well, unless the parts store has the parts you need to fix it I guess. Personally I buy very little beyond spray paint at autopart stores. Ok...so back to the OBD...
So I found a perfect use for that old retired cell phone in the back of my desk drawer. downloaded Torque, and thankfully a free new theme, and combed through the vast amount of monitors you can use to create "dashboards" to monitor whatever you like. made a half assed mount with velcro and a piece of a 5 lb protein container which actually worked better than I thought. As of right now Im all about the scanner, but Im sure Ill get tired of it and just pull it out occasionally. The app does have a cool feature of being able to sleep when it doesnt register power coming in so technically you can leave plugged in to your vehicle and not have to worry about the phone staying on. I put some carbon fiber wrap over the edges of the phone so it looks a bit less like.... a phone. So cool to be able to see what the ECU sees!!
Also got my DRT rotors in. They use Centric Premium rotors with black E-Coated vanes and hats...and knife edge slots. I hate rusty rotors. On my last car the DRT rotors I had never rusted on the hats or vanes. Heres a pic of the Centric front hardware in case anyone needs part numbers or to see what in the bag. (#117.40051)
Ordered an STI style front lip. And finally found a turkey baster for my brake fluid change. Those things are hard to come by for some reason right now!
That is a great way to re-purpose your old phone! With the OBD port plug in sticking out, does it get in the way of your foot?
it looks like it would...but for me, it does not get in the way of my foot or leg at all.
if i decide to keep it there for an extended period of time i will get a short extension cable (about $5) and tuck the reader under the dash...it would be more of a visual thing for me. however, without getting eye level to the OBD, surprisingly its not super noticeable visually.
def a great way, to re purpose a phone that would otherwise collect dust. I went with a scangauge 2 because I dindt want my phone tied up, while driving. you came up with an awesome solution to my predicament
have you considered mounting that phone higher, where you can see it easier (ie, without taking your eyes off of the road too much0
when I list my ScanGauge windshield mount for sale .... i'll have to shoot you a PM
have you considered mounting that phone higher, where you can see it easier (ie, without taking your eyes off of the road too much0
yea, was thinking to the left of the steering wheel is ideal visually. but then low on center dash i can leave it mounted and its a bit noticeable. I was even considering making a stand for the left upper cupholder and standing it vertically. another cool place is behind the visor so when you flip it down its right there, but then theres the charging issue. idk...still playing with everything n cant decide.
--------------------------------------
DRT Brake Rotor, Hawk HPS Pads, Brake Fluid Flush, Front Lip, More undercoating/ Muffler Paint
Installed front rotors, brake pads, sanded and adjusted the rear brakes, and bled the whole system. Did a post on another thread with more detail HERE. Long story short...when doing a brake fluid flush with obviously dirty fluid, BUY 2 PINTS OF FLUID ! ;P
Aside from coming up short on fluid, the brakes went in without a hitch. Left out the pad springs as the Hawk pads dont have holes for them. Installed the new pin boots and fresh grease throughout. Did the break in procedure and am going to take it easy for the first few hundred miles while the pads seat. So far they feel similar to the original brakes, but I know after the pads break in they will bite like a mofo. I remember on my scion after I installed this same setup I wasnt impressed...but after everything mated a month or so in, the brakes were all business. For a daily street car setup anyways.
On the fence with painting the calipers. If I do anything Ill do a brush on silver color. I didnt mess with painting them when I did the brakes as I live in an apartment where Im not suppose to be working on my car in the first place and wanted to do the brakes as quickly as I could...didnt want to be having the whole front end up with both wheels off and waiting for spray paint to dry especially since I would have to wait for them to totally dry since I needed to handle them to reinstall. Thats car in a garage overnight stuff I cant be doing right now.
Painted my front wheel wells and spots I missed on rear undercarriage and muffler. Now i just have center of undercarriage to do at some point when I feel like crawling all the way under the car.
Installed Ikon front lip. the fitment was better than I expected. I was worried it was going to be "universal" although marketed for the ge8, and was going to have weird gaps or something. It actually is made for the GE which is cool. there is even 2 tabs for the lip to fit into the original scrapey things' (which has to be removed) location which help with positioning. I would have liked the edges by the tire to be in under the bumper a little more but it was flexing the lip too much trying to position it there. With where its at now there is already a bit of preload. Still on the fence with if I totally like the look or not. Im on like 6.75 out of 10 on the "like it" meter. For me it just seems like the front is missing something in original form, having the sport sideskirts. My scion xa was the same, worse actually, because it had huge factory sideskirts...and only the Release Series models had the front and rear lips. Idk why they didnt have a base model side skirt for 90 percent of the other xa's made. Back to the FIT, I wish there was a factory style lip similar to how the first gen has, body colored, and matching the style of the sideskirts....without being as aggressive (or expensive) as the Mugen (which i think is dope af btw). Anyways, gonna roll it for now...was only $60 bucks. Driveways are definitely an issue now. Back to hitting angles I guess.
when you installed your coilovers, did tein specify how much preload to set/how to set the preload?
they give the suggestions below...which is 1.4'' between the bottom of the sleeve and the top surface of the adjustable collar. for the front of the car this equals roughly 1.25'' and about 2.25 inches of travel on rear. (max drop on front is on bumpstops with no travel and max drop on rear has 1'' travel). even when they are maxed out they have a small amount of preload...roughly 1/4-1/2 inch, which keeps them from flopping around and making noise.
i see you got some coilovers...congratulations! you have a whole different breed of animal there with those. the teins really are basic. i would like to get something more "serious" but cant justify it with my income and minimal drive time. if i had fully adjustable coilovers idk if id be happy or in a nightmare as im sure id always be messing around with them. what is the recommended preload for your coilovers? im sure theres more to it, but id at minimum ensure there is no free spring movement when the car is lifted otherwise itll sound like some broken $hit n drive u nuts...then adjust a majority of the height at the shock body. as for adjusting your swaybar links length, Ive wondered how to do that myself. on the struts/shocks i do know small amounts of "preload" (which is inherited...is its really just height.) make a big difference on handling and comfort...with my fronts, i have lowered them a bit more, they are 1/4'' from max drop on the actual shock body...but with the weight of the car they are lower. but the preload/height keeps them off the bumpstops during 95% of my travels.
i might check into seeing if Tein offers/recommends stiffer springs for the rear of the basis lineup...but i doubt it as theyll probably blow the soft rear shocks. but then with a stiffer rear, comes more noise. my rear interior panels creak enough as it is though.....but creaks aside, personally i think something in the area of 150lb rears springs would be good. stock is 98 front/112 rear...Tein basis is 168 front/112 rear on the GE. i thought i just wanted comfort while driving, but now i wish i at least got the Advanced coils with adjustable dampers. Rears are getting uneven sag as well for anyone keeping track of the Tein street basis z lineup. driver side rear is half an inch lower than the passenger side...with me mostly driving by myself and weighing 165lbs. i hate uneven sag. the more i think about it, the more i think im going to contact Tein regarding the rear and seeing what i can possibly change.
keep us posted on your finding with the coilovers evilchargerfan!
i dont think itll help you much with your coils...but heres what Tein recommends in my manual...
and mounting my phone for use of the torque app has turned into a $hitshow! after this rendition...if it doesnt work im throwing the towel in for awhile.
Initially I just temporarily fabbed a plastic mount with velcro that more or less did its job. then i made it again with metal so it wouldnt be so floppy. then i used the metal bracket glued to the back of the protective phone case. then i realized i couldnt put the piece of the dash that goes right above the power plug back on since it sort of swings back into position and my bracket was in the way ..lol.
so i bought this magnetic phone mount.
i thought this was perfect as i didnt want to permanently mount the phone in case i needed to quickly pull it off if leaving the car for an extended period of time. first i tried just using heavy duty double sided 3m tape, which i knew wasnt going to stick to the texture of the console, even after a deep rubbing with alcohol..but i tried it anyways ...and came back to everything on the console.
then i tried gorilla epoxy gluing a screw to the backside of the phone mount and drilled a small hole in my console by the power plug. reinforced with double sided tape so it wouldnt spin. and put a nut on backside. mounted in car. came back to the car after the gym to everything fallen off on the console again. i let the gorilla epoxy dry for a day, maybe wasnt long enough. i fixed my fridge door with it about 6 months ago and it has held up. i chalk it up to too hot in the car and not enough contact surface.
so next i pulled the ball off and ran the screw with a washer through the plastic base for the ball. then i needed to grind the ball down on the backside so the ball would sit flush since the screw head protruded. then i glued the ball back in and mounted it back in the car. the ring on the frontside of the ball that looks like a washer (which is the actual magnet) allows the phone to pivot. it doesnt flop all over the place, but also doesnt stay in one place. so back inside i went, sanded the ball and jb welded the ring to the ball.
today i test it out and its almost there...but now it keeps dropping on one side. not a lot. but enough to piss me off. so i stop at the hardware store and buy some steel woodruff keys to make channels so it doesnt move. now im jb welding those. waiting for them to dry, then i will sand them down a bit since i plopped jb all over the place and they look like hell right now. or maybe not. this is just like everything else i do...never just plug n play. always needing something extra. best part is theres probably a perfect solution that i could have just purchased n been done with it. im like 6 tries in. if this doesnt hold up im done
I used a similar magnetic mount on the steering column for my phone.
It blocks the lower part of the display (where the trip meter, odo, mpg, oil life) reside, but the app makes up for that with more data fields.
Nice...has it been working out for you and staying put? I thought of placing mine there too but couldnt get use to the slight blockage of the dash display.
My final attempt has been holding up so far. I sanded the jb weld smooth and painted the ball, magnet and jb weld flat black. It has been holding the phone exactly where I want it and doesnt wobble around, and is easy to remove phone if needed. final steps will be to redo the vinyl on the phone and run the usb power cable into the dash crack above the panel the phone mount is on.
I purchased a pair of Kumho Pa31 185/55/16 for my front wheels to match my rear pair. tires came mismatched when I purchased the car and it has always bothered me. One of the fronts also had a slow leak of about 3-4psi per month, which turned out to be a cut on the bead. I wanted to replace all 4 tires with some 205/50 but my rear tires are still 3/4 good. Might buy new wheels next spring so minimizing cost on OE wheels.
Thanks to the "what did you do to your fit today" thread, I "programmed" my car to unlock all 4 doors at once when I put vehicle in park. No more getting frustration and button pressing to get into back doors after I park!
Nice...has it been working out for you and staying put? I thought of placing mine there too but couldnt get use to the slight blockage of the dash display.
My final attempt has been holding up so far. I sanded the jb weld smooth and painted the ball, magnet and jb weld flat black. It has been holding the phone exactly where I want it and doesnt wobble around, and is easy to remove phone if needed. final steps will be to redo the vinyl on the phone and run the usb power cable into the dash crack above the panel the phone mount is on.
The only downside has been having my old, retired phone exposed to the sun. The high-temp warning on the phone has come in a few times during the hotter-than-usual days we experienced here in SoCal recently. The phone is small though (iPhone 5S), so it does not take up as much real estate as, well, pretty much any other phone out there. Even still, the part of the speedo below 20 and above 120mph are blocked. I can live with that.

 07-01-2018, 09:56 PM