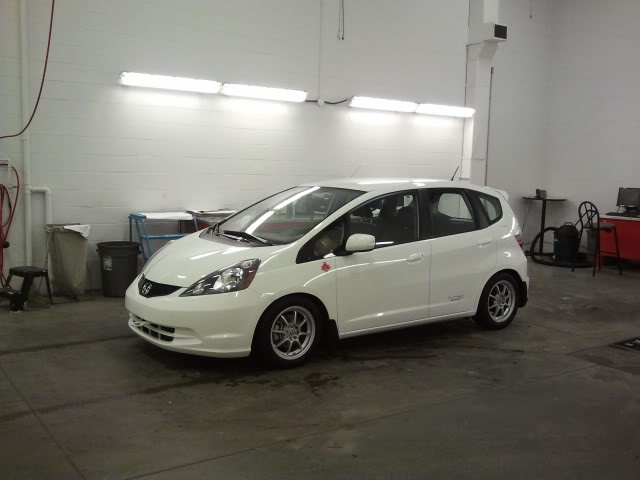
Scott's Canadian TW GE8 LX V2.0
#1
Scott's Canadian TW GE8 LX V2.0
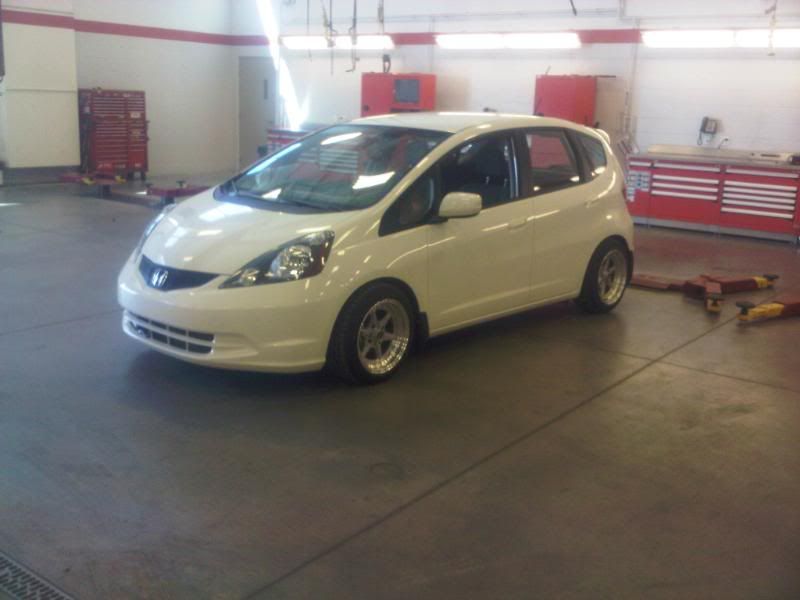
Well.. I had a thread here before, but I re-organized my photos in my hosting account and I guess I killed all the photo links. So I'm starting over.
From the top.
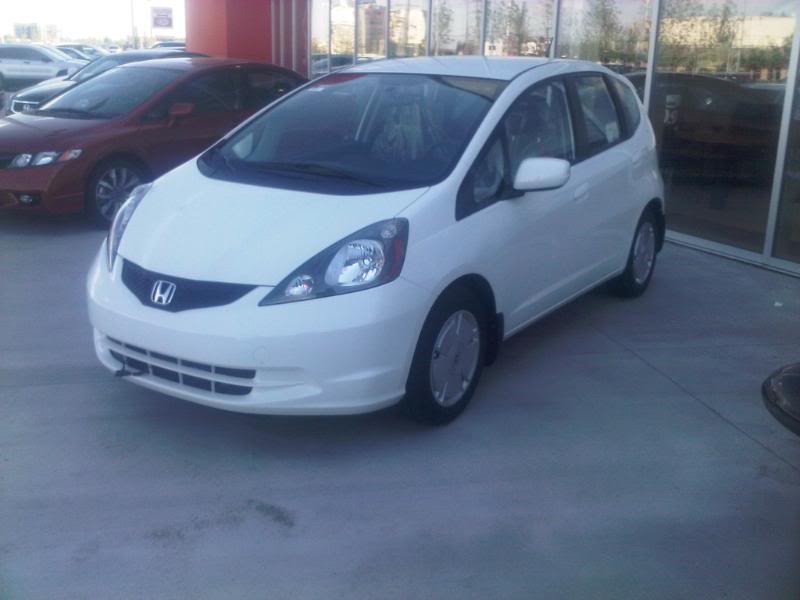
July 2010! Scoping her out, plastic still on the seats with 21km on it
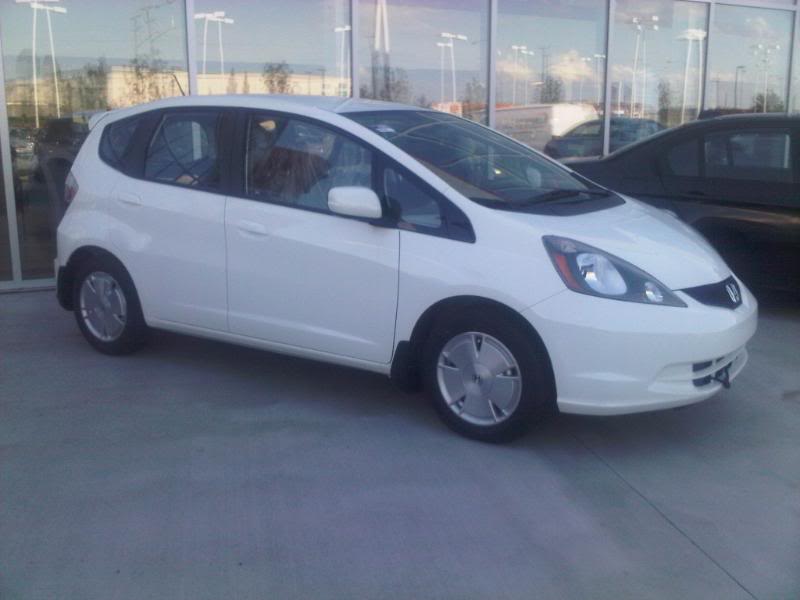
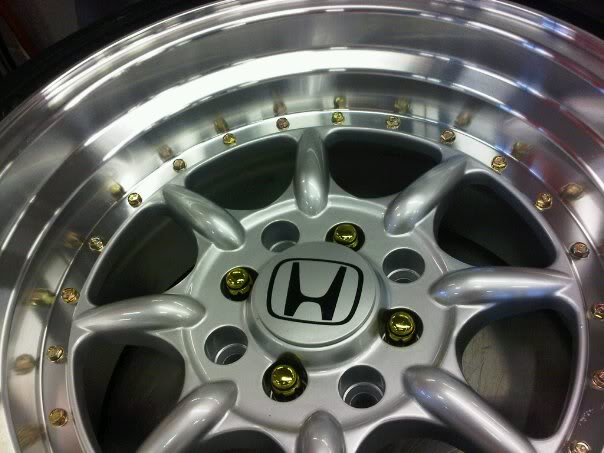
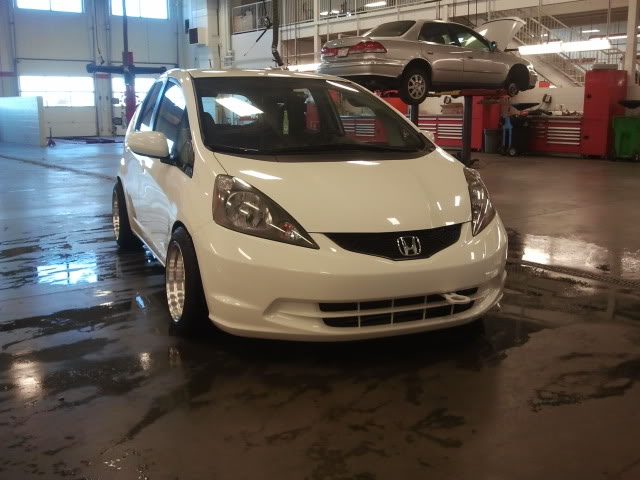
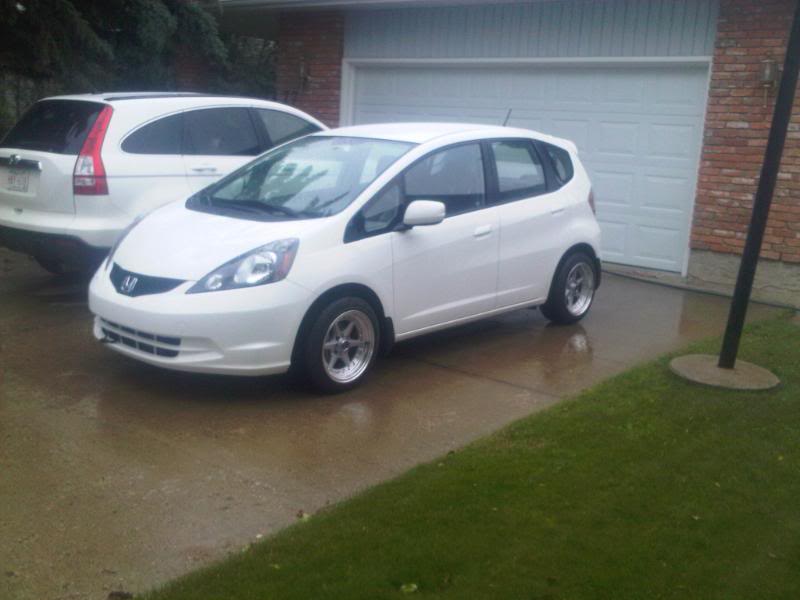
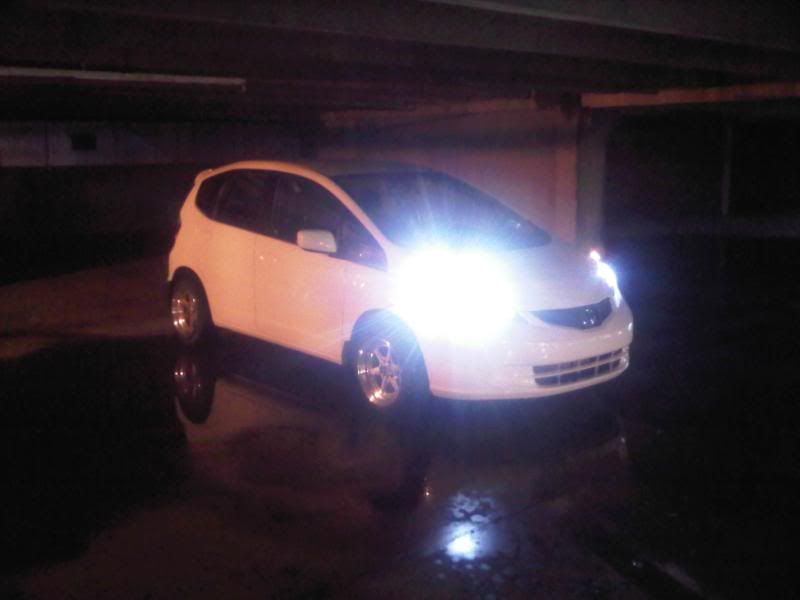
First mod: My XXR 501s and HIDs from my previous SiR. Still a monster truck.
From the top.
July 2010! Scoping her out, plastic still on the seats with 21km on it


First mod: My XXR 501s and HIDs from my previous SiR. Still a monster truck.


#3
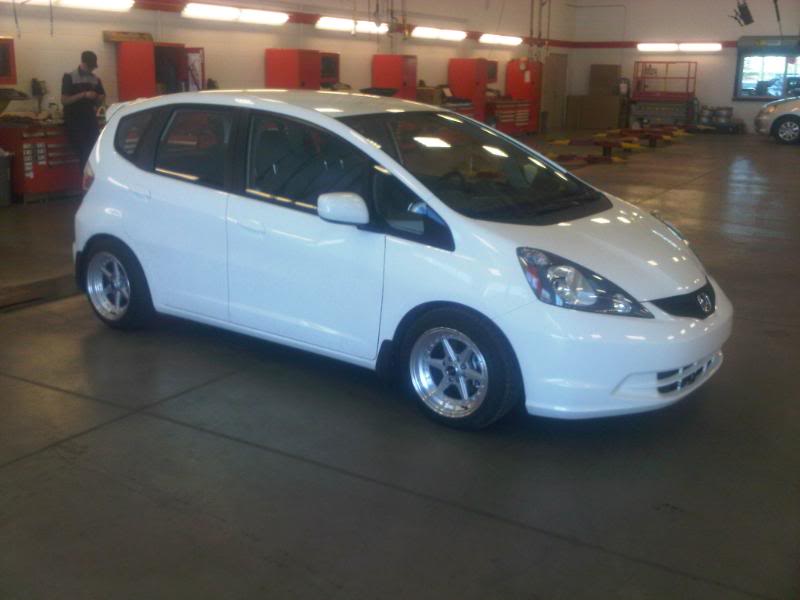
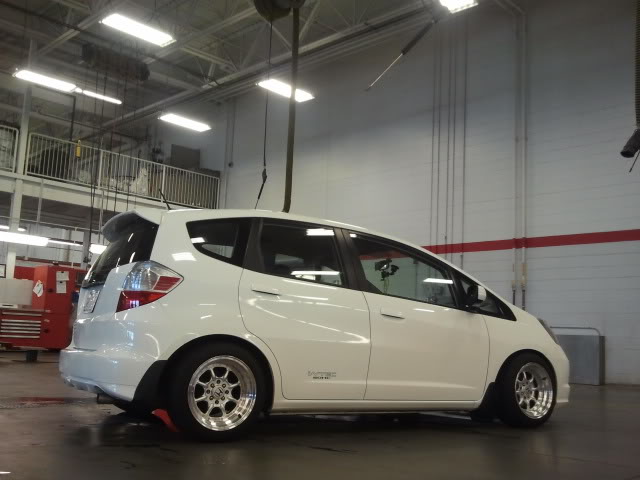
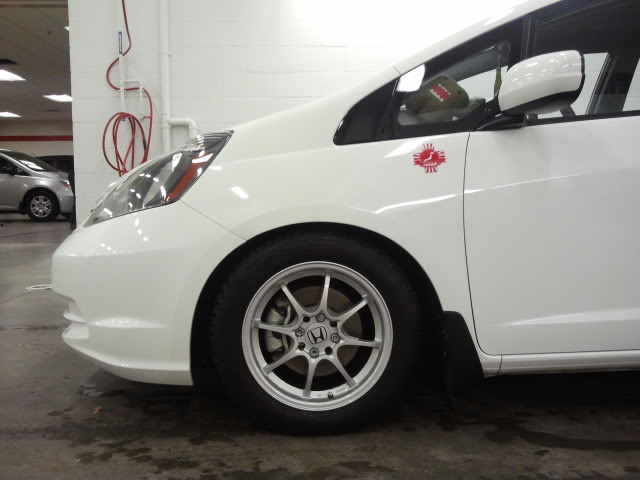
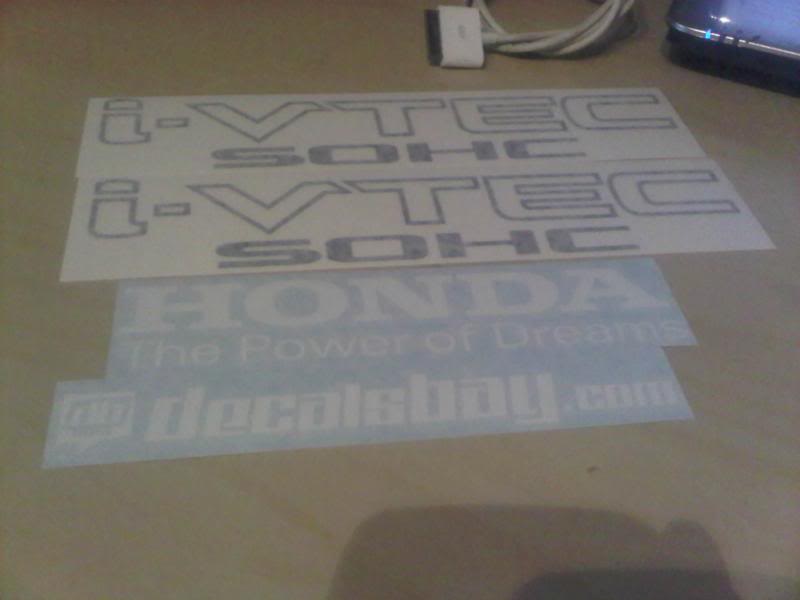
Next up.. ordered some I-VTEC SOHC decals, as a knock off of the Si decals. Many people ask me if my fit is a Sport. And I laugh.
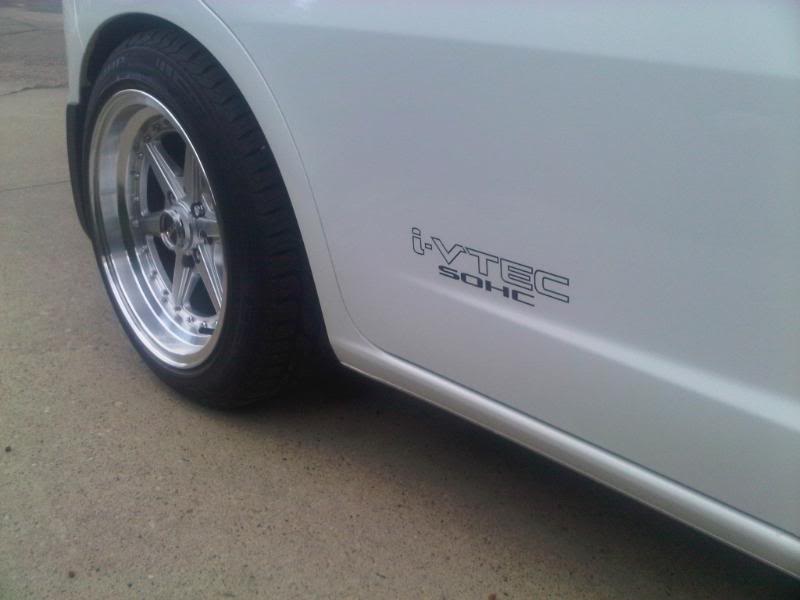
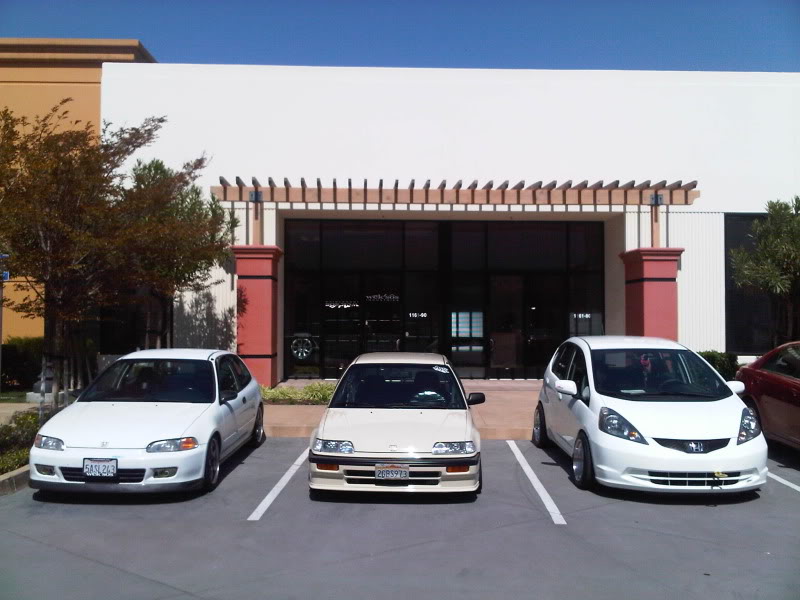
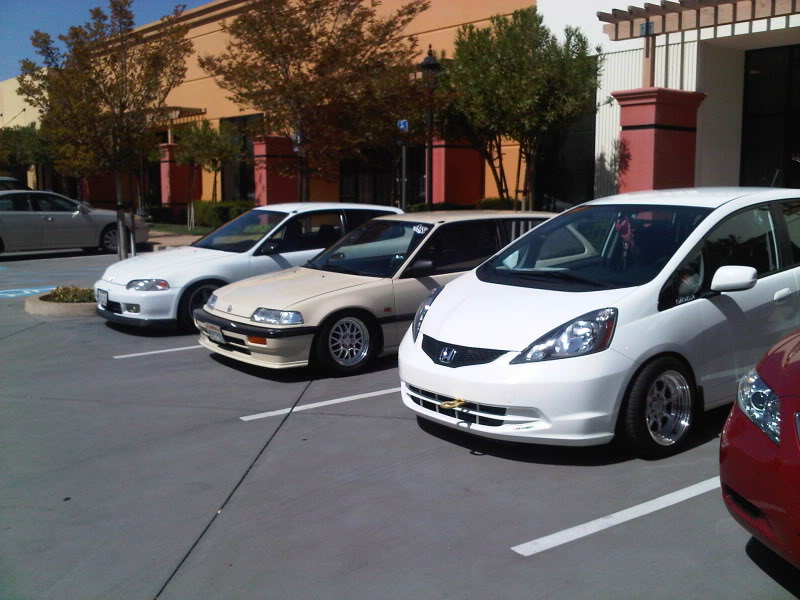
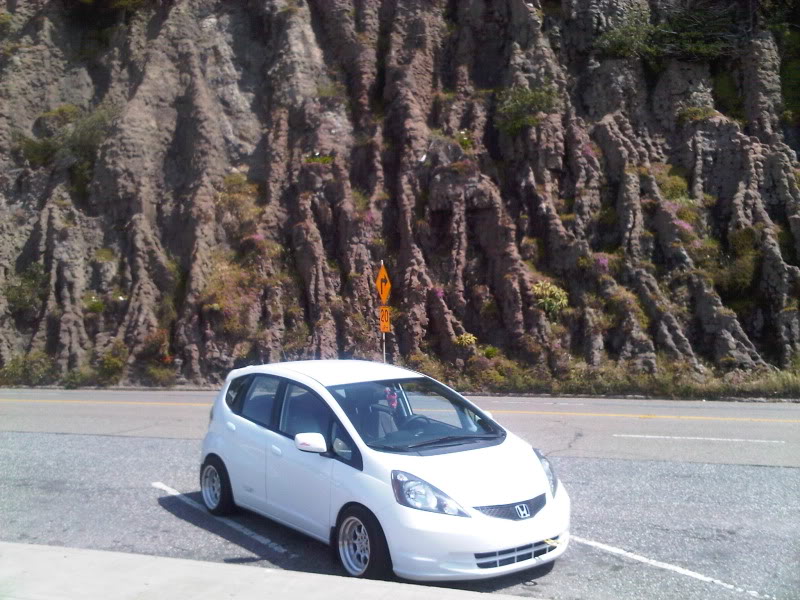
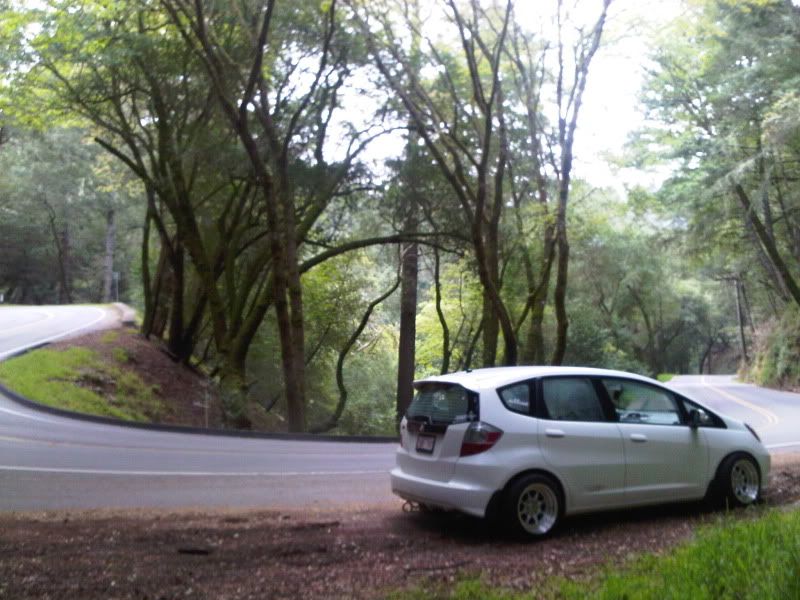
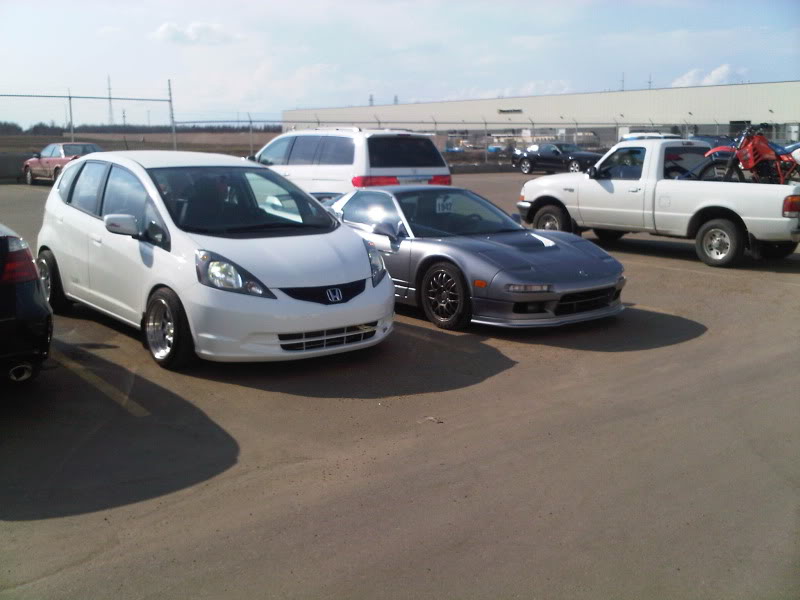
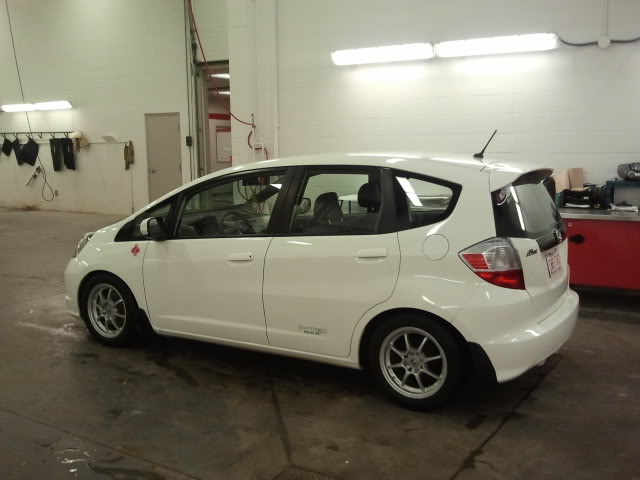
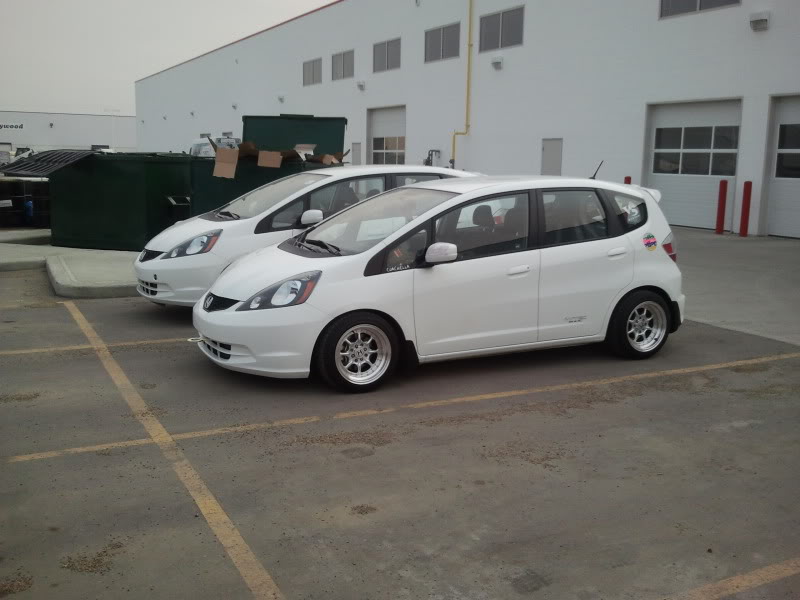
It stayed at this stage for awhile.. heres some snaps
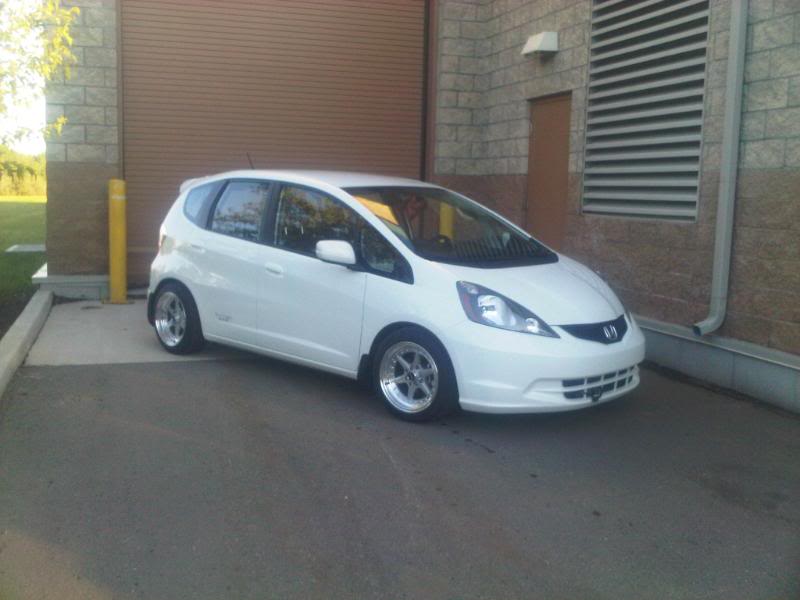
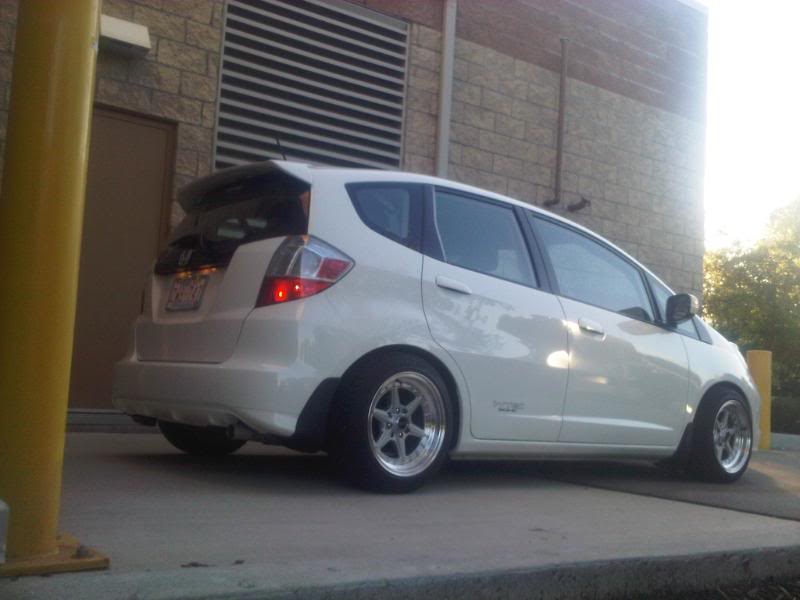
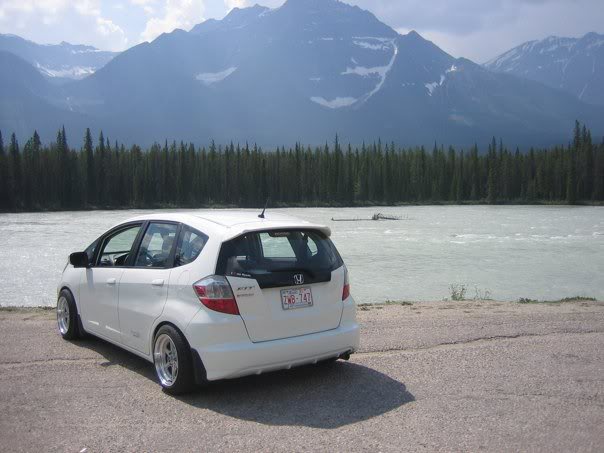
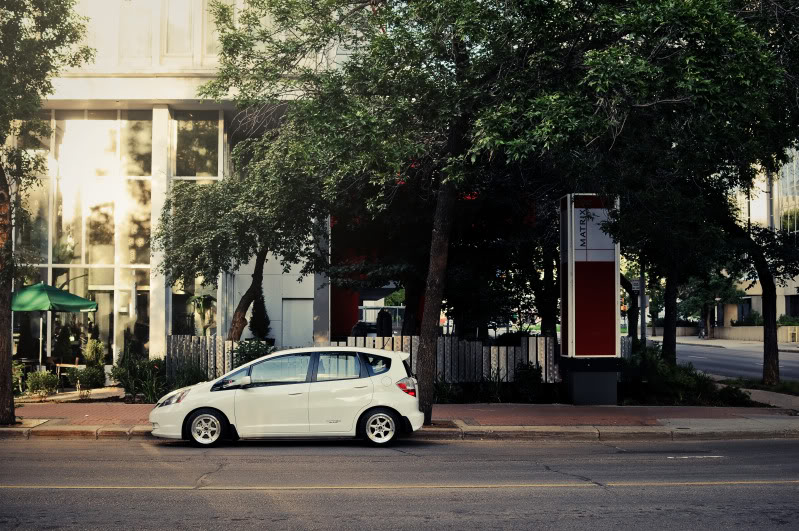

^^^This picture made it into Import Tuner
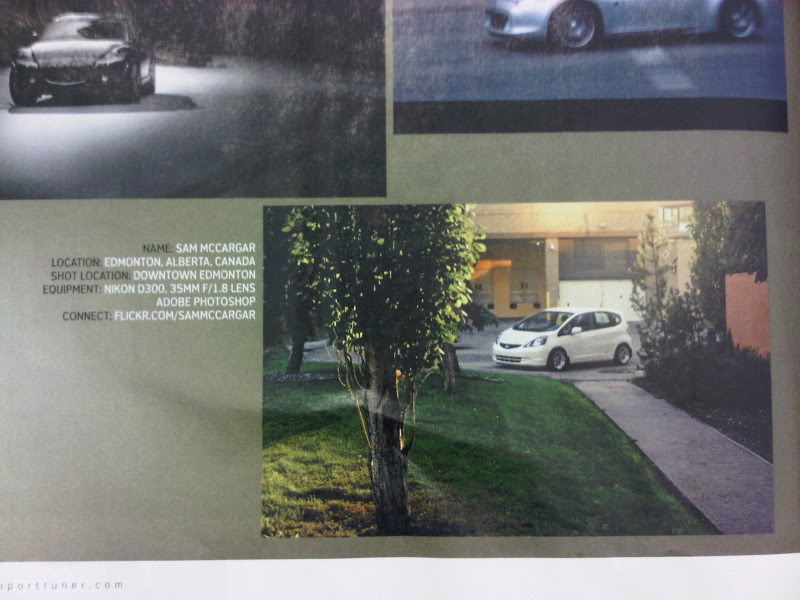


It stayed at this stage for awhile.. heres some snaps


^^^This picture made it into Import Tuner

#4
Moar mods!!!
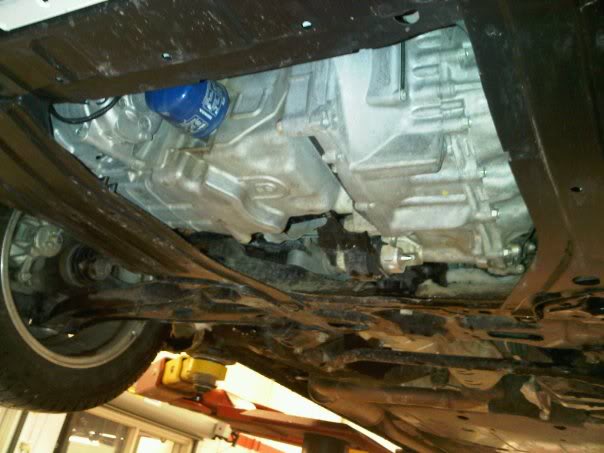
From this:
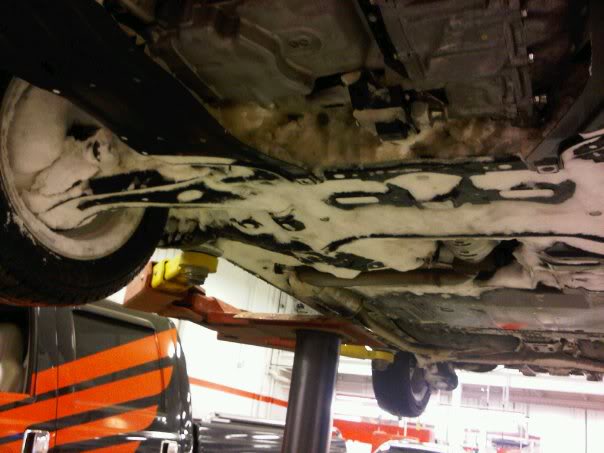
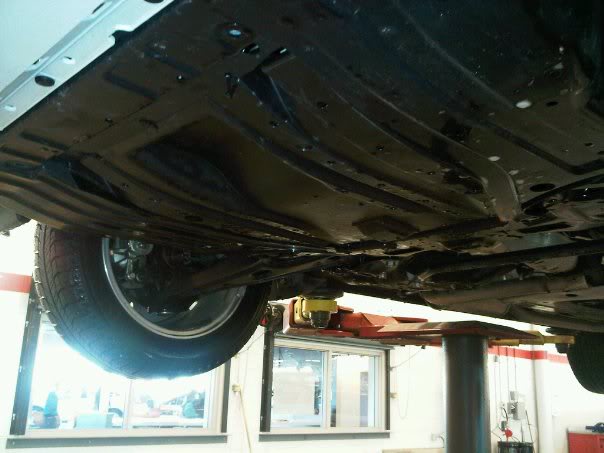
To this:
To this:
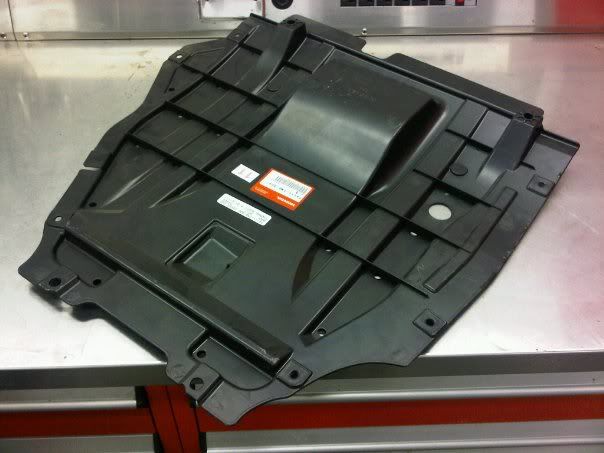
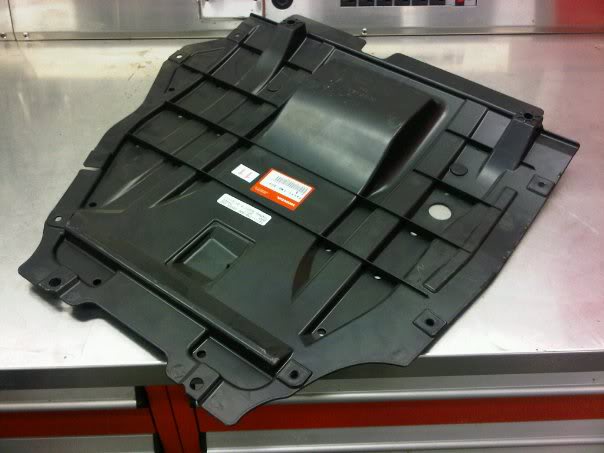
Using this:
EDIT FEB 1 2012.
It seems the above images involving the installation of the under engine splash shield have generated a large amount of interest. If you think its a good idea and especially if you think you're going to do it yourself on your GE, don't forget to +rep! In an effort to reduce repetitive pm's and posts directed towards me I will reveal the mystery.
The under engine splash shield is a Honda factory part from the CR-Z. It cost me about 50$. It took about an hour to install (with the car raised on a hoist), taking my time and being picky. My primary fastener is zip ties that I just snip off and replace whenever I need to see the underside of the engine, ex. oil changes etc. Very easy to retrofit.
...+REP!! Thanks for reading.
-Scott
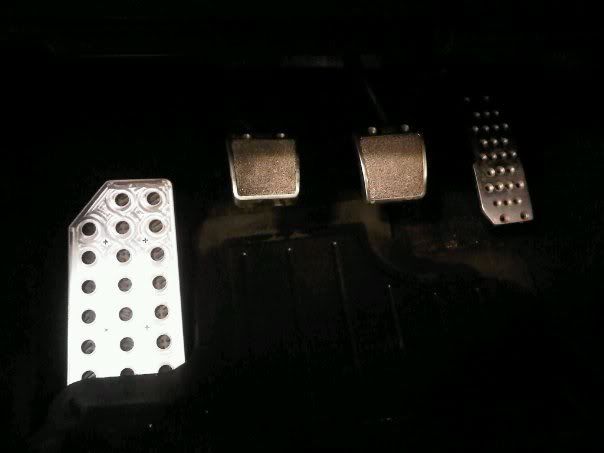
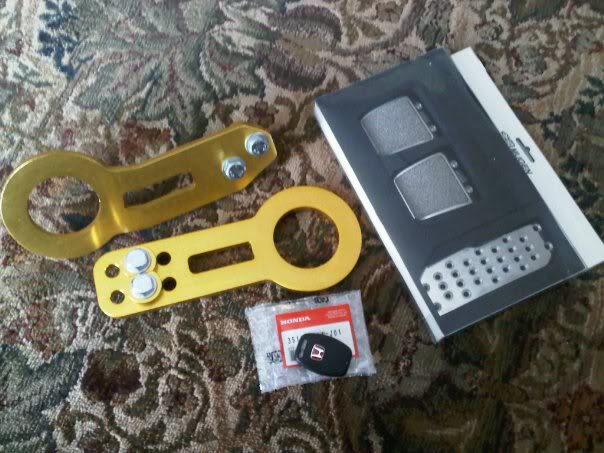
Mugen pedals
FD2 key fob cover
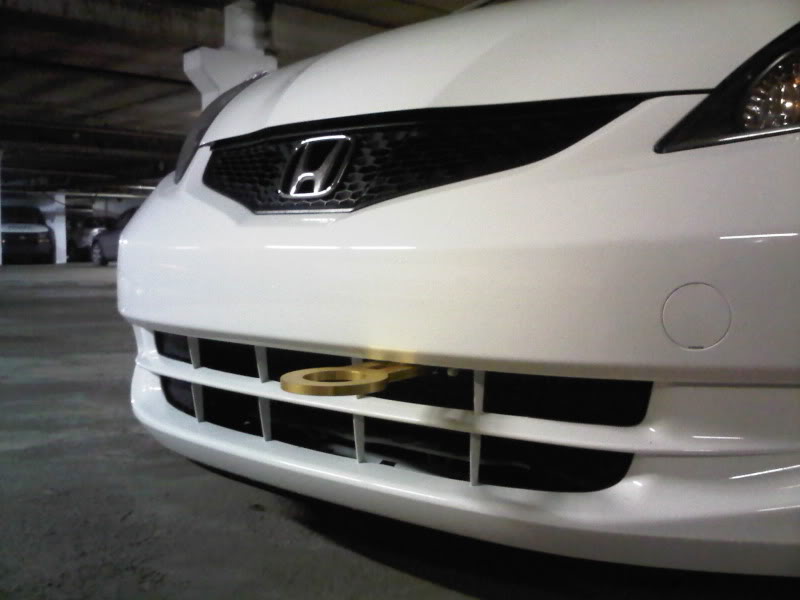
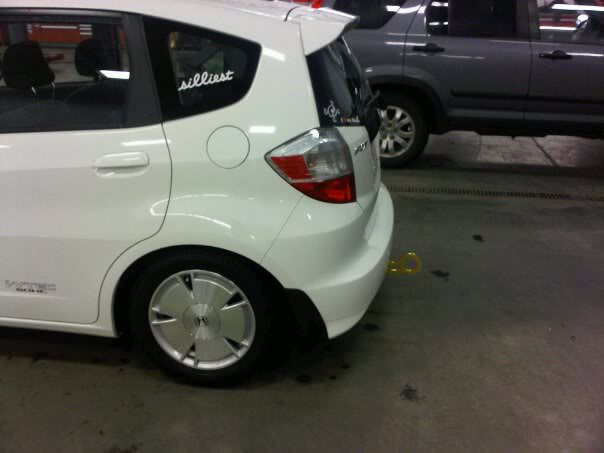
Towhooks
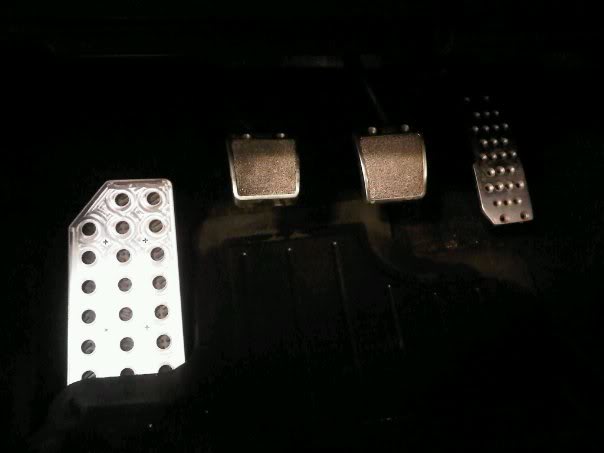
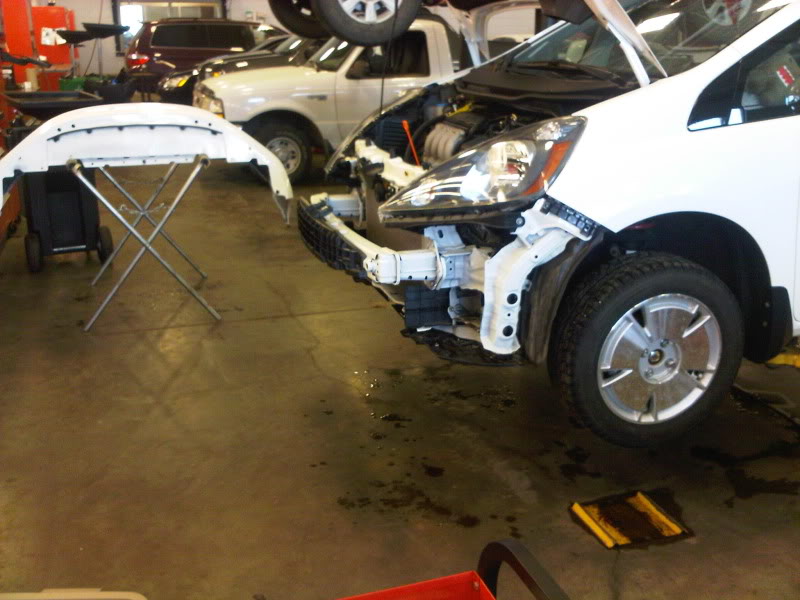
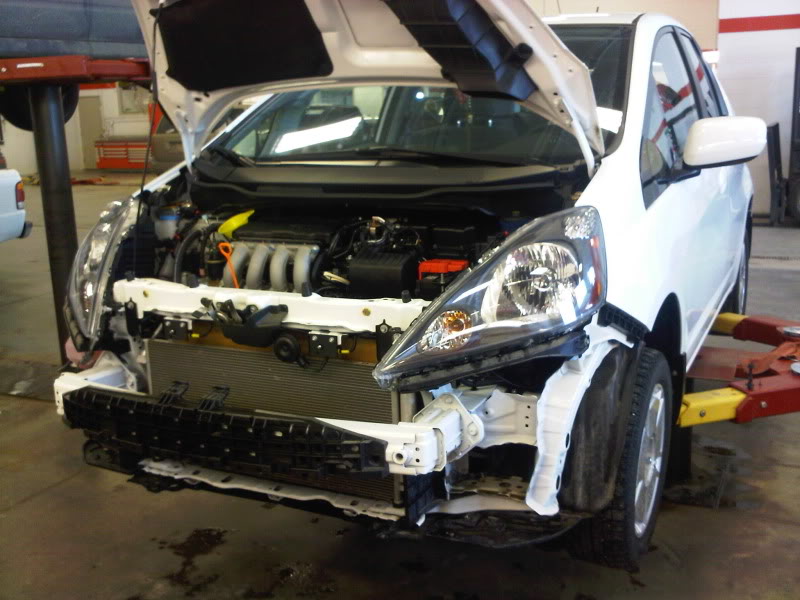
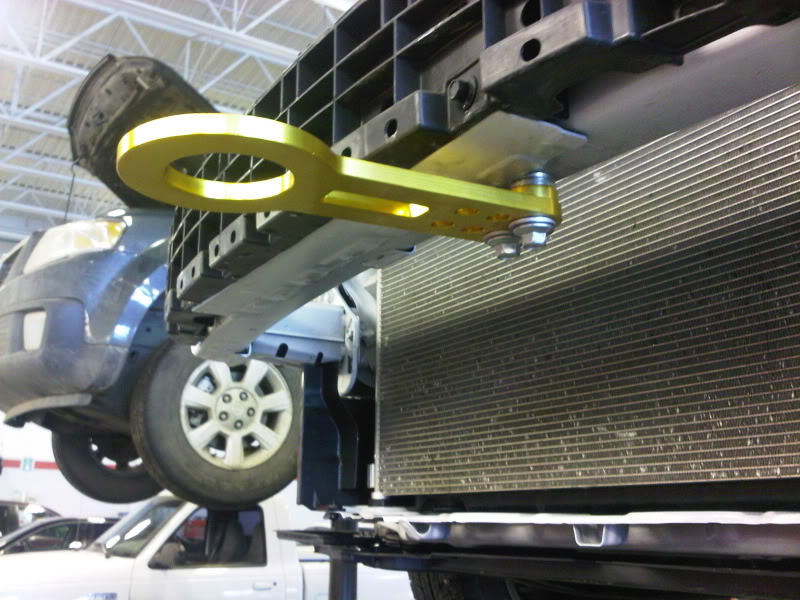
From this:

To this:

To this:

Using this:

EDIT FEB 1 2012.
It seems the above images involving the installation of the under engine splash shield have generated a large amount of interest. If you think its a good idea and especially if you think you're going to do it yourself on your GE, don't forget to +rep! In an effort to reduce repetitive pm's and posts directed towards me I will reveal the mystery.
The under engine splash shield is a Honda factory part from the CR-Z. It cost me about 50$. It took about an hour to install (with the car raised on a hoist), taking my time and being picky. My primary fastener is zip ties that I just snip off and replace whenever I need to see the underside of the engine, ex. oil changes etc. Very easy to retrofit.
...+REP!! Thanks for reading.
-Scott
Mugen pedals
FD2 key fob cover
Towhooks


Last edited by AcousticAudio; 02-01-2012 at 09:49 PM.
#12
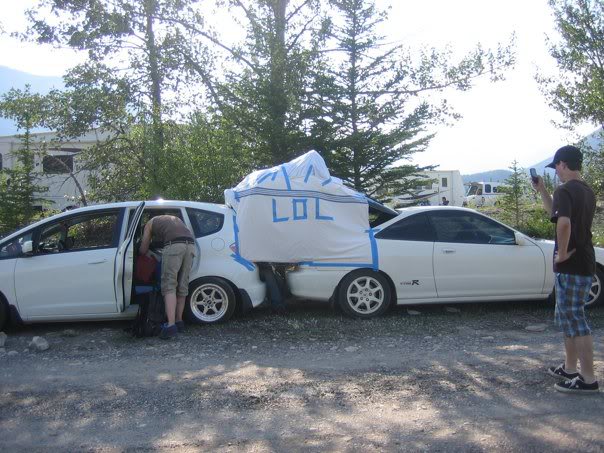
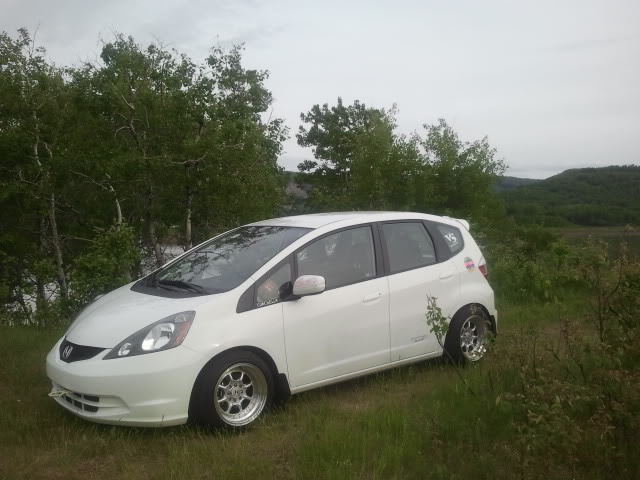
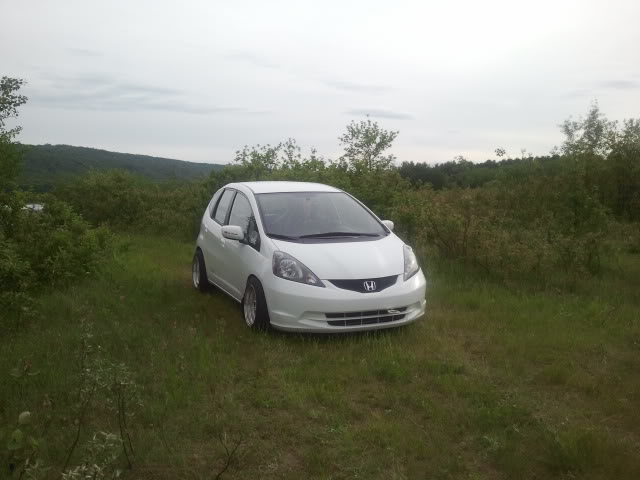
Camping
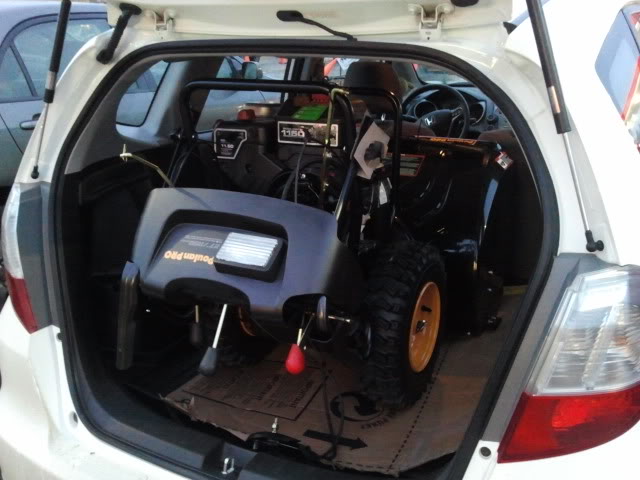
Snowblower
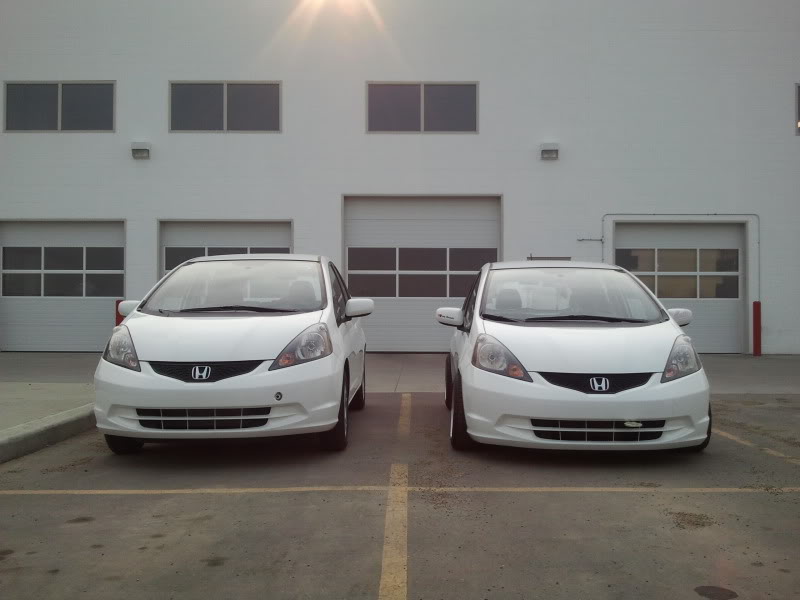
Before and after
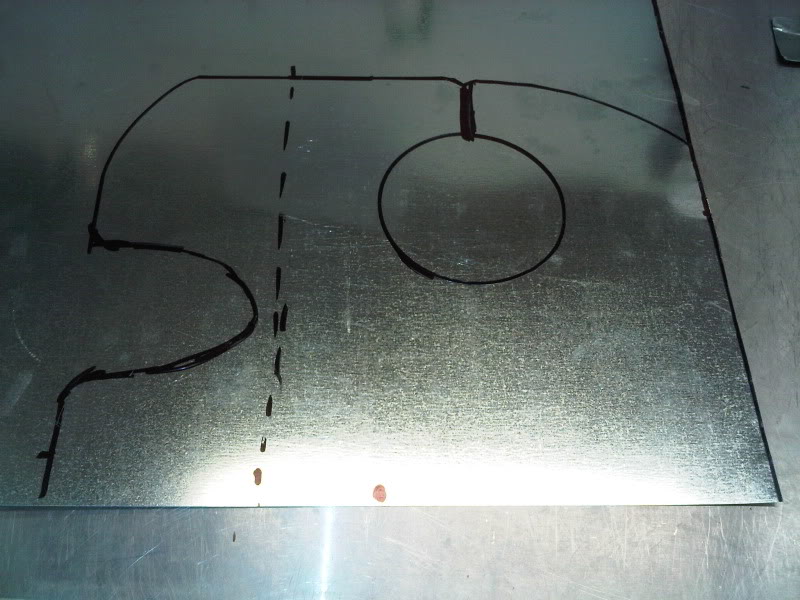
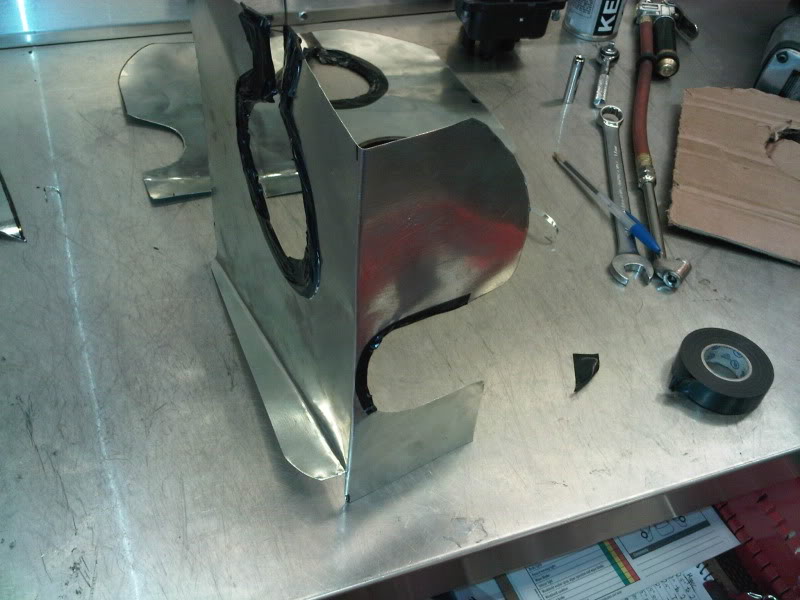
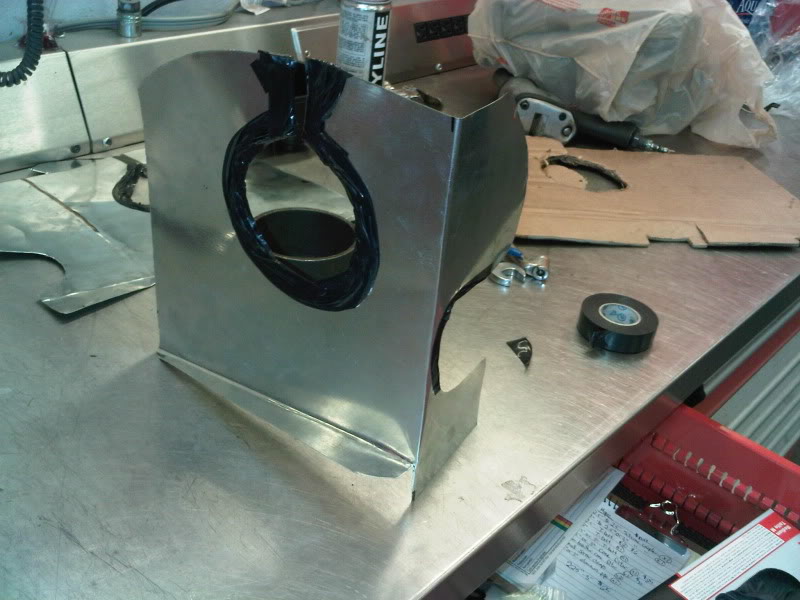
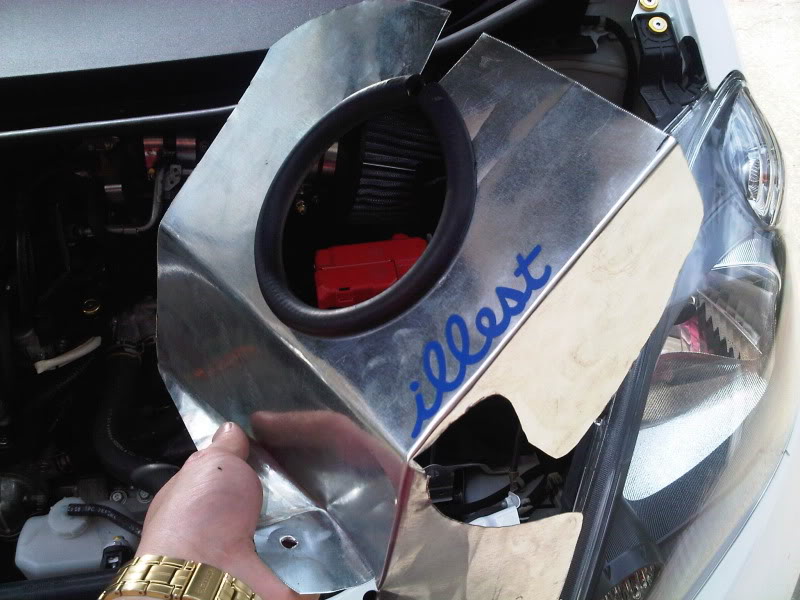
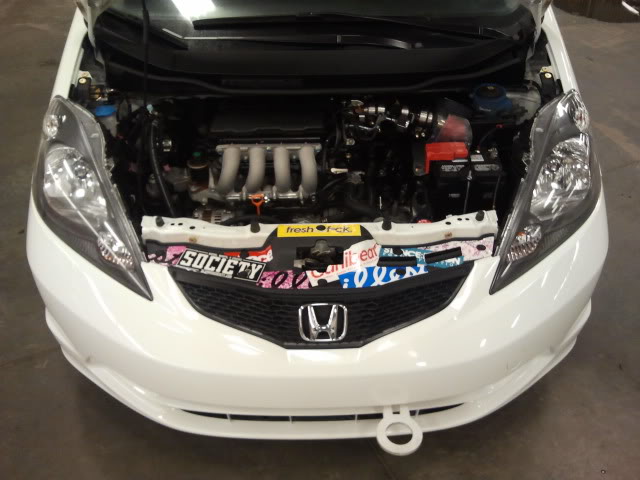
Working on stickering up the rad cover. Sticker donations accepted!
Upcoming mods I'd like to do:
T1R X-brace
T1R front lower tie bar
T1R subframe brace
JDP Base CF lip
JDP CF rear diffuser
And I also have a map light w/ HomeLink module in the mail, stay tuned for the install of that later.


Snowblower


Before and after


Working on stickering up the rad cover. Sticker donations accepted!

Upcoming mods I'd like to do:
T1R X-brace
T1R front lower tie bar
T1R subframe brace
JDP Base CF lip
JDP CF rear diffuser
And I also have a map light w/ HomeLink module in the mail, stay tuned for the install of that later.
#14

The plastic is the under-engine splash shield from a 2011 CR-Z. Available at your local Honda dealer for about $40 or $50 I believe. Very easy to retrofit.
And no, the dead pedal is from Zeta Products.
09 + Honda Fit Dead Pedal Cover
#17
Thanks 
The plastic is the under-engine splash shield from a 2011 CR-Z. Available at your local Honda dealer for about $40 or $50 I believe. Very easy to retrofit.
And no, the dead pedal is from Zeta Products.
09 + Honda Fit Dead Pedal Cover

The plastic is the under-engine splash shield from a 2011 CR-Z. Available at your local Honda dealer for about $40 or $50 I believe. Very easy to retrofit.
And no, the dead pedal is from Zeta Products.
09 + Honda Fit Dead Pedal Cover


#18
@Xcelir8Fit, Glad to see someone putting it to use!! Nice bracing btw what brand is it?
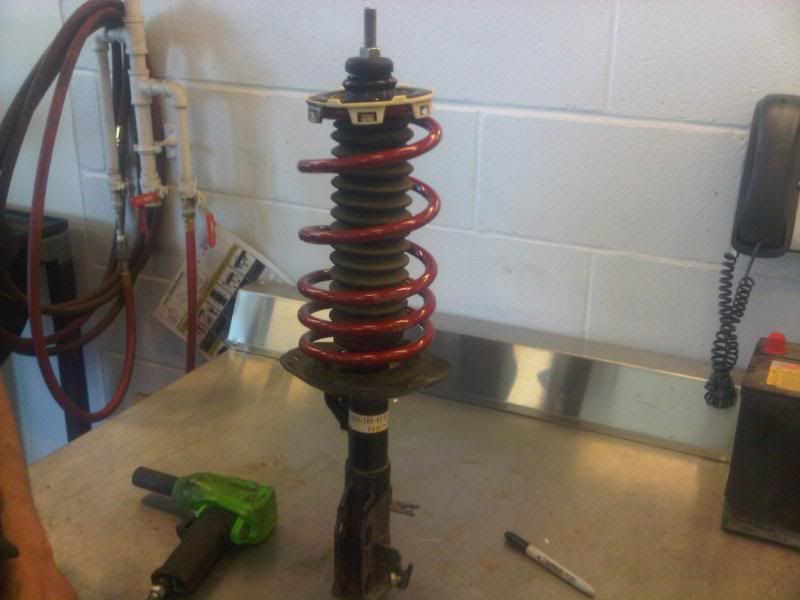
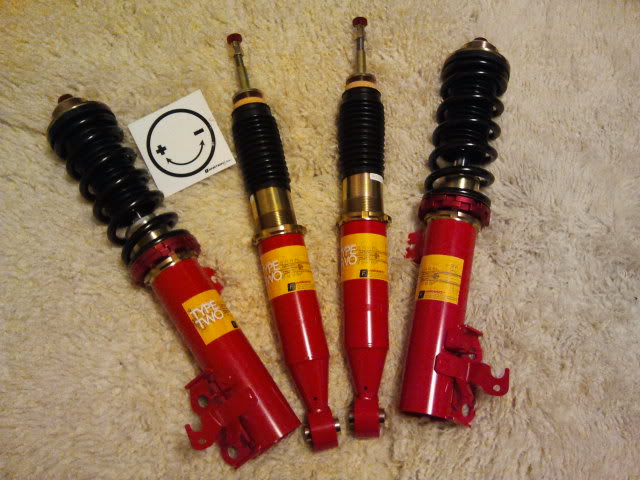
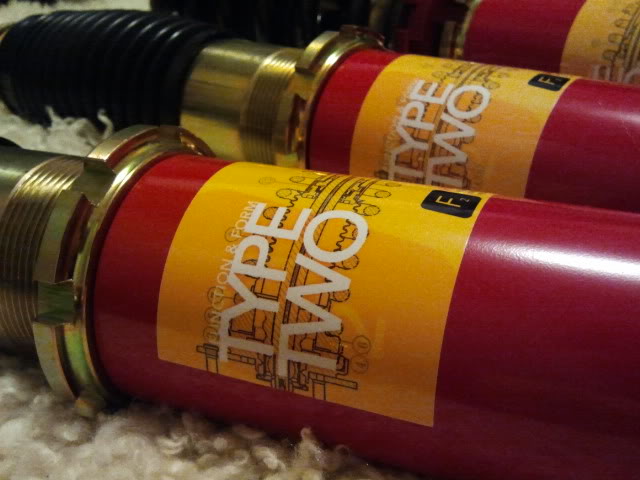
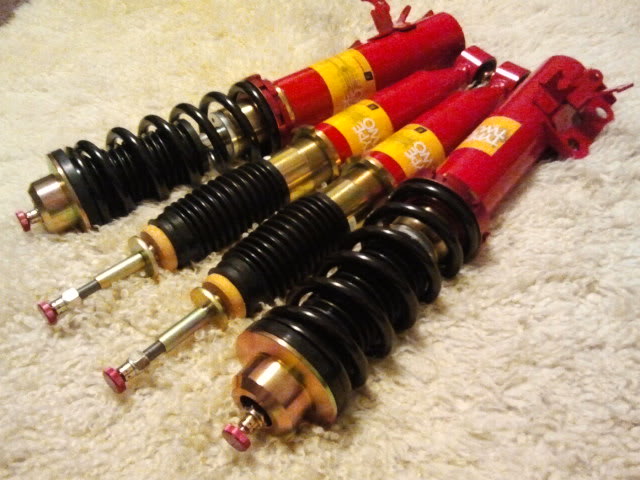
Well I started installing my coilovers.
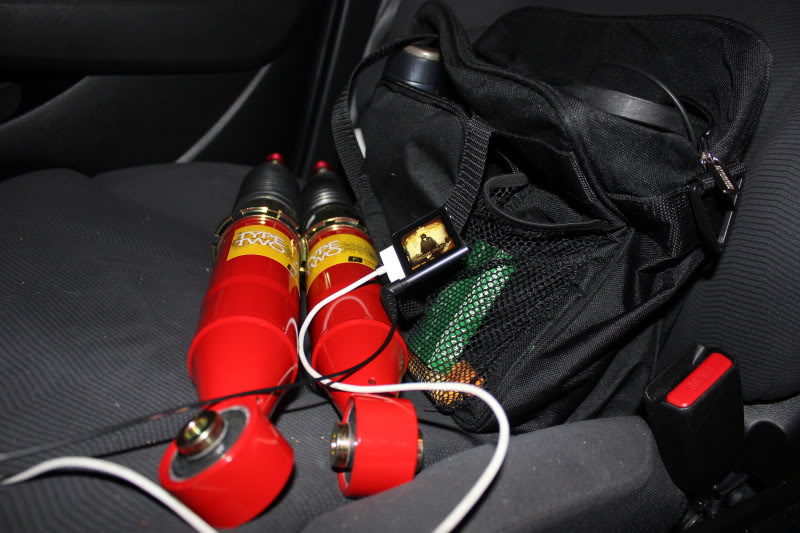
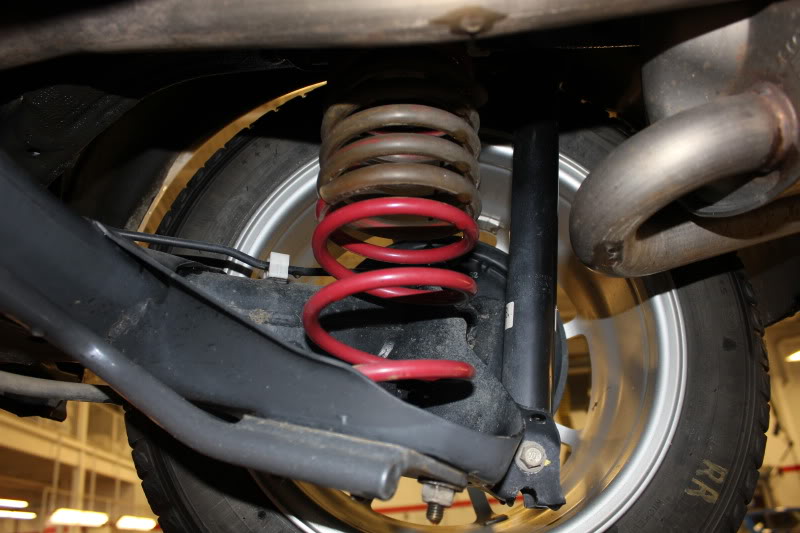
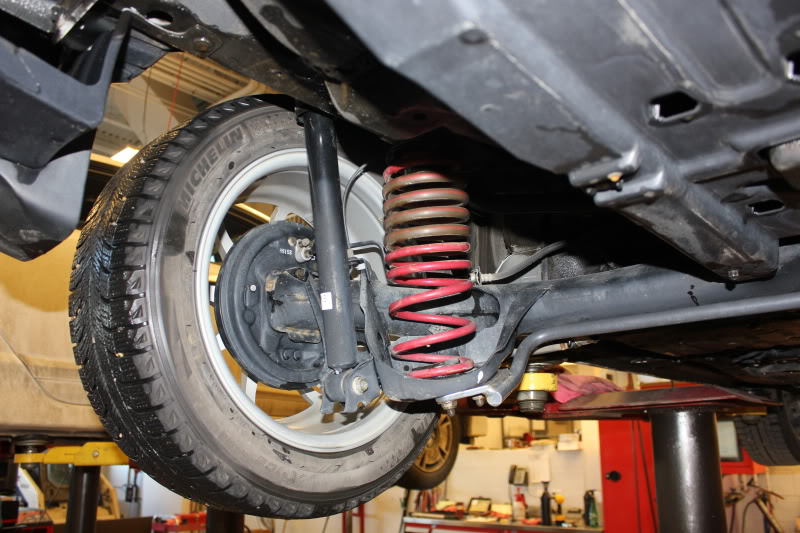
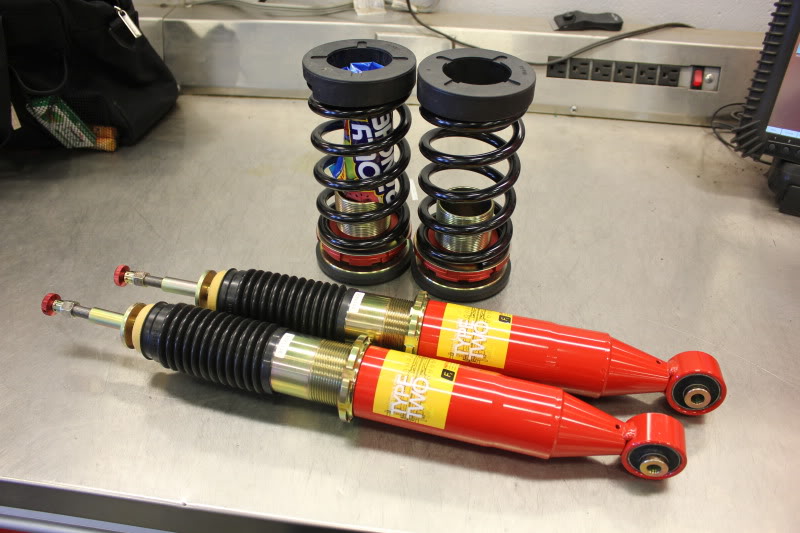

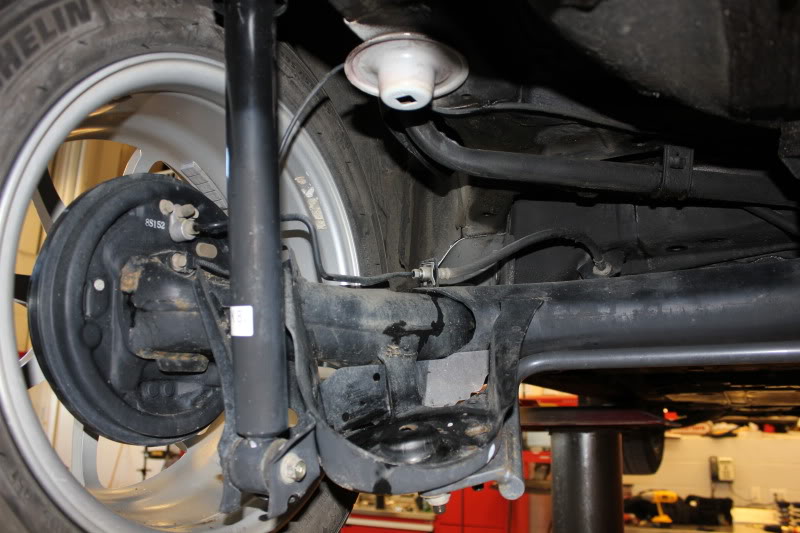

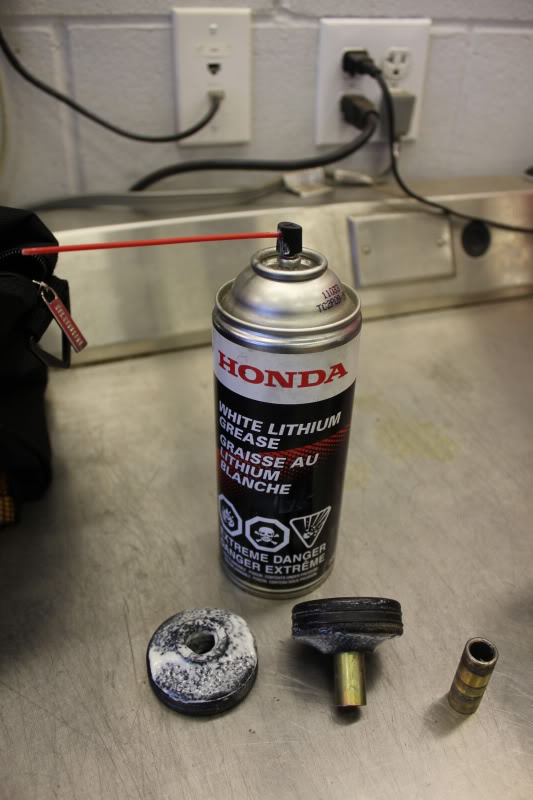
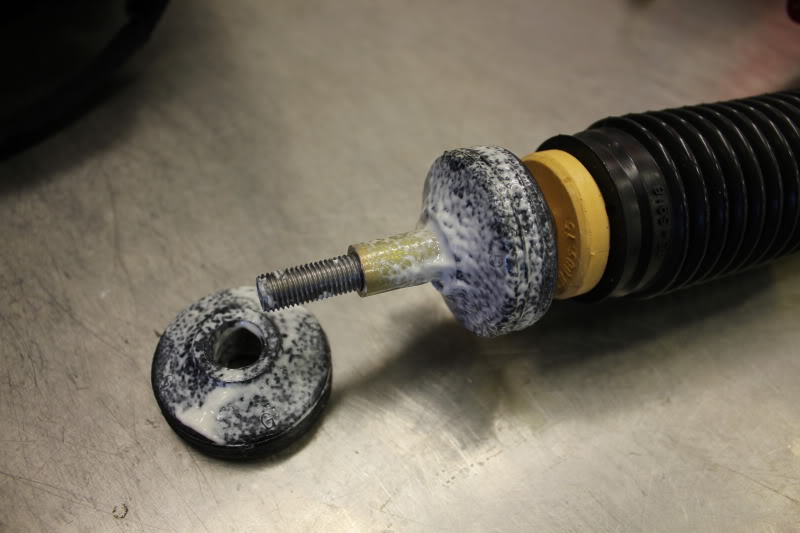
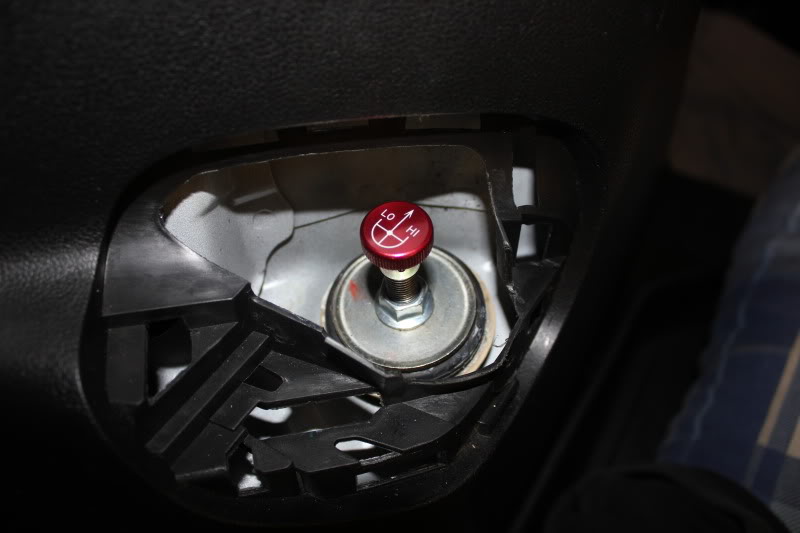

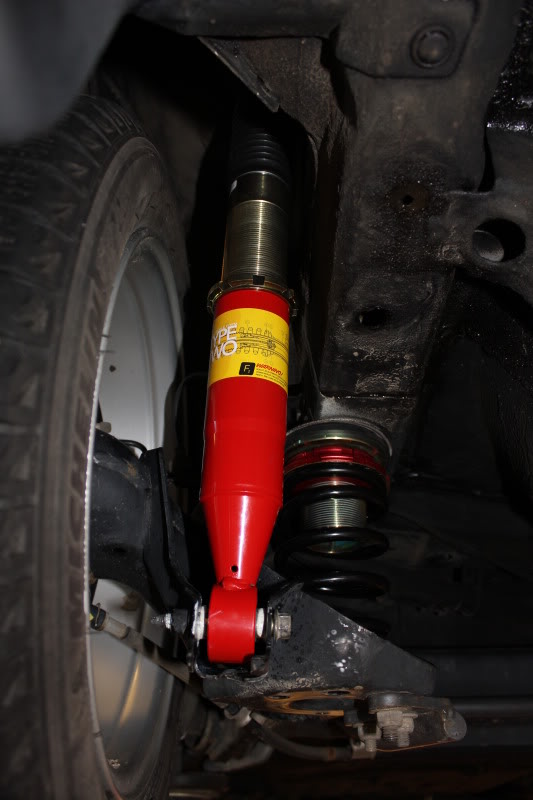
I decided to throw a 100-pound pull zip tie around the bottoms of the boots to secure it.

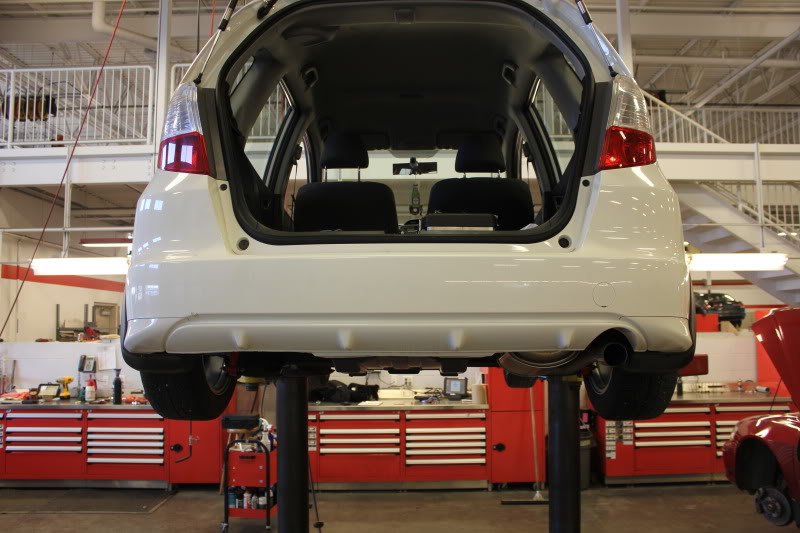
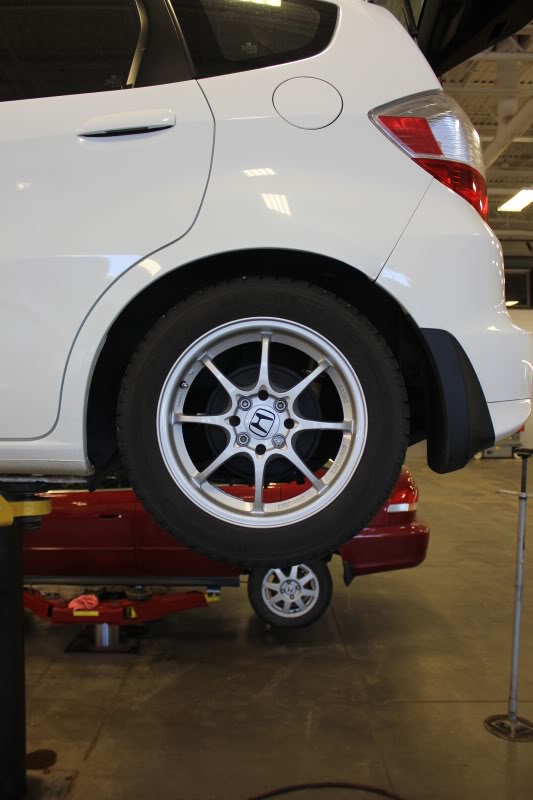
Well I started installing my coilovers.


I decided to throw a 100-pound pull zip tie around the bottoms of the boots to secure it.


Last edited by AcousticAudio; 01-13-2012 at 04:44 PM.
#19
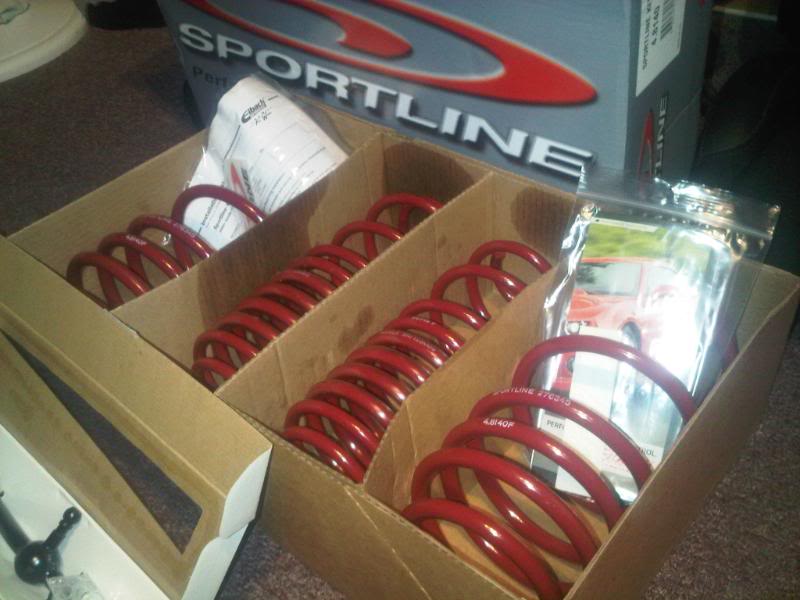
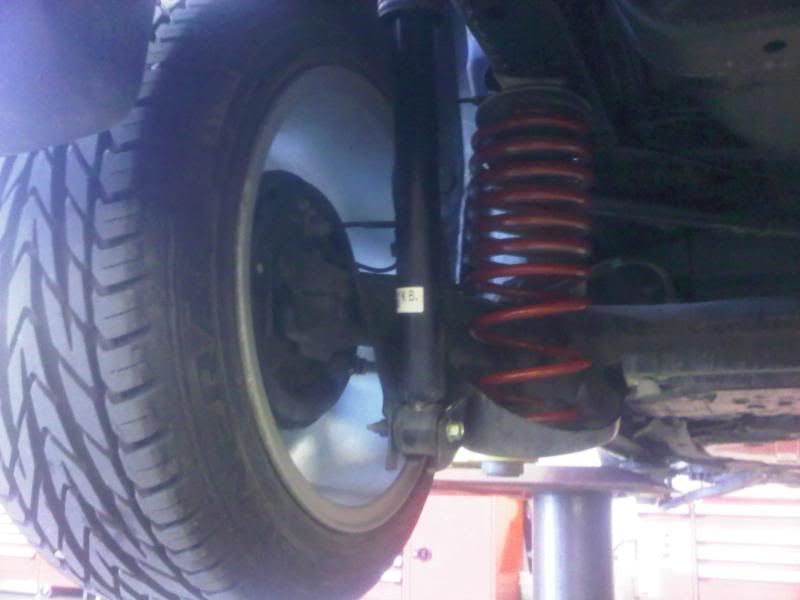
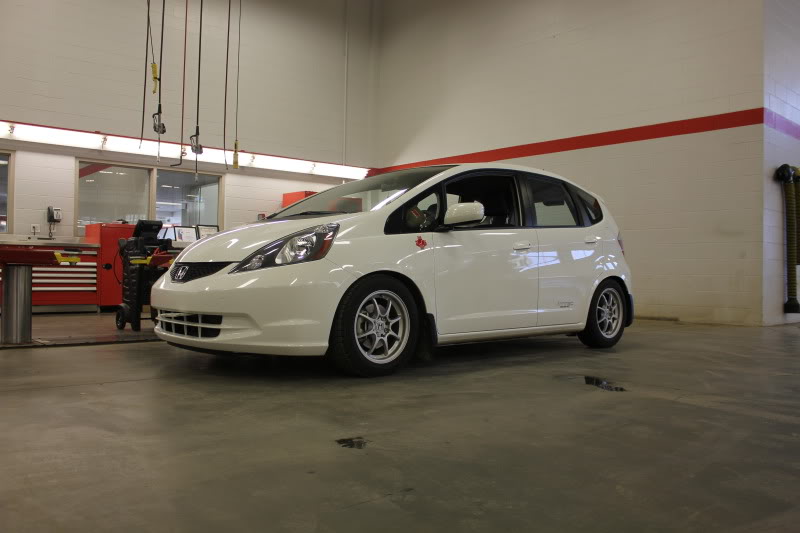
With the Eibach springs, the rear was about 0.5" to 1" higher then the front, so for now until I get the fronts installed I just lowered the rear to level it out. Once I've got them all on I may go another inch all around.
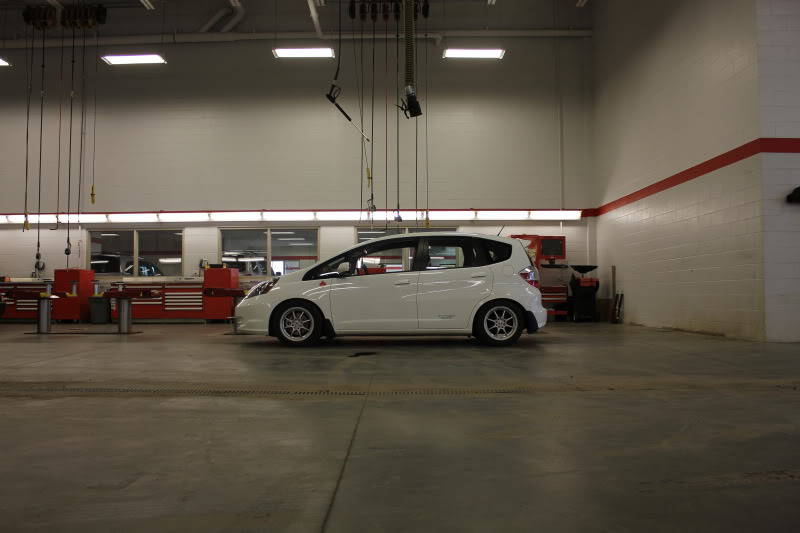
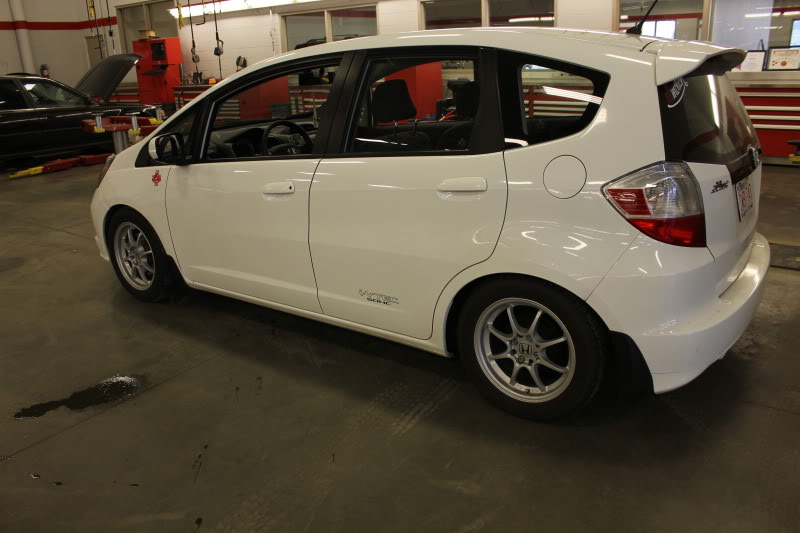
And the fronts will be going in soon.
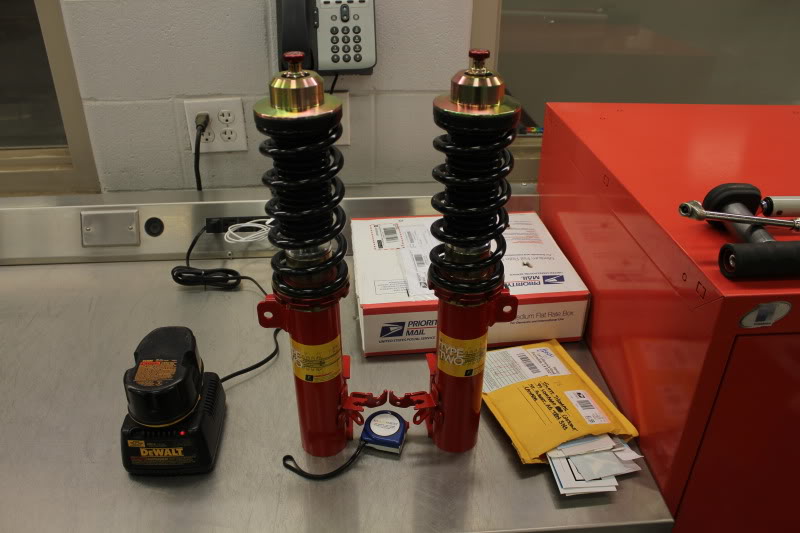
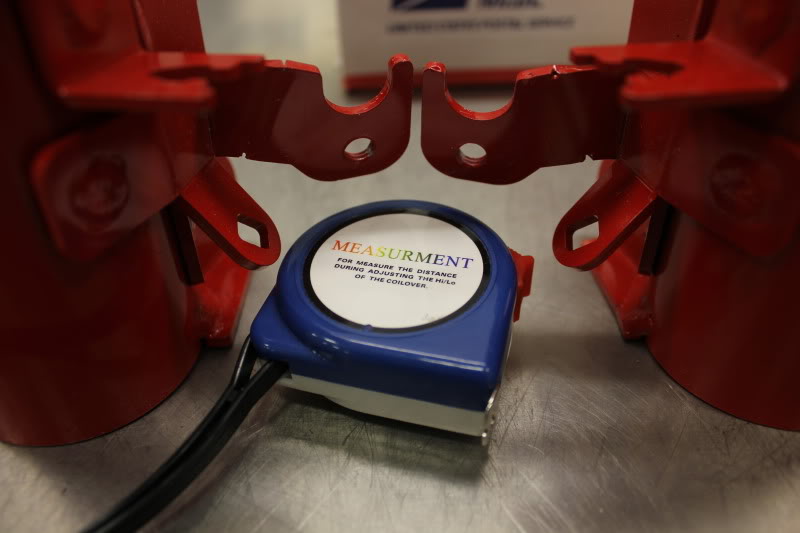


And the fronts will be going in soon.


