Headlight & turn signal replacement for dummies
#1
Headlight & turn signal replacement for dummies
Ok that was a little rude to call all of those out there dummies if you do not know how to change your Fit's headlights.
But I ran into a couple of speed bumps you might say while doing this so I just wanted to do a step by step process to all the newbies that may be wondering what to do next.
First you will want to order some bulbs. For the main headlight it is called a 9003 or a H4. I find that 9003 is an older term for this bulb and got a lot more results by searching for H4.
For your front turn signals it is called 7507A but i bought the Silver Stars so the number is 7507A ST. If you buy LED's they are a different number and someone else may add a comment on what they are called.
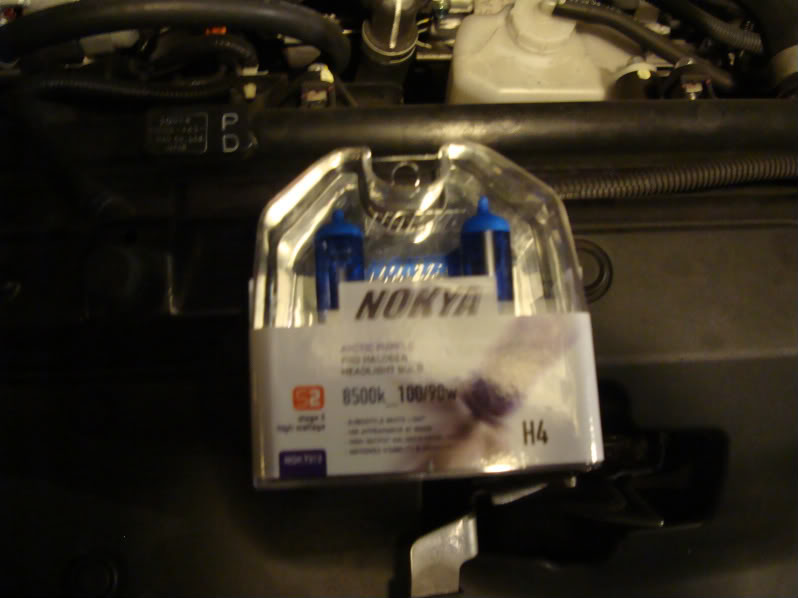
I bought these Nokya 8500 Arctic Purple for $17 US dollars off of amazon.
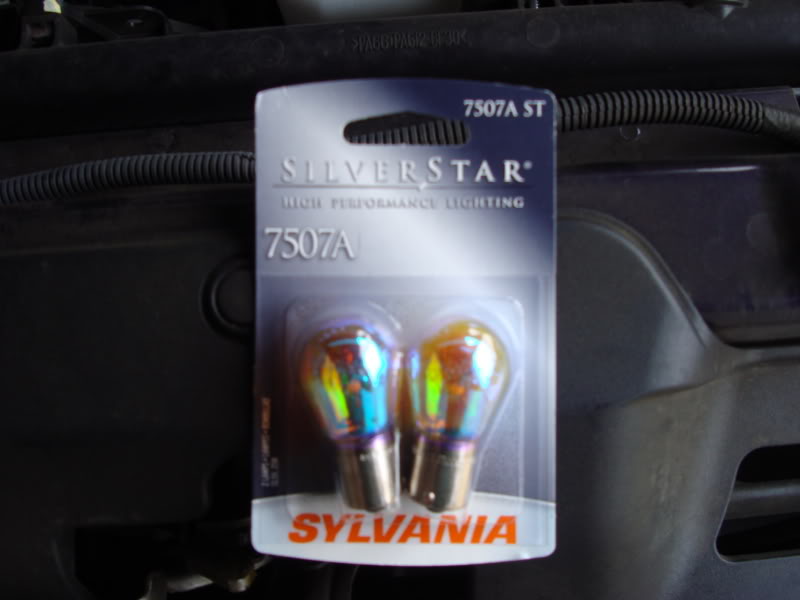
These Sylvania Silverstars for $10 US dollars for the pair.
Before install at night
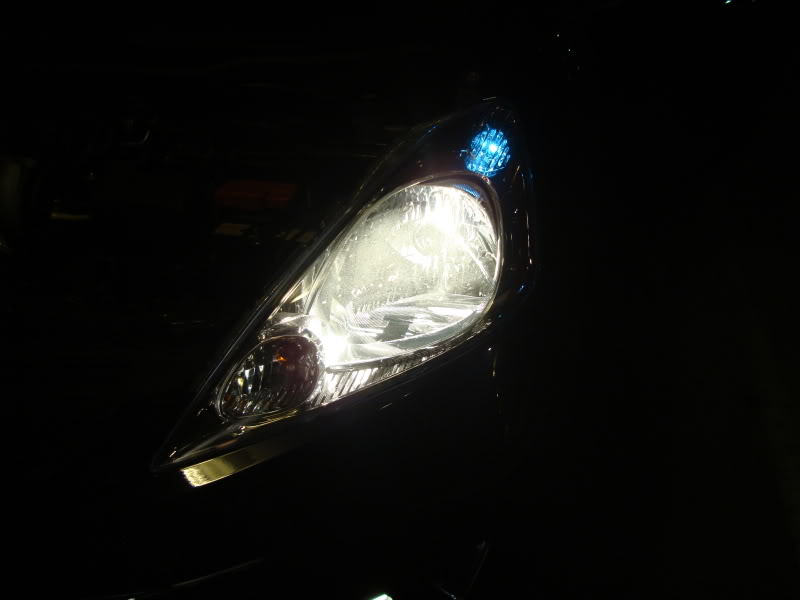
After Headlight install at night
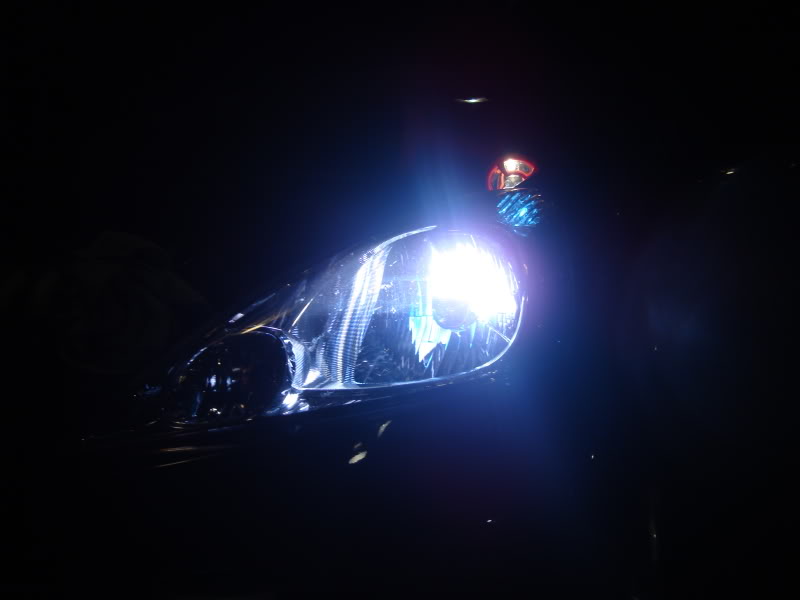
In the daytime the lights are a nice light purple... Ill add some pics later
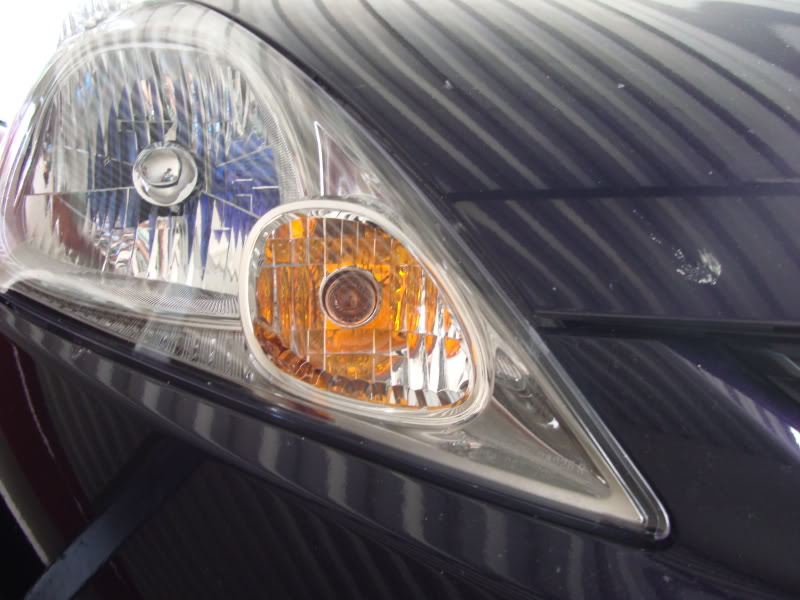
Daytime stock turn signals but after headlight switch
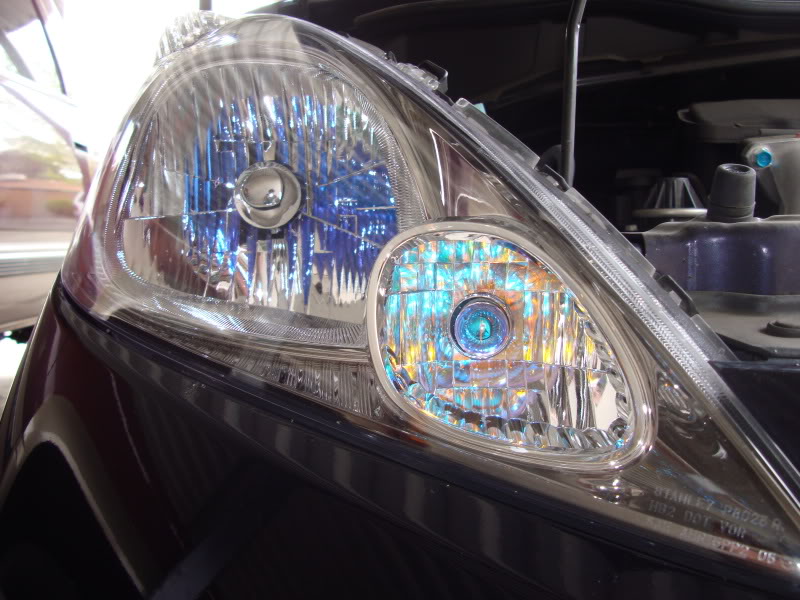
After turn signal swap.
__________________________________________________ __________________________________________________ ____________
Instructions on Headlight replacement
First Pop the hood and locate the area behind your head lamp.
There is a plug that plugs into the 3 pronged bulb like this.
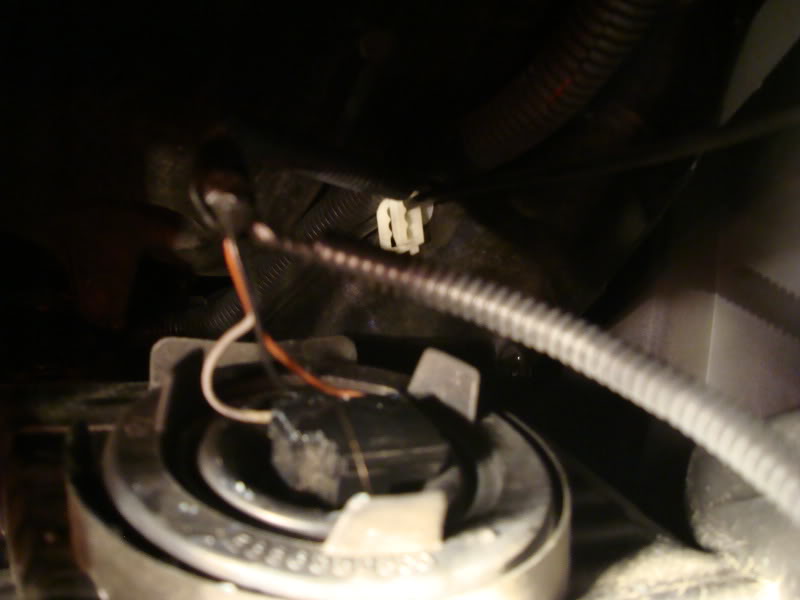
Remove it.It may be greasy like mine was, I imagine this is to prevent moisture leakage.
Now the back should look like this
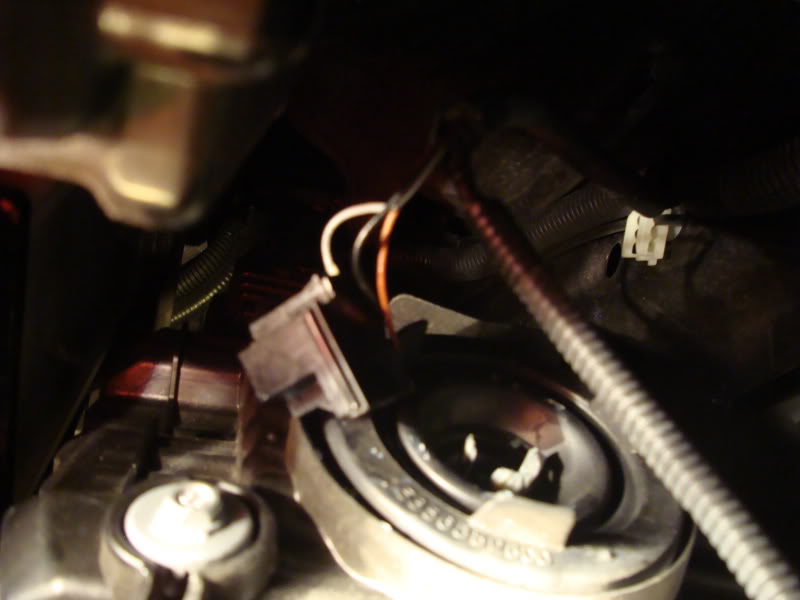
There is a large rubber seal around the back of the bulb. Just pull it strait out. Wiggle it a little and it should peel right off. Once off the rubber piece looks like this.
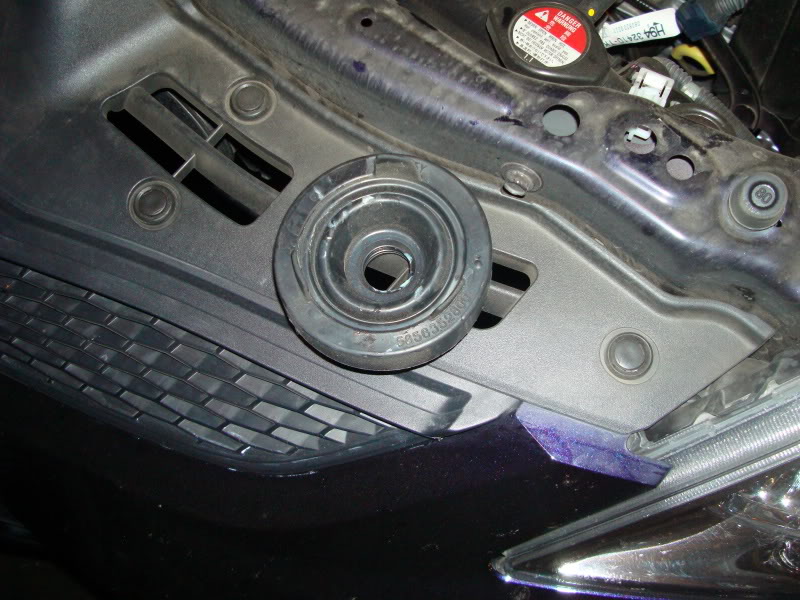
This prevents any further moisture from getting in your headlamp and causing that condensation from forming on the inside. Because of this piece it is very important to put it back in place securely and tightly to prevent moisture.
Once removed the back looks like this.
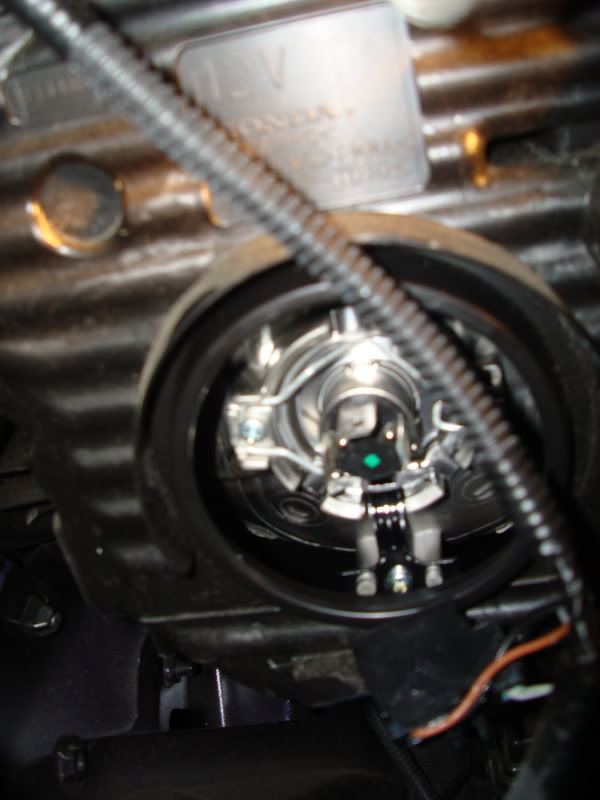
There is a little metal wire holding the bulb in place. This is the tricky part. One end of the wire is looped back on itself and that is the part you will use to open and close the bulb in place. The other side is a hinge. Take the looped side and push in and out. The bulb should now come free and remove it.
Once the bulb is removed this is what the wire looks like empty. Sorry the picture is not that good, hard to reach and focus area.
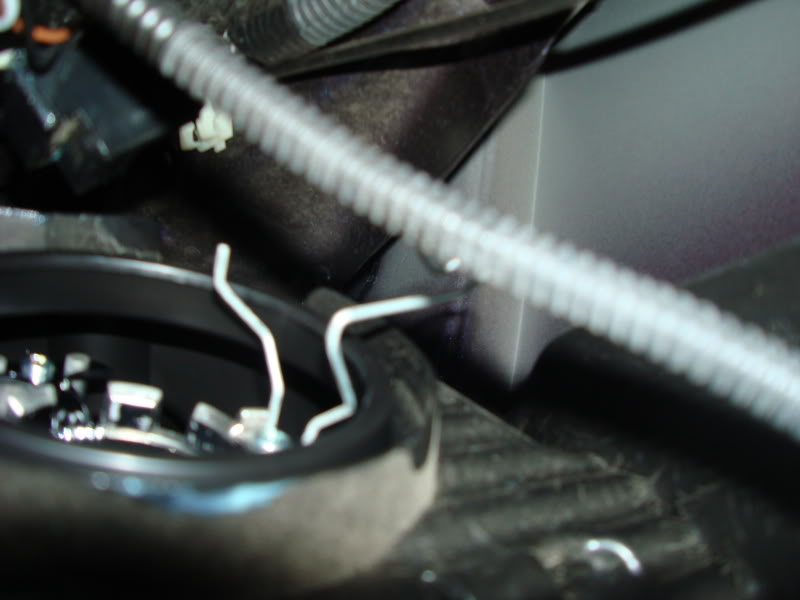
Now wipe off your hands and clean them up. DO NOT TOUCH THE GLASS PART OF YOUR NEW BULB. THE OILS ON YOUR FINGERS KILLS THE LIFE OF YOUR NEW BULB! That is why you want your hands clean so you don't slip while holding it and touch the wrong area.
Take your new bulb and hold it as so.
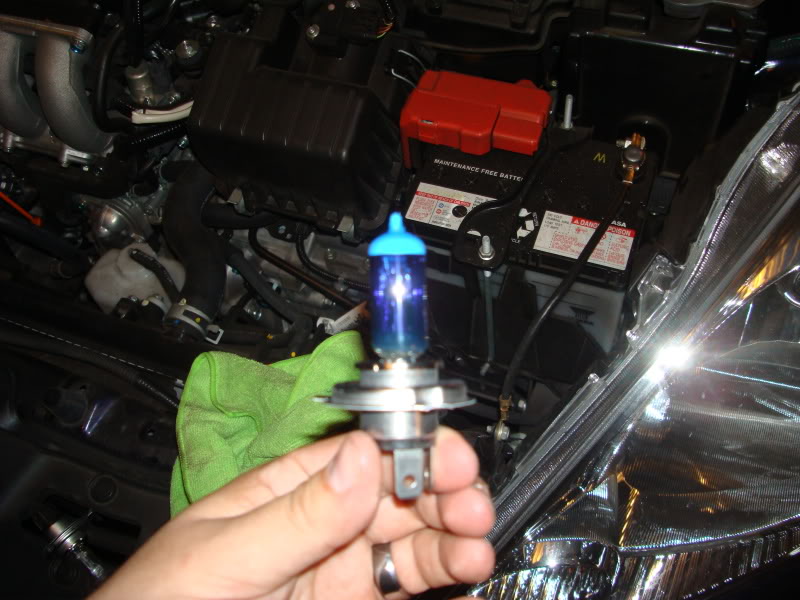
And re insert it back into the Headlamp assembly just as before. There is only one way to insert it so if you do not have it the right way turn the bulb till it fits into the socket. Make sure the wire is out of the way in the full "open" position. (like a door)
Once the bulb is back in we have another tricky part with the wire. take the wire and close it. You will feel some pressure as you push it back and "close" the wire.
There is a little notch back there where it latches the wire and holds the bulb in place. I had to work with it for a couple of secs till it was held in place.
IMPORTANT PART!!!!!:
Re-install your rubber behind the lamp. Make sure you are getting the whole piece securely in place. It should fit securely over a little ridge. Go around the piece over and over again to make sure it is on tight.
Next plug the terminal into the back of the bulb and you are ready to go!
NEXT>>>>>> TURN SIGNALS >>>>> CAKE WALK
Your turn signal lights are easy to change out.
Locate the area and do not remove the black portion of the terminal but only twist the gray part.
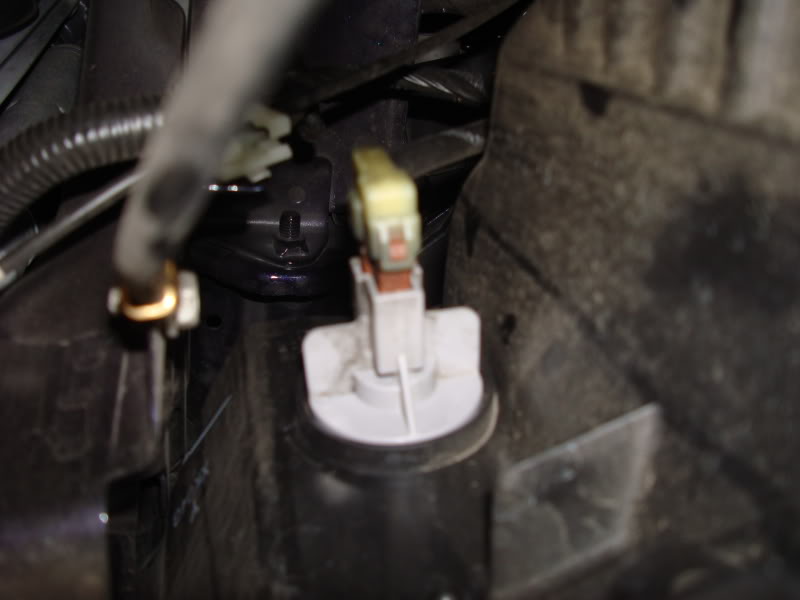
After twisting out the terminal just grab the bulb push in and twist the bulb out.
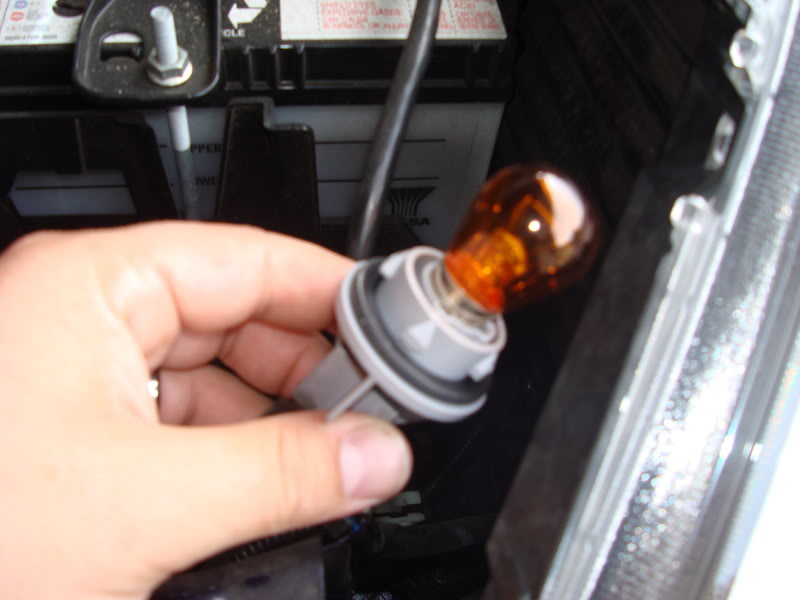
Twist your new bulb back in with a clean cloth making sure not to touch the bulb with your oily fingers.
Now just reverse the order and install the light back into the housing and you are done. This same procedure is done for your 194 wedge bulbs on the top of your headlamp.
Please I know this may be elementary for many of you and I only did this due to some confusion with the headlights. Thanks and please + rep!
But I ran into a couple of speed bumps you might say while doing this so I just wanted to do a step by step process to all the newbies that may be wondering what to do next.
First you will want to order some bulbs. For the main headlight it is called a 9003 or a H4. I find that 9003 is an older term for this bulb and got a lot more results by searching for H4.
For your front turn signals it is called 7507A but i bought the Silver Stars so the number is 7507A ST. If you buy LED's they are a different number and someone else may add a comment on what they are called.

I bought these Nokya 8500 Arctic Purple for $17 US dollars off of amazon.

These Sylvania Silverstars for $10 US dollars for the pair.
Before install at night

After Headlight install at night

In the daytime the lights are a nice light purple... Ill add some pics later
Daytime stock turn signals but after headlight switch

After turn signal swap.

__________________________________________________ __________________________________________________ ____________
Instructions on Headlight replacement
First Pop the hood and locate the area behind your head lamp.
There is a plug that plugs into the 3 pronged bulb like this.

Remove it.It may be greasy like mine was, I imagine this is to prevent moisture leakage.
Now the back should look like this

There is a large rubber seal around the back of the bulb. Just pull it strait out. Wiggle it a little and it should peel right off. Once off the rubber piece looks like this.

This prevents any further moisture from getting in your headlamp and causing that condensation from forming on the inside. Because of this piece it is very important to put it back in place securely and tightly to prevent moisture.
Once removed the back looks like this.

There is a little metal wire holding the bulb in place. This is the tricky part. One end of the wire is looped back on itself and that is the part you will use to open and close the bulb in place. The other side is a hinge. Take the looped side and push in and out. The bulb should now come free and remove it.
Once the bulb is removed this is what the wire looks like empty. Sorry the picture is not that good, hard to reach and focus area.

Now wipe off your hands and clean them up. DO NOT TOUCH THE GLASS PART OF YOUR NEW BULB. THE OILS ON YOUR FINGERS KILLS THE LIFE OF YOUR NEW BULB! That is why you want your hands clean so you don't slip while holding it and touch the wrong area.
Take your new bulb and hold it as so.

And re insert it back into the Headlamp assembly just as before. There is only one way to insert it so if you do not have it the right way turn the bulb till it fits into the socket. Make sure the wire is out of the way in the full "open" position. (like a door)
Once the bulb is back in we have another tricky part with the wire. take the wire and close it. You will feel some pressure as you push it back and "close" the wire.
There is a little notch back there where it latches the wire and holds the bulb in place. I had to work with it for a couple of secs till it was held in place.
IMPORTANT PART!!!!!:
Re-install your rubber behind the lamp. Make sure you are getting the whole piece securely in place. It should fit securely over a little ridge. Go around the piece over and over again to make sure it is on tight.
Next plug the terminal into the back of the bulb and you are ready to go!
NEXT>>>>>> TURN SIGNALS >>>>> CAKE WALK
Your turn signal lights are easy to change out.
Locate the area and do not remove the black portion of the terminal but only twist the gray part.

After twisting out the terminal just grab the bulb push in and twist the bulb out.

Twist your new bulb back in with a clean cloth making sure not to touch the bulb with your oily fingers.
Now just reverse the order and install the light back into the housing and you are done. This same procedure is done for your 194 wedge bulbs on the top of your headlamp.
Please I know this may be elementary for many of you and I only did this due to some confusion with the headlights. Thanks and please + rep!
#11
On the blue look.... the fit is the wifies car and she wanted the purple bulbs for the BBP fit and she wanted the HID look of a blueish tint. On the day time running lights they are kind of purpleish which is pretty cool... will update with a daytime photo soon.
#13
Amazon.com: SilverStar 7507AST Signal Lamp 2-Pack: Automotive
I was thinking bout chrome bulbs myself but I could not find a company that didn't seem shady. Anyhow I liked the blue hue that they give off when not lit and they are only 10 bucks for both bulbs.
#14
In my town there are no great aftermarket shops other than the autozone or pepboys. I get it all online here is the link to amazon from where I got mine at.
Amazon.com: SilverStar 7507AST Signal Lamp 2-Pack: Automotive
I was thinking bout chrome bulbs myself but I could not find a company that didn't seem shady. Anyhow I liked the blue hue that they give off when not lit and they are only 10 bucks for both bulbs.
Amazon.com: SilverStar 7507AST Signal Lamp 2-Pack: Automotive
I was thinking bout chrome bulbs myself but I could not find a company that didn't seem shady. Anyhow I liked the blue hue that they give off when not lit and they are only 10 bucks for both bulbs.
www.autolumination.com Tail Light Brake Light Turn Signal LED Bulbs is where I have gotten chrome bulbs in the past with no problems, even got some for my boss's Porsche. I think I will get a chrome set for the back turn signals. have to check to see if they have the size.
#15
awesome post, thanks so much for your time and the pics are NICE. i'm wondering if it would be bad to run those lights? i see the warning post about the current draw being too high. what risk are you really running with these lights?
#16
When you bump up the wattage on the headlights, the amps go up proportionally since we operate at a (pretty much) constant 12v. Pulling more amps through a circuit that wasn't designed for it will cause the wiring to heat up, and this repeated process of using the headlights will eventually cause the insulation to harden and eventually fail over time.
#18
I don't think by doing it, you're destined to fail... but you're greatly increasing the risk of having frequent burned out bulbs (at least yearly replacements) as well as running the risk of damaging your wiring. If you're gonna do it you might have to rewire the headlights because the wiring isn't suited to taking on the additional load, and will not only overheat, but will limit the bulb's potential.


