
Cargo light upgrade
#21
 01-16-2009, 07:21 PM


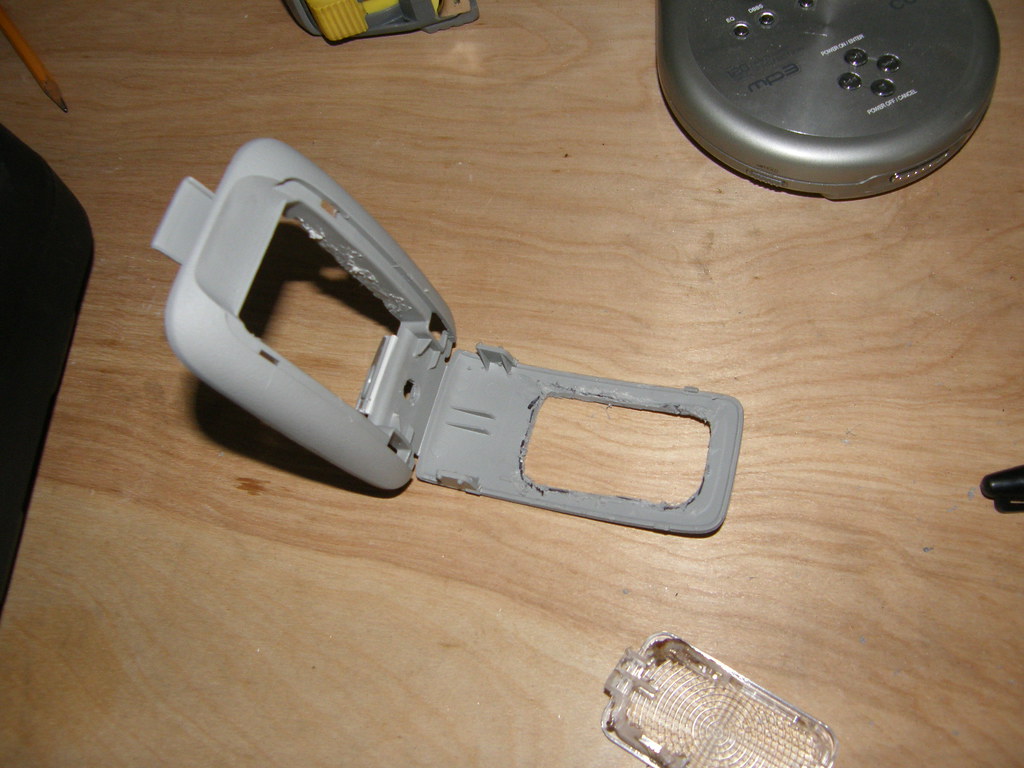
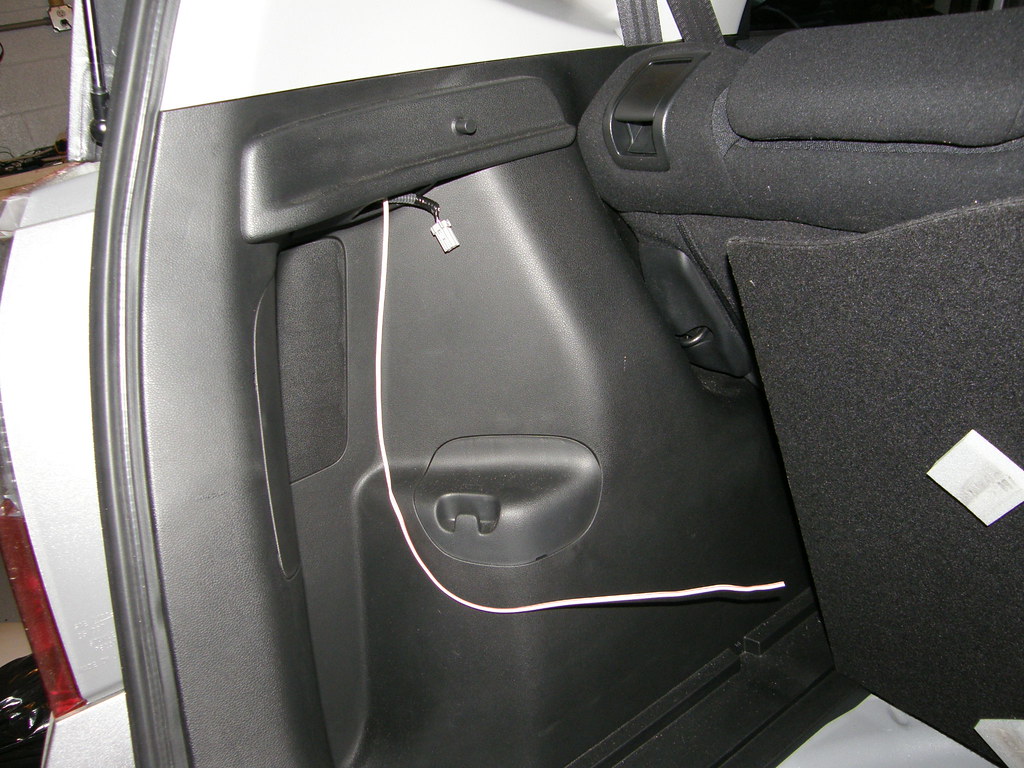
now take the old cargo light and cut all the stuff off the back.
make sure you leave out the parts that is utilizes as the holders.
sorry i don't have any good pics of this. this is the best one i have.
cut it all down to about 1/2 inch
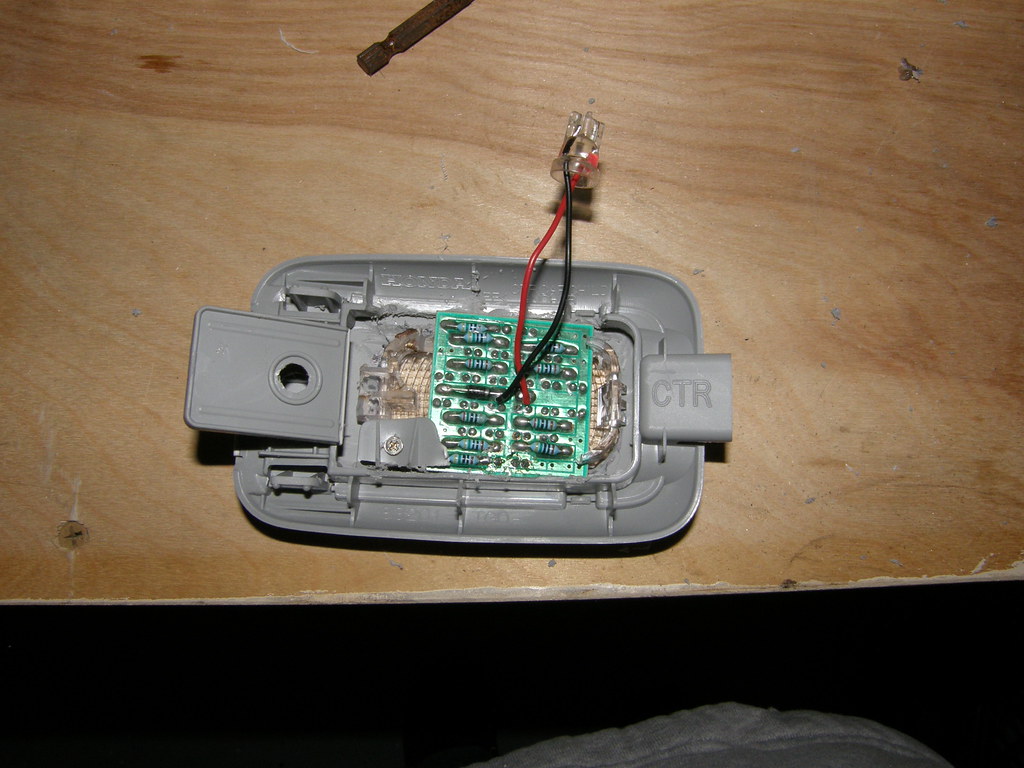
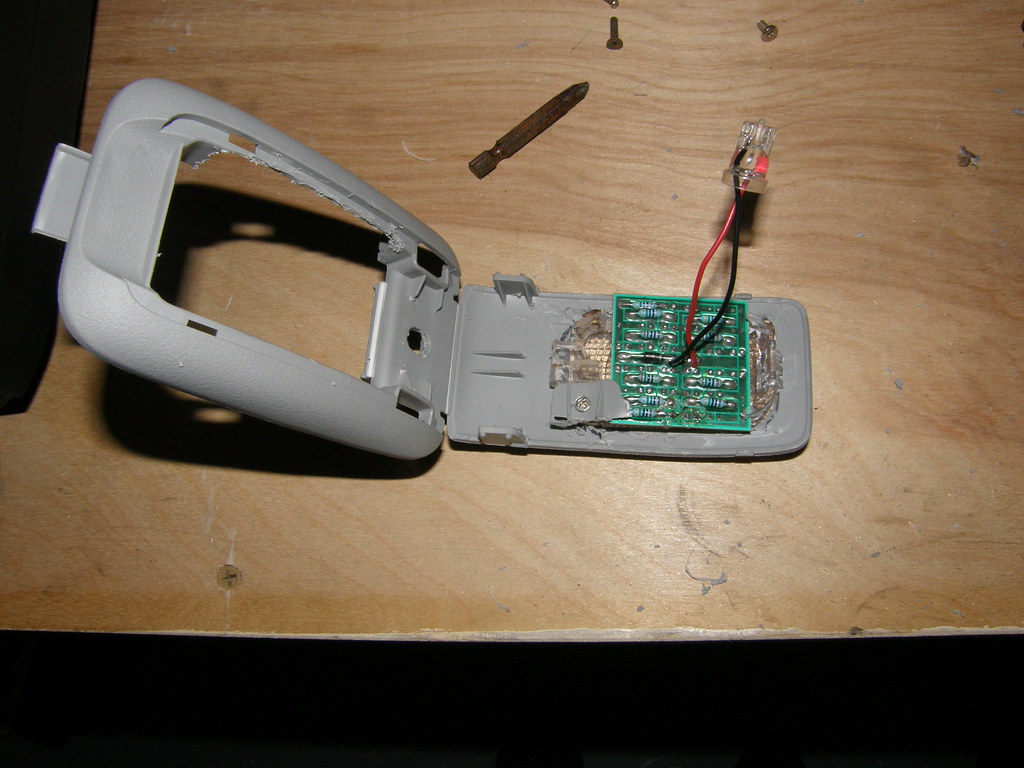
now i cut 2 slots and slid the led under. then as for the other side
i screwed it down. use a very small screw and make sure you pre-drill.
should look like this.
now it's all done. finished product should look like this.
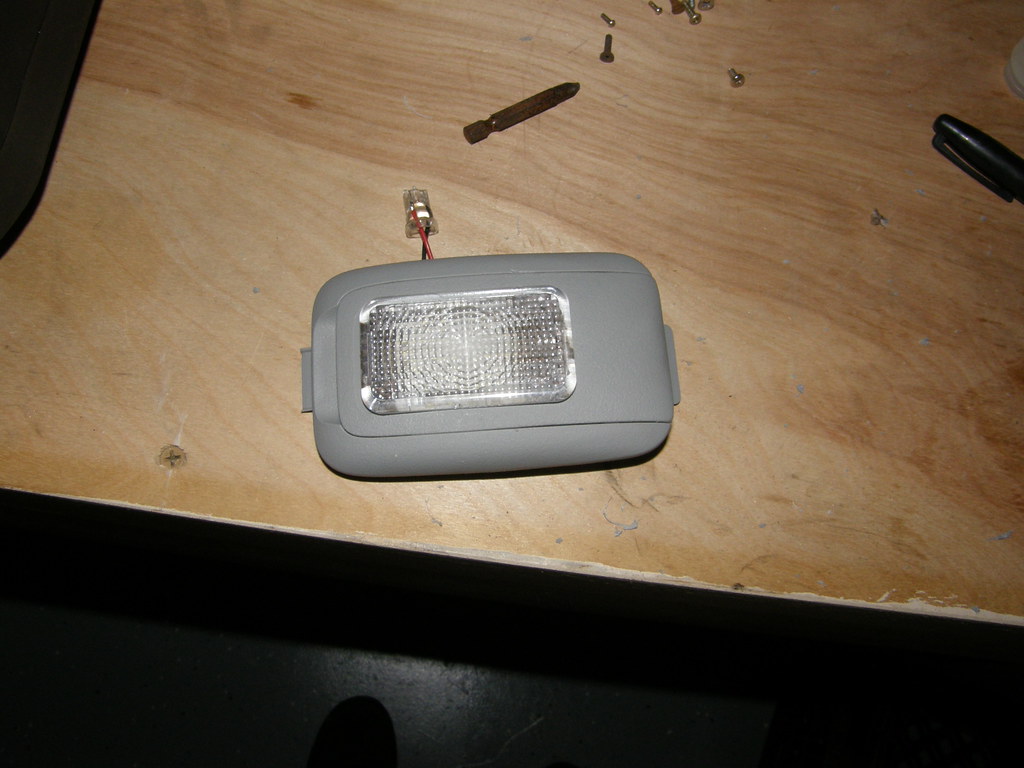
now just so you know the plug you keep seeing at the end of the led is
not going to be used. I cut it and spliced a wire about 3 to 4 feet long
to it.
now run the wire to your cargo light.
make sure you leave out the parts that is utilizes as the holders.
sorry i don't have any good pics of this. this is the best one i have.
cut it all down to about 1/2 inch
now i cut 2 slots and slid the led under. then as for the other side
i screwed it down. use a very small screw and make sure you pre-drill.
should look like this.
now it's all done. finished product should look like this.
now just so you know the plug you keep seeing at the end of the led is
not going to be used. I cut it and spliced a wire about 3 to 4 feet long
to it.
now run the wire to your cargo light.
Last edited by niko3257; 01-23-2009 at 08:54 PM.
#22
01-16-2009, 07:27 PM
i basically crimped the wires at the top and soldered them at the cargo light.
i choose to solder at the bottom so i can be able to still use the lights with the switch on the cargo light.
sorry no pics of this process either.
but i can tell you the pink wire is + hot wire at the clip on the cargo light.
so now i'm done.
here are all the pics of the final product.
i'm very pleased with the light out put also. it is very bright.


#27
01-17-2009, 06:51 PM
I have Dailed custom made for honda fit lights... They light up the entire cargo plus the outside, its like having a flash light lol.


#29
01-22-2009, 11:13 AM
Most def would work. The only thing you have to consider
is that those work better in the GD's
If you have ever seen a GD you will notice that the light is
angled.
On the GE's the light is not angled and faces down.
This is why I did what I did.
#32
01-22-2009, 07:18 PM

Hi Onestopcustoms.
I was wondering if you could pm the pricing for the LED cargo and map lights! I would like to purchase them! Thanks!!!!!
Btw, nice pictures!!
I was wondering if you could pm the pricing for the LED cargo and map lights! I would like to purchase them! Thanks!!!!!
Btw, nice pictures!!
#33
02-05-2009, 04:47 PM
I did a PCB board white led in the OEM GD location and it is bright as hell. They are high output SMT leds too, like 8-10 of them, and you open the rear hatch its super bright like a UFO landing. I use SMT 1watt whenever possible. Gotta take some pics.
I like the way you did yours tho, looks cool
I like the way you did yours tho, looks cool
#34
02-06-2009, 12:32 AM
I did a PCB board white led in the OEM GD location and it is bright as hell. They are high output SMT leds too, like 8-10 of them, and you open the rear hatch its super bright like a UFO landing. I use SMT 1watt whenever possible. Gotta take some pics.
I like the way you did yours tho, looks cool
I like the way you did yours tho, looks cool
yes please post pics when you get a chance

#35
02-06-2009, 02:24 AM
I took a few pics but it looks way dimmer in the pictures. I should use another camera. Suppressed flash the camera is dim. The straight on pics you can tell its bright as hell
#37
02-06-2009, 12:03 PM
yes and no depending on what your talking about.
can you be more specific on what you think is
plug and play?
#38
02-06-2009, 12:53 PM
picture exposures vary a lot and definitely the flash will throw things off. What you need to do is put in the old bulb, take a picture with camera on manual settings (so it doesn't autoadjust for the next picture). Switch in the new lights and take a picture again with the same manual settings as before) Then you have a good comparison.
#39
02-06-2009, 02:40 PM
well what modifications are needed to be able to have this light on a switch?
#40
02-08-2009, 12:02 AM
buy a switched housing from acura from an RDX cargo area, same basic part
here's mine


its a point and shoot, only settings you can really change is flash/no flash
here's mine
its a point and shoot, only settings you can really change is flash/no flash