When you click on links to various merchants on this site and make a purchase, this can result in this site earning a commission. Affiliate programs and affiliations include, but are not limited to, the eBay Partner Network.
Ran into a complication while adjusting my valves. Need help/advice.
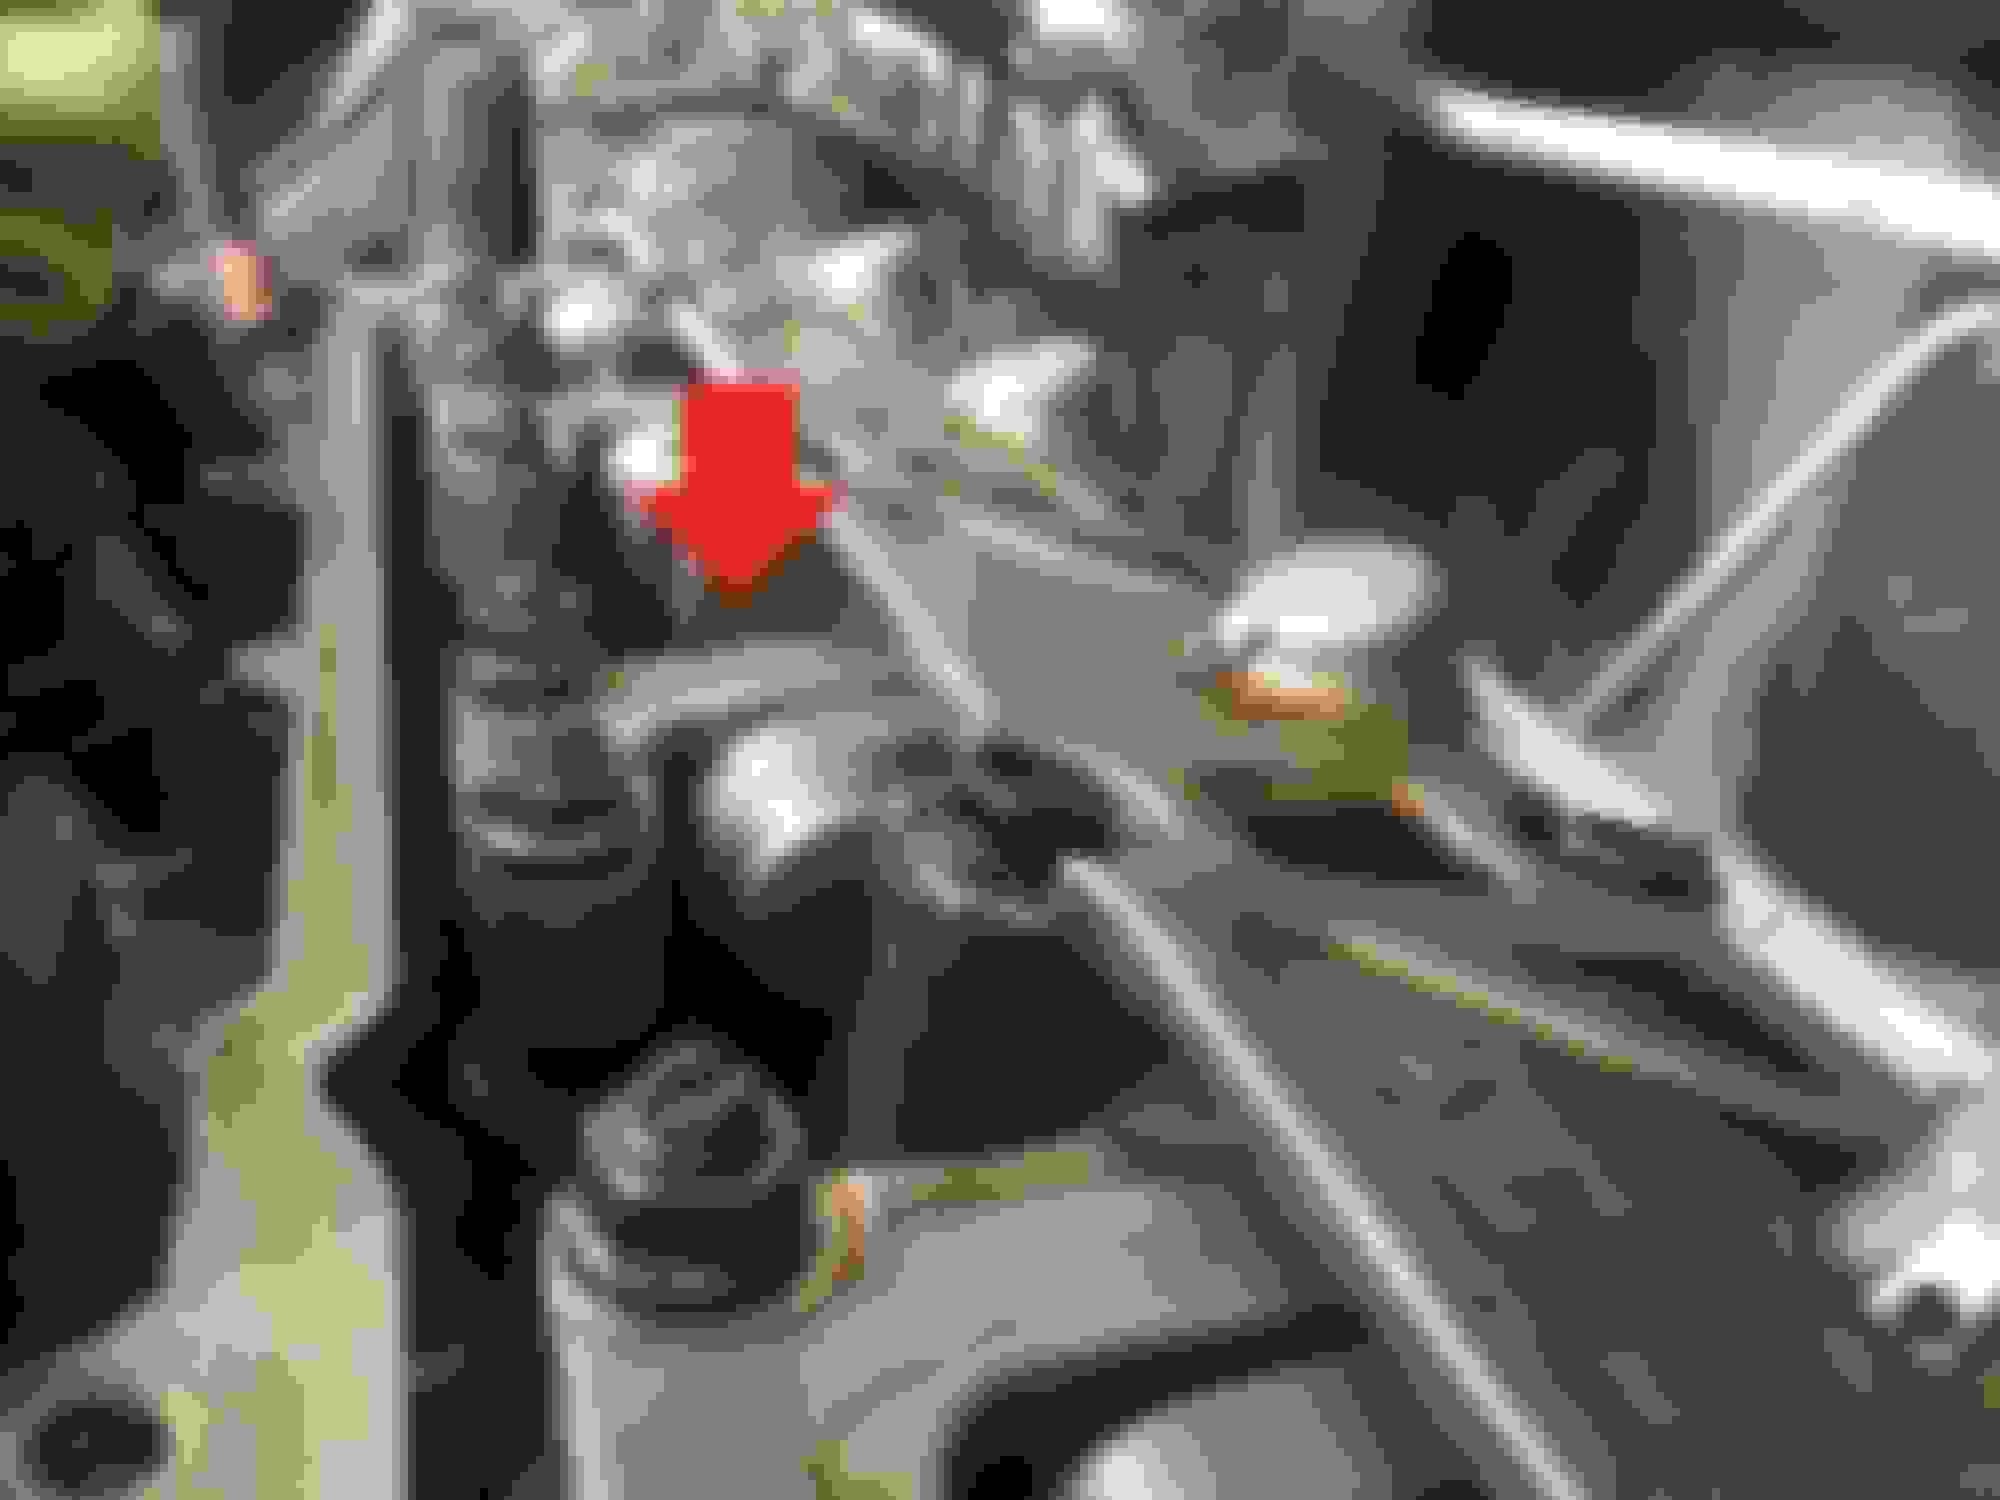
While trying to adjust my valves, I ran into two valves from the same tappet arm that won't allow me to slide in my feeler gauges through them. Upon further observation, I noticed that the tappet arm itself is noticeably lower than the other arms.
I think this is the reason why I don't have any clearance between the valves. I don't know what to do about it. I loosed the screw to it's maximum and I still can't slide my feeler gauge through it. Can somebody help me?
So I'll ask an obvious question, you were barring the engine over to top dead center on all four cylinders while you were doing adjustments right? There shouldn't be that much variation, it wouldn't run if it was that far off.
The rotating thing is dead center on the up mark yes. I have been getting a lot lower mpg than before so this is the reason why I'm doing the valve adjustment. But if my cylinders are not aligned when the mark is at up, could there be something else worse with my Fit?
Yes, cylinders 1 through 4 are stamped into the top of the timing chain gear, bring the line level with the top of the head to determine which cylinder is at top dead center for adjustment. Bar them over after measuring each cylinder, and after you do all four do it again to make sure you are true to measurements. Also, do this adjustment with the engine cold (like off for 6+ hours) for the most accurate measurements.
Helpful post and great pictures. @frogeer could you take pictures of the timing gear markings showing one of the pistons at TDC? Don't bother if you have already buttoned up the car. Thanks.
Here's a pic of a timing cam gear from, you guessed it, rockauto.
The horizontal mark is kinda tricky to line up with the cylinder head.. But when they say "slight drag", I mean.. it's in our hands. Hope that helps yuh! And to the OP, glad you figured it out :} intake AND exhaust on whichever cylinder's number is at the top if memory serves!
Bar the engine over and whatever number on the cam gear is at the top is the cylinder you adjust. Currently your cam is not in the right position to adjust that cylinder that cylinder appears to be on the intake stroke, make sure you adjust them properly using the go no go method with your feeler gauges.
Yeah it just looks like the cam is pushing that down. You need to rotate the engine to that cylinder. I think you figured that out though. Something would need to be quite broken for that rocker arm to be like that without the cam.
I decided to do my valve lash today because I had all night to let it cool and all errands done 'til tomorrow 😂
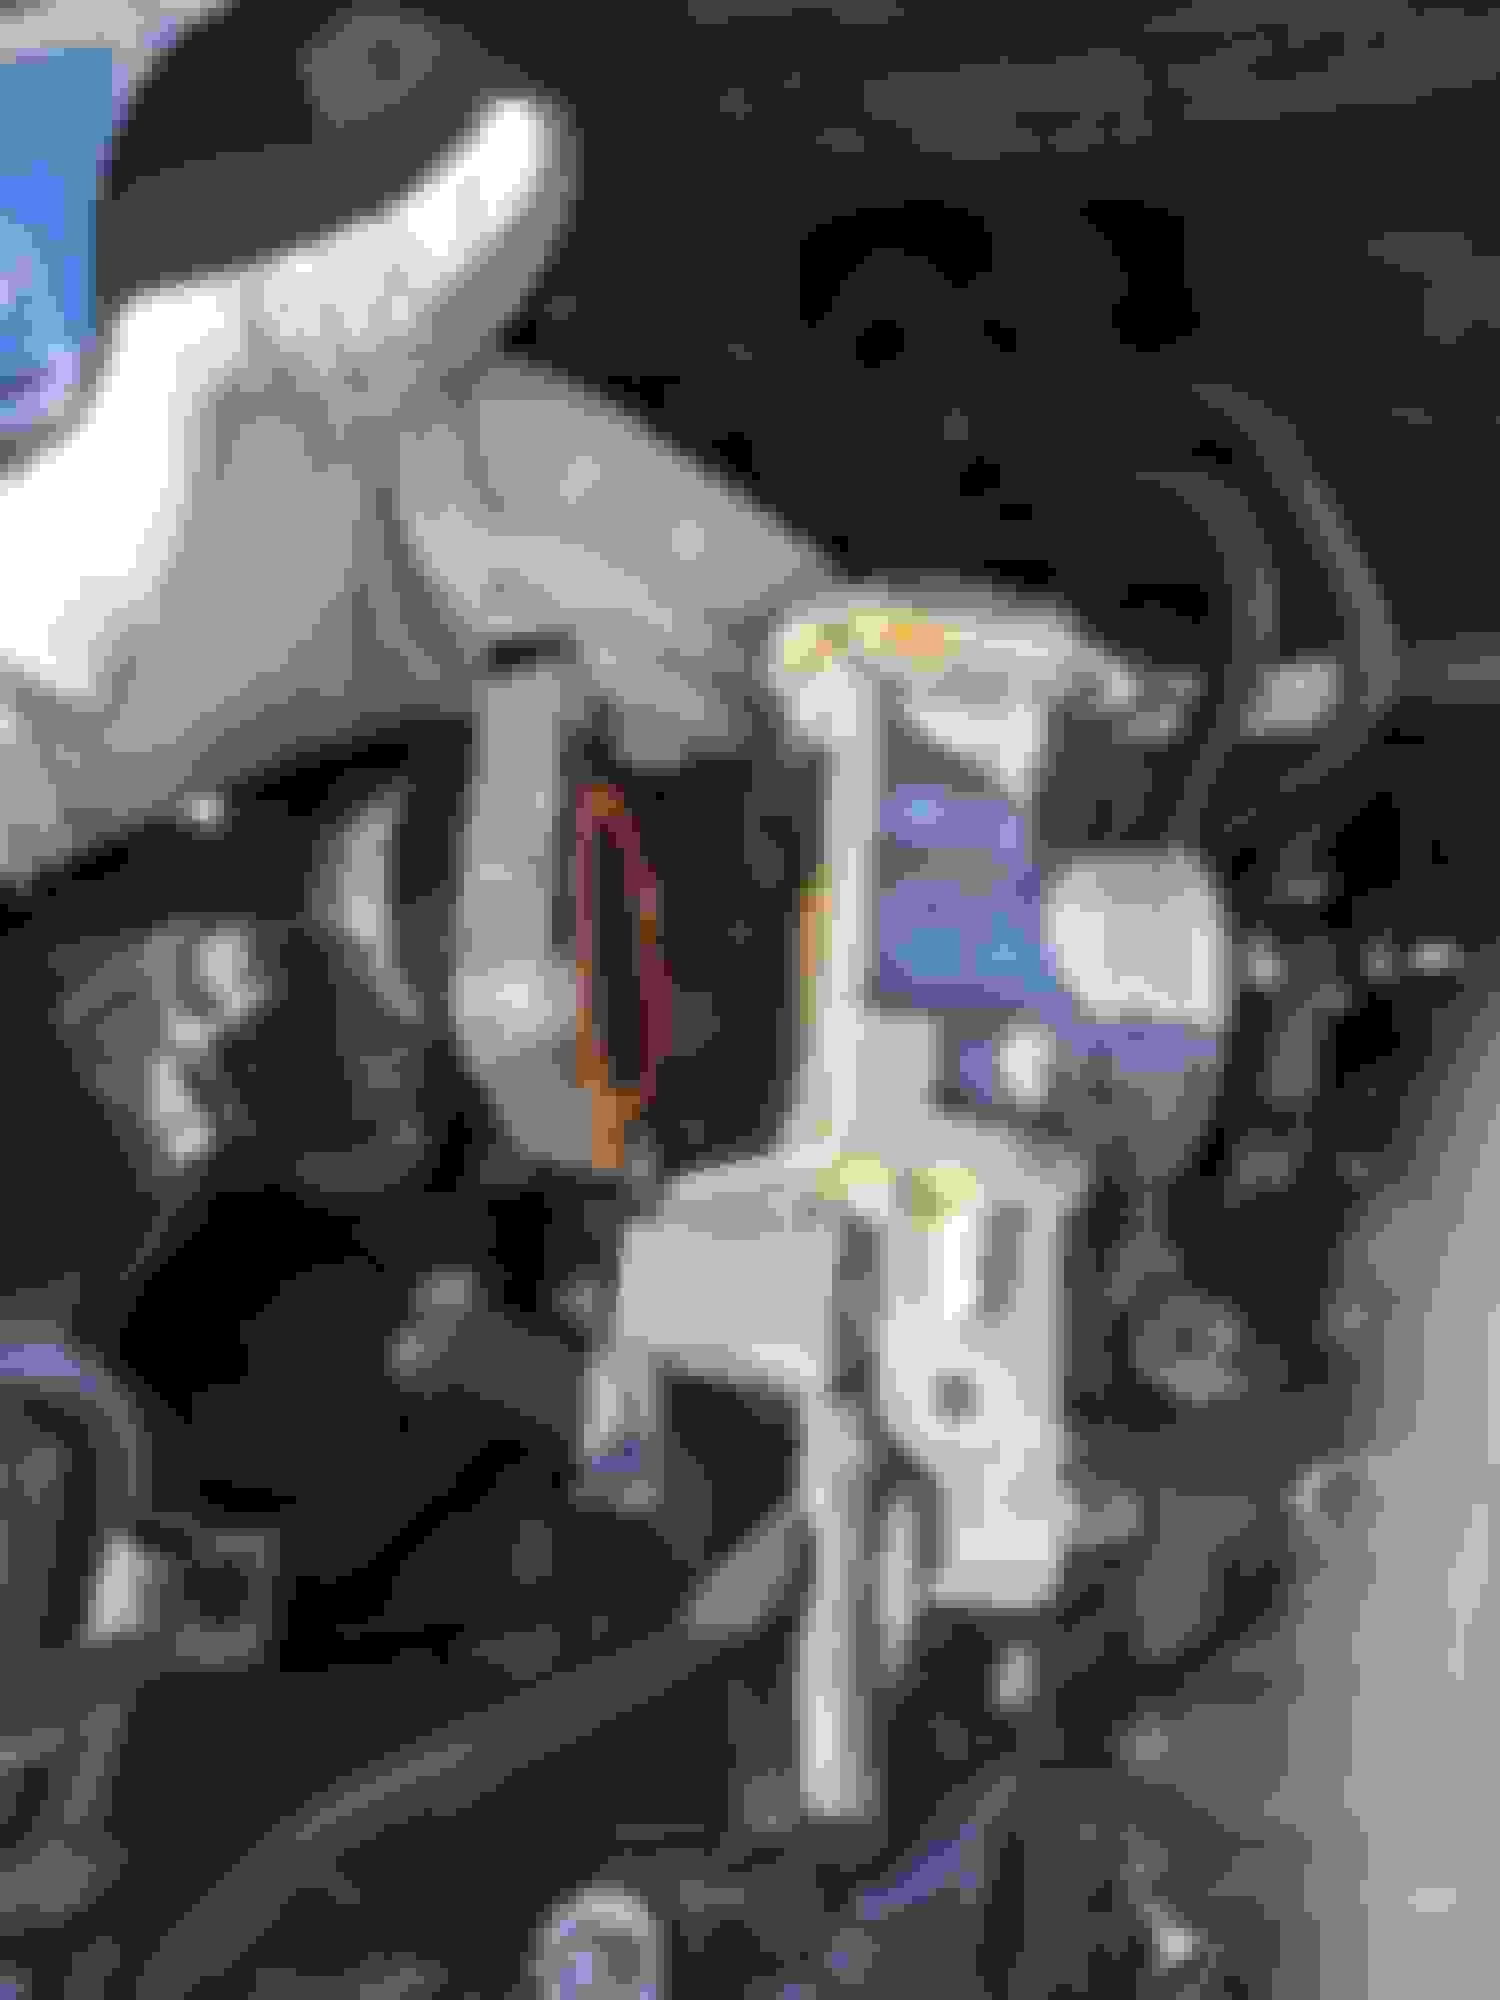
So I took a few pictures You don't have to remove the coolant line from the TB :}
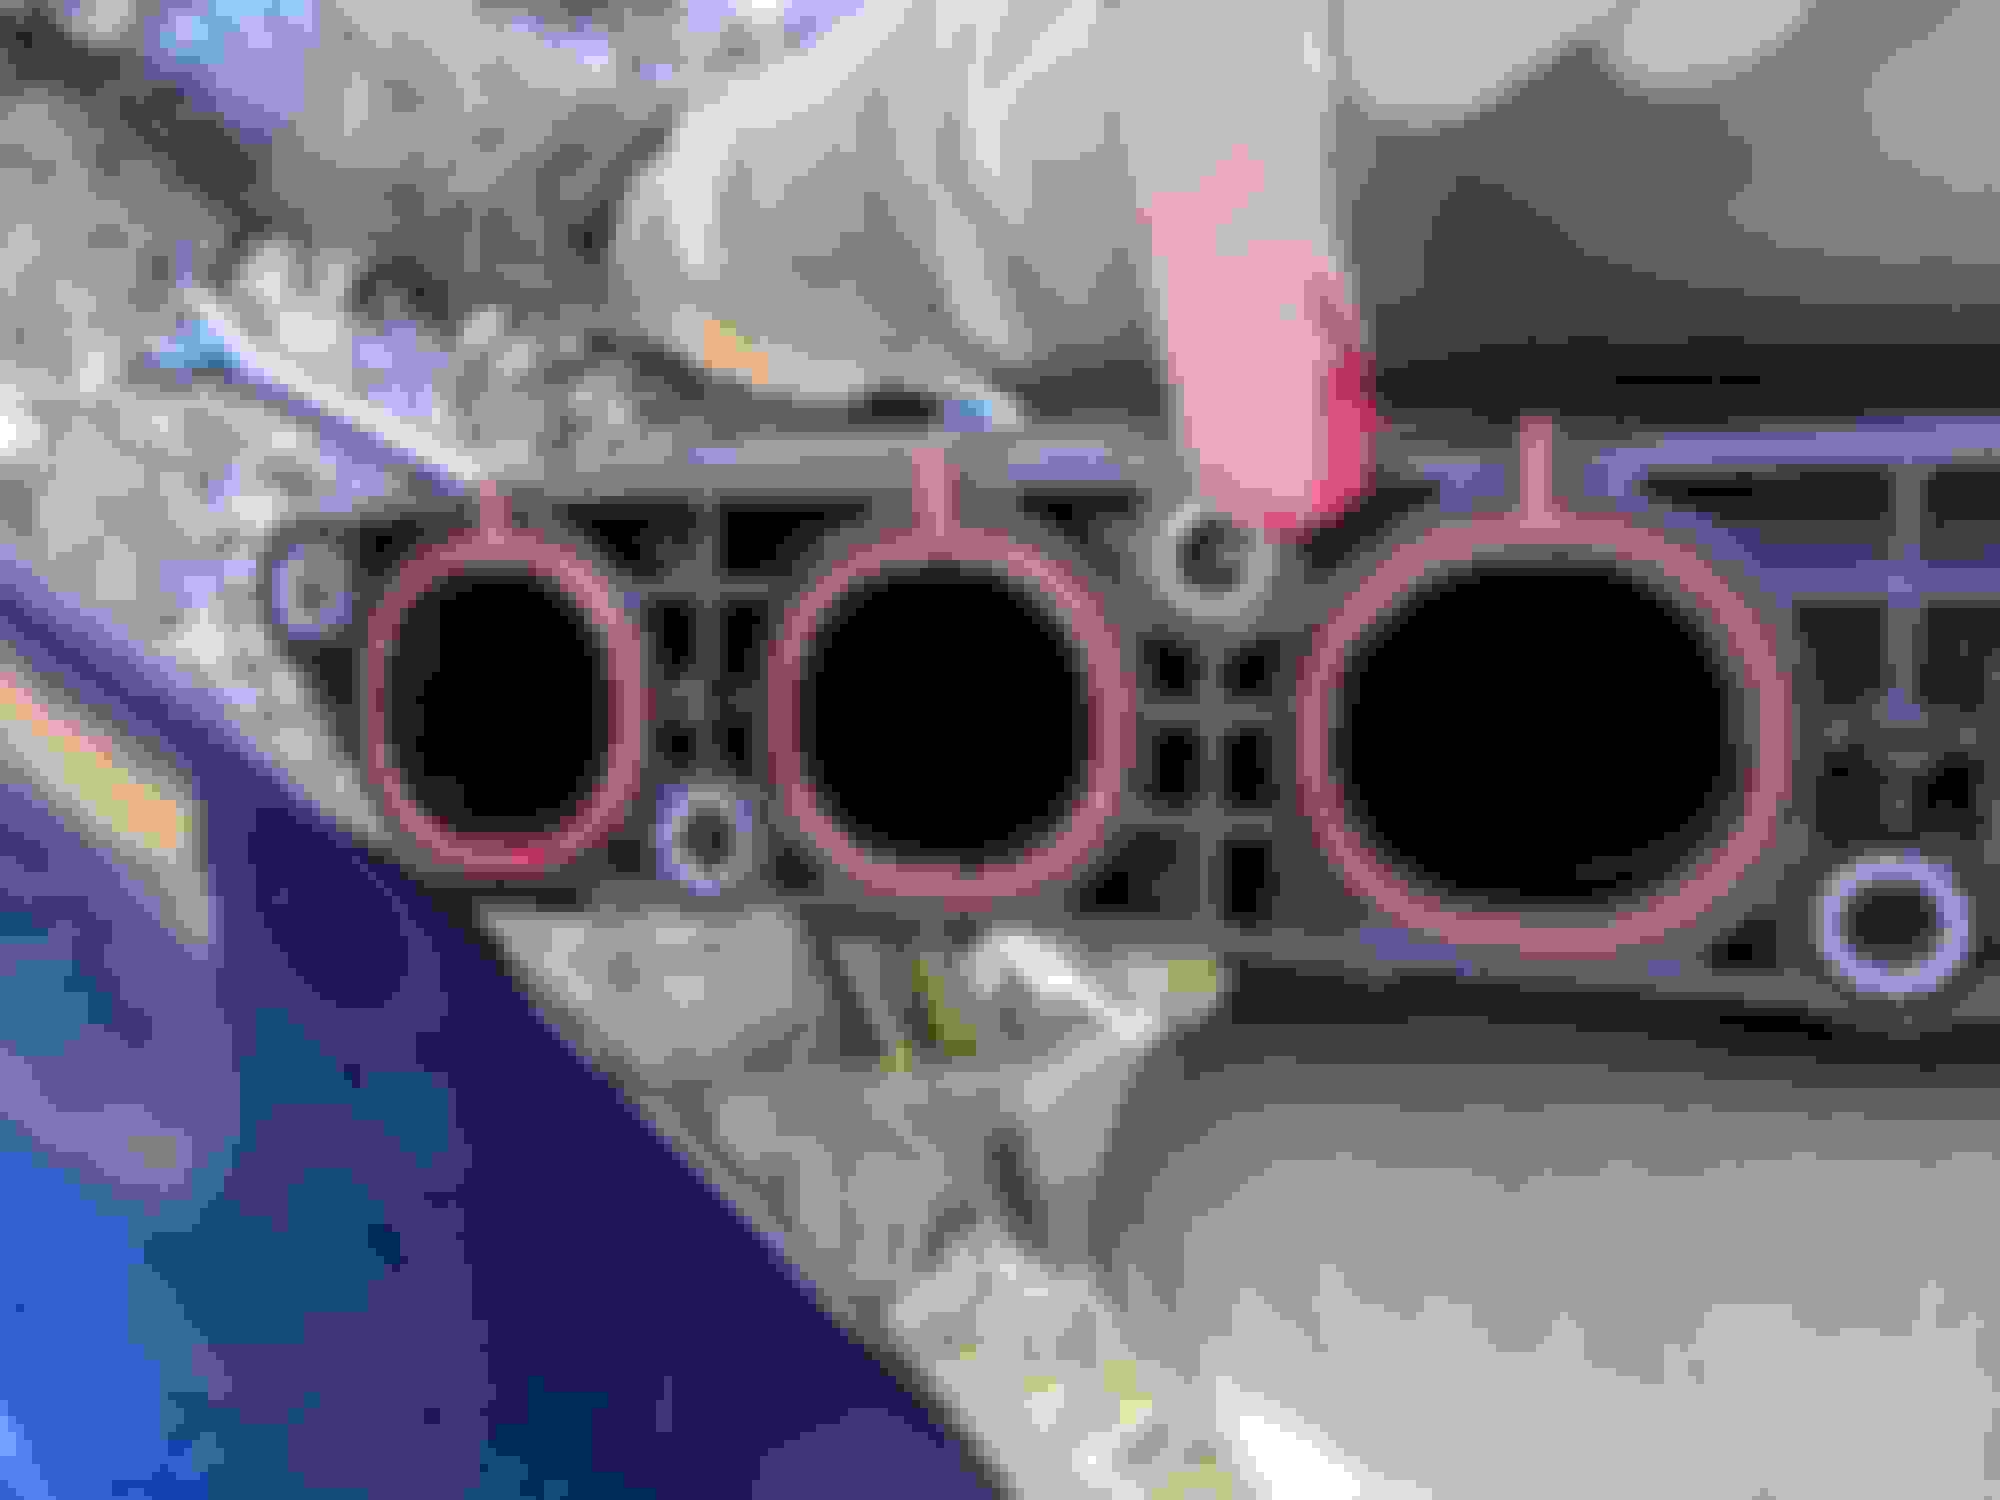
Sorry for finger! Squeaky clean on the back of the butterfly. Thanks to my T-Rev knock-off that I promoted but never backed up with vac pressure evidence (I will one day!) but to be fair i cant remember if i cleaned this when last adjustment was done ~5-10k ago. Had craftsman feelers which were barely in spec, exhaust was too loose for my tastes, intake was fine with exception of 2 being tight. If you're this far, check lash and torque on all of em please Shop towels to keep dirt outta the intake manifold, and see!! TB is still on, plenum is removed, plenty clearance for cylinder head cover to come off Showing where arm goes to get the.. 18mm, or was it 19? on the harmonic balancer's (biggest pulley, bottom center) nut. At any rate, combo wrench. Had to use the open end too, and flip it in order to get needed rotation given limited range of motion. The wrench will also need to be leaned towards passenger side (you) to clear the riff-raff. Not nearly enough resistance to cause rounding, my spark plugs are still in. uh. rotates towards vehicle front, clockwise. More specific arm position! it's tight, but the scratches are super minor, no cuts. Cam gear with markings level for cylinder 1 TDC. All other marks are numbered and have only one horizontal etch, and you do intake AND exhaust for the single cylinder whose number is at TDC Offset 10mm box wrench for easier loosening, gunsmithing (hollow ground) flat head driver, not really necessary but does fit nice! Inch Lbs torque wrench with 1/4 to 3/8 adapter and a little extension to fit my 10mm craftsman or kobalt crows foot. 10ft.lbs. or 120in.lbs. Old O-rings re-used and lubed with Red Rubber Grease (could prolly use vasoline, o-ring grease from a motorcycle supply store, or really whatever) intake manifold to plenum torque is 17ftlbs., as is plenum (sandwiched byTB brackets) to TB
Thats all i took. Not enough for a write-up, manual fills in the blanks, so I figured I'd dump them here.
Awesome guide @Pyts. You have a good photographer there as well.
Not a lot of space there! Compact car design has evolved to squeeze every last cubic centimeter for the passenger compartment and facilitate rapid assembly. At the expense of service.

 10-31-2020, 07:25 PM