When you click on links to various merchants on this site and make a purchase, this can result in this site earning a commission. Affiliate programs and affiliations include, but are not limited to, the eBay Partner Network.
Some years ago, the check engine light started coming on and, while the car was driving perfectly, the code indicated that it was time to replace the catalytic converter. I didn't feel like spending $1200+ on a car that was running fine, so I ignored it. The only symptom was possibly slightly lower gas mileage. Unfortunately, this all caught up with me at an inopportune time and the car started really struggling on a road trip. A few bottles of Cataclean fixed things up intermittently and I was able to get home and swap out the catalytic converter and the downstream O2 sensor with a reasonably-priced aftermarket cat and an original O2 from Rock Auto. All was well for a few months, but the dreaded CE light returned briefly and the car started stuttering over a bumpy stretch of road. I checked the code: P0171, Running Lean, Bank 1. My local shop recommended replacing the plugs, coils, upstream O2 sensor, doing some kind of carbon-cleaning procedure, and adjusting the valves. I ordered the parts from Rock Auto and replaced the O2 sensor. When I went to remove the coils, #3 was loose. The bolt that holds it down was snapped off in the head. I assume this was the cause of the recent bumpy road issue. I read about solutions like making a brace to hold down the coils, but I didn't like that idea.
Removing the snapped bolt without removing the head seemed risky and beyond the capability of my tools, so I went down to the shop on the corner and had it extracted... or so I hoped. I went to run an errand and the car seemed to run fine, but when I went to restart it, it struggled and stuttered, then seemed to even out. Home was only 4 miles away and I thought perhaps the already iffy coil had been damaged from the procedure. Alas, after a mile the car was still stuttering and now didn't want to go more than 20 mph. This dropped to 10 after a stop sign, so I pulled over and got a tow. The code now was P0301, Cylinder 1 Misfire.
At home, I discovered that the bolt had been drilled and threaded for a smaller bolt and was a bit crooked. The head was damaged. More seriously, compression on cylinder 1 was only 114, while 2 was 210, 3 was 215, and 4 was 240. I decided to remove the head in order to clean it and make the repair properly or perhaps replace it. I was lucky enough to locate a used motor at a local junkyard for $350, and then even luckier that they discovered a knock and I was able to negotiate the price down to $150. I have not yet removed the head from my car, but my theory is that there is heavy carbon buildup from the long-clogged cat and that the vibrations of the drilling knocked a chunk into a cylinder 1 exhaust valve.
Donor motor, ready for disassembly Donor motor awaits new life
Sorry you have to go through all this, but looking forward to updates! I'm also very committed to my Fit, and would likely go as far as you are to keep it on the road.
It will be interesting to know what has happened to cause your problems since we aren't able to see the damage and assure ourselves that a new used head will fix it. Keep us in the loop when possible.
The crankshaft pulley bolt was pretty tough to remove. With the hex tool from Autozone�s �free rental,� a helper, and a 4 foot pipe, I was able to loosen it. The timing chain cover off, revealing the delicious golden center. Dirty valves.
The valve springs and valves came out easily enough, although one cotter is at large after a spring attempted escape. The camshaft was a challenge to remove and unfortunately I will probably not be using this head as a donor after all�metal shavings and deep scoring on the camshaft and in the head.
I�m sure I can scrap the would-be donor at the end of this process and get some cash for it, no biggie. It was quite inexpensive anyway.
Abandoning the donor, I have moved on to the car. Having already removed the head from an engine out of the car, it was surprisingly easy to take off the one in the car. The crankshaft pulley bolt was even more difficult to remove than the other one, having little space for leverage, so after trying many unsuccessful schemes like jacking up the wrench bar and lowering the car onto it�these made the engine mount flex disturbingly but did not crack the bolt�I had to go for the option of using a bigger and stronger human.
This will never again happen to me, as I�m now the proud new owner of this 1200 ft-lbs breakaway torque impact wrench! Ain�t she purty?
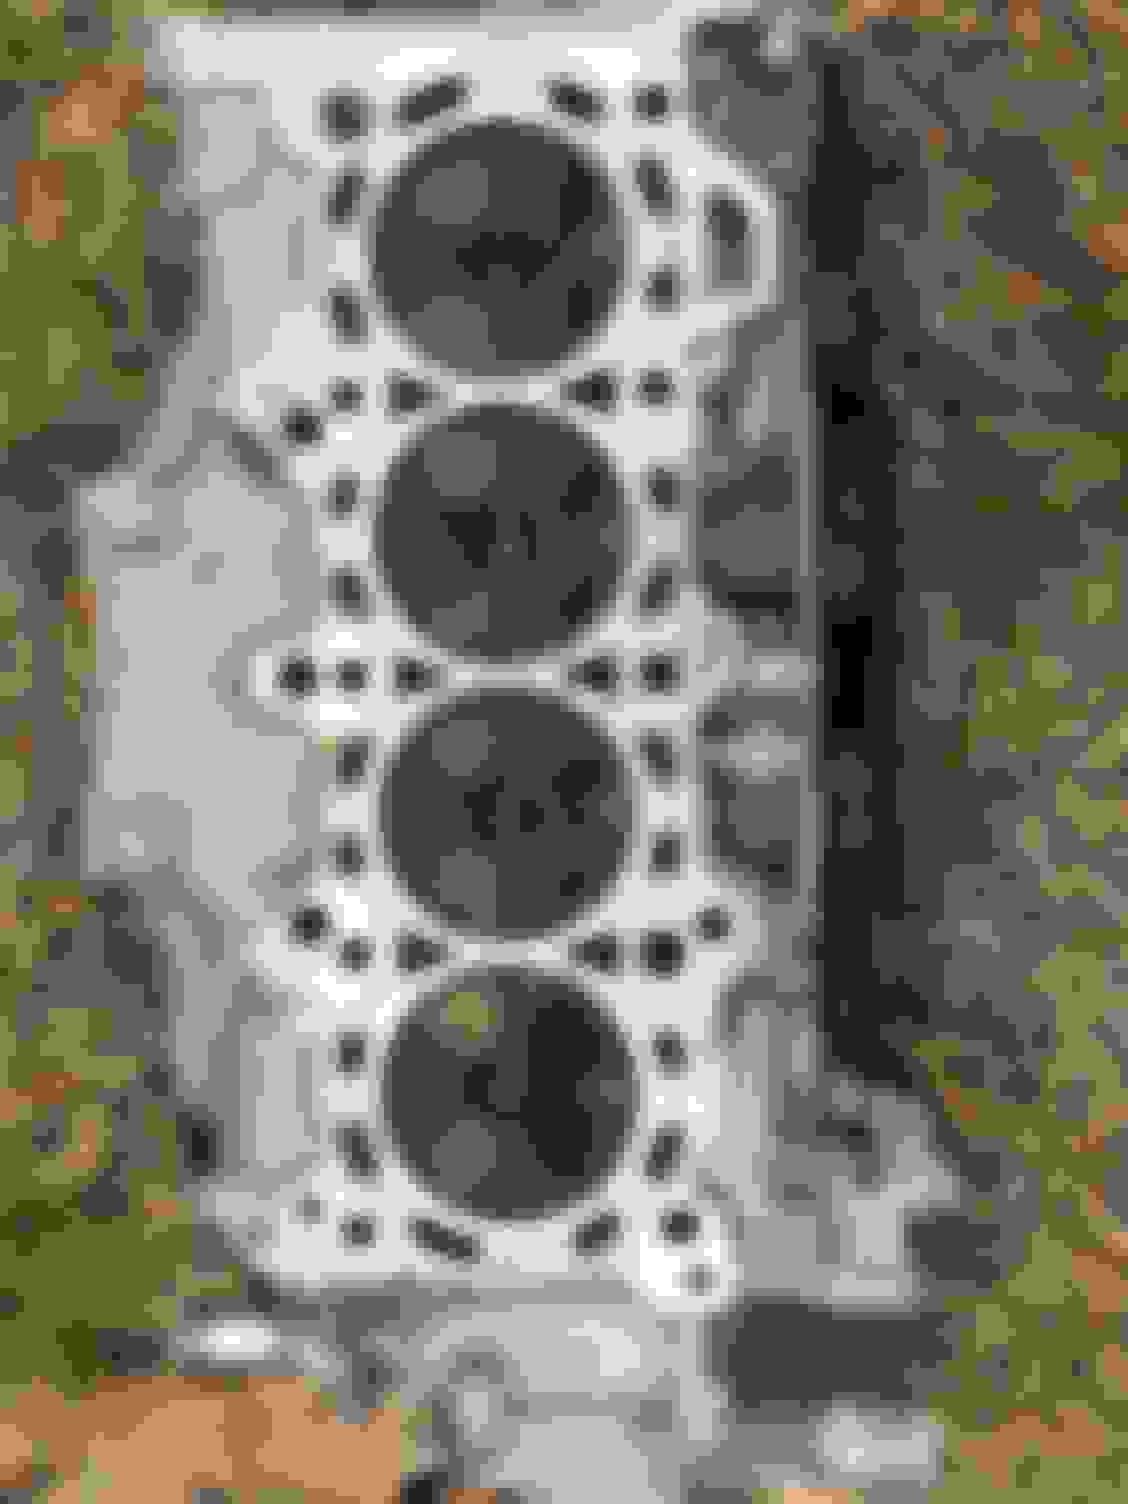
So the head doesn�t look so bad, which leaves the issue as-of-yet unexplained. No glaring issues Carbon buildup
You're just plain cool. props for all you've done and all you've yet to do. If you put a u-joint on that impact and gun it we'll have matching scars and be besties.
Keep it coming! I'll hold my stupid questions til class is over.
You're just plain cool. props for all you've done and all you've yet to do. If you put a u-joint on that impact and gun it we'll have matching scars and be besties.
Keep it coming! I'll hold my stupid questions til class is over.
lmao
.....
by any chance can u pop a spark plug (and brand/model) in the head and take a pic of its protrusion ?
You're just plain cool. props for all you've done and all you've yet to do. If you put a u-joint on that impact and gun it we'll have matching scars and be besties.
Keep it coming! I'll hold my stupid questions til class is over.
Thanks for reading!
So I�m back to the donor motor, digging in deep to expose its secrets. Ready for disassembly Oil pan off
I bet your donor engine had infrequent oil changes, burned all its oil out, and the lack of lubricant caused the knock and that scored cam bearing in short order!
I bet your donor engine had infrequent oil changes, burned all its oil out, and the lack of lubricant caused the knock and that scored cam bearing in short order!
I suspect this is mostly correct, as you can see the burned oil has discolored everything and if I could capture the odor, you could smell the stench. When I was loosening the bridge bolts, it was intense! The bridge was stuck down very firmly and it took a bit to separate it.
I think it may be a single incident of insufficient oil though, with catastrophic results. I would expect more overall wear if the oil was generally neglected. I�m no expert though!
It�s been a while, but I�m finally getting the Fit back together. I took the head to a machine shop and got the valves done. I had them repair the damaged coil bolt hole as well. Everyone in town seems to use the same machine shop, but it had some troubling reviews so I was concerned. It looks okay though.
Cleaned up the tops of the pistons, but decided to hold off on taking the block out and replacing the rings and bearings.
Great thread, manatee. I am reading with interest.
Thanks, Mister Coffee! I have really enjoyed this project. It was a big help to have the donor engine, even though I only ended up using a couple parts off of it--the hood blew shut and damaged the raised plastic ridge around the oil cap on the valve cover, so I went ahead and swapped them, and I harvested the coil bolt that was originally snapped that started the whole thing, as well as a bolt for the camshaft position sensor, which mysteriously disappeared. Taking it apart and having it to refer to helped me work by feel when I couldn't see what I was doing under the car, especially when getting all of the hoses and electrical connectors reattached.
Water had gotten into the oil pan from the valve cover being off and not covered up as well as it should have been in the rain. I drained the oil/water, sucked the remaining fluid out with a hand pump through the drain plug, left the front of the car jacked up for a few hours to drain, then blew the pan out with compressed air to get it as dry as possible. Poked my boroscope in through the drain plug and all looked good. I ran about a quart of cheap oil straight through to get out any grit that may have gotten in, then filled it up with the cheap oil. I will replace it with Mobil 1 synthetic in a few days, hopefully taking any junk out with it.
Compression test time! Cylinder 1 is now 180, 2 is 180, 3 is 185, and 4 is 195. Previous readings were 114, 210, 215, and 240 dry, and 130, 225, 225, and 255 wet. I decided to do a wet test too, but unfortunately added way too much oil to cylinder 1, giving a reading of 250 or something. Cylinder 2 was 195, 3 was 195, and 4 was 200. I waited a couple hours in hopes that the oil would drain through and got a reading of 195 for #1.
I had removed the block plug and the plastic radiator drain plug to fully empty the fluid. The block plug uses a 28 mm aluminum crush washer and I didn't anticipate the difficulty of obtaining a new one locally. With used washer in hand, I visited Advanced, Auto Zone, O'Reilly's, a fastener shop (every size but 28 mm!), and the independent Honda shop. The Honda shop said they would get one by the next day from the Honda dealer (I won't go there due to a horrendous experience, so I was not happy that this is where it would come from, but agreed). The dealer turned out to have none and I still have not gotten a new one! The Honda shop is owned by a former dealer service manager, who said that in 17 years she had not encountered need for one and even checked with the mechanics to confirm. This seems bizarre, as both the shop manual and the Haynes manual say to drain fluid from here, so how can I be the only one doing it? I poured some distilled water through to rinse, then put both plugs in using the old washer and filled it up with distilled water.
Oil remained from the wet test and my fancy iridium plugs fouled! Put in a new set of cheap plugs and all was well. Revved the engine and ran it for several minutes, then drained the water--in spite of the draining, the distilled water was now deep blue. A lot of coolant does not drain out, it seems. I refilled with water and repeated the process. This time it was just bluish water, though some debris I don't like. I refilled it with water again, replaced the cowl and cowl cover, and this morning I took it to the paint shop. I had it painted in July and they messed up royally at the trusty cheapo paint shop--the paint was still tacky over a month later. I have to wonder if they used any hardener at all. I brought it back and they agreed to redo the whole thing in September, but then this issue has kept me from getting that done, so I was eager to get it back in before they forgot their promise. I will now get my fluids together to do one last transmission fluid change, brake fluid replacement, oil change, and replace the water with coolant, hopefully with a new crush washer. Pix to come!

 10-01-2019, 10:40 AM