
Any GD Sports out there with mud flaps or mud guards?


#43
 01-21-2011, 11:39 AM
Alright guys, if you guys want to keep this going, please sign up for the group buy! https://www.fitfreak.net/forums/gaug...aps-gd-ge.html
#44
01-21-2011, 08:23 PM


The DIY part one
Remember, neither myself nor FitFreak.net are to be held liable for any problems that may arise from following this DIY. Please use common sense, and proceed at your own peril! (disclaimer borrowed from Sid 6.7)

Make sure your car in on level ground.
The front mud guards were fairly simple to install even on my sport (after my Dad made some suggestions). The plastic fender clips at the top and bottom inner (far left in the picture) also double as clips that will accept a self tapping screw. All you need to do is pierce the center of the clip with a pin or nail and the screw will thread right into the clip. I used six Honda self-tapping screw 90114-sz3-000 from the base Fit mud (splash) guards . After you pierce the clips make a construction paper copy of the mud guard. Mount the paper mud guard to the car as you like (I set mine down three inches from the bottom of the sill) and use pins or nails to pierce the paper and locate the newly made holes in the center of the plastic clips. Place the paper on to a mud guard and transfer the holes from the paper to mud guard. For the bottom right screw I drilled a hole slightly smaller in diameter than the screw through the mud guard and through side sill near the corner.
Because the sport has the side sills and that big locking clip I made some spacers to sit between the mud guard and the body. I used sheet rubber about 3mm thick. I used one spacer for both right side screws and one or two spacers for the inner left screw (I can't remember now). This step may not be necessary if you get the universal UR rally armor mud guards due to their flexibility.

Sorry I didn't take step by step pictures.
I hope this makes sense.
I'll post more soon about what I did to install the rear set.
Remember, neither myself nor FitFreak.net are to be held liable for any problems that may arise from following this DIY. Please use common sense, and proceed at your own peril! (disclaimer borrowed from Sid 6.7)
Make sure your car in on level ground.
The front mud guards were fairly simple to install even on my sport (after my Dad made some suggestions). The plastic fender clips at the top and bottom inner (far left in the picture) also double as clips that will accept a self tapping screw. All you need to do is pierce the center of the clip with a pin or nail and the screw will thread right into the clip. I used six Honda self-tapping screw 90114-sz3-000 from the base Fit mud (splash) guards . After you pierce the clips make a construction paper copy of the mud guard. Mount the paper mud guard to the car as you like (I set mine down three inches from the bottom of the sill) and use pins or nails to pierce the paper and locate the newly made holes in the center of the plastic clips. Place the paper on to a mud guard and transfer the holes from the paper to mud guard. For the bottom right screw I drilled a hole slightly smaller in diameter than the screw through the mud guard and through side sill near the corner.
Because the sport has the side sills and that big locking clip I made some spacers to sit between the mud guard and the body. I used sheet rubber about 3mm thick. I used one spacer for both right side screws and one or two spacers for the inner left screw (I can't remember now). This step may not be necessary if you get the universal UR rally armor mud guards due to their flexibility.
Sorry I didn't take step by step pictures.
I hope this makes sense.
I'll post more soon about what I did to install the rear set.
Last edited by john380; 10-01-2011 at 01:43 PM.
#45
01-21-2011, 10:48 PM
Holy crap, I just checked the group buy, $100 is way too steep for me! I assumed we were going for the $15.99 set!
Rally Armor will get my 15.99 plus shipping, I'll post up a DIY just like you did John380.
Rally Armor will get my 15.99 plus shipping, I'll post up a DIY just like you did John380.
#47
01-30-2011, 06:07 PM
I'm too impatient with the groupbuy... There's a shop down the street from my house that sells them for a lil under $100 (no tax in Oregon either) so i'm just gonna buy them and put them on. I'm going on a road trip through some snowy mountains some time soon and I want to put them to use.
#48
02-20-2011, 09:09 PM
I will be the first to say that after TRYING and shaving off about 30% of the OEM mud guard, OEM Honda Fit Mud Guards will not fit on an 08 Sport. The Rears can stretch and fit on but the front has no chance with the side skirt.
#49
10-01-2011, 08:14 PM
The DIY part one
Remember, neither myself nor FitFreak.net are to be held liable for any problems that may arise from following this DIY. Please use common sense, and proceed at your own peril! (disclaimer borrowed from Sid 6.7)
Make sure your car in on level ground.
The front mud guards were fairly simple to install even on my sport (after my Dad made some suggestions). The plastic fender clips at the top and bottom inner (far left in the picture) also double as clips that will accept a self tapping screw. All you need to do is pierce the center of the clip with a pin or nail and the screw will thread right into the clip. I used six Honda self-tapping screw 90114-sz3-000 from the base Fit mud (splash) guards . After you pierce the clips make a construction paper copy of the mud guard. Mount the paper mud guard to the car as you like (I set mine down three inches from the bottom of the sill) and use pins or nails to pierce the paper and locate the newly made holes in the center of the plastic clips. Place the paper on to a mud guard and transfer the holes from the paper to mud guard. For the bottom right screw I drilled a hole slightly smaller in diameter than the screw through the mud guard and through side sill near the corner.
Because the sport has the side sills and that big locking clip I made some spacers to sit between the mud guard and the body. I used sheet rubber about 3mm thick. I used one spacer for both right side screws and one or two spacers for the inner left screw (I can't remember now). This step may not be necessary if you get the universal UR rally armor mud guards due to their flexibility.


Sorry I didn't take step by step pictures.
I hope this makes sense.
I'll post more soon about what I did to install the rear set.
Remember, neither myself nor FitFreak.net are to be held liable for any problems that may arise from following this DIY. Please use common sense, and proceed at your own peril! (disclaimer borrowed from Sid 6.7)
Make sure your car in on level ground.
The front mud guards were fairly simple to install even on my sport (after my Dad made some suggestions). The plastic fender clips at the top and bottom inner (far left in the picture) also double as clips that will accept a self tapping screw. All you need to do is pierce the center of the clip with a pin or nail and the screw will thread right into the clip. I used six Honda self-tapping screw 90114-sz3-000 from the base Fit mud (splash) guards . After you pierce the clips make a construction paper copy of the mud guard. Mount the paper mud guard to the car as you like (I set mine down three inches from the bottom of the sill) and use pins or nails to pierce the paper and locate the newly made holes in the center of the plastic clips. Place the paper on to a mud guard and transfer the holes from the paper to mud guard. For the bottom right screw I drilled a hole slightly smaller in diameter than the screw through the mud guard and through side sill near the corner.
Because the sport has the side sills and that big locking clip I made some spacers to sit between the mud guard and the body. I used sheet rubber about 3mm thick. I used one spacer for both right side screws and one or two spacers for the inner left screw (I can't remember now). This step may not be necessary if you get the universal UR rally armor mud guards due to their flexibility.
Sorry I didn't take step by step pictures.
I hope this makes sense.
I'll post more soon about what I did to install the rear set.
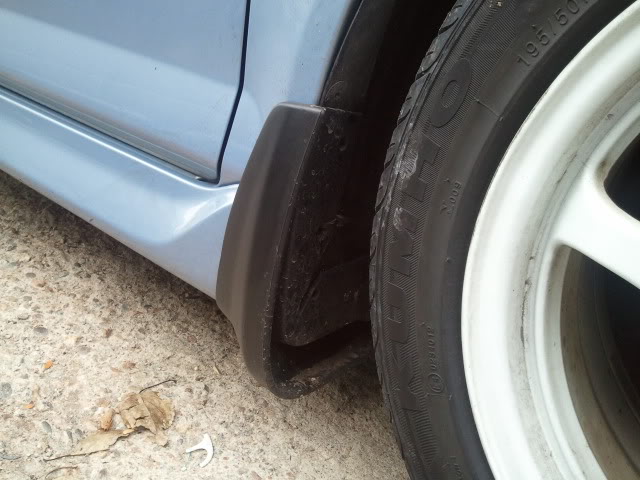
***DIY part two rear mud guards (Finally!).***
Make sure your car in on level ground.
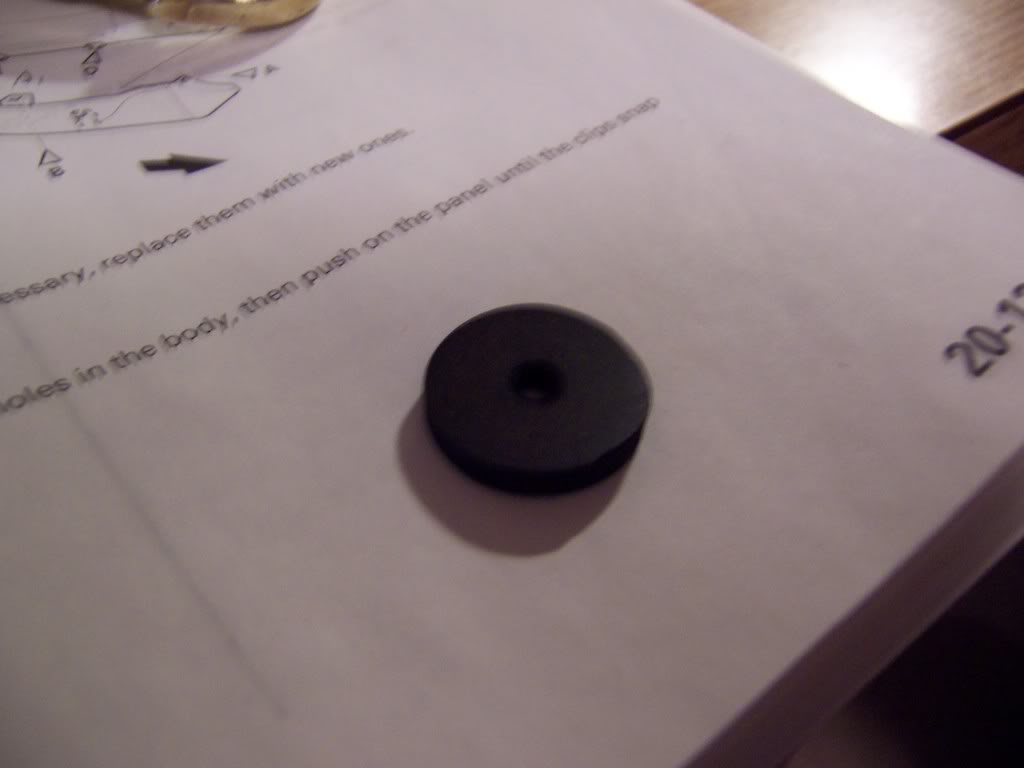
I used two Honda self-tapping screws (90114-SZ3-000) and two Honda suspension nuts (Clips) (5mm) (90308-SB2-013) from the base Fit mud guards. I also used two plastic bumper clip A (91503-SZ3-003) for an optional step outlined near the end.
If you have a base model you will probably need six nuts and six screws.
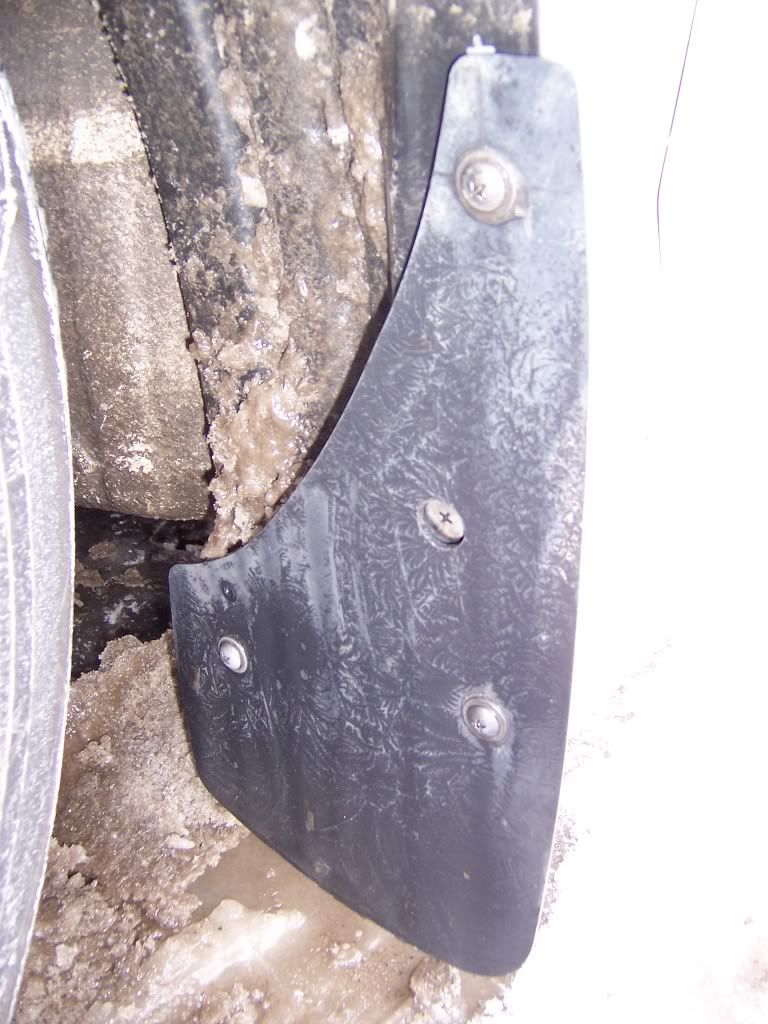
If you have a sport remove the four screws that hold the ends of the rear spoiler to the bumper nearest the rear wheels. You will reuse the four spoiler mount points, screws, and clips. You will have to create two more mount points farther up. Honda was nice enough to mold dimples into the bumper to locate the spots to drill out with a 7/32" drill for the screw holes. If you have a base you will have to locate and drill out all six spots. Once you have all the holes drilled slip on the suspension nuts (90308-SB2-013) over the holes.
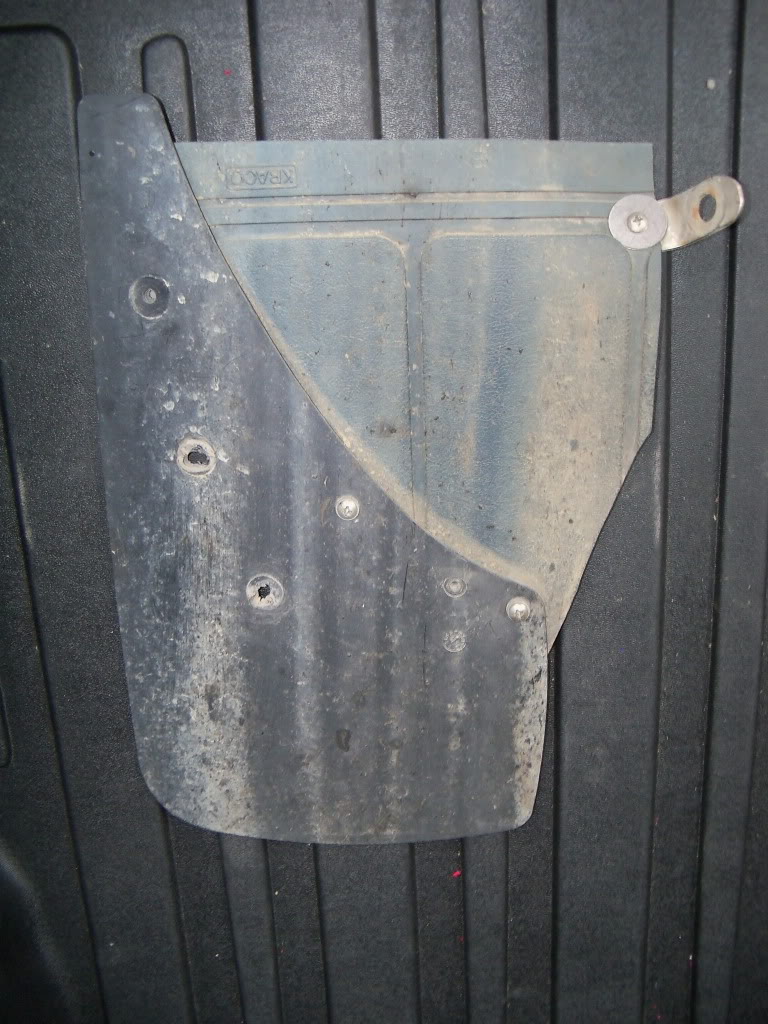
I also had to flip the lowest suspension nut so the screw would reach the clip to engage it. See below pic for nut location and lowest nut position change.
Make a construction paper copy of the mud guard and mount the paper mud guard to the car as you like (I set mine down about three and a half inches from the bottom of the sill) and use pins or nails to pierce the paper and locate the holes in the bumper. Place the paper on to a mud guard and transfer the holes from the paper to mud guard and screw on the flap.
The following is optional only because I wanted to add material to block as much debris from collecting behind the rear bumper. Most of this may not be needed if you get the urethane Rally Armor mud flaps.
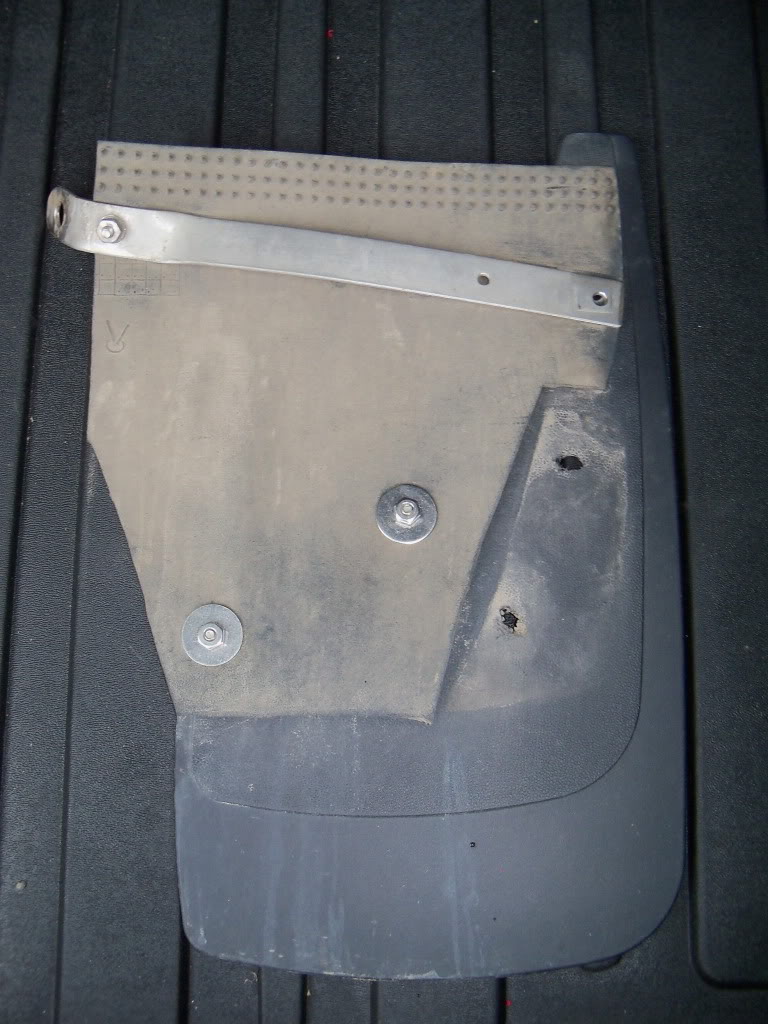
In my case I recycled some old flat floor mats and made a bracket to support the extra material.
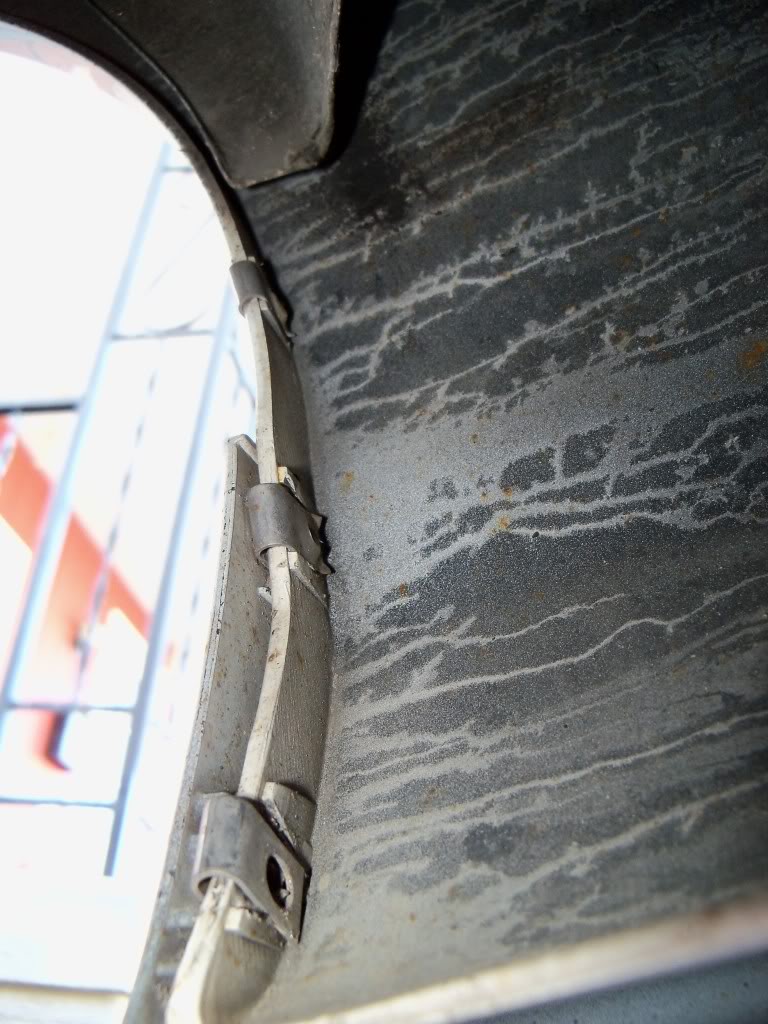
To make the bracket I used a strip of stainless steel about nine inches long (I started with a foot and trimmed as needed), three quarters of an inch wide, and one sixteenth of an inch thick. On one end I centered punched a 13/32" hole about 3/4" inch from the end to accept the plastic bumper clip A (91503-SZ3-003) and attach to the factory tab on the inside area of the wheel well with some silicone between the tab and the bracket to avoid damaging the paint. The final shape has a gentle bend of about 50 degrees and about a 45 degree twist so it would match the angle of the upper mounting point.
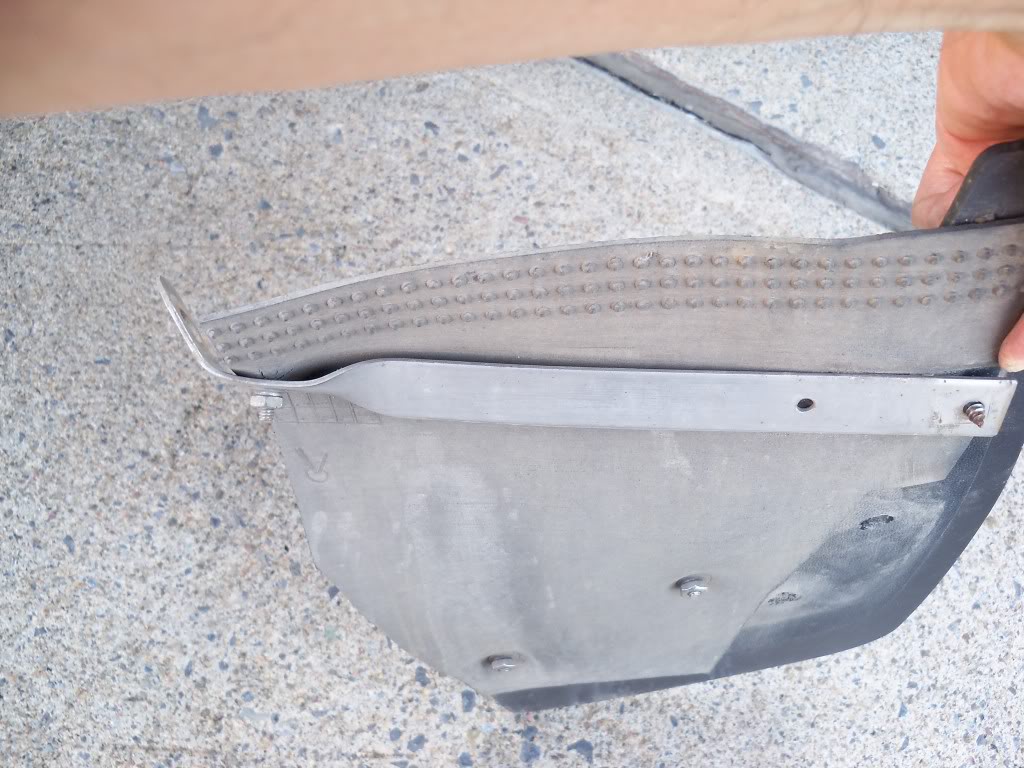
I used all stainless steel hardware sourced from a local hardware store. I used six 1/8" by 1 inch screws, six 1/8" nuts, six 1/8" lock washers, six small flat washers, and six large flat washers. Assembled as shown.
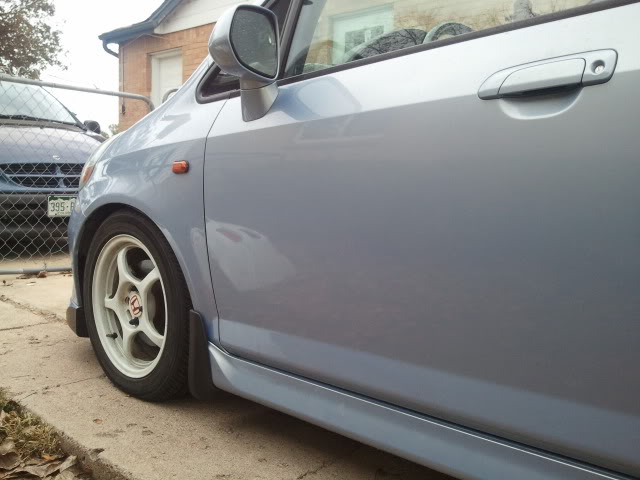
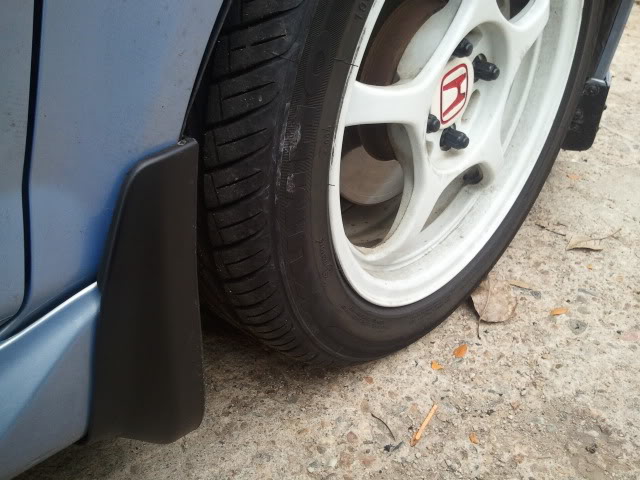
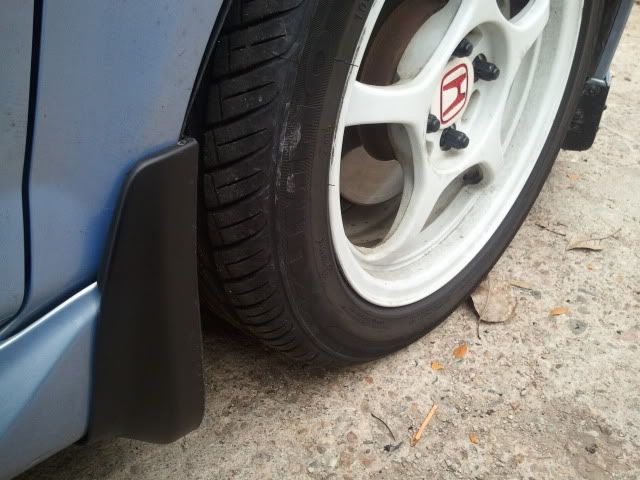
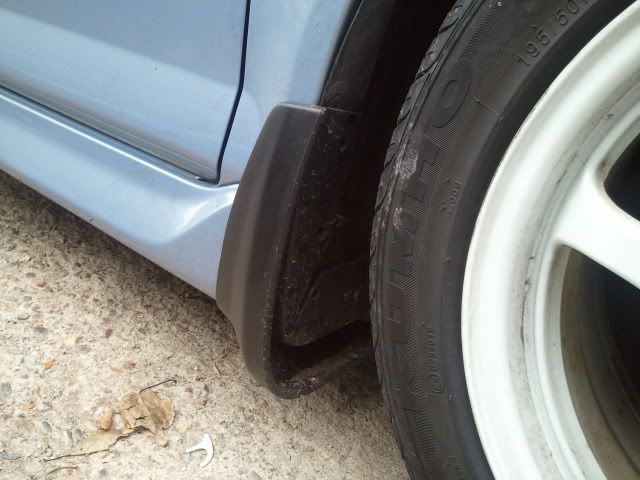
Here it is installed on the car:

I know the final product is rather ugly but with the tire in place it's hardly noticeable and it does what I want. I'm sure it would look better with better material.
This year has been too busy to try the Rally armor flaps so perhaps I'll give them a try next year.
I hope this made sense if anyone has questions please let me know.
Cheers!
John
Last edited by john380; 10-30-2011 at 08:01 AM.


#54
01-12-2015, 02:57 PM

I just picked up a set of Rokguards from Roy:
https://www.fitfreak.net/forums/gaug...ud-guards.html
Honda decals were a separate purchase

They will be PlastiDip flat black before going on this weekend.
https://www.fitfreak.net/forums/gaug...ud-guards.html
Honda decals were a separate purchase
They will be PlastiDip flat black before going on this weekend.
#56
01-21-2015, 07:55 PM
I thought about keeping them clear for my taffeta white but think I prefer the flat black. If I don't like it, I can always just peel the plastidip away.

Thread
Thread Starter
Forum
Replies
Last Post
one3
General Fit Talk
9
05-21-2008 06:19 PM