
Sinister yet Sexy 98 Dodge Viper GTS gets Tru Shine Lovin
#1
 03-29-2011 | 01:04 PM
Sinister yet Sexy 98 Dodge Viper GTS gets Tru Shine Lovin
What's up everyone, I'm excited to get to show you guys this car. I love the look and design of this model, there is just something so Sexy about it! When I arrived there was a slight overcast and I had thought to myself this car wasn't going to need much work. but after patiently waiting on the sun to pop out. I finally seen what I was looking for. Let 's take a look and see what I had to work with.
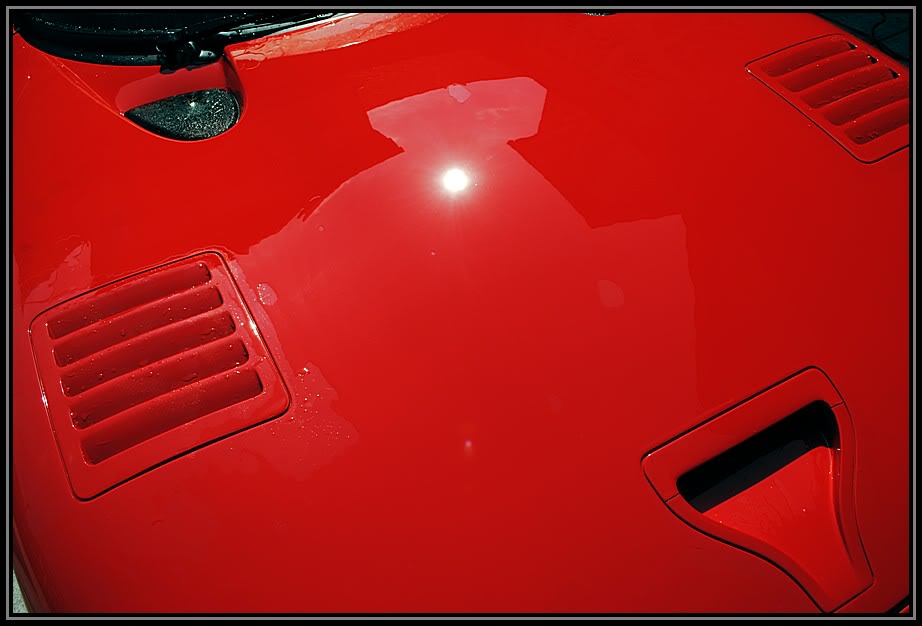
As you can tell from this pic, at first glance it looks to be in great condition.

Some of you might ask, What are "Spider Web" scratches or "Swirls" in the paint?
When you see all of the fine scratches in your paint, that is actually the light being reflected back at you from the sun.

a scratch is a microscopic crevice or valley in the paint, and when the sun hits it at the right angle that lines up with your eyes, you see the reflection of the light.


Paint Correction is removing or leveling out these fine scratches, safely removing a very microscopic level of the clear coat. Which let's the light bend around the panel without any disruption. This is what creates the Glossy look.
Now lets start the prepping stage, getting the surface clean and ready for the correction.


The owner wanted this car as mint as possible. So before washing the car, I degreased and treated the engine with 303 protectant.


Using some degreaser I agitated it the engine with a Small EZ detail brush getting into all the tight areas.


you can see here all of the build up


then rinsed

Next I took my Metro Blower and blew out all of the standing water.

Then I liberally sprayed 303 aerospace protectant onto all surfaces and left it there to soak in. (I go back and wipe of the excess at the end)

Now it's time for the wash
First I pre spray the car down knocking off any loose debris.

And then begin spraying the wheels with P21s wheel gel.


After the wheels were cleaned, I foamed the car down using Dawn Ultra Concentrate to strip any oils or previous waxes off the paint.


Then using my 100% sheep skin wash mitt I washed the car going in straight lines.

Then rinsed

Now you can see that there is no beading or sheeting of the water showing that all wax has been removed.

Next I brought the car inside and began to clay it and tape up all of the trim.
For the correction, I used the FLEX 3401 VRG and Meguiars M105 with the Surbuff 6in pad.

here is a 50/50 of the front fender


The owner had mentioned to me that one of the vents on his hood had some faded spots or it was missing a little bit of paint. And he wanted to know if we could do anything about it. So of course I fixed it up for him and made it look brand new.
Here is the hood vent with faded spots/missing paint.

So I lifted up the hood and removed the 4 Philips head screws that hold it in, and removed the vent.

Then I took some Black Satin paint and went over the vent a couple of times to get a good coat on it.

Now how does that look?

Then I continued on around the car correcting the paint

Here is an example of the door pillers before


To fix this area, I used my Griot's 6in orbital DA with a 4in surbuff pad to get around all the tight areas.


Here are the taillights before.

And this is after


So the next day I came back to finish up. This clear coat was very hard and took multiple passes with M105 and the surbuff pad, so it took a lot longer then normal to complete the first step of the correction.
Day 2 consisted of polishing out the paint with M205 and a LC tangerine pad. followed by Black Fire wet Diamond paint sealant.
So this is the LC Tangerine pad on the FLEX 3401 with M205 polish.


After the paint was polished I applied Black Fire Wet Diamond paint sealant using a LC Blue finishing pad.

while the BFWD was curing I applied some REJEX to the wheels, to give them some added protection.

I popped the hood to wipe away all of the dust and excess 303 that was left from earlier.

And moved on to the inside to vacuume it out and treat all surfaces with some 303 aerospace protectant.


Now the Car was finished and it was pulled out for a final walk around and the final pictures.


Thanks for Viewing, Have a Blessed Day!
If you have any questions, please don't hesitate to ask
-Eric

Thread
Thread Starter
Forum
Replies
Last Post
Fallen_Rock
Fit DIY: Repair & Maintenance
11
11-29-2011 09:22 AM
Fallen_Rock
Fit DIY: Repair & Maintenance
10
07-06-2011 09:59 PM
Fallen_Rock
Fit DIY: Repair & Maintenance
8
03-09-2011 08:29 PM
Fallen_Rock
Fit DIY: Repair & Maintenance
11
01-04-2011 02:08 PM