
From Pink to Cherry! 1964 Nova SS Exterior Paint Correction
#1
 12-28-2010, 11:59 AM

Join Date: Jun 2009
Location: Knoxville TN
Posts: 365
From Pink to Cherry! 1964 Nova SS Exterior Paint Correction
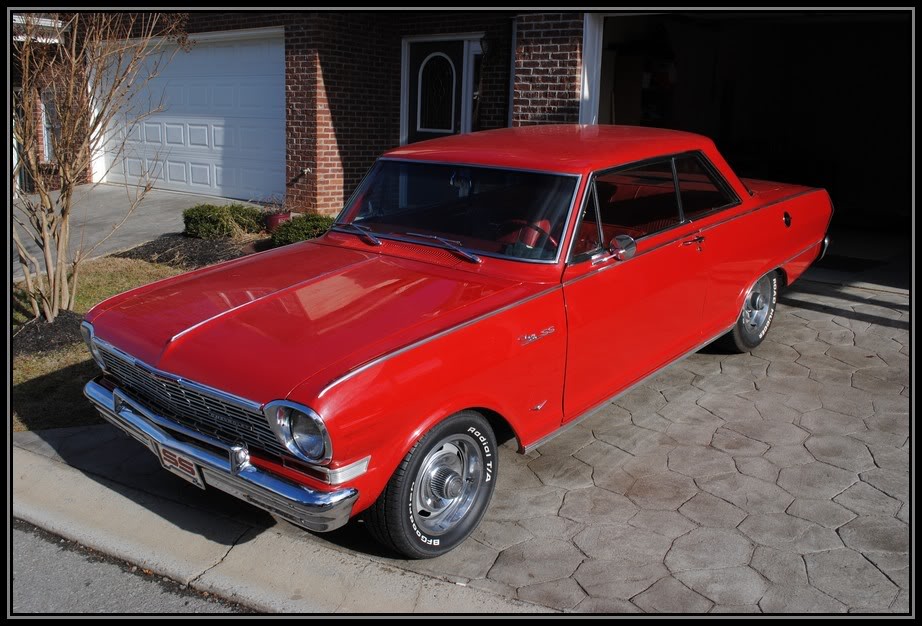
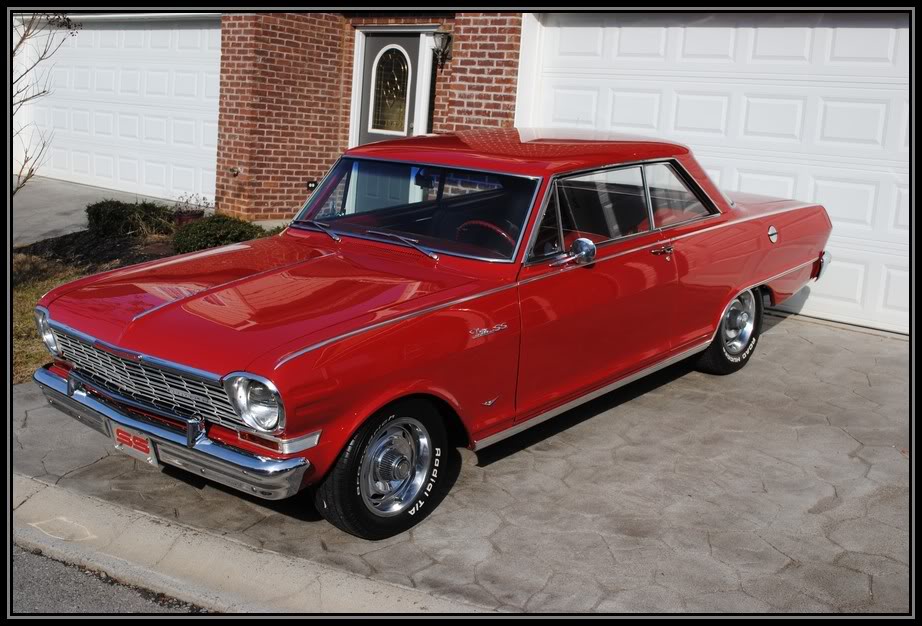
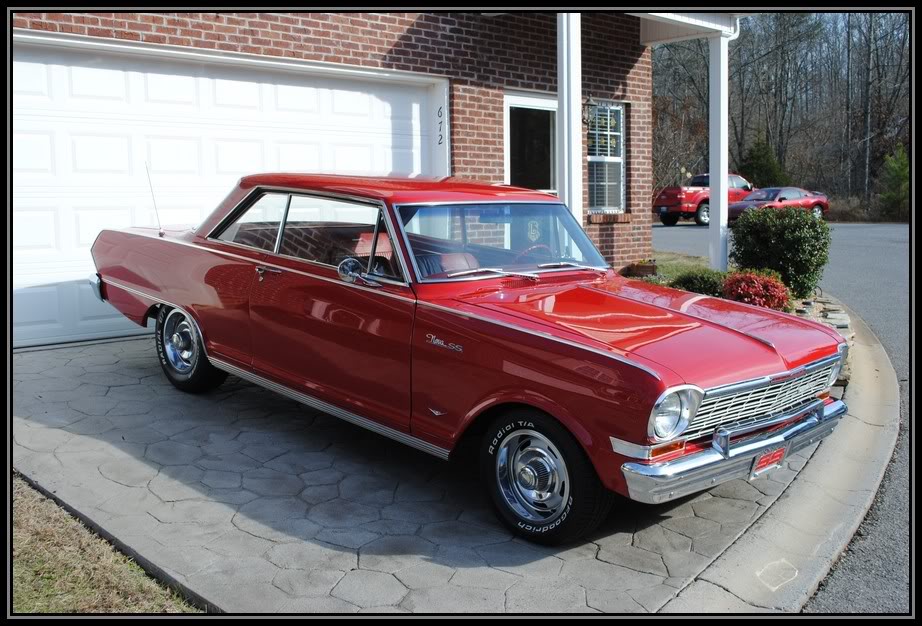
Where do I begin? This 1964 Nova SS is one beautiful classic muscle car. It has had a rough life from the previous owner, but the new owner has lots of plans in store for it. Right now the owner just wanted the paint to be brought back to life to hold it off until the full frame up restoration. So he gave me a call and asked if I could work my magic. I was honored to be able to work on such a nice old school classic piece of American history. Lets get this detail going.
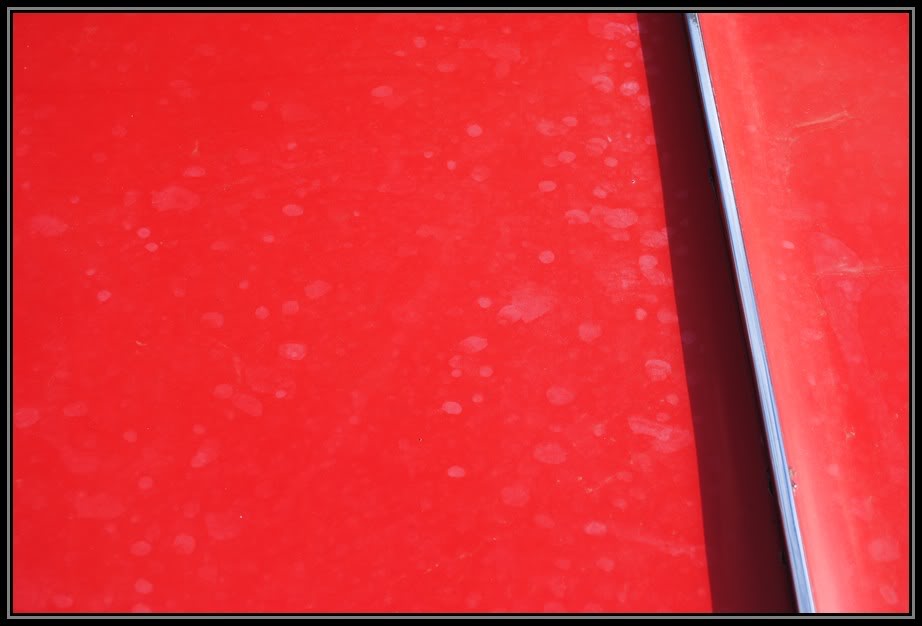
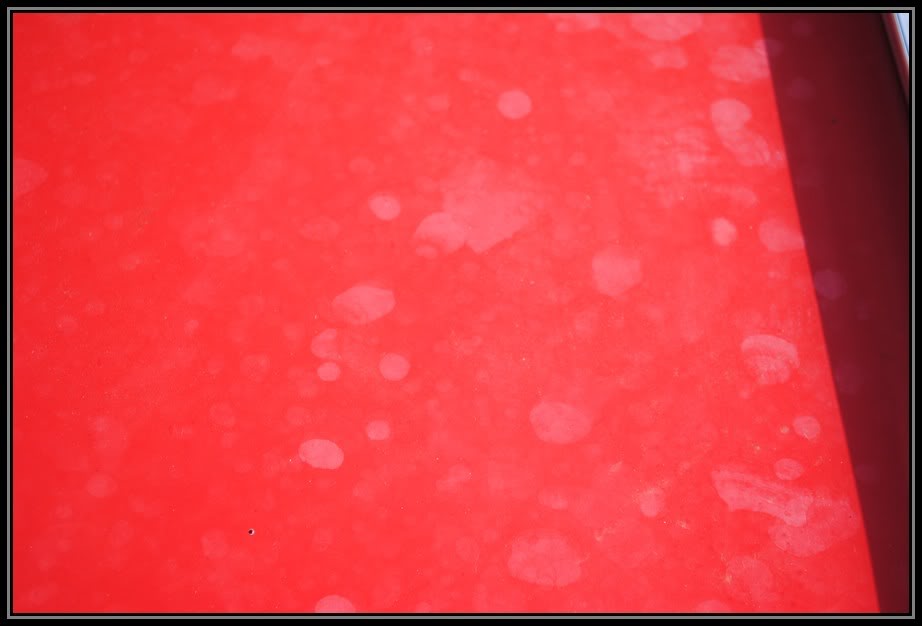
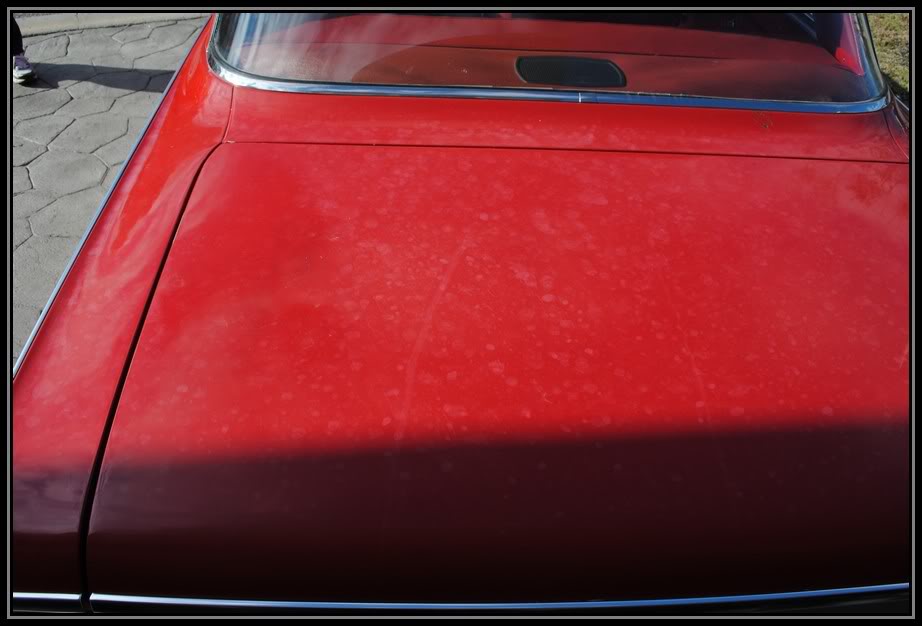
The paint is a Single stage paint which is notorious for fading, and this one had really bad water spot stains and some areas were basically bleached of the color.
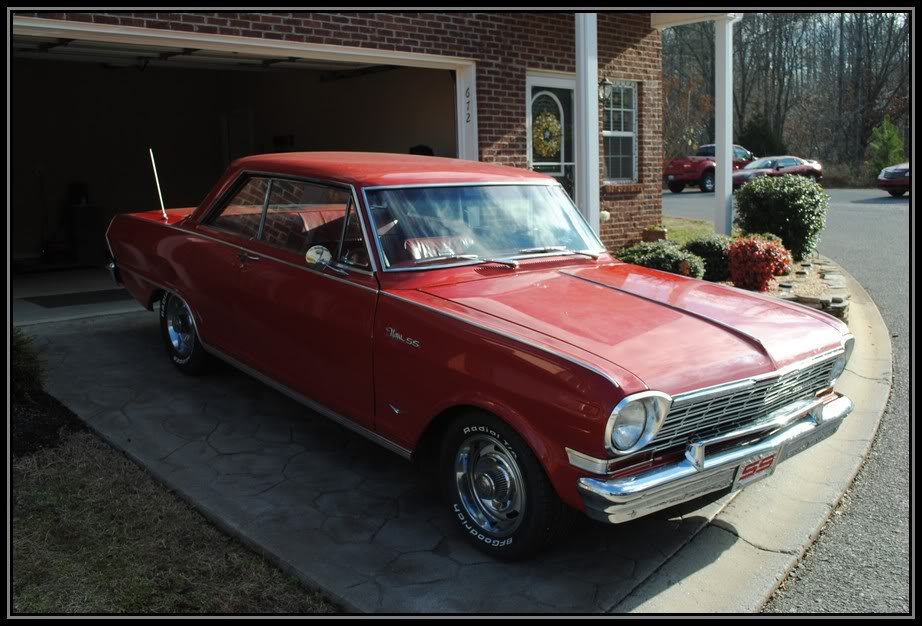
This is the car when I first arrived for the detail.
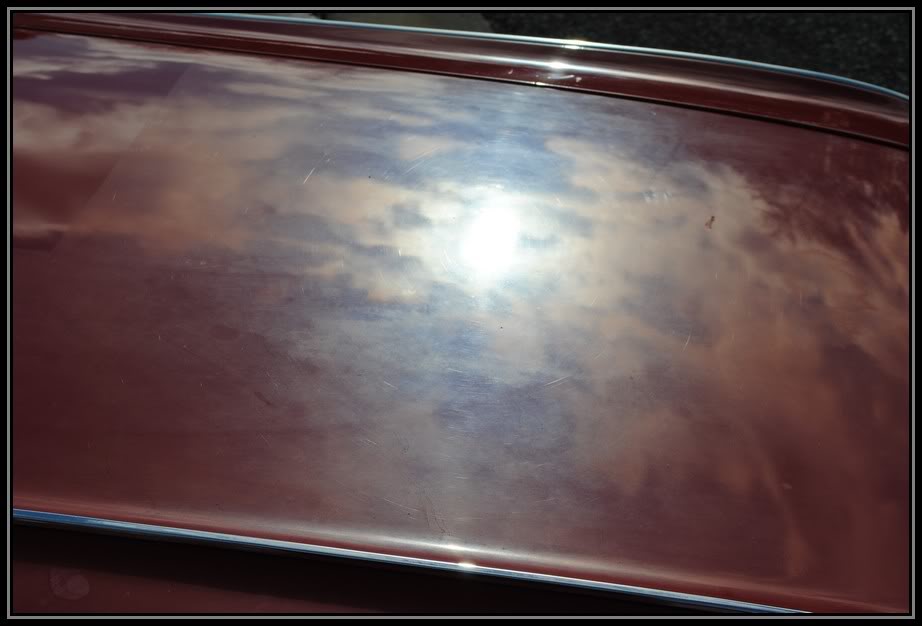
You can tell how bad the paint was oxidized by how cloudy the reflection was.
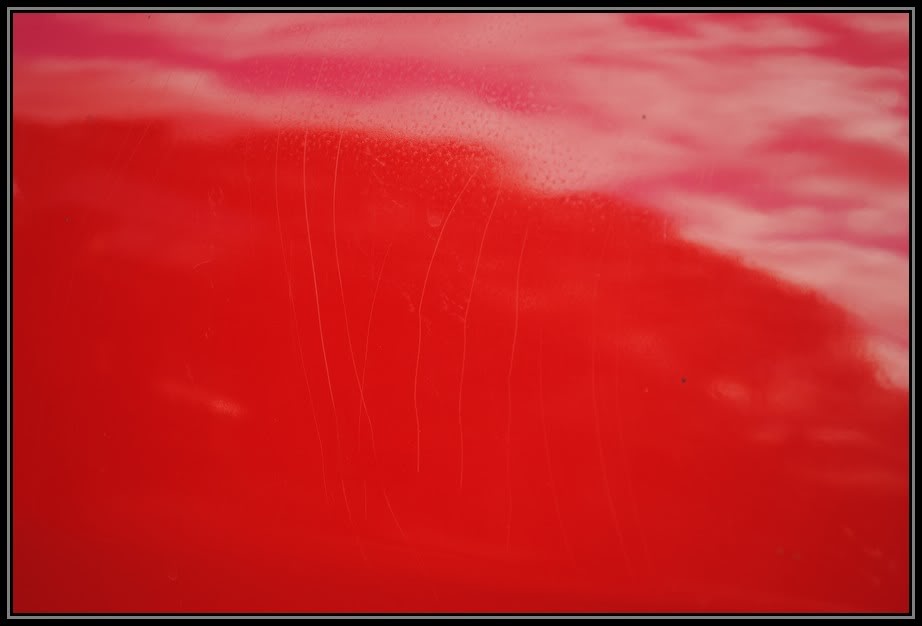
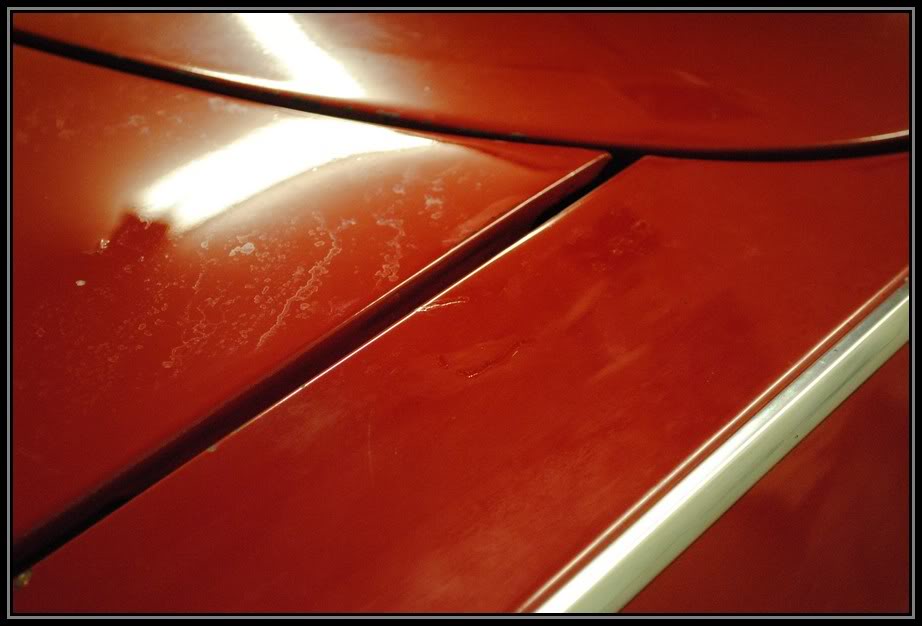
Here are some of the spiderweb scratches
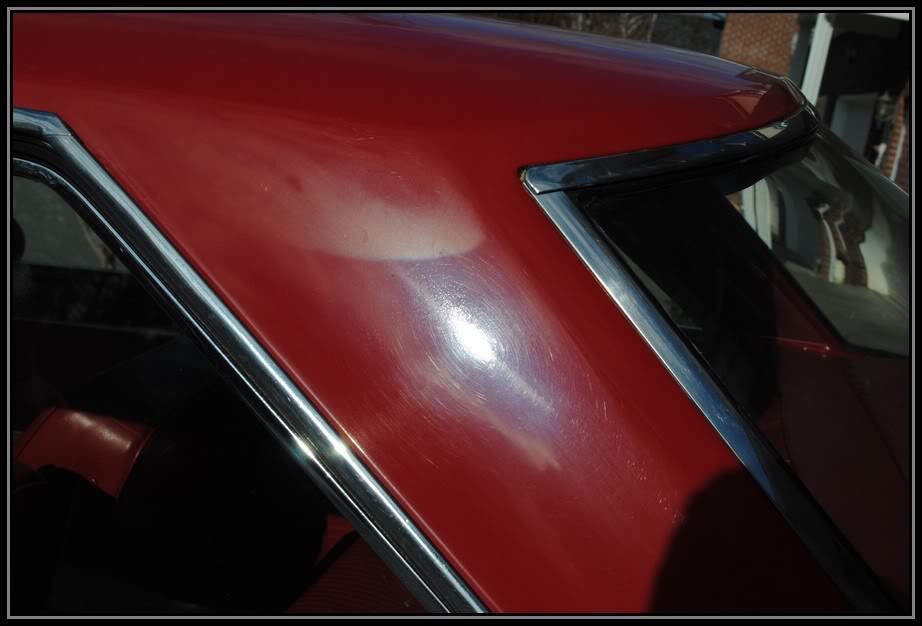

and some type of animal scratches
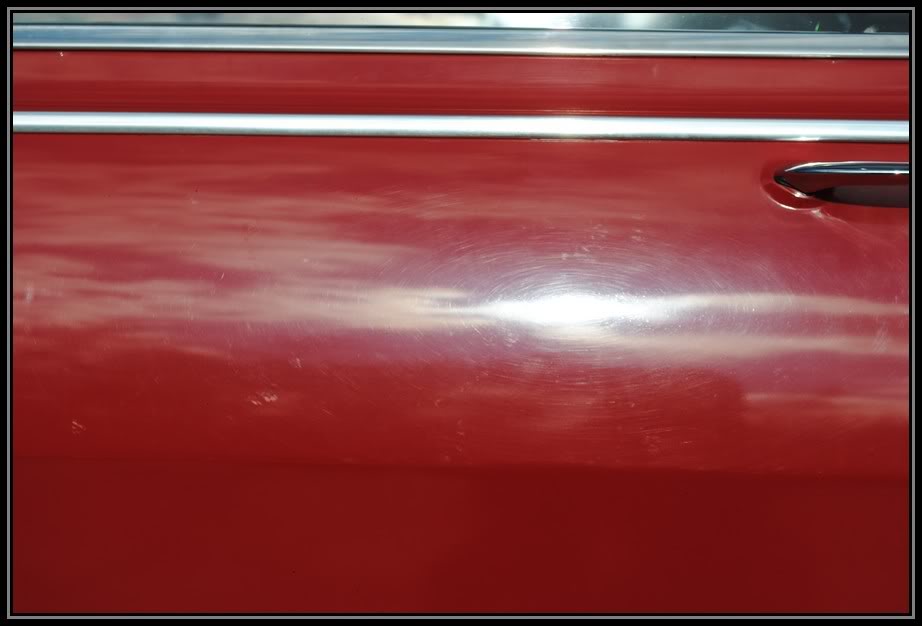
here are some more pics of the horizontal panels
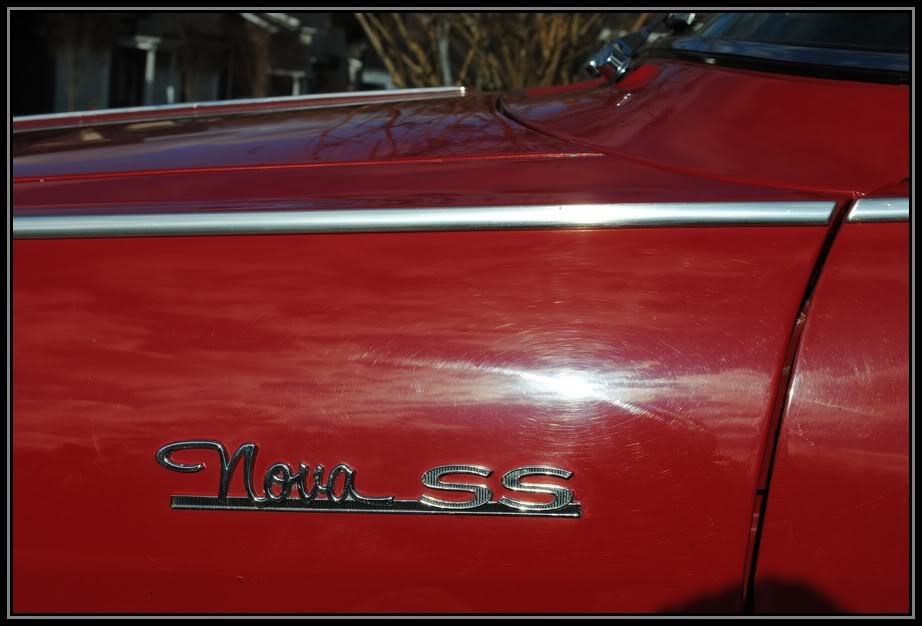
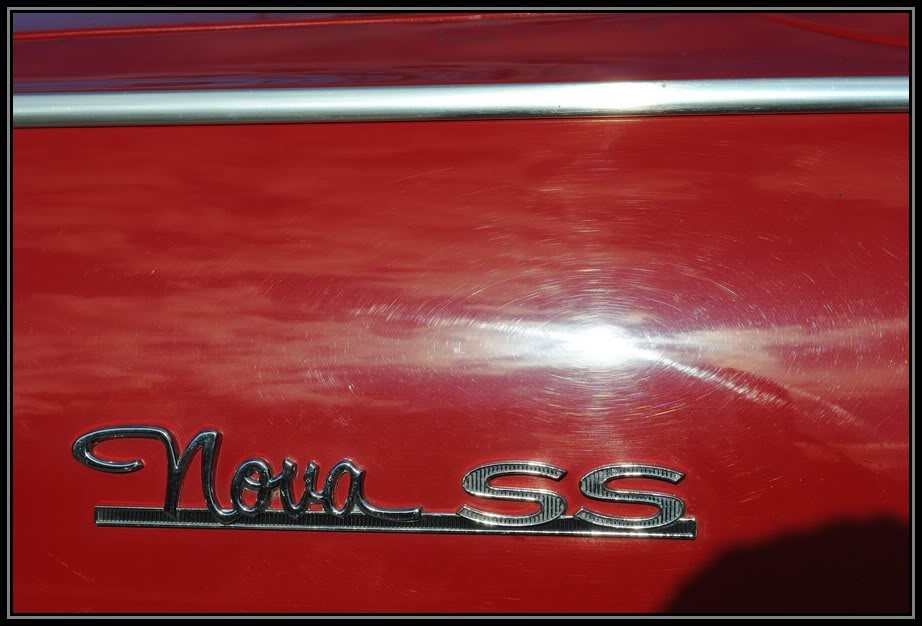
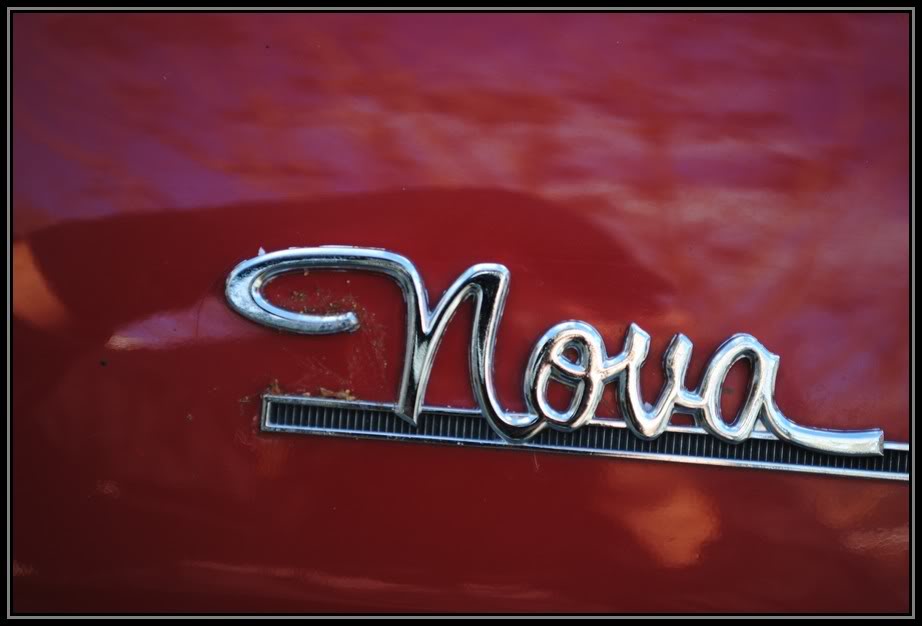
looks like this emblem got bird bombed?
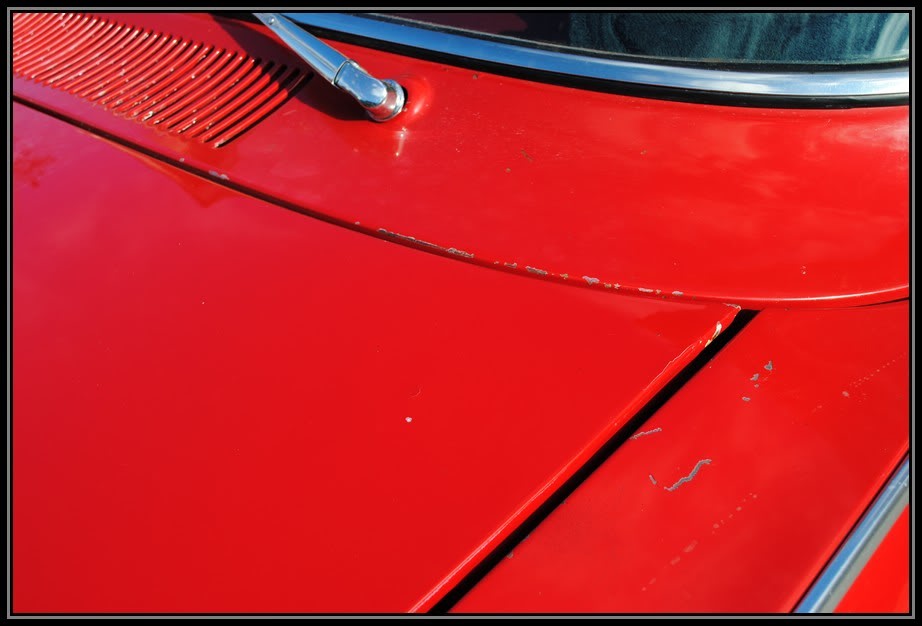
The car had quite a few chips to touch up
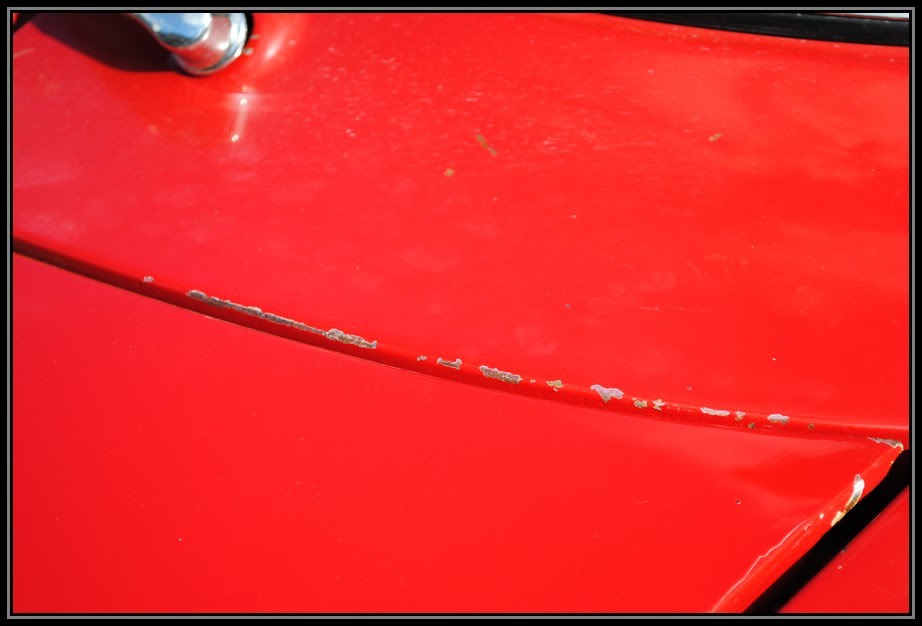
Over all the car is in great condition, but it still needs some luv'n
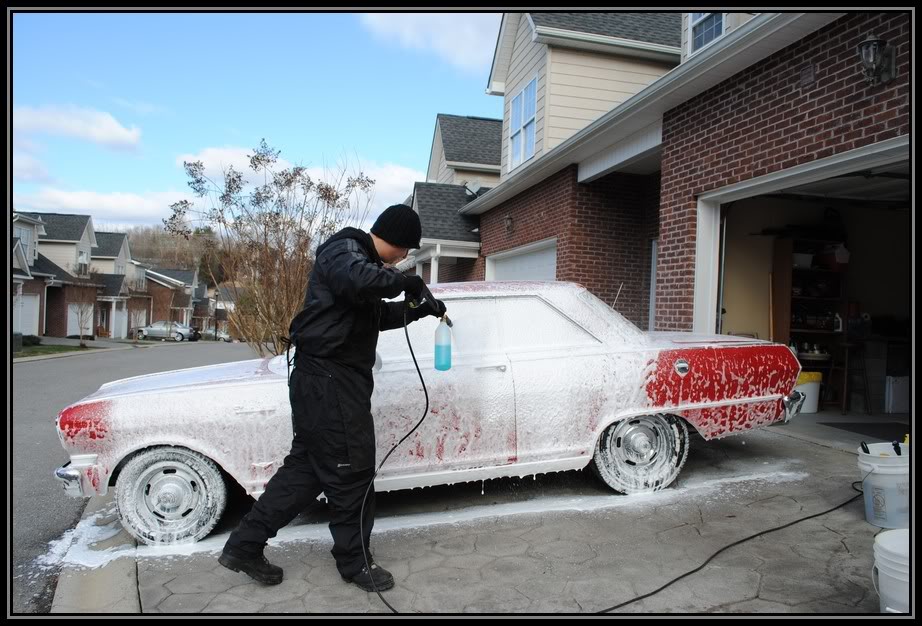
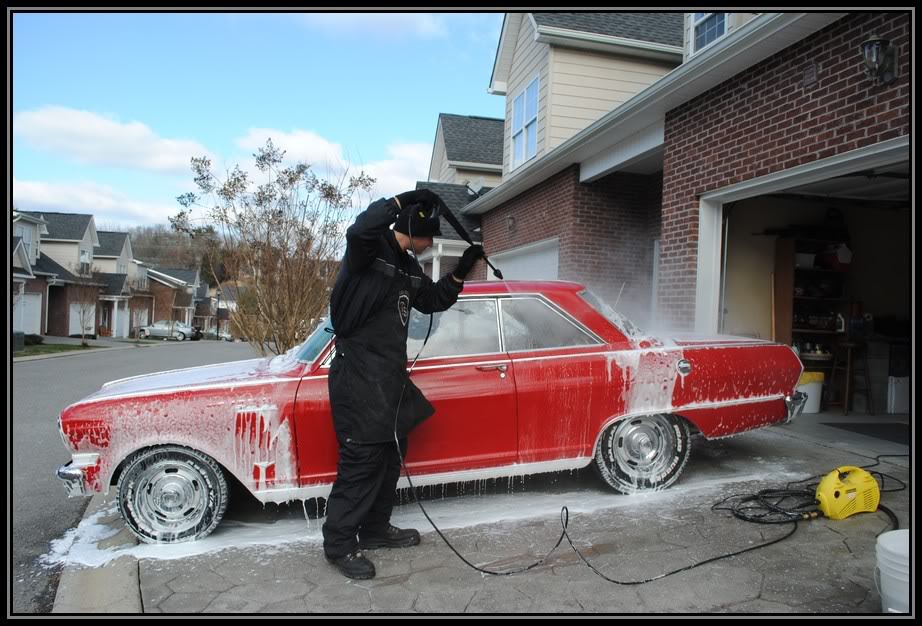
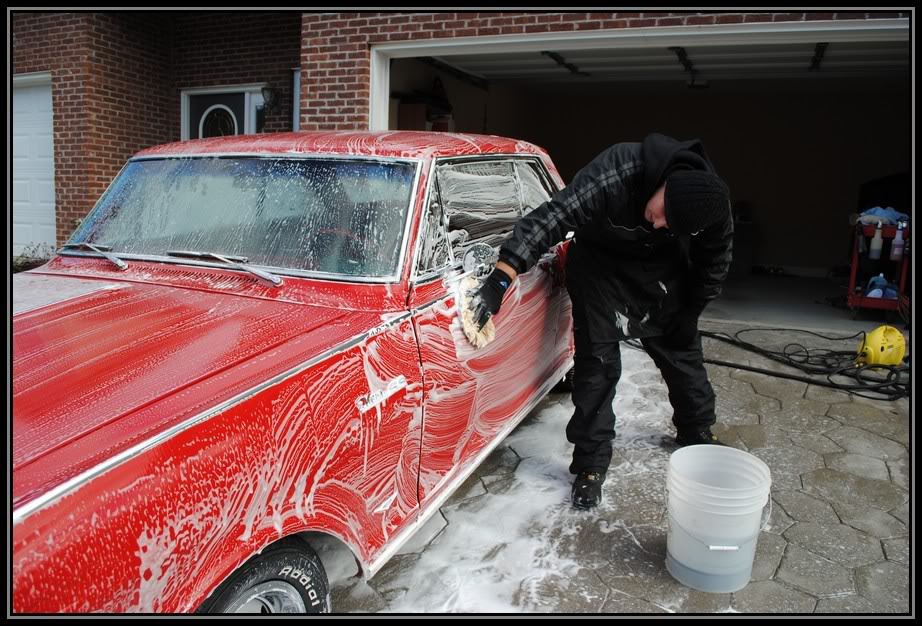
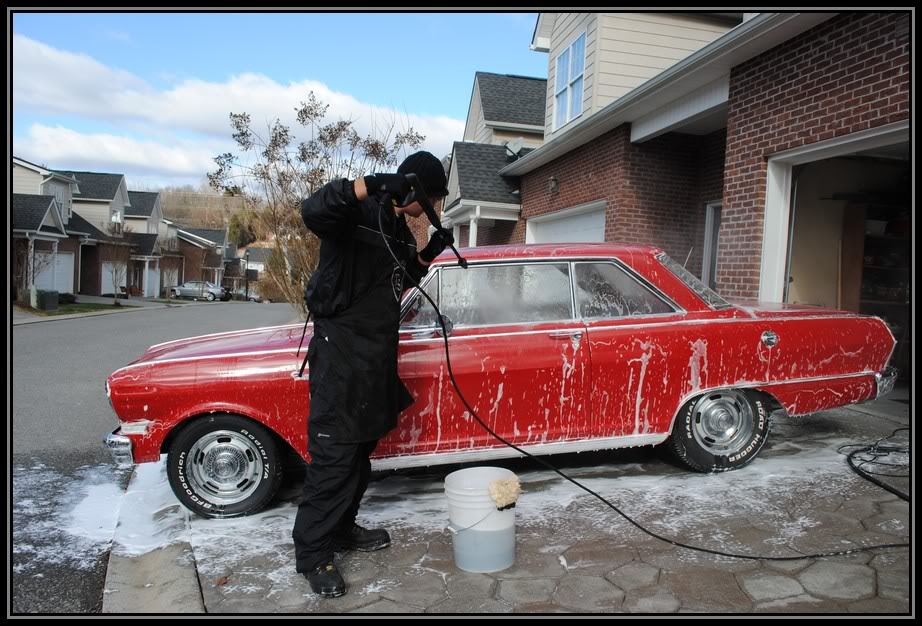
It was a Very cold morning, so I had to dress accordingly. I began the detail by giving it a thorough foam wash using my Foam Canon and Dawn Detergent.
letting it dwell
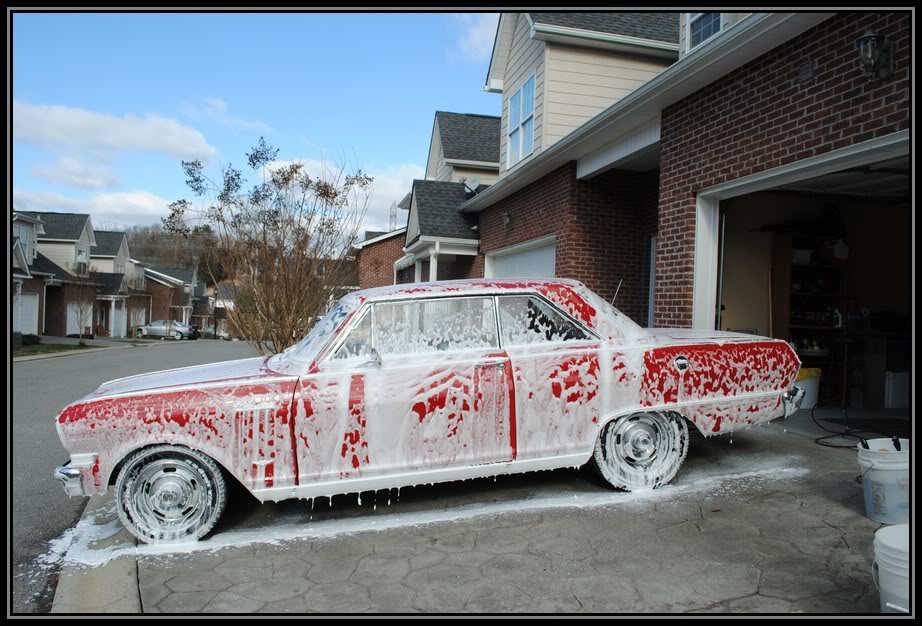
Then rinse off any heavy stuff
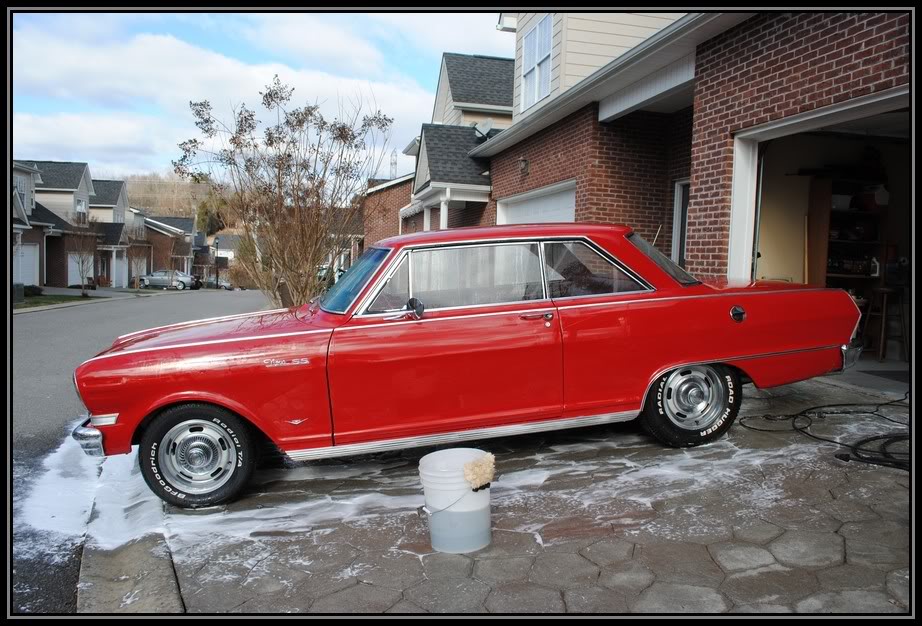
Re-apply the snow foam for the hand wash
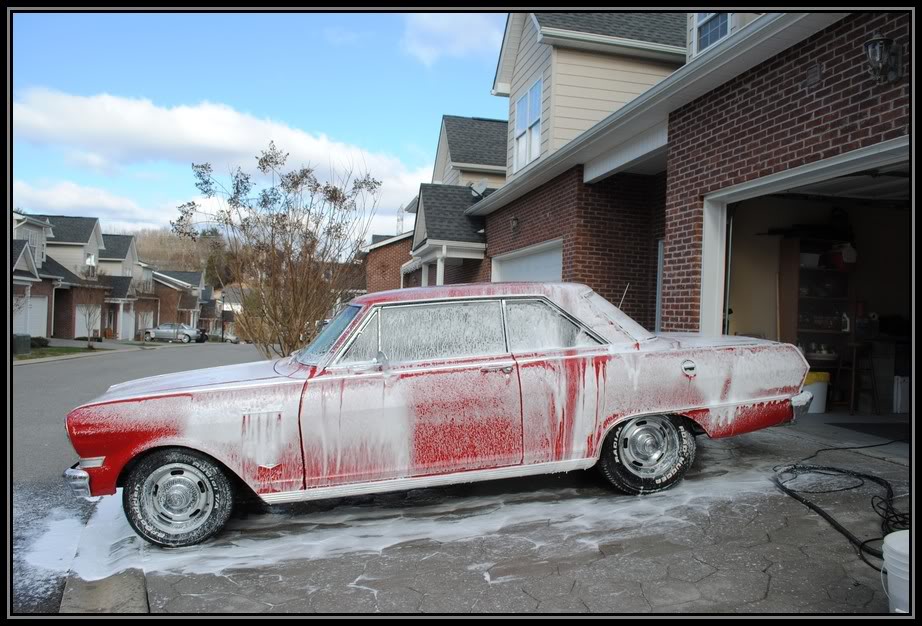
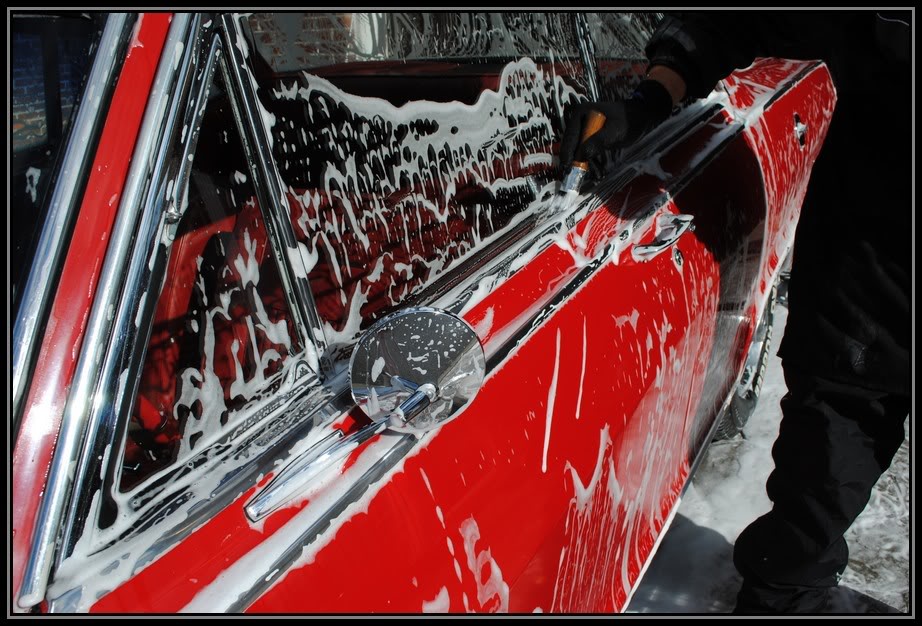
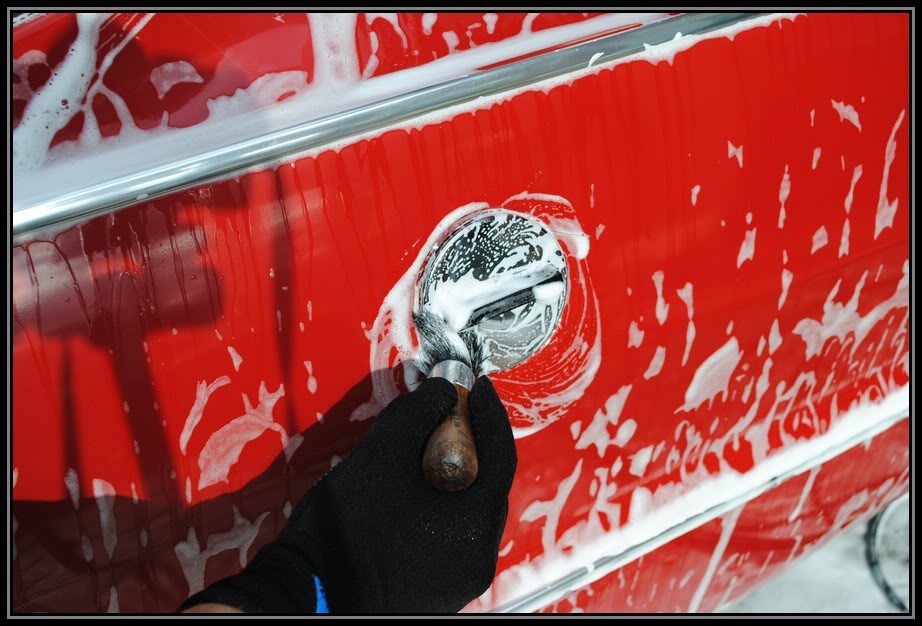
Washing it in straight lines.
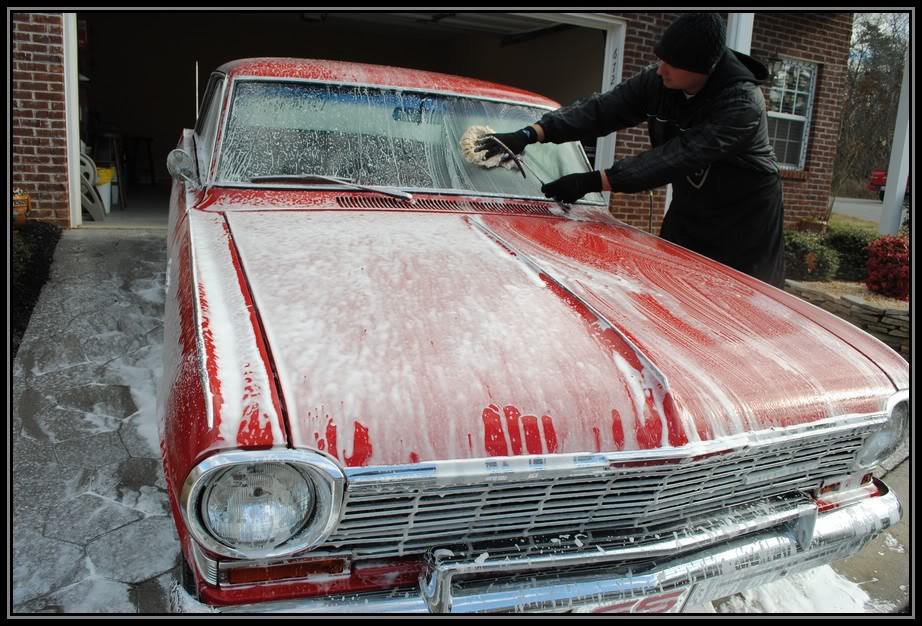
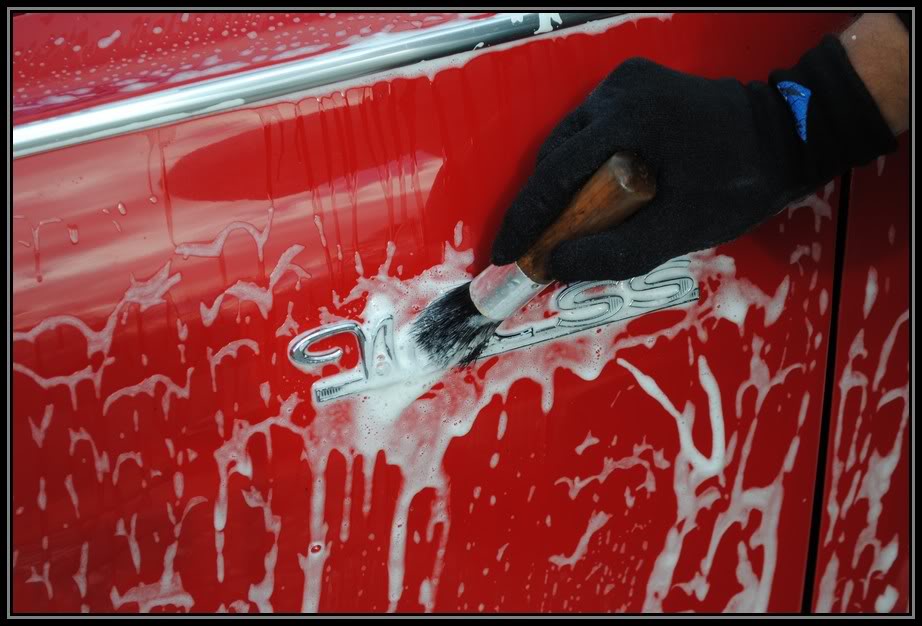
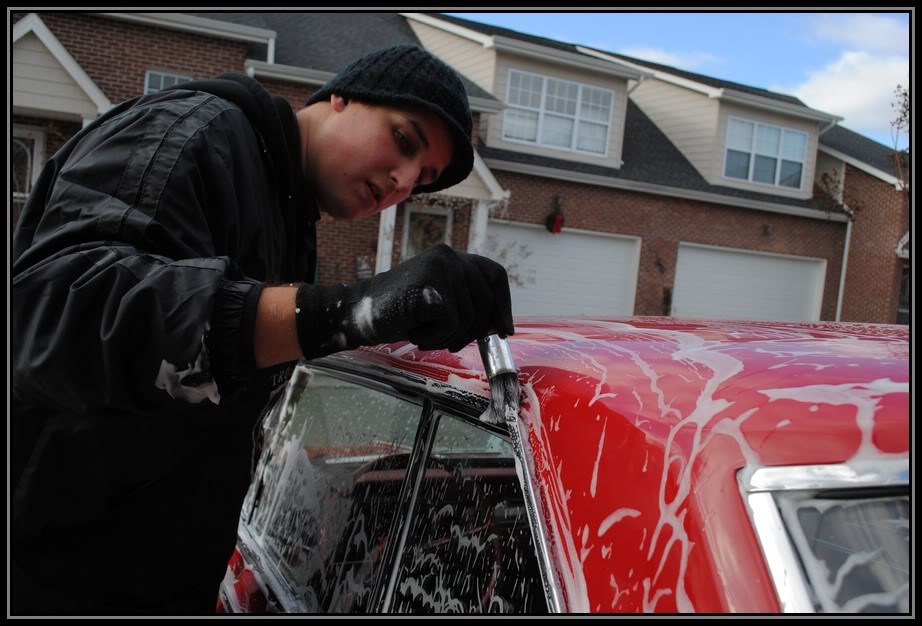
Getting into all the tight areas with my boar's hair brush
after the car was washed, I then rinsed it one last time.
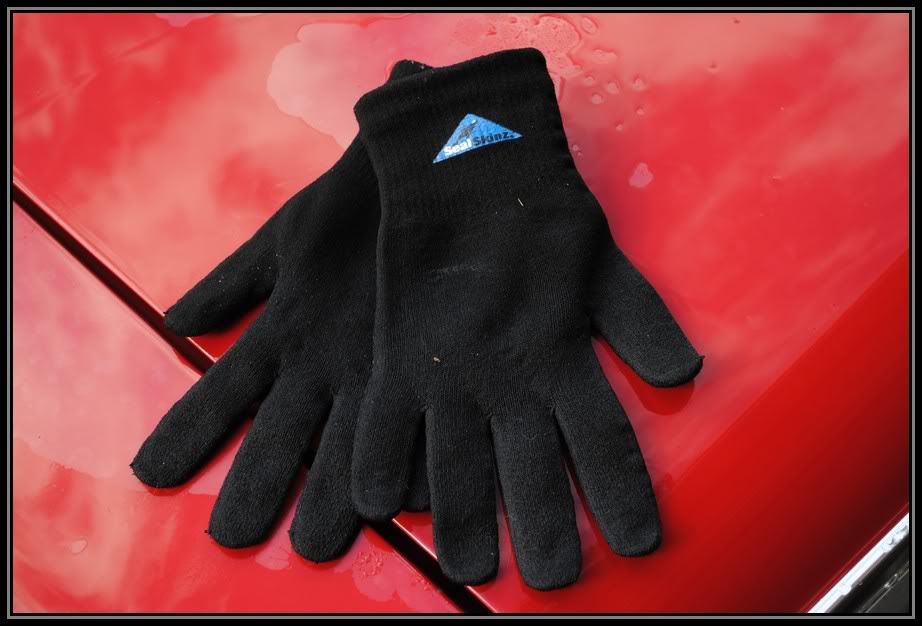
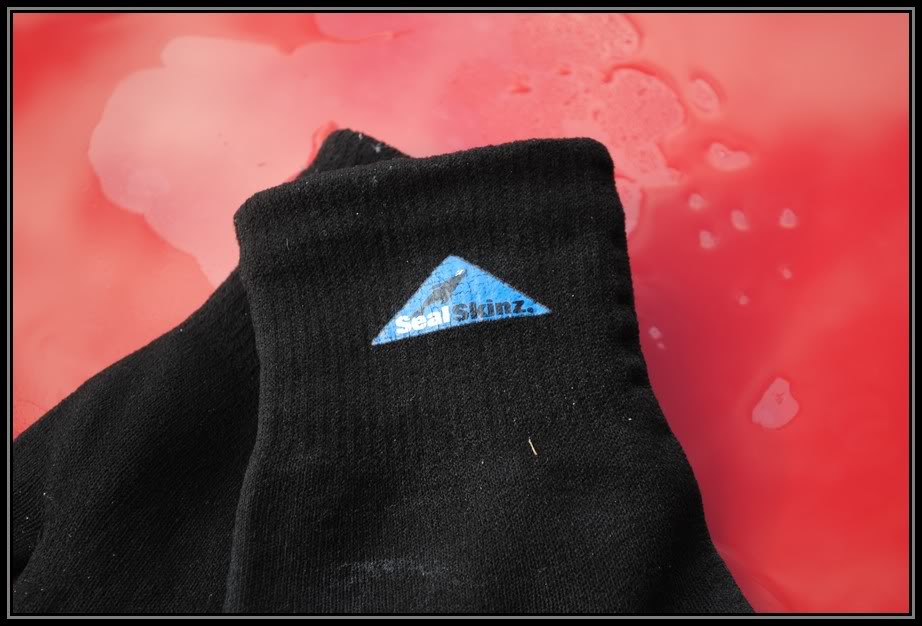
To any detailers out there that have to detail in the cold weather. These gloves are AMAZING! They keep your hands Dry and Warm.
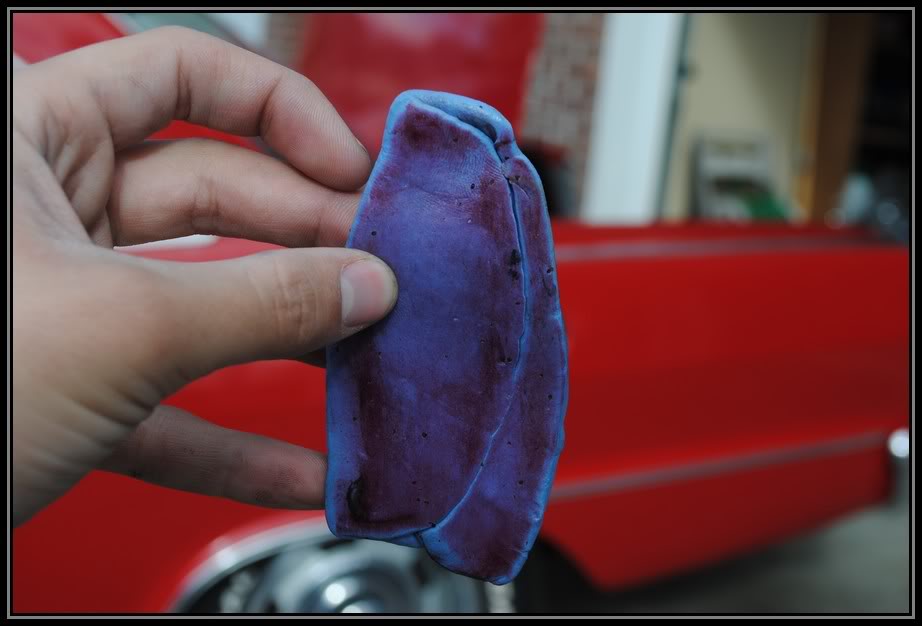
Next is the Clay bar step. This car had little tree sap spots all over it
Its kind of hard to see, but if you look close, these were all over the paint and windows.
here is the clay bar after finished, I had to kneed it a few times too.
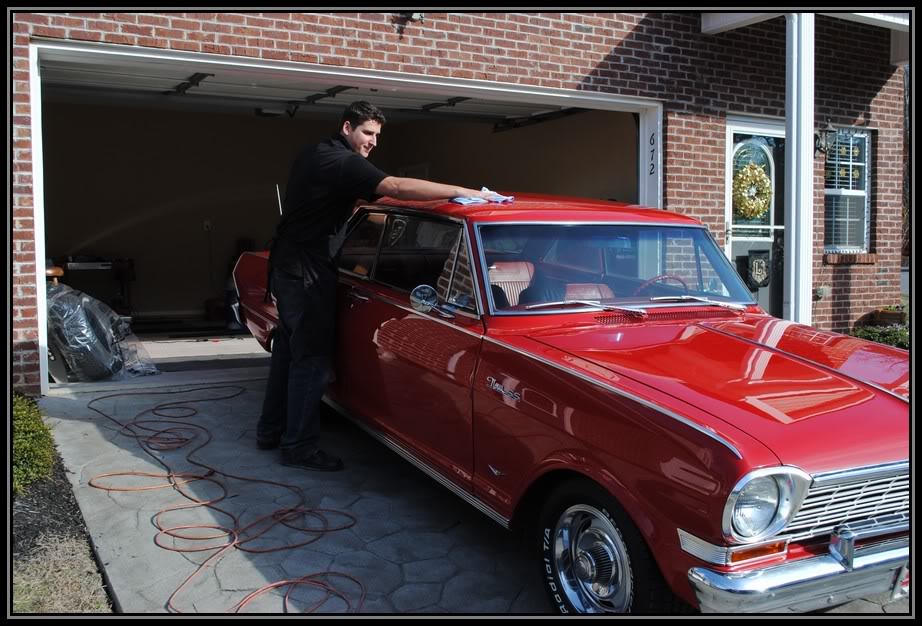
So then the car was pulled inside for the rest of the job.
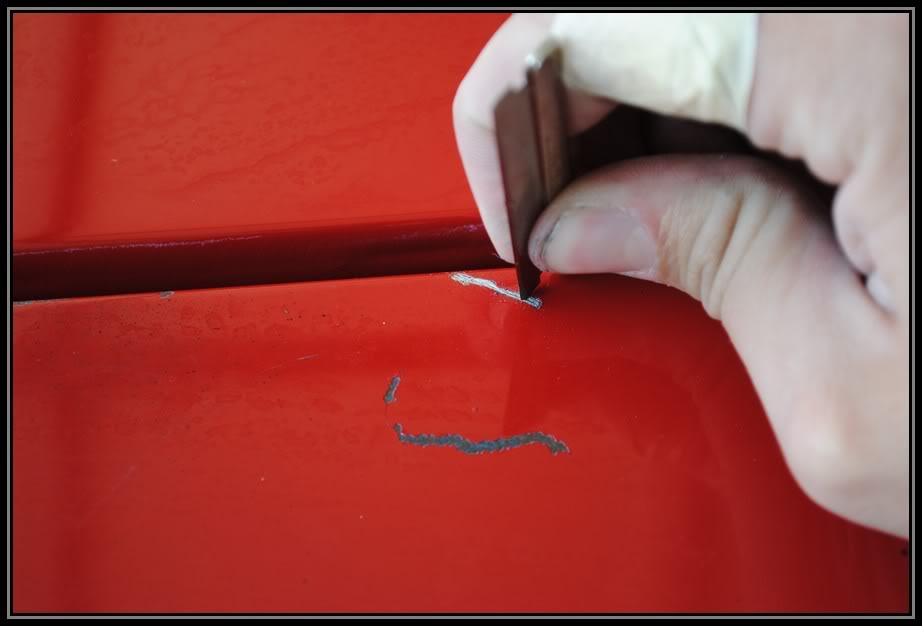
I started out with doing some touch up. there were a lot of spots to cover and I new it would take some time.
This touch up was more for just making them chips less noticeable. there were a lot of rusty spots that needed the rust scratched out of them and touch up paint applied.
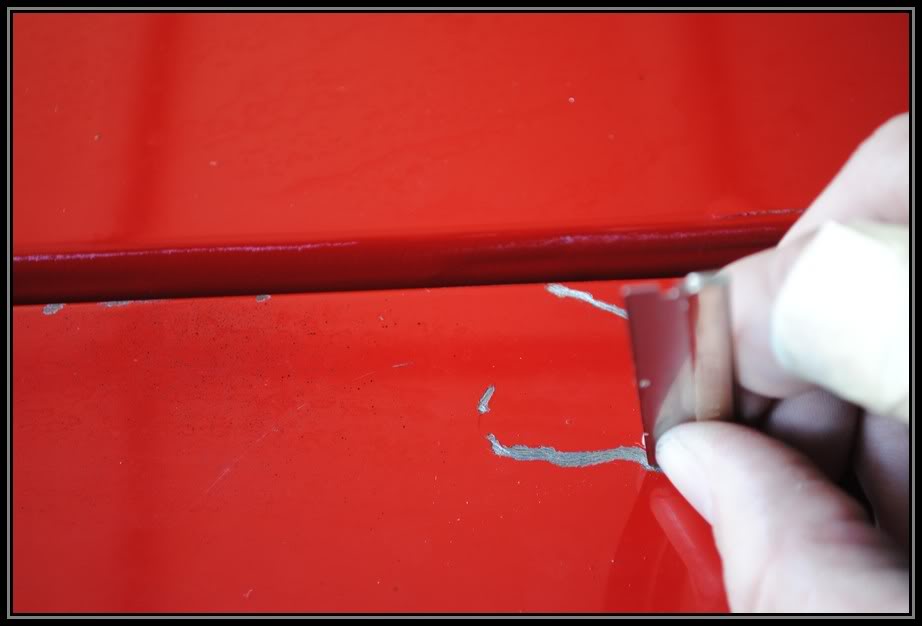
here is one area were I removed the rust out with the corner of the razor blade.
after both of the scratches were cleaned.
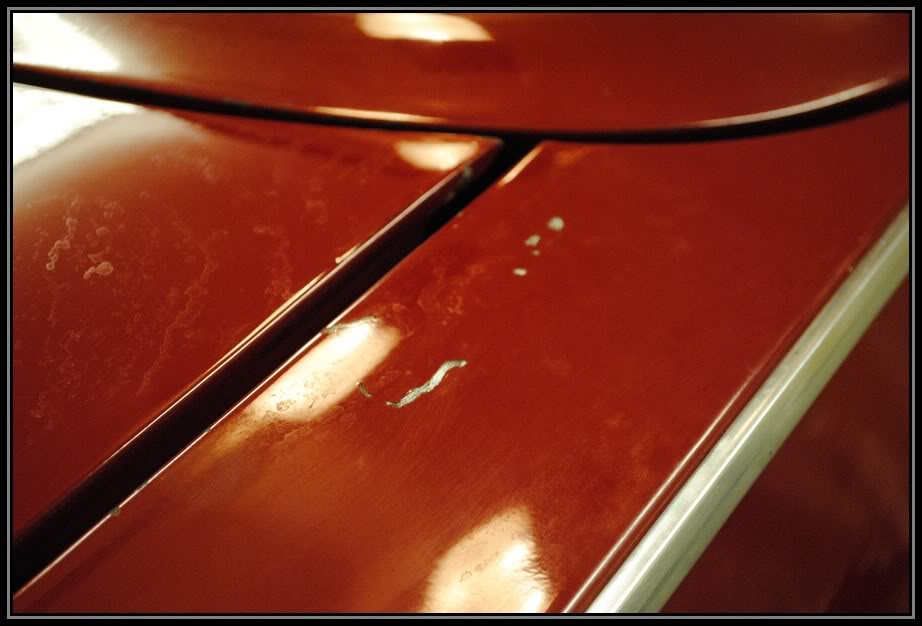
Next I applied the touch up paint.
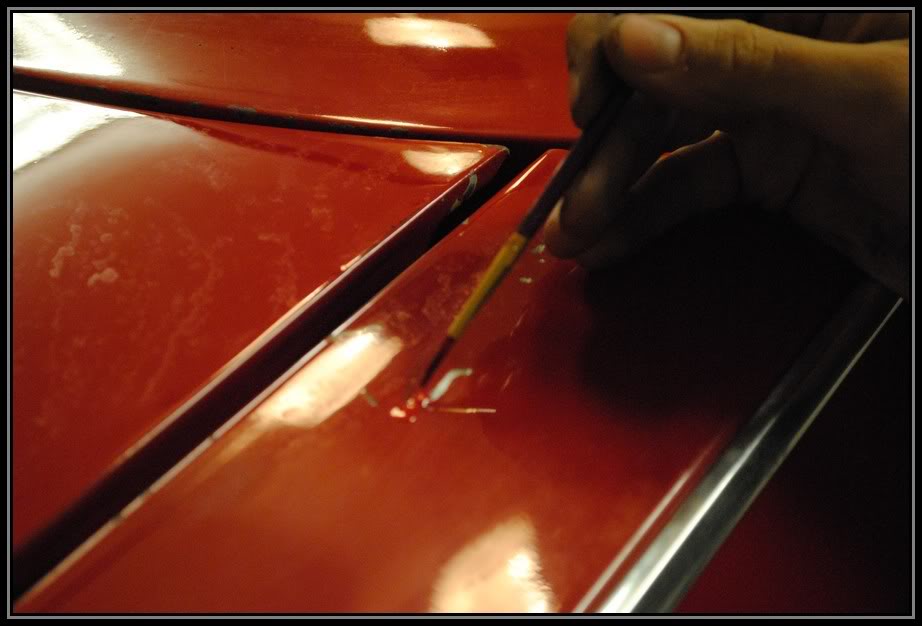
I apply a couple of layers and then let it all dry before I wetsand it smooth.
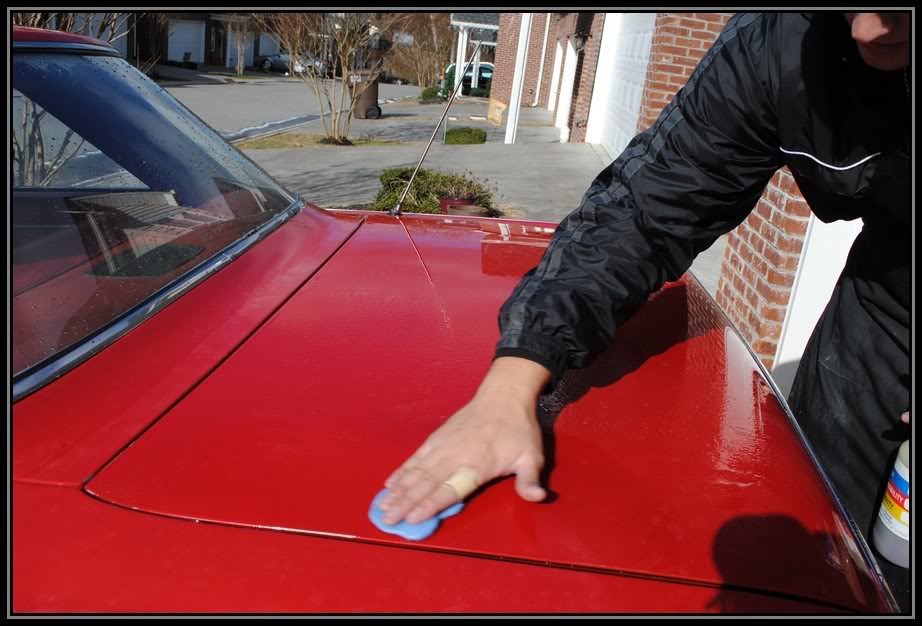
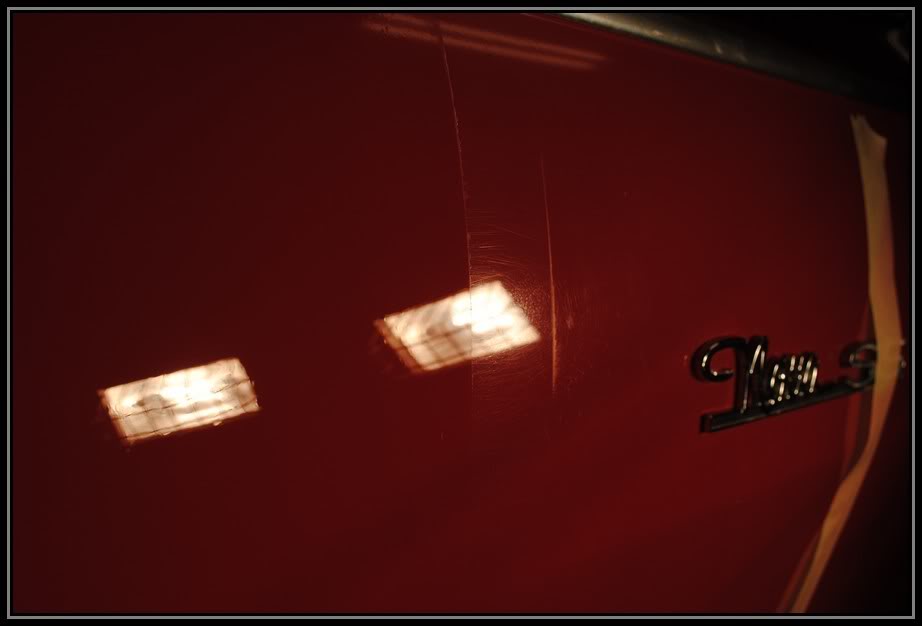
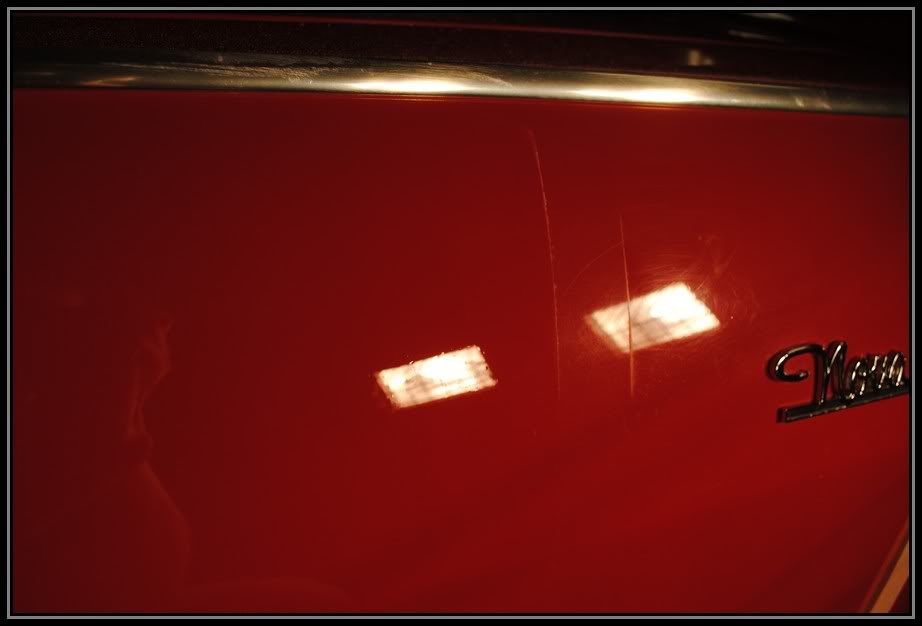
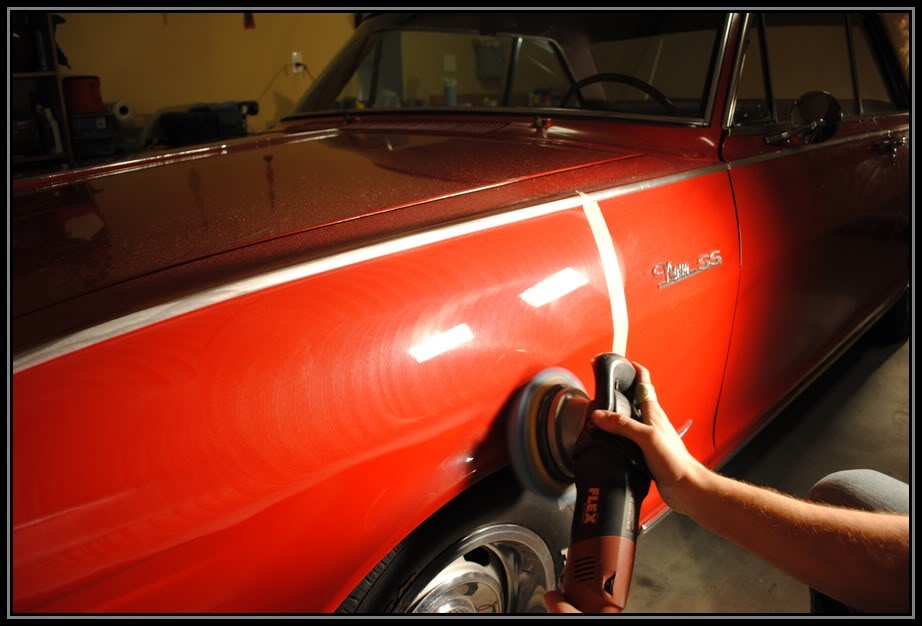
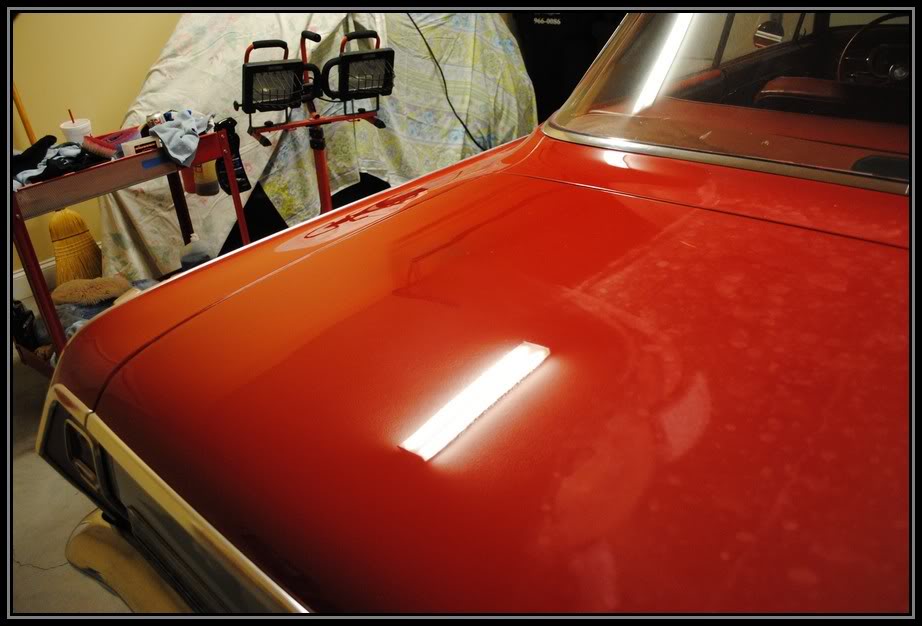
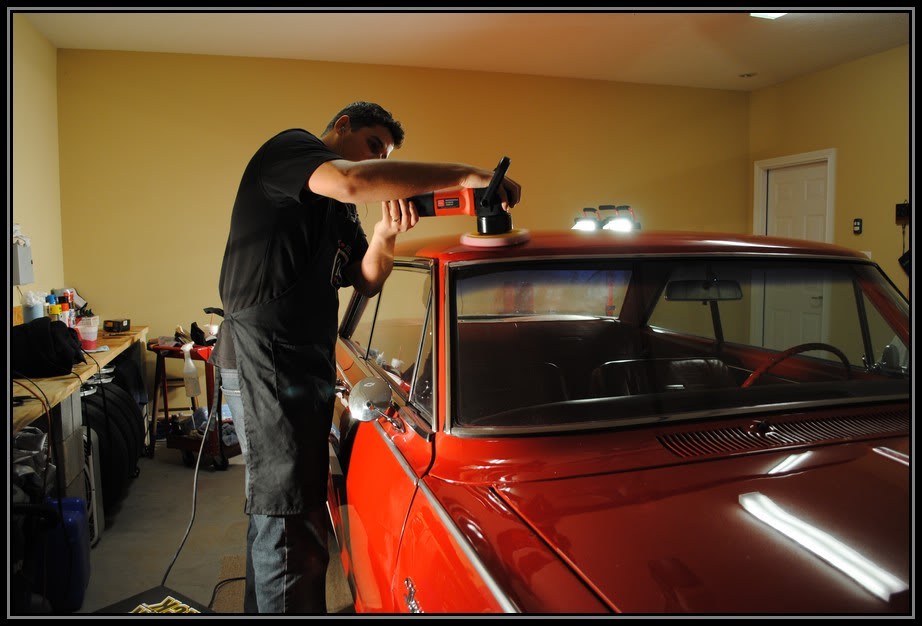
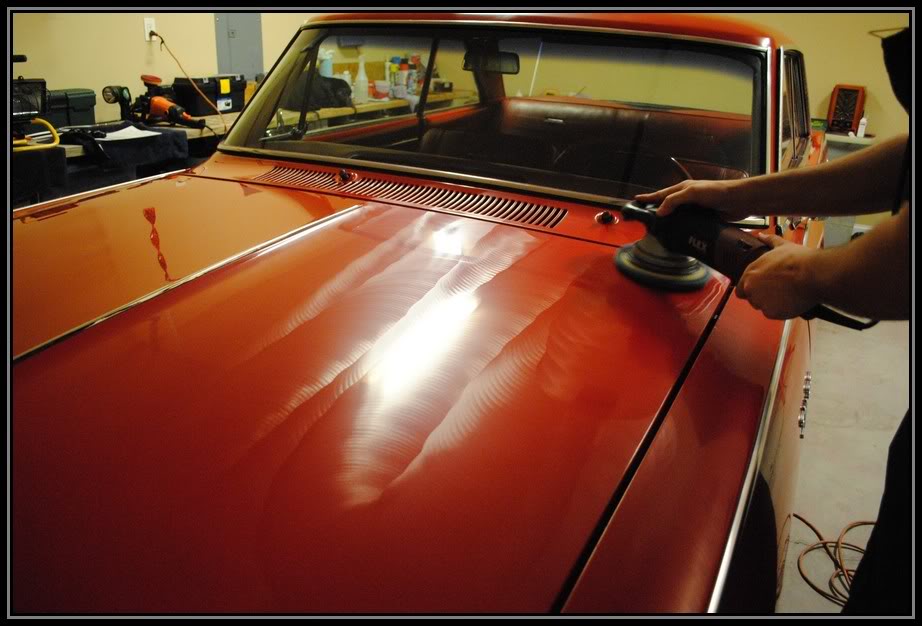
While the touch up paint dries, I start the paint correction on the lower sides of the car.
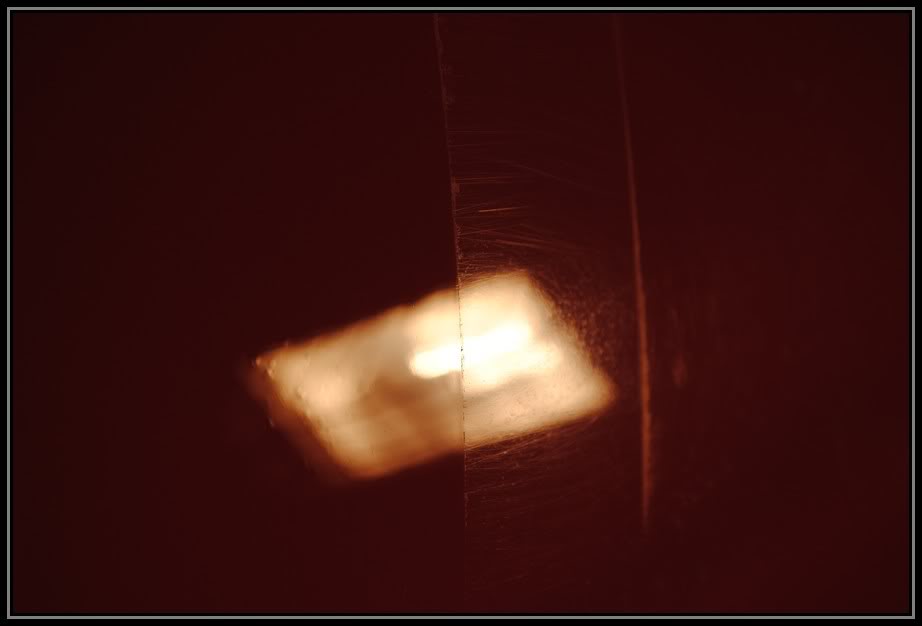
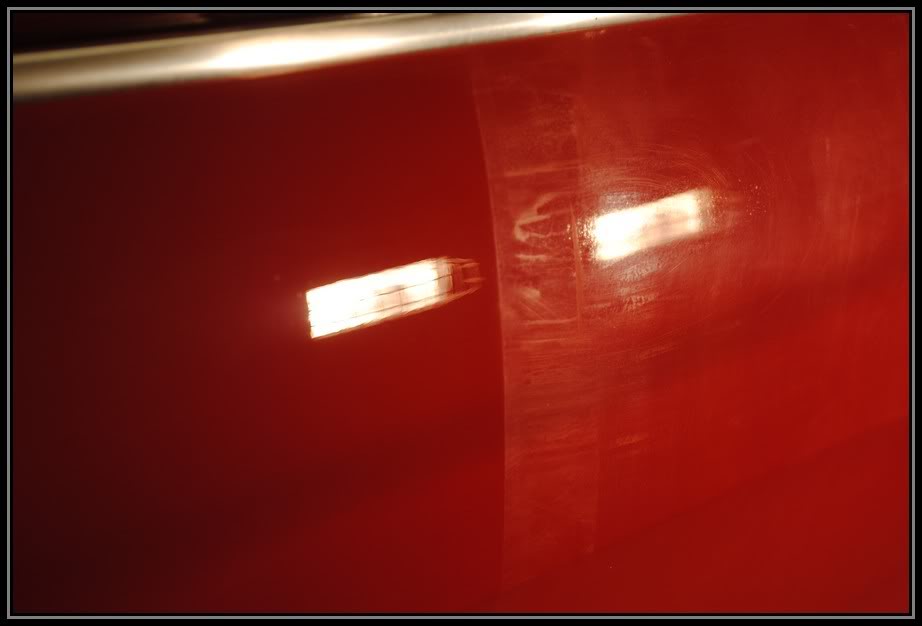
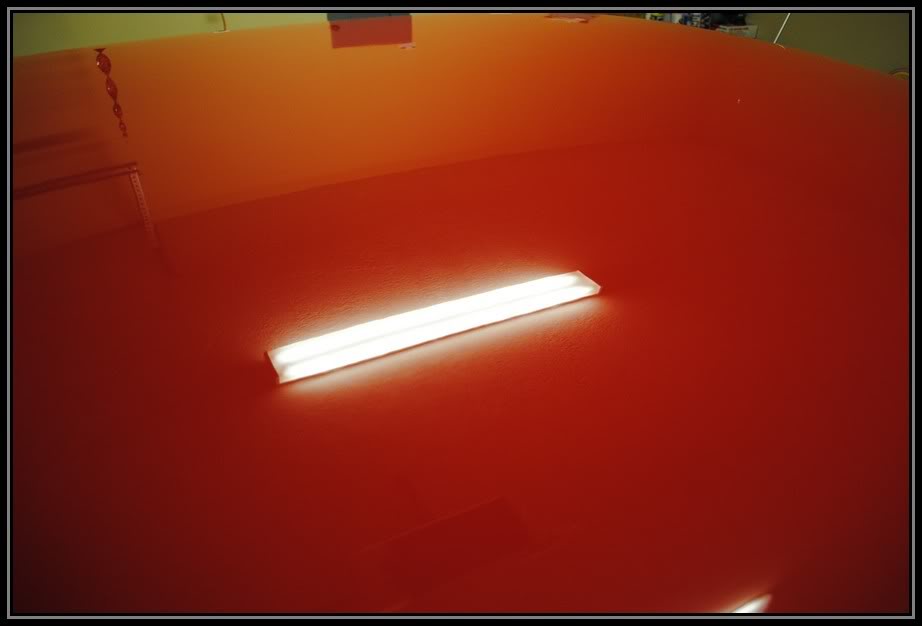
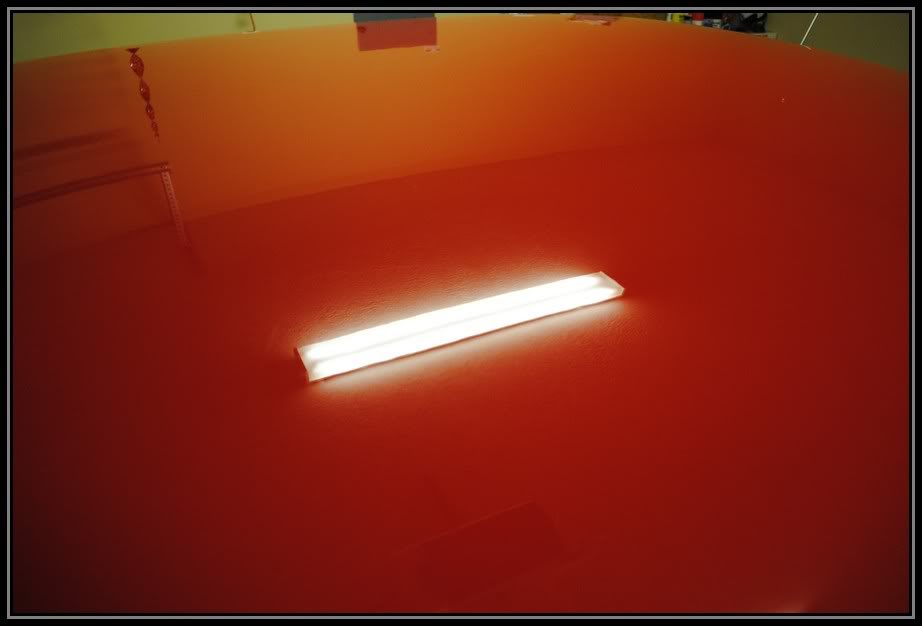
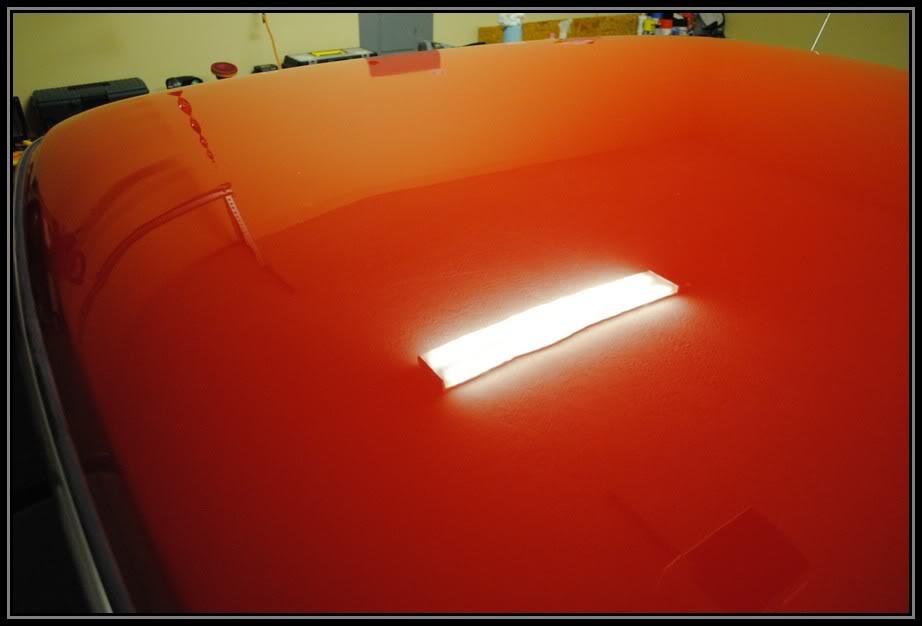
here are some pics with the Halogen lights.
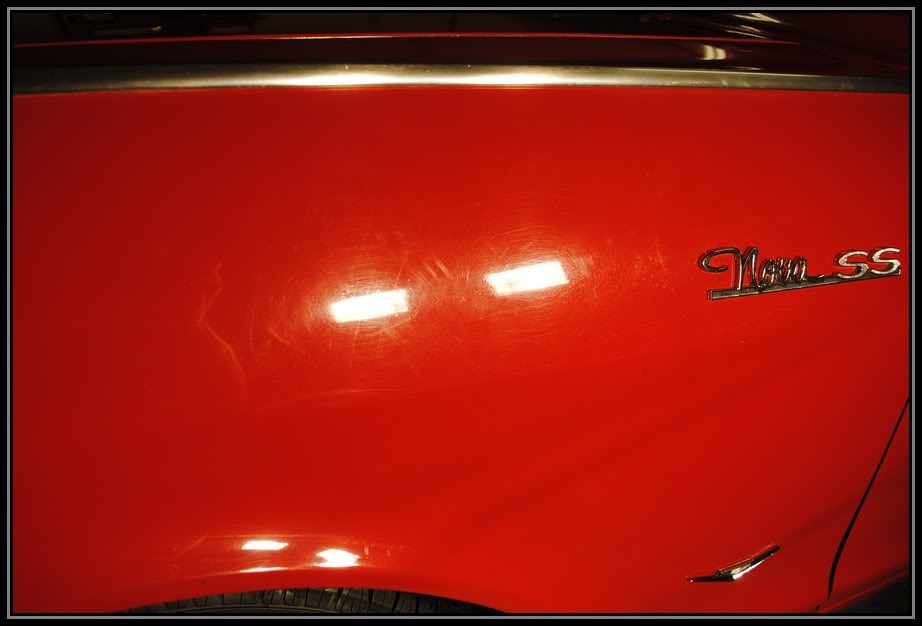
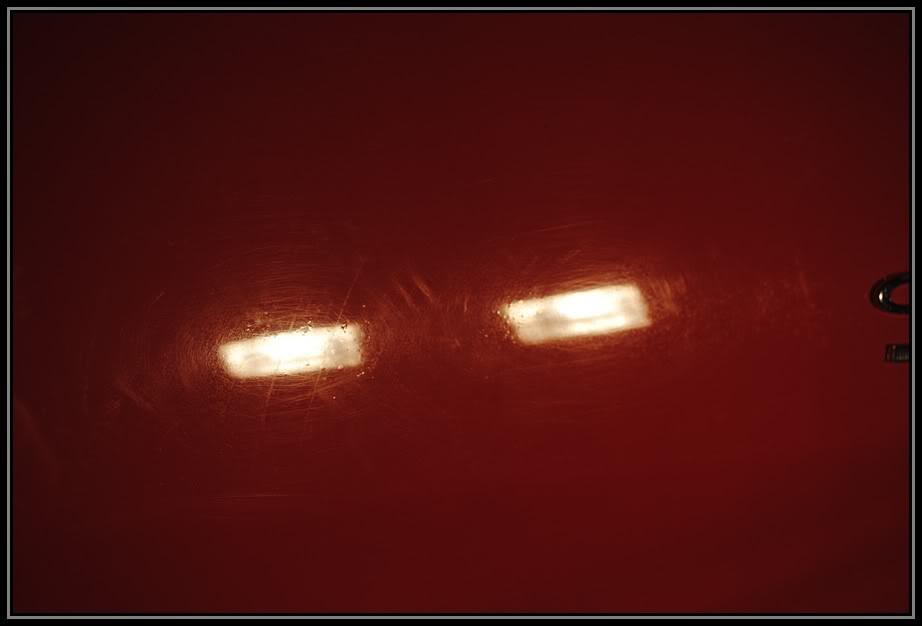
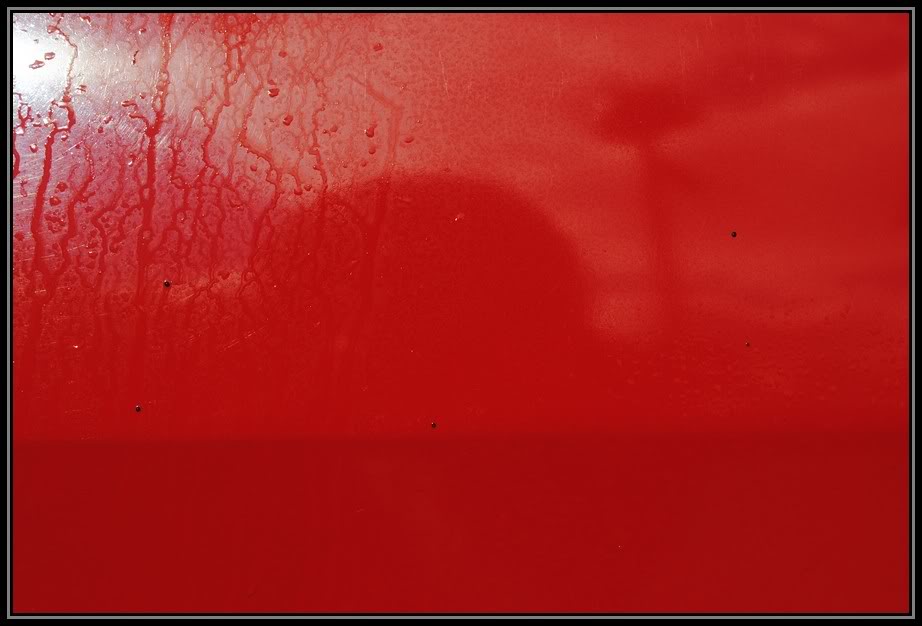
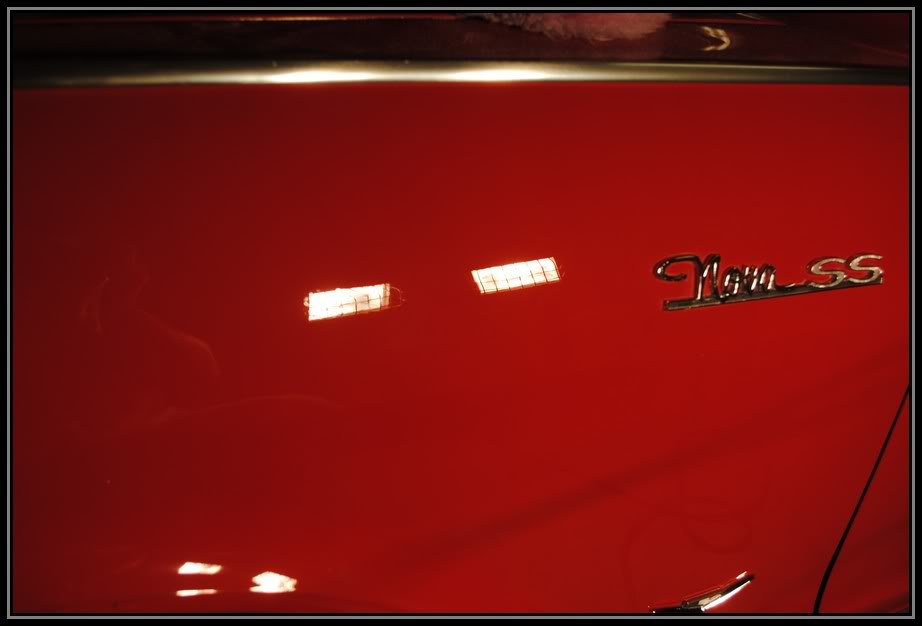
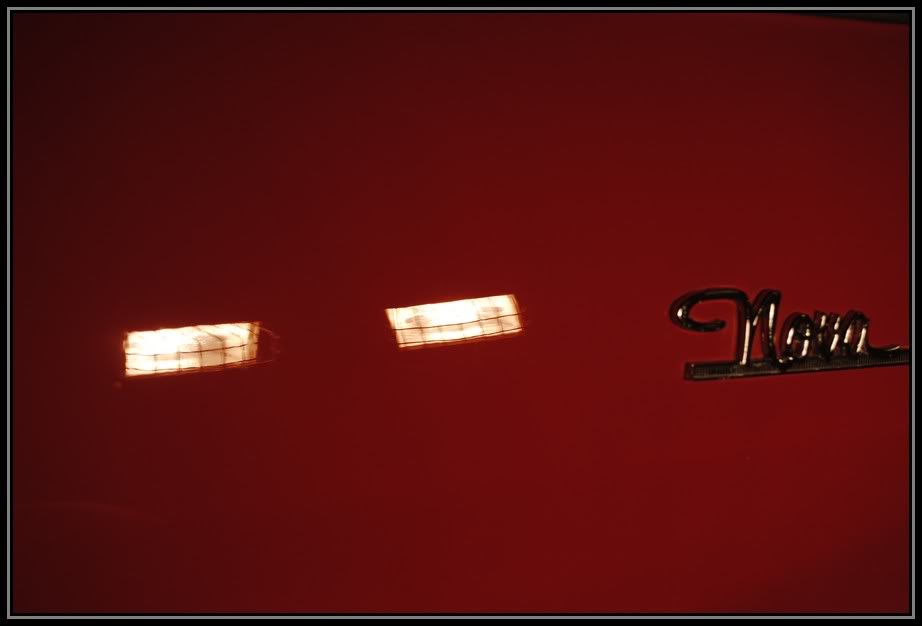
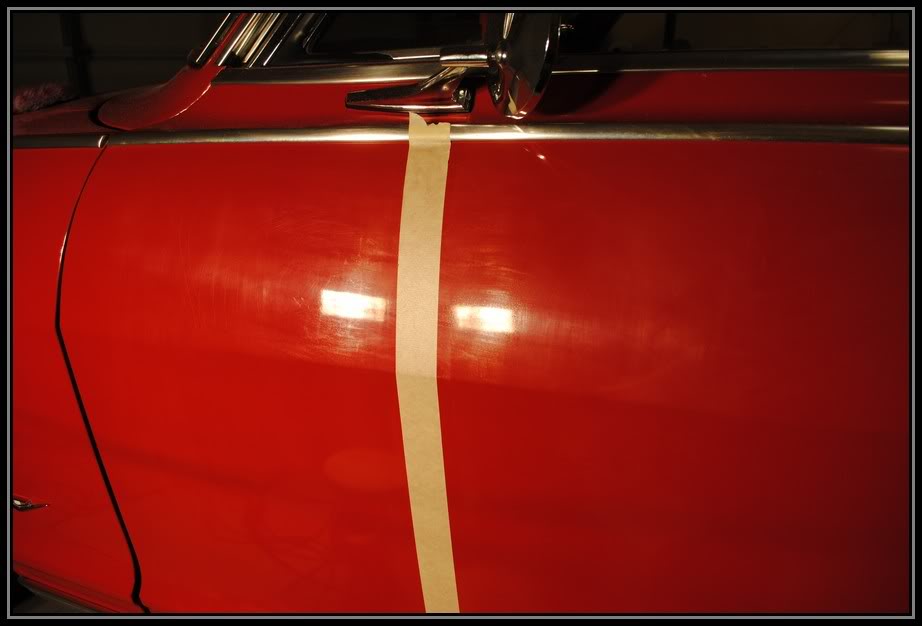
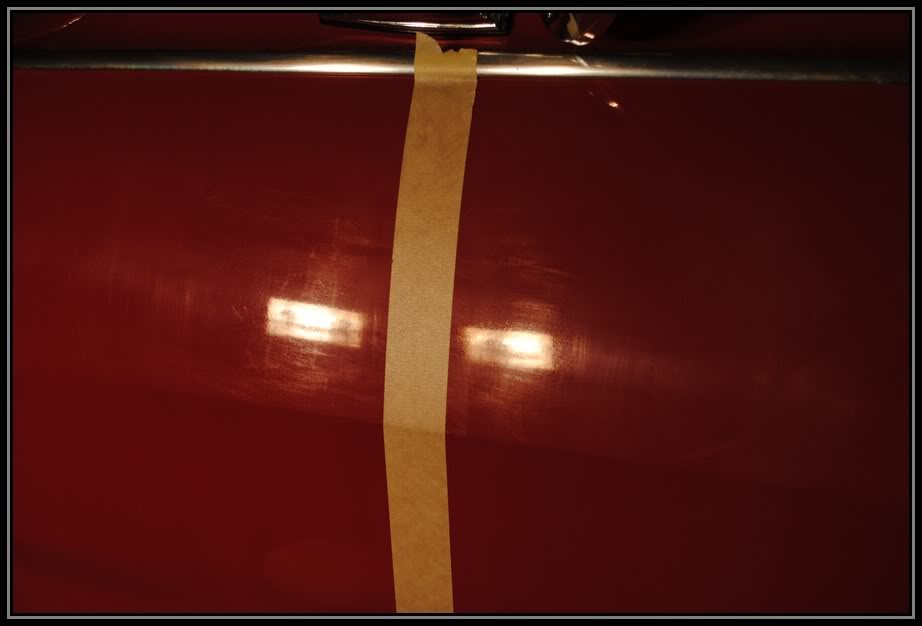
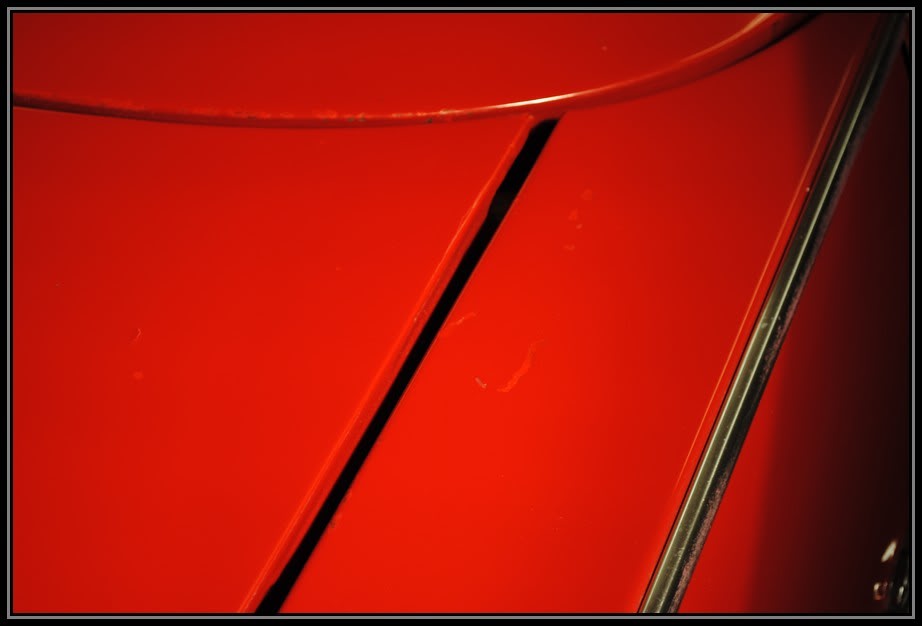
And here is a 50/50
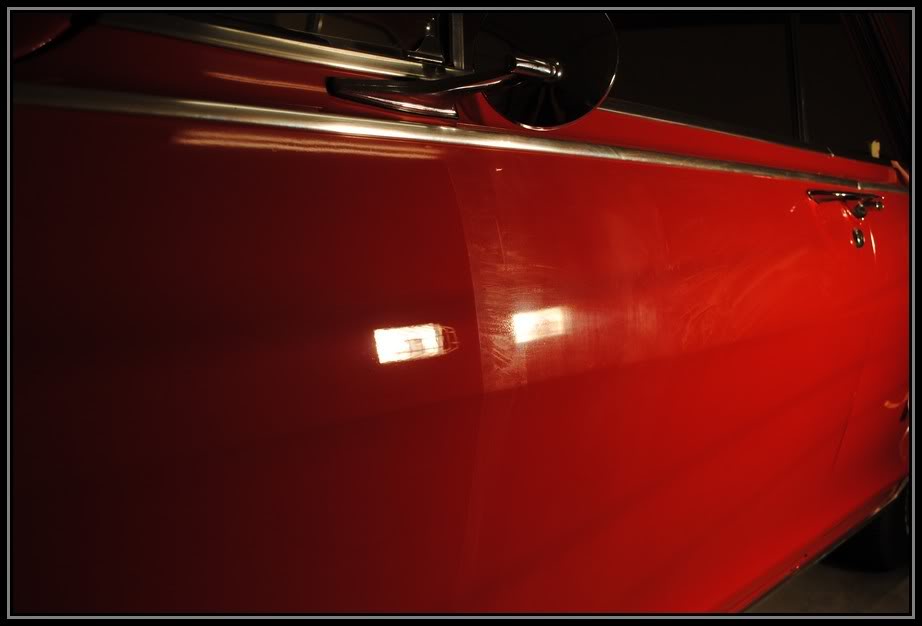
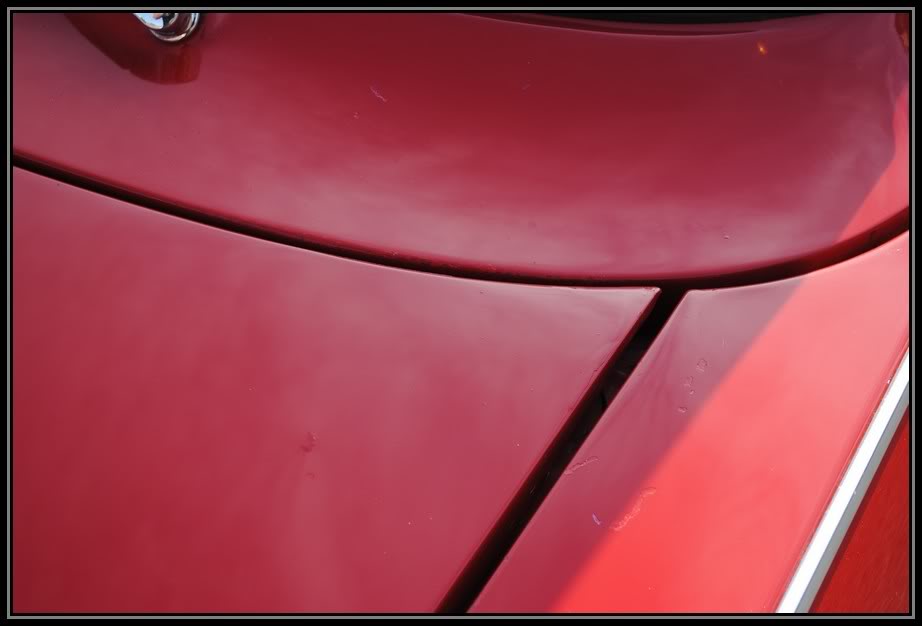
And then the Final outcome of this fender.
I experimented with different methods starting off.
My first choice was the FLEX 3401 and PFW pad using Meguiars M105.

It left some marks on the paint so I followed behind it with the Lake country Cyan pad and M105 to get those out.
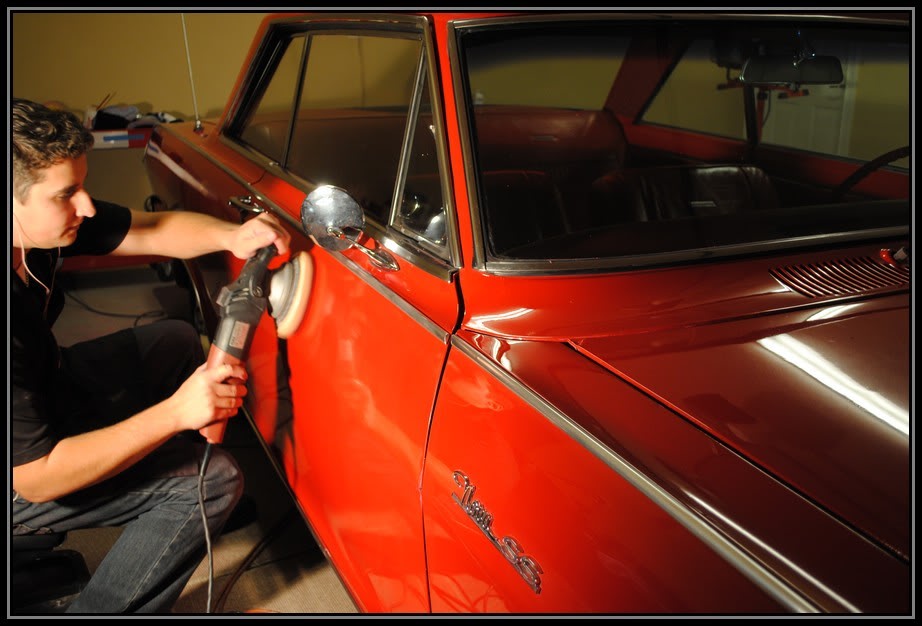
It did alright, but I really wanted to use my Griots garage DA and a Surbuff R-series pad. I like the flex, but it takes a lot of back muscle to work it, and with the DA and surbuff pad, its just so smooth and cuts amazingly. Once you master the Surbuff pad you can correct the paint better and faster then a Rotary buffer with a wool pad.
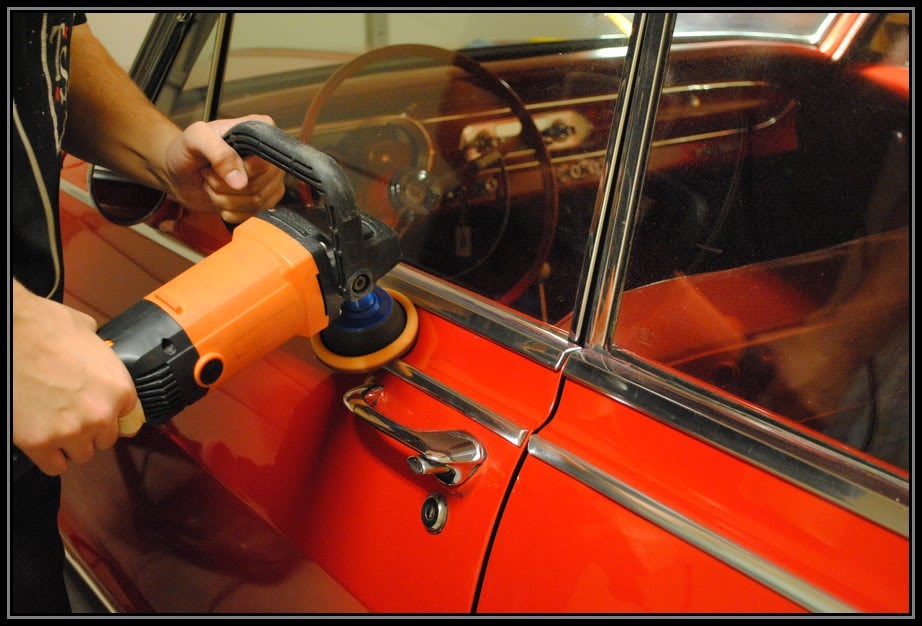
So on the next panel I pulled out the Griots and Surbuff pad and got at it.
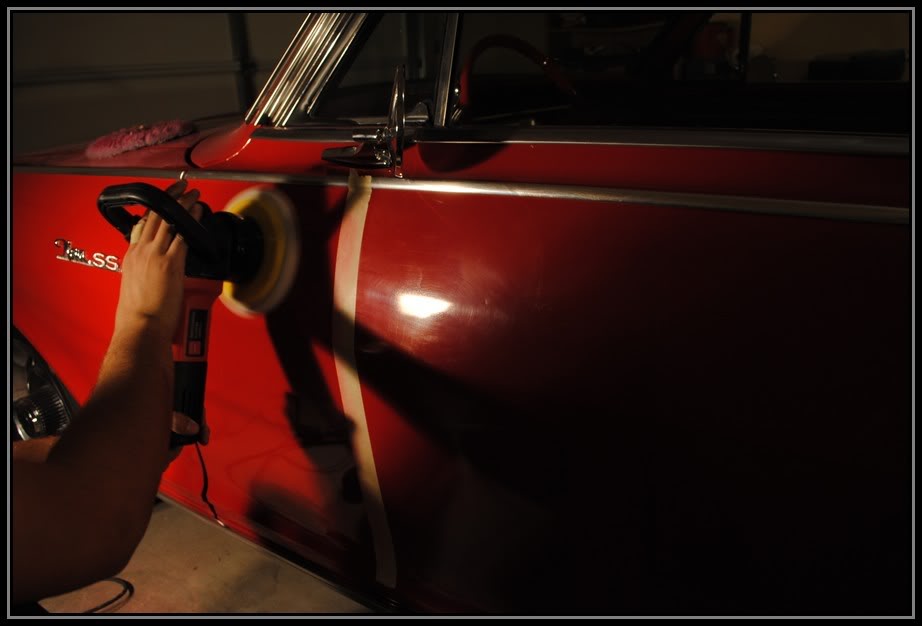
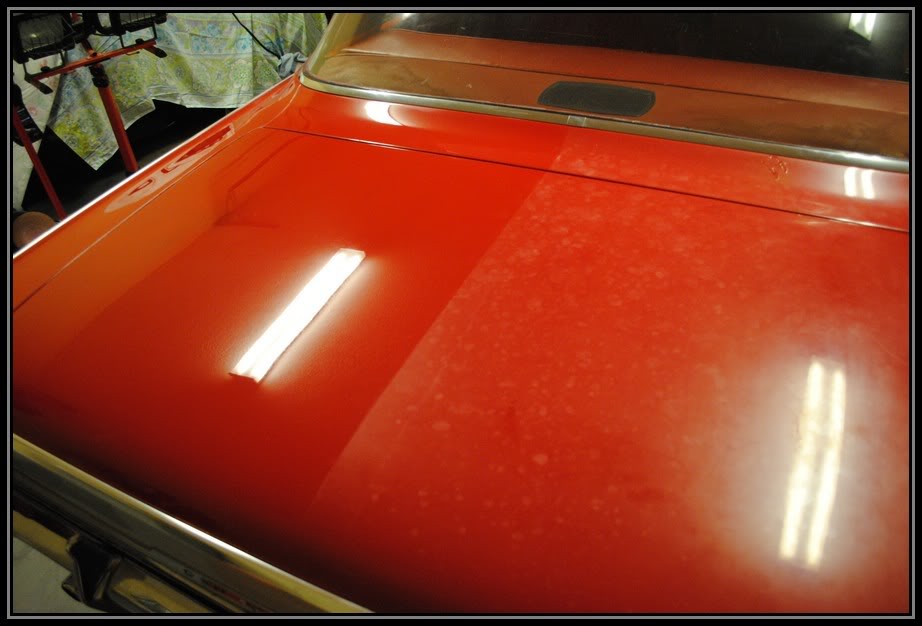
After making it down the driver side, I started on the trunk using the Griots 6in DA and Surbuff working in 2'-3' squares
Here is some of the progress
and here is a 50/50 of the trunk

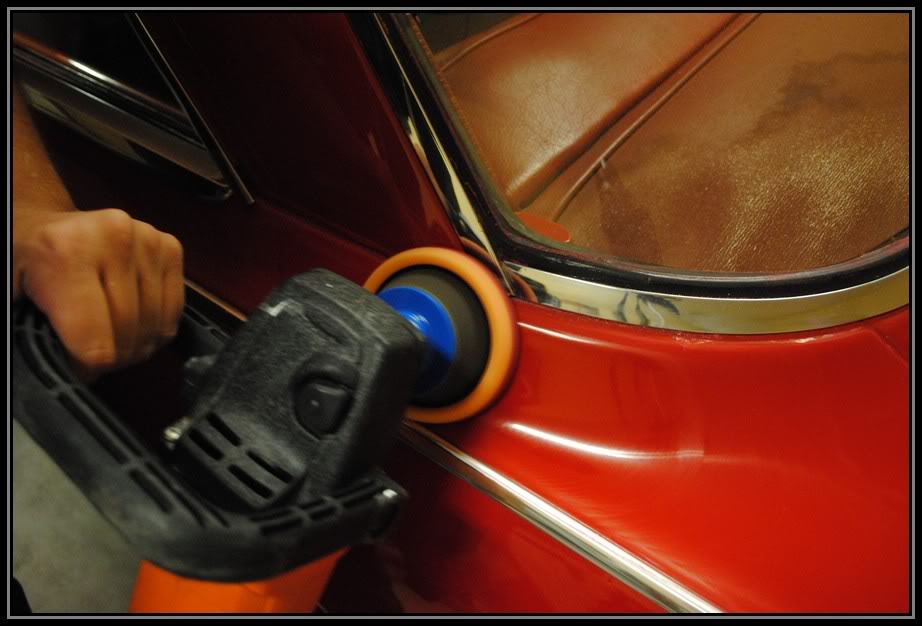
To get into all of the tight spots, I got out my Rotary with a 3in Gloss-it backing plate and a 4in orange pad
Here is that touch up after the wetsanding and buffing. the color was a little off but over all it was a lot less noticable.
And this is the final outcome of the touch up at the end
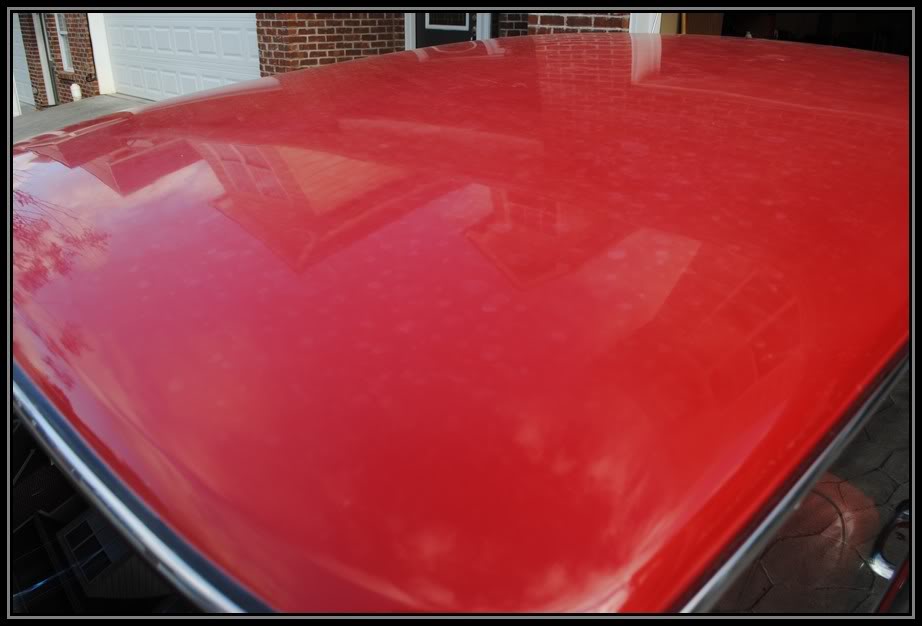
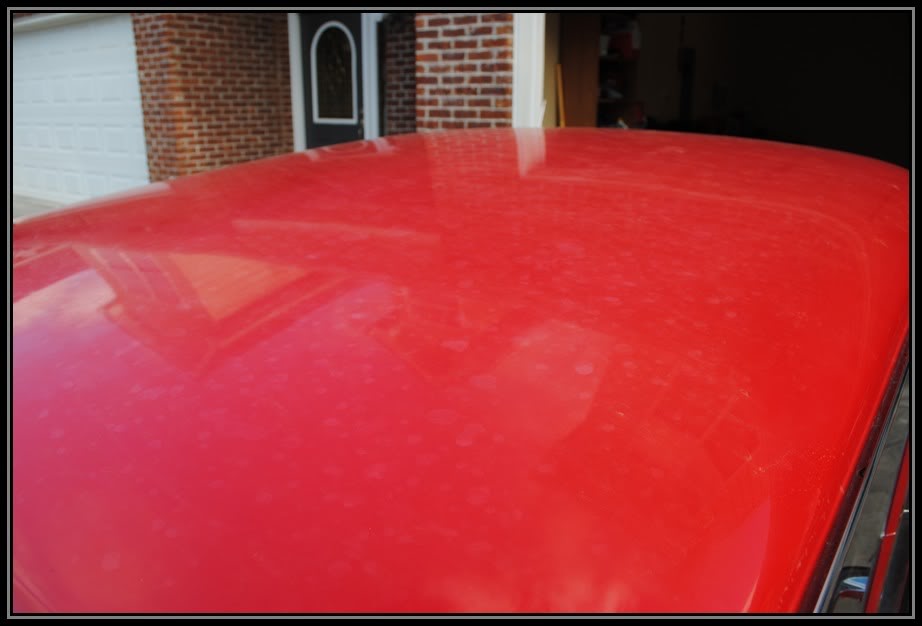
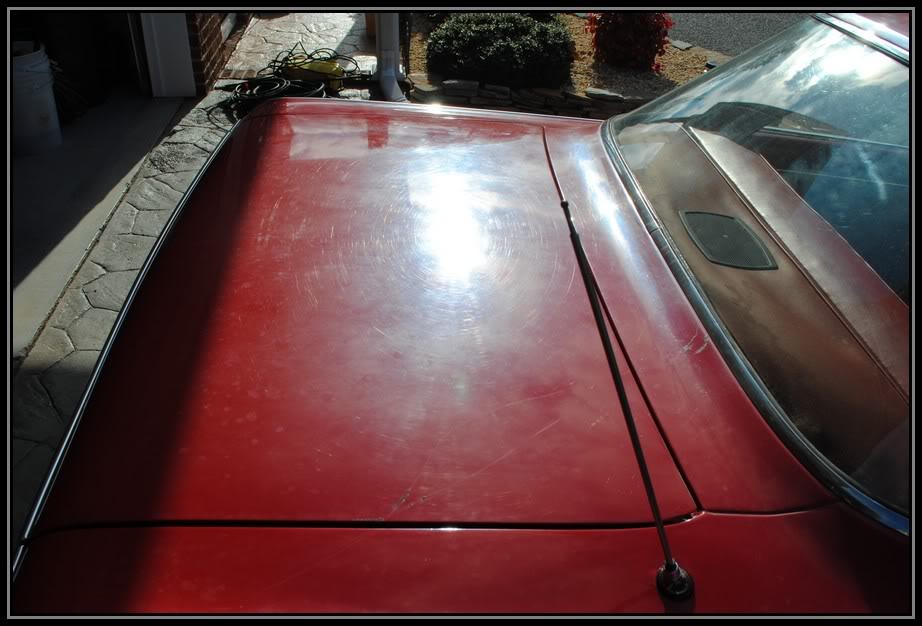
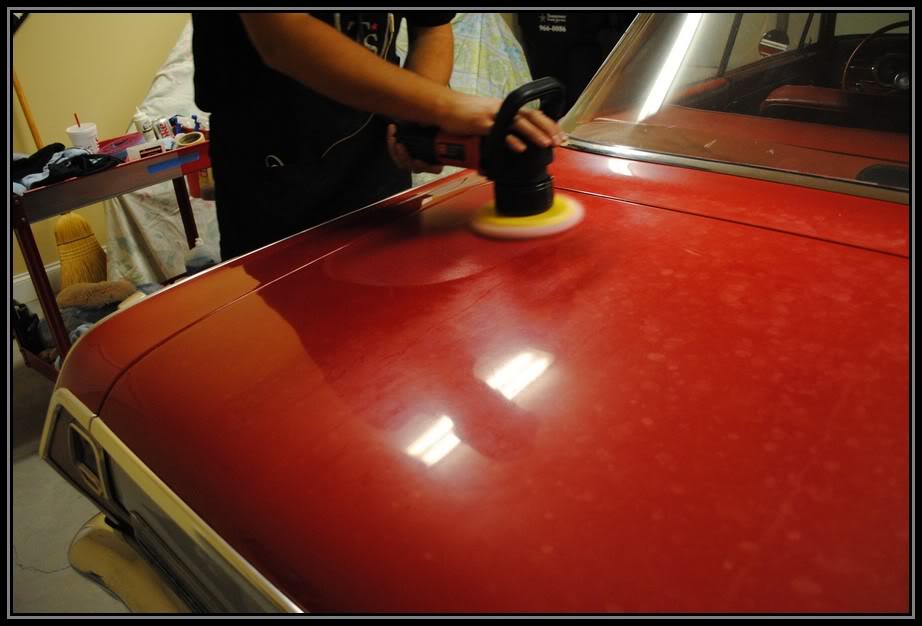
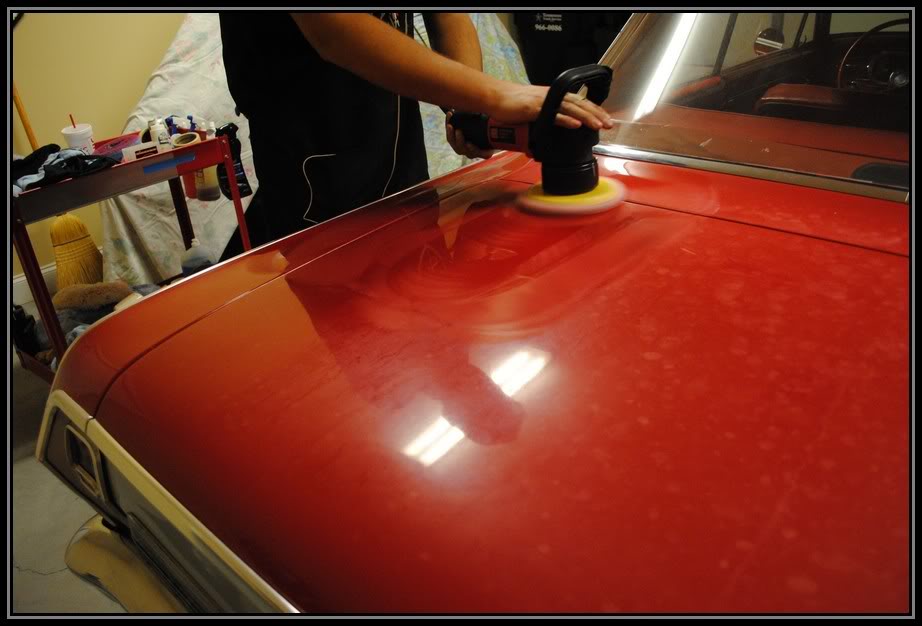
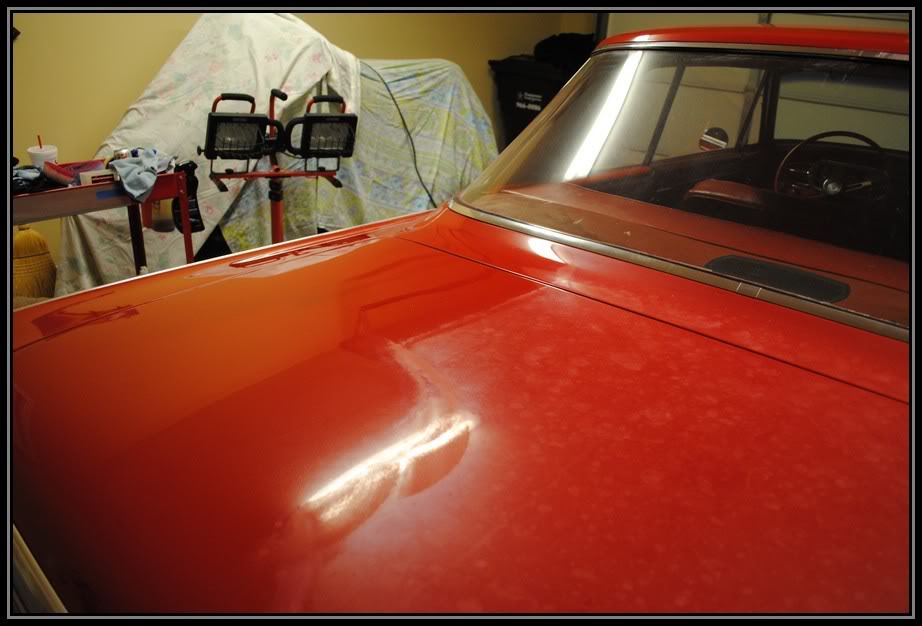
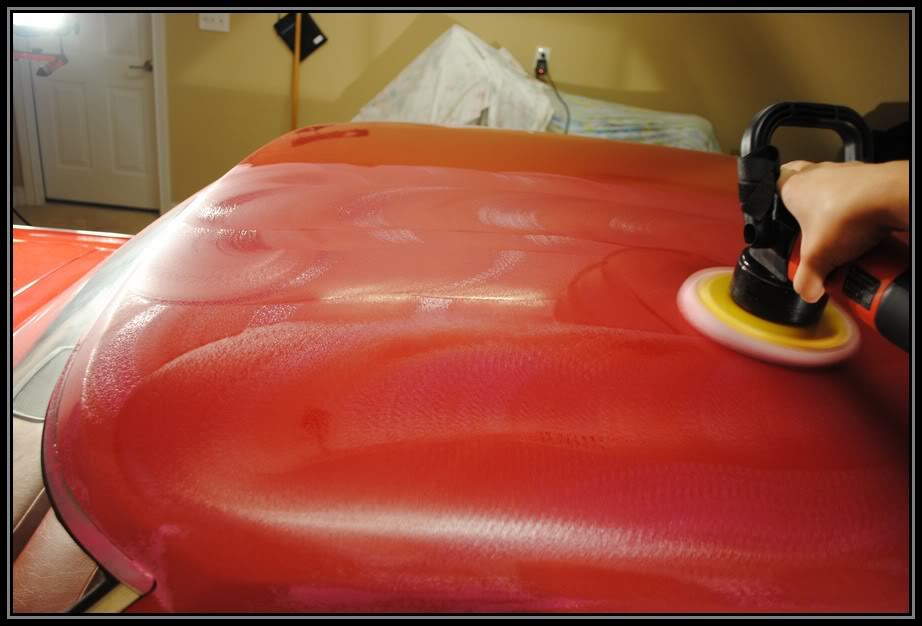
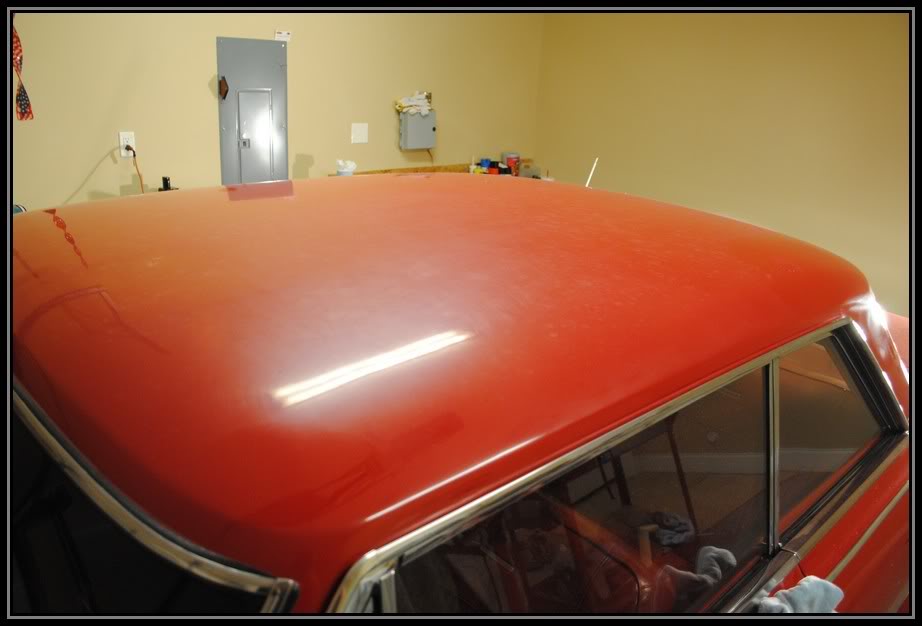
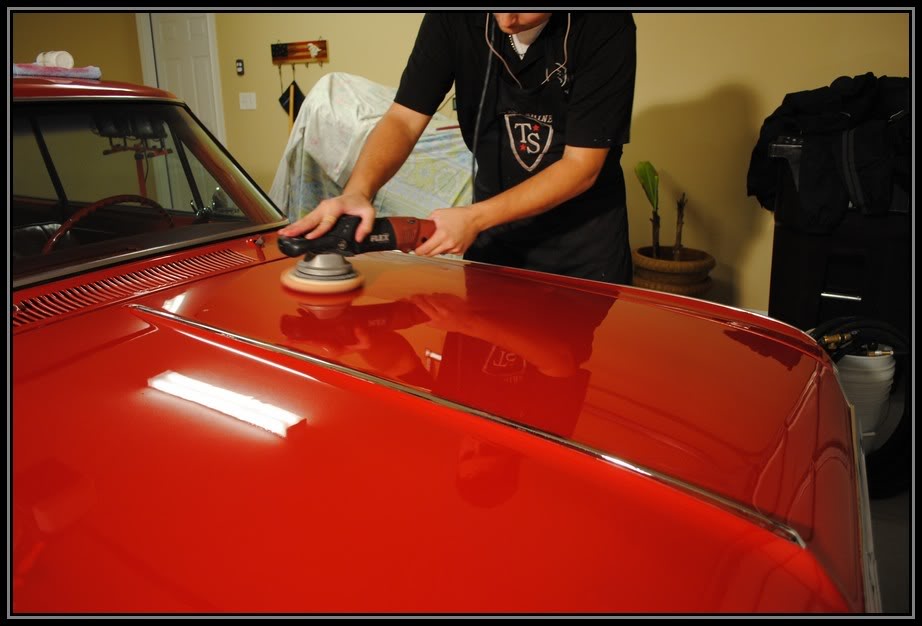
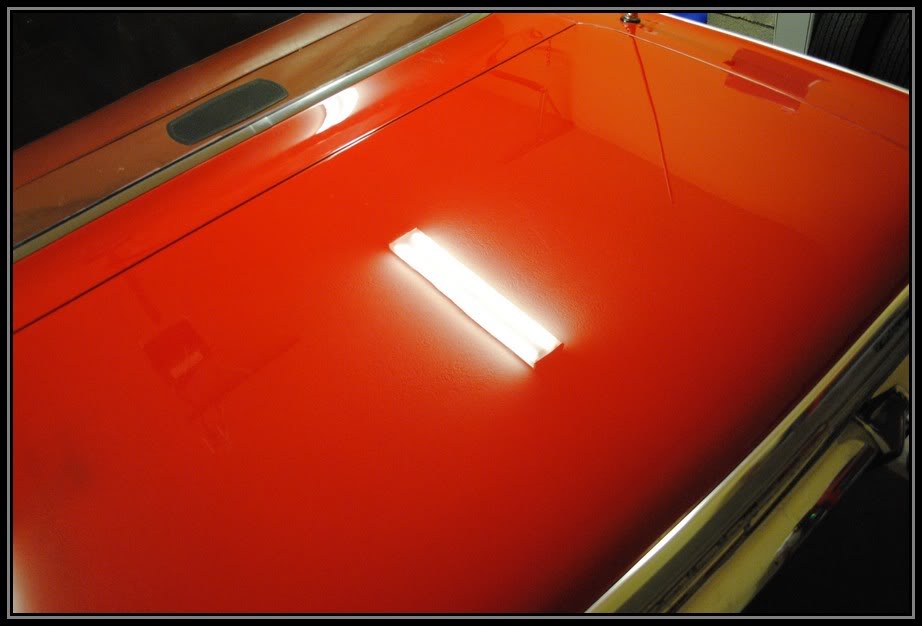
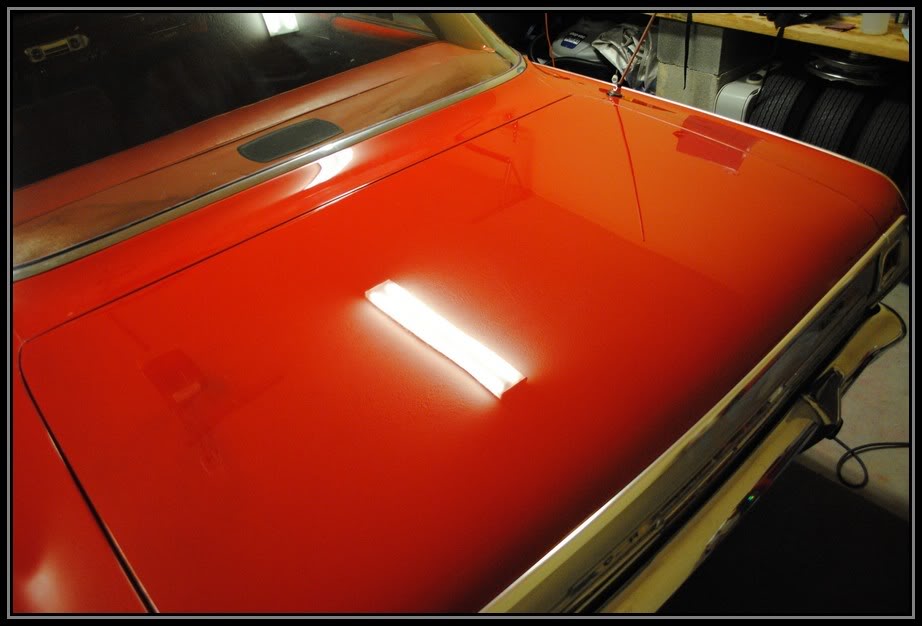
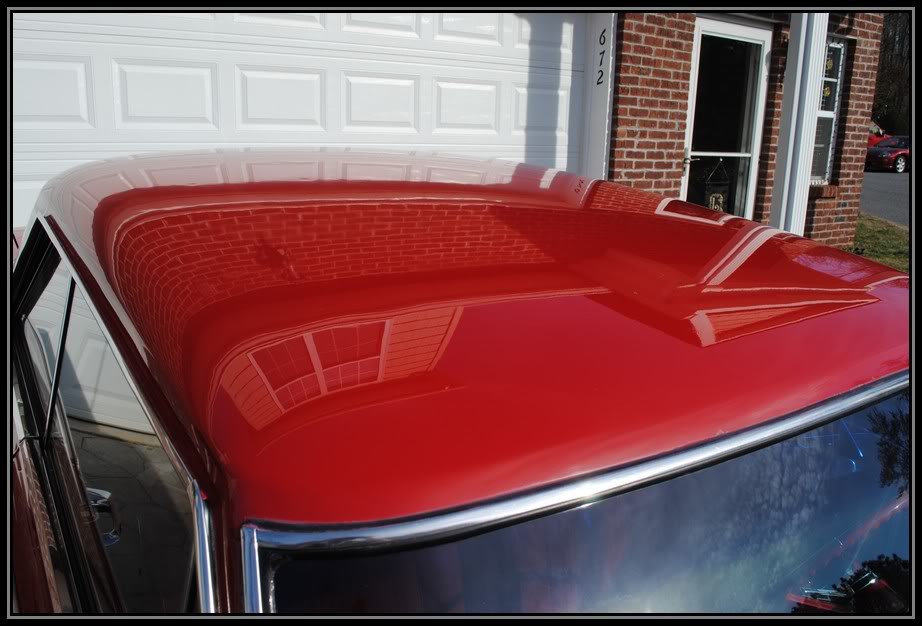
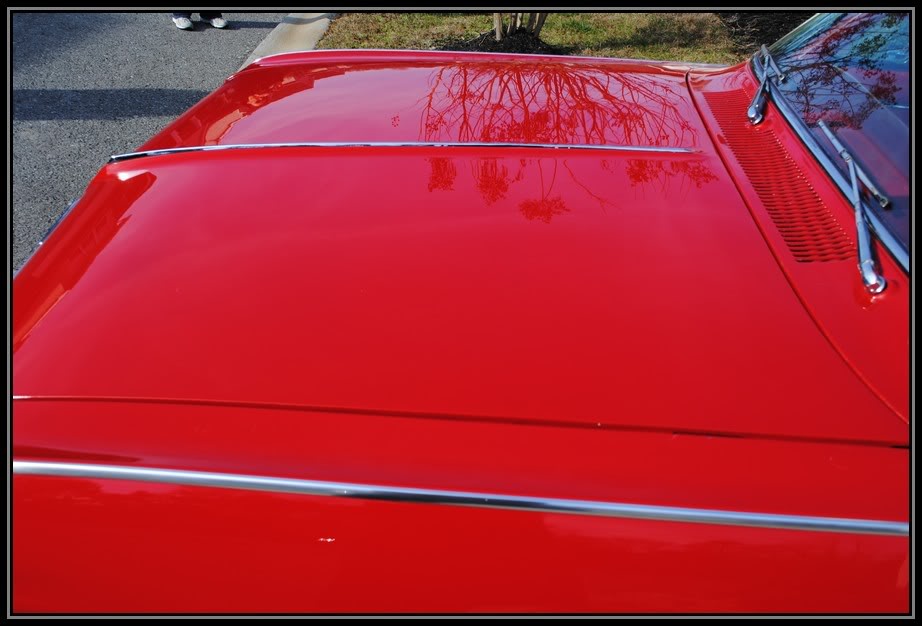
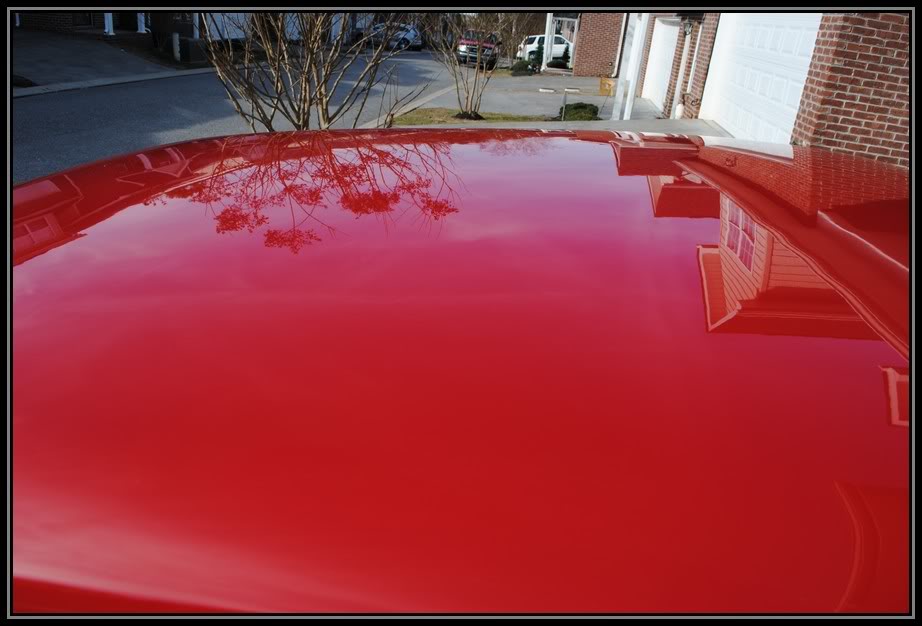
This is the roof getting some M105 from the Griots DA and Surbuff pad. (You can tell that the paint is Single Stage from how the M105 is turning pink).

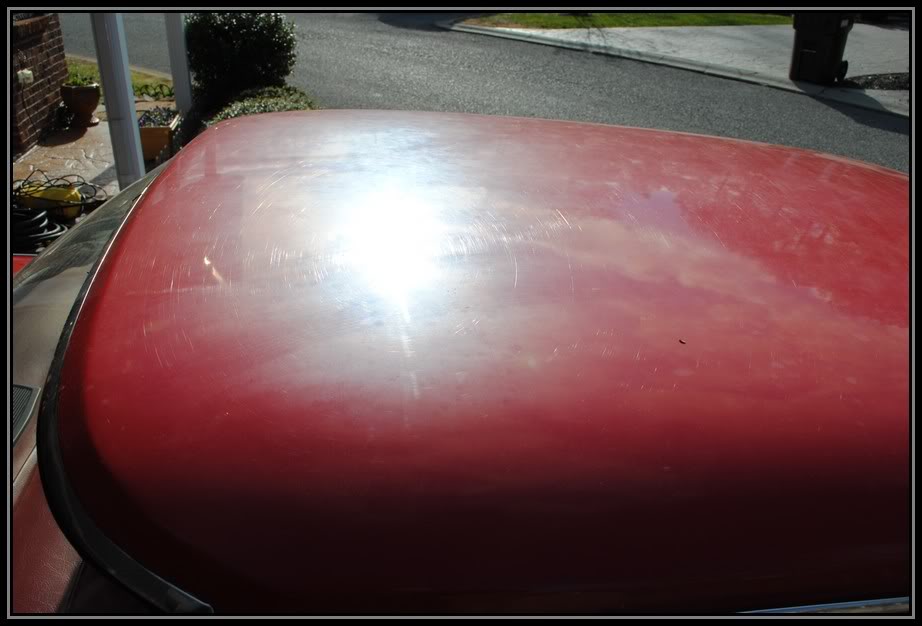
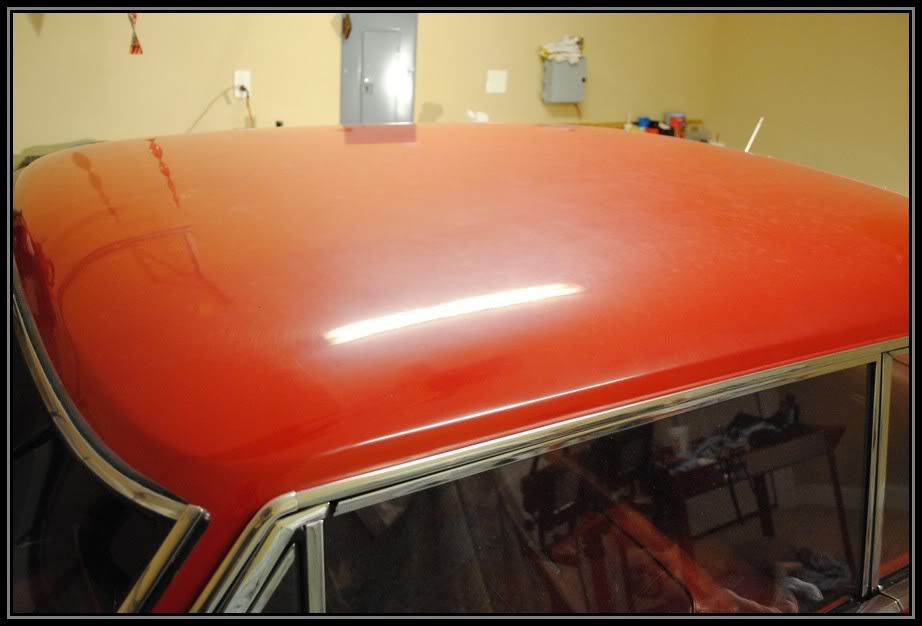
The Roof before
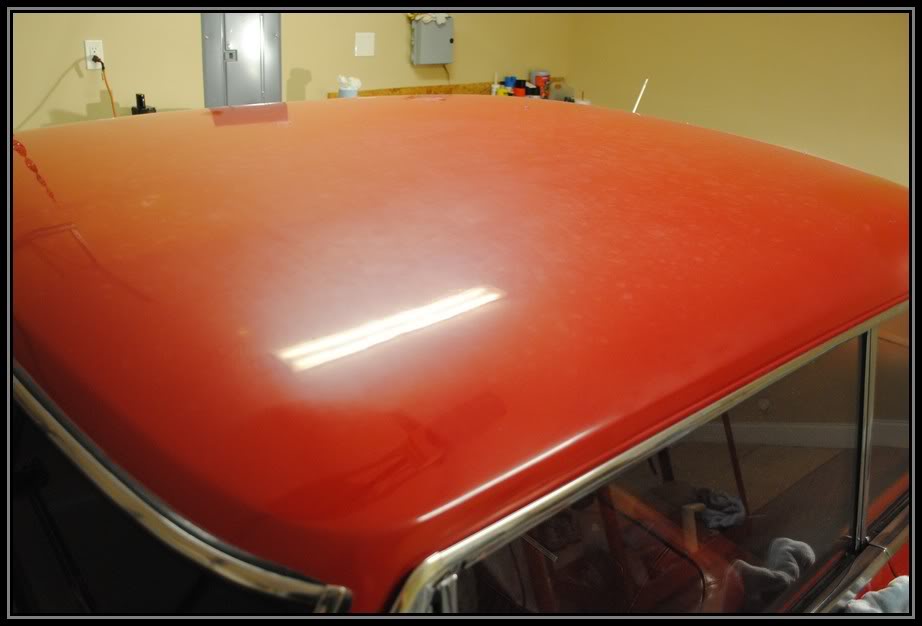
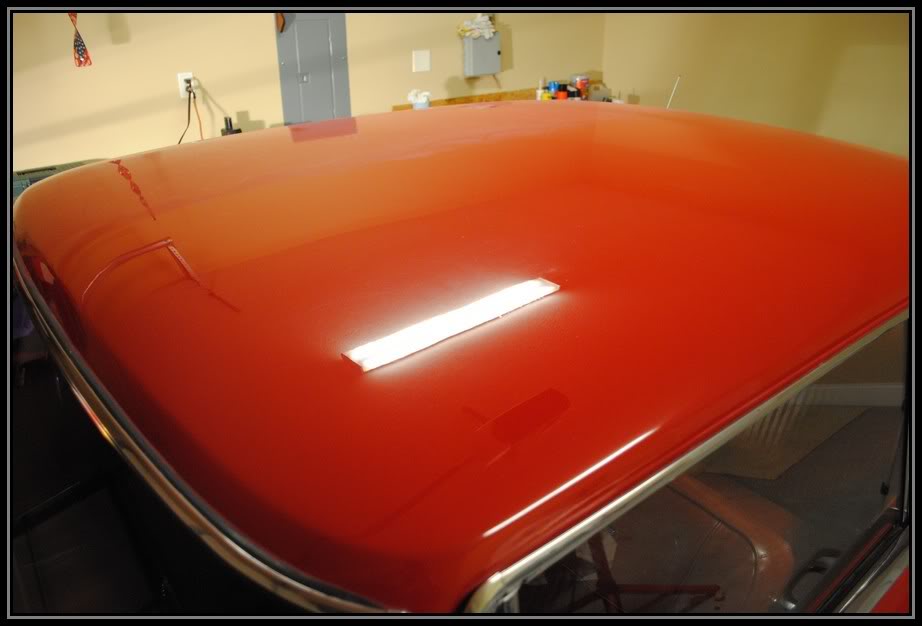
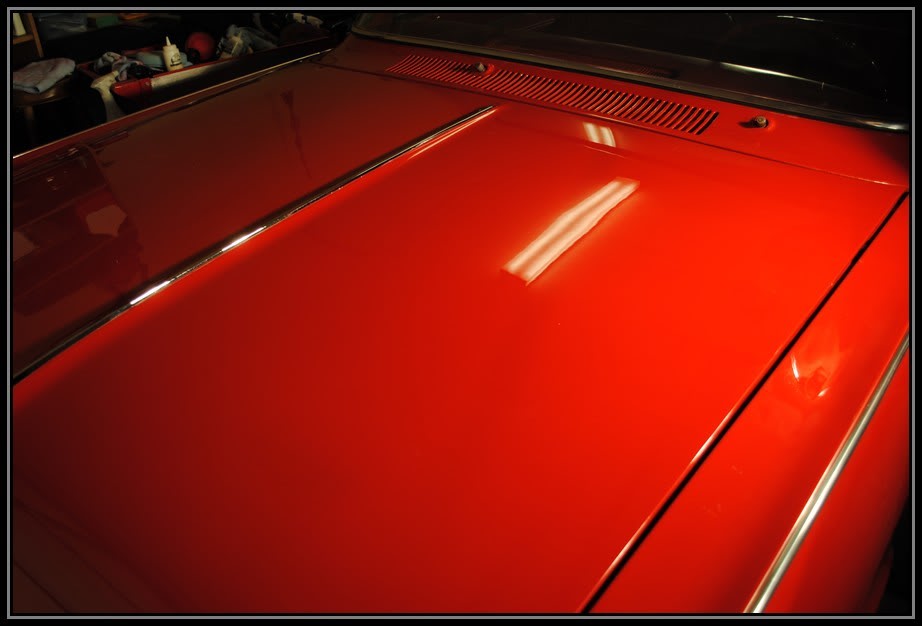
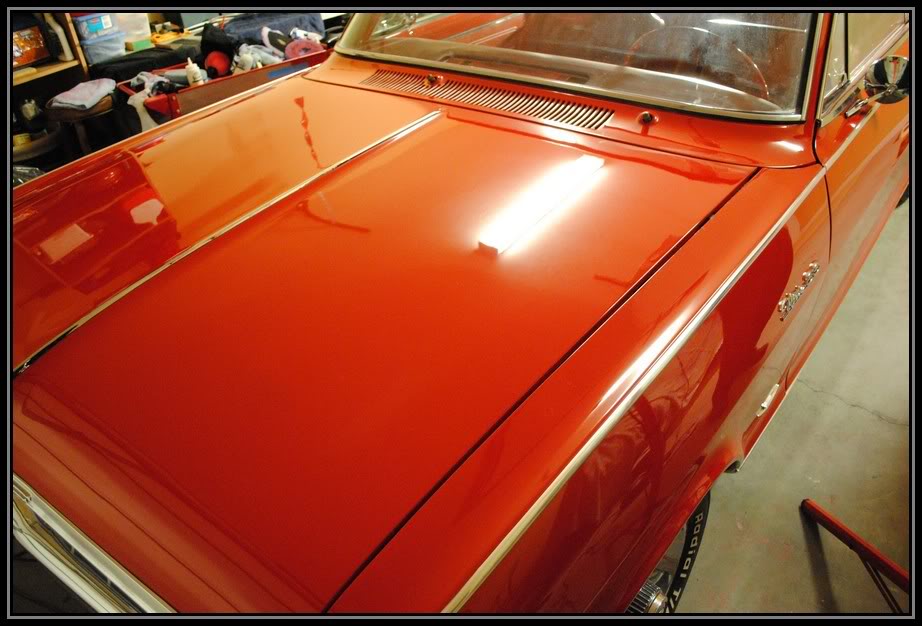
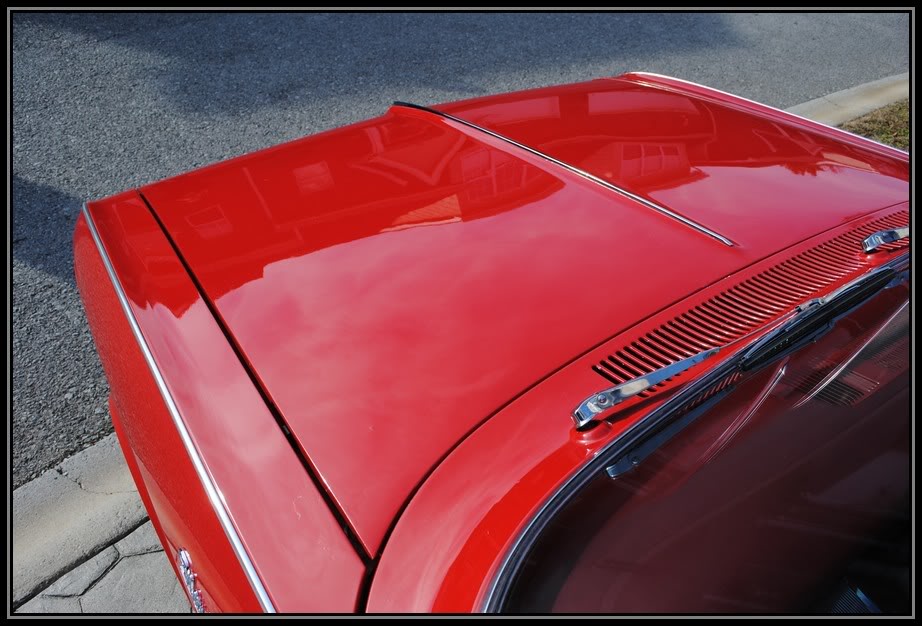
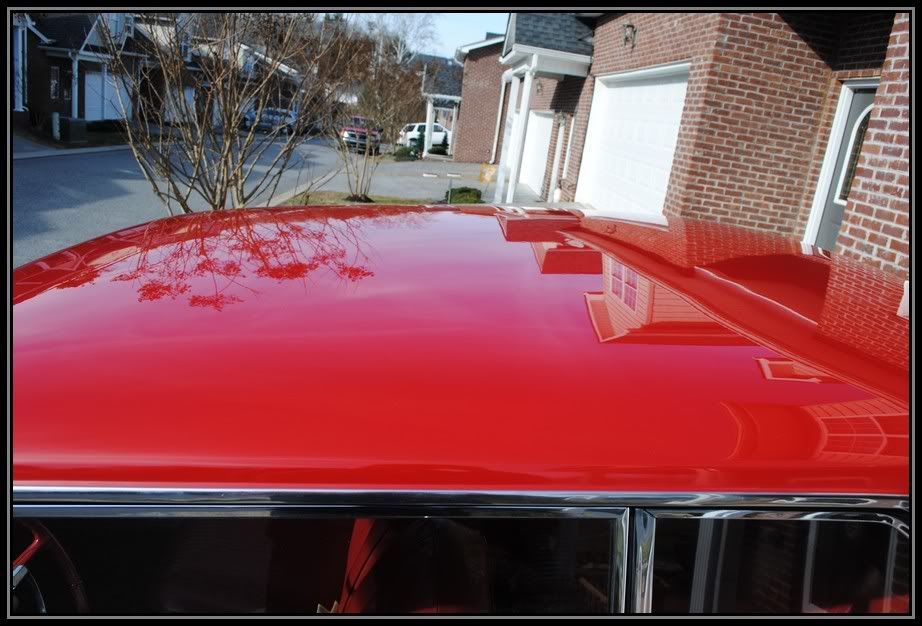
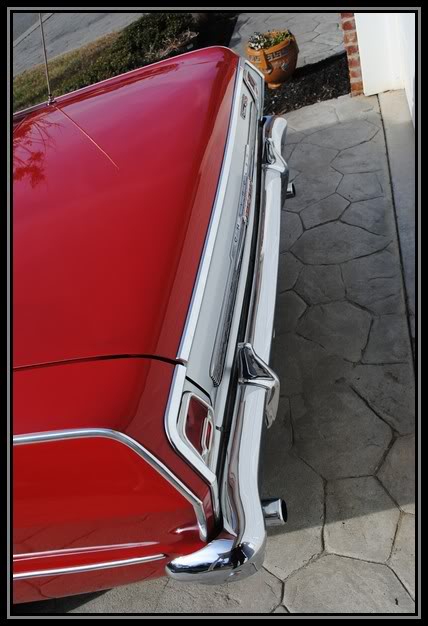
The roof After
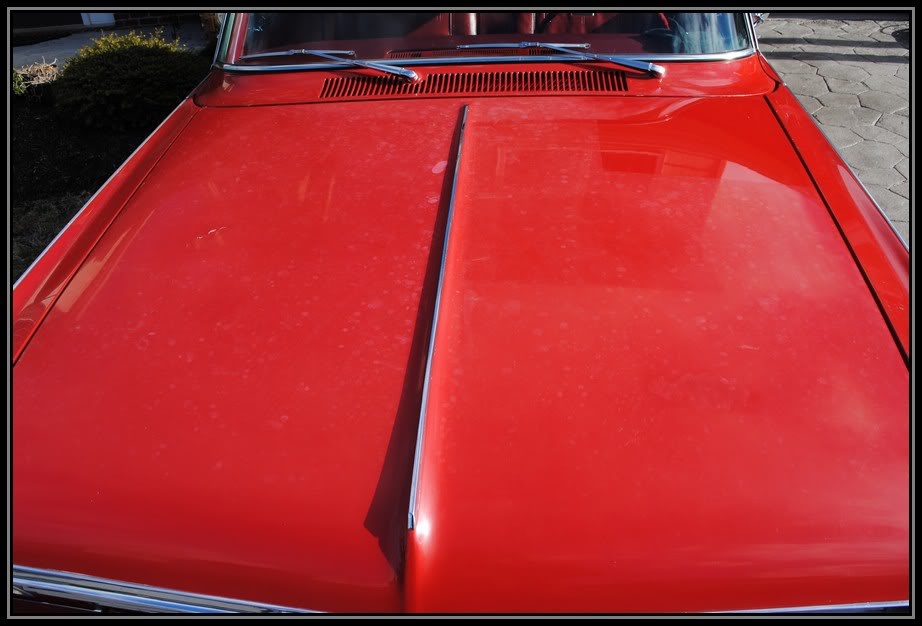
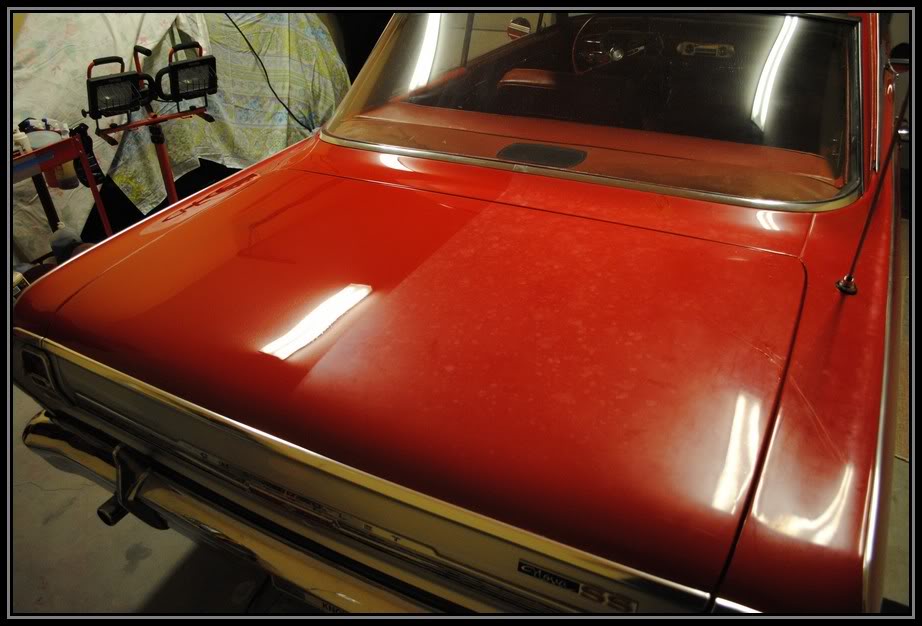
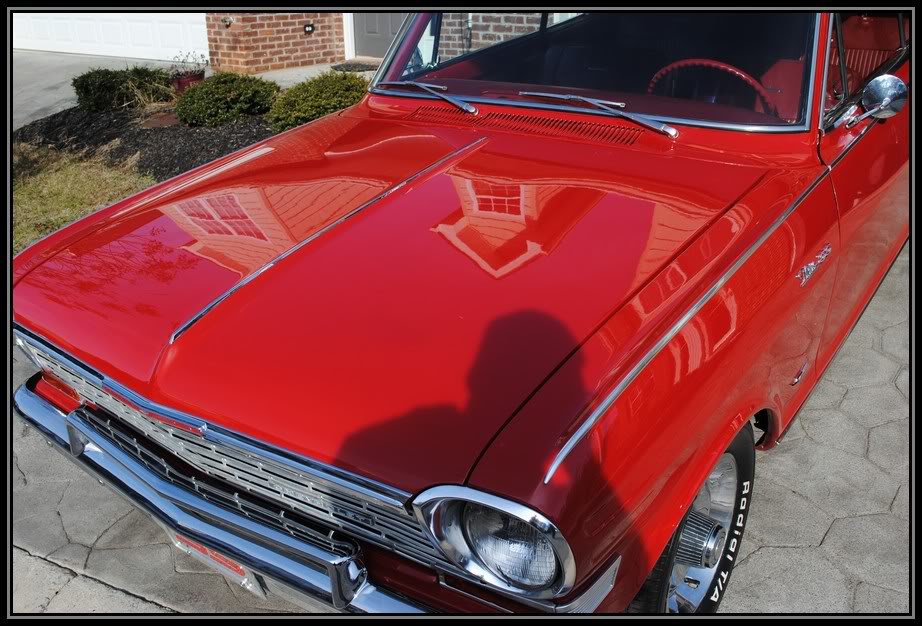
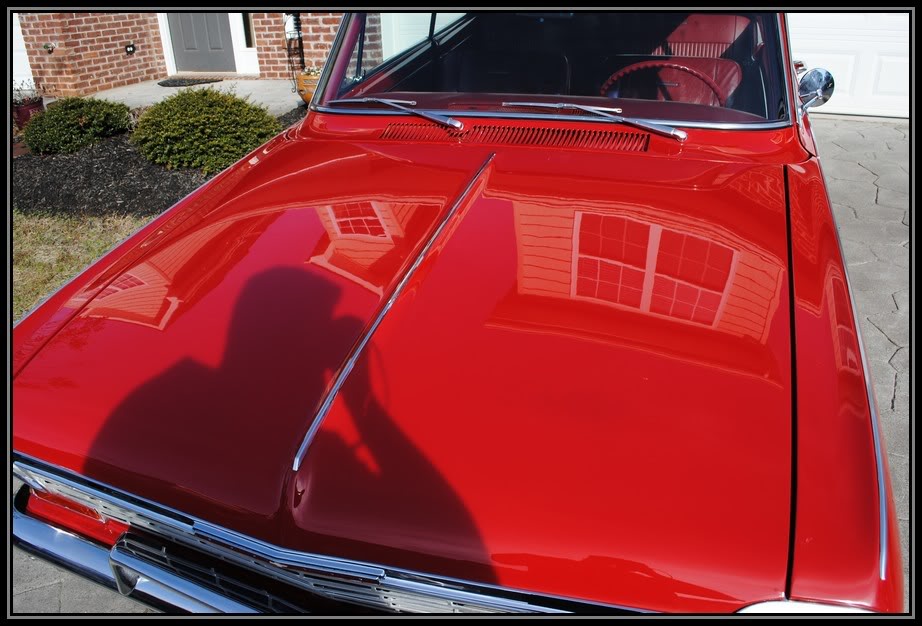
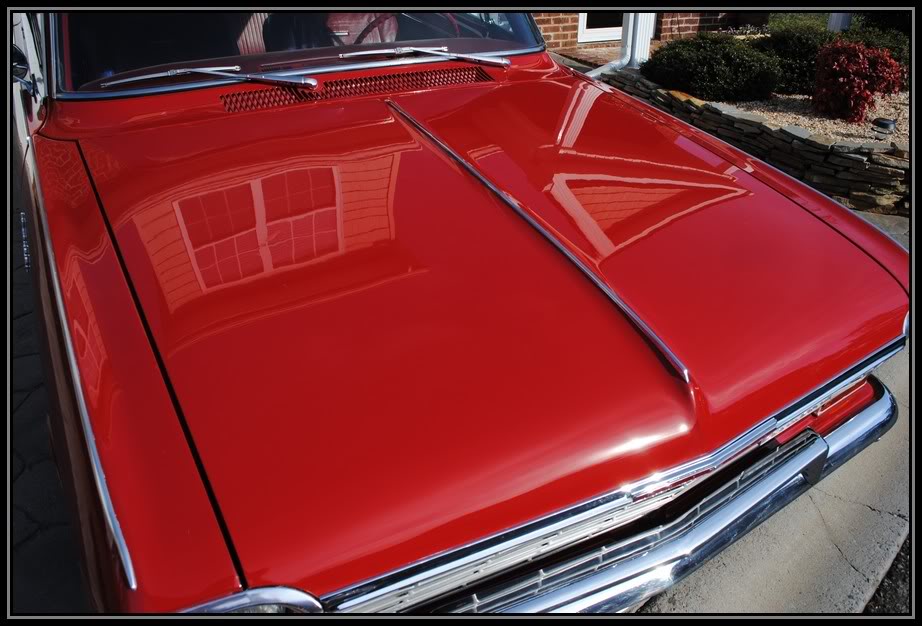
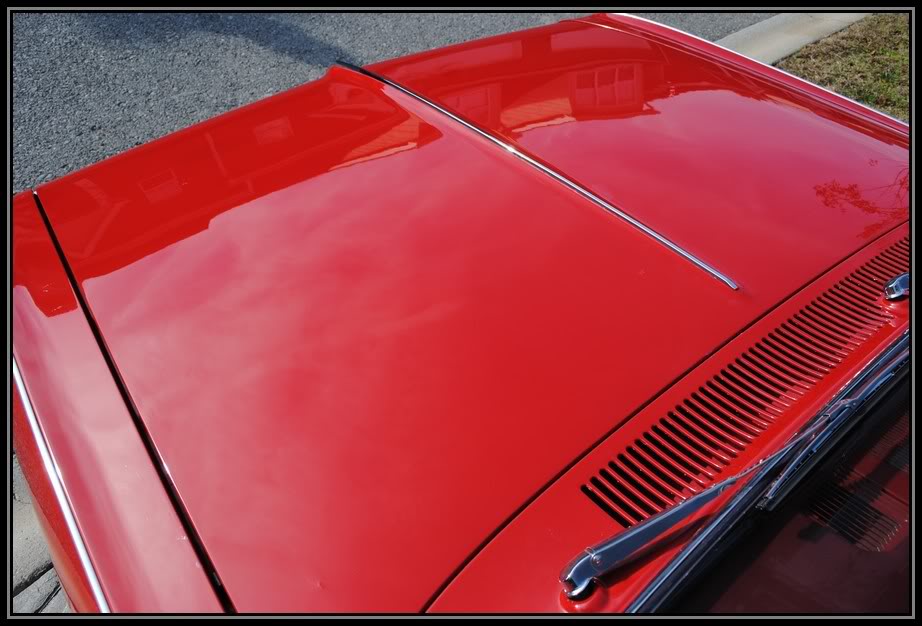
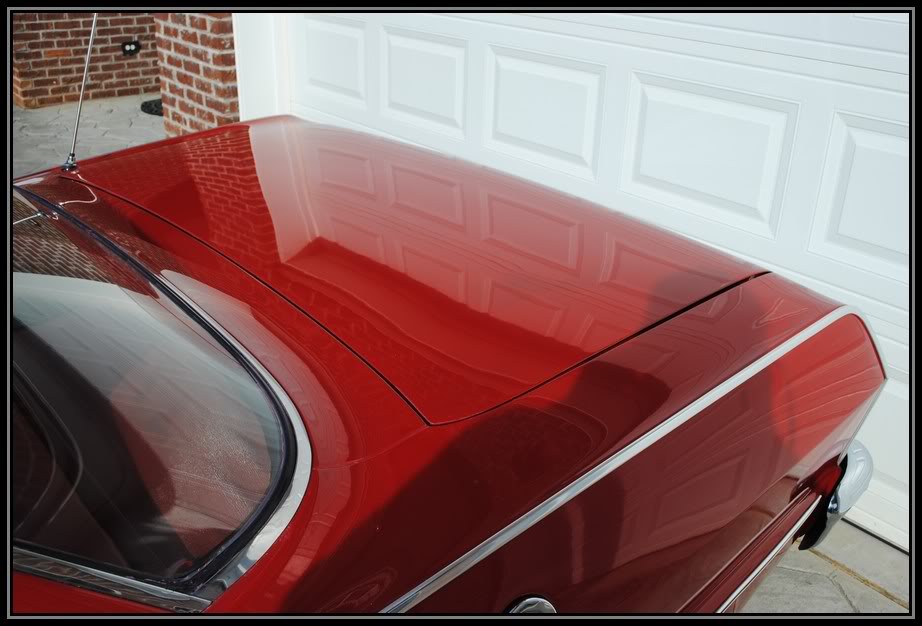
This is the hood after
After all of the Cutting I polished the car using a LC hydrotech Tangerine pad w/ M205 on the Flex 3401.
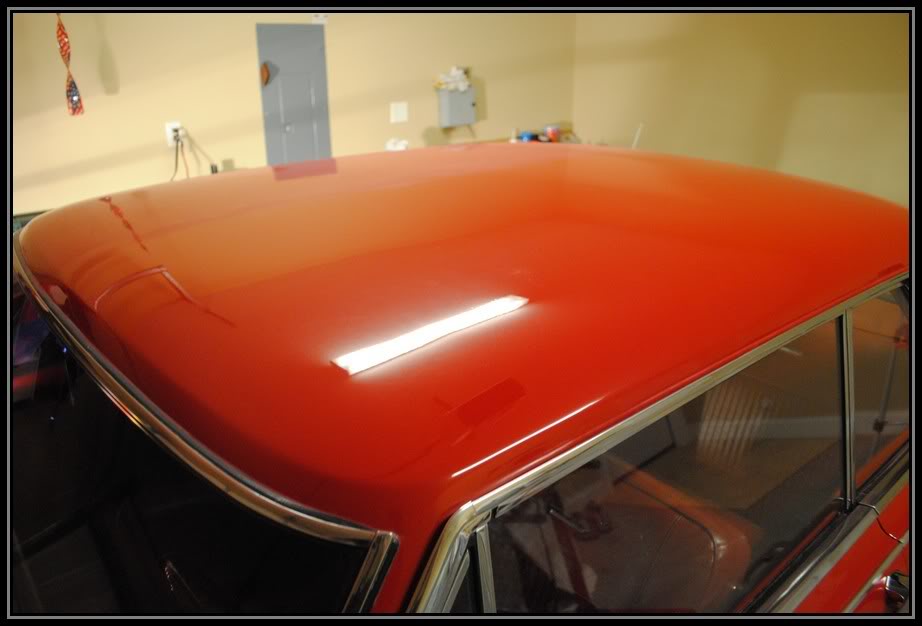
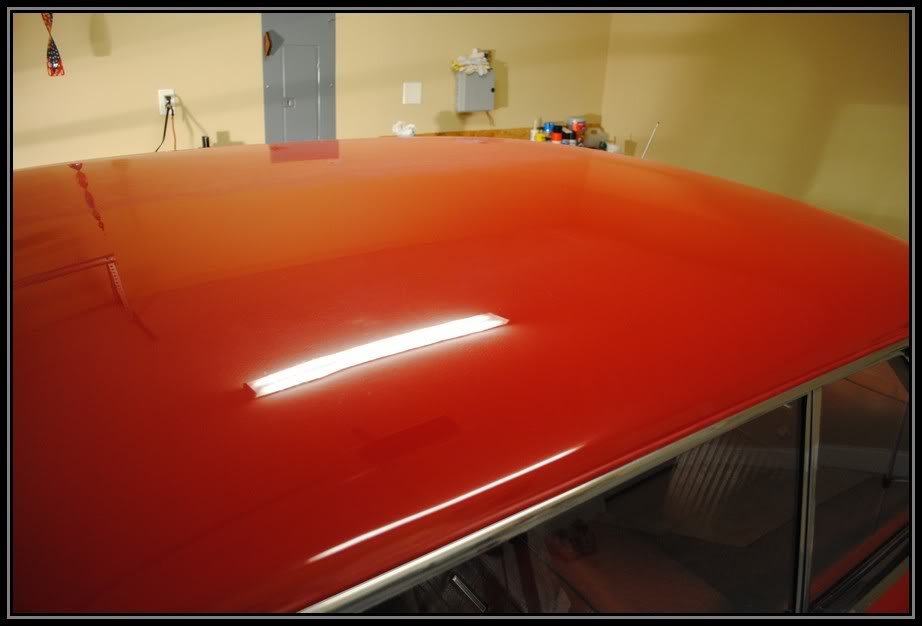
The Roof
The Trunk
The Hood
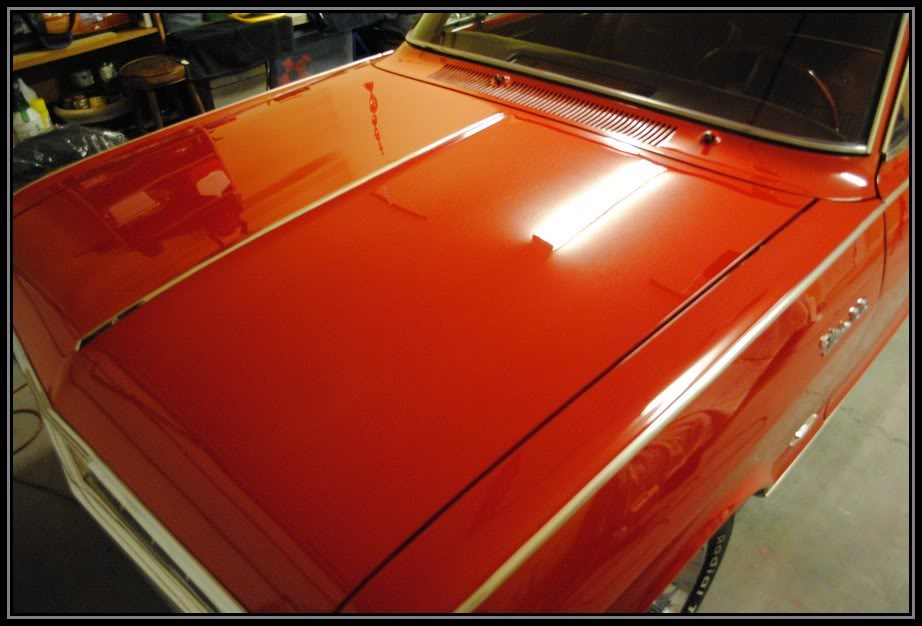
My choice of Sealant was BFWD on a Blue LC finishing pad using my Flex 3401

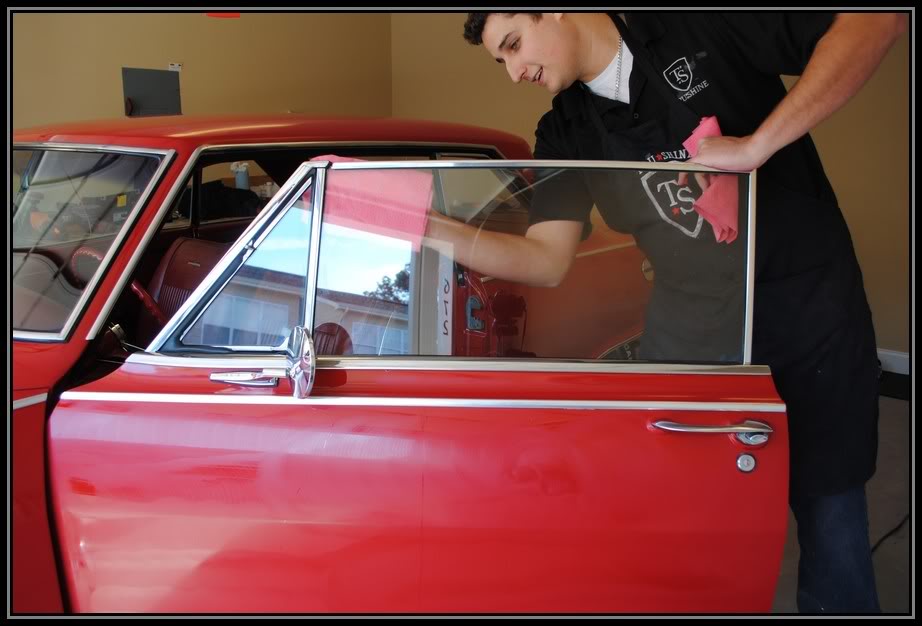
While the sealant was drying, I cleaned the window and dressed the tires.
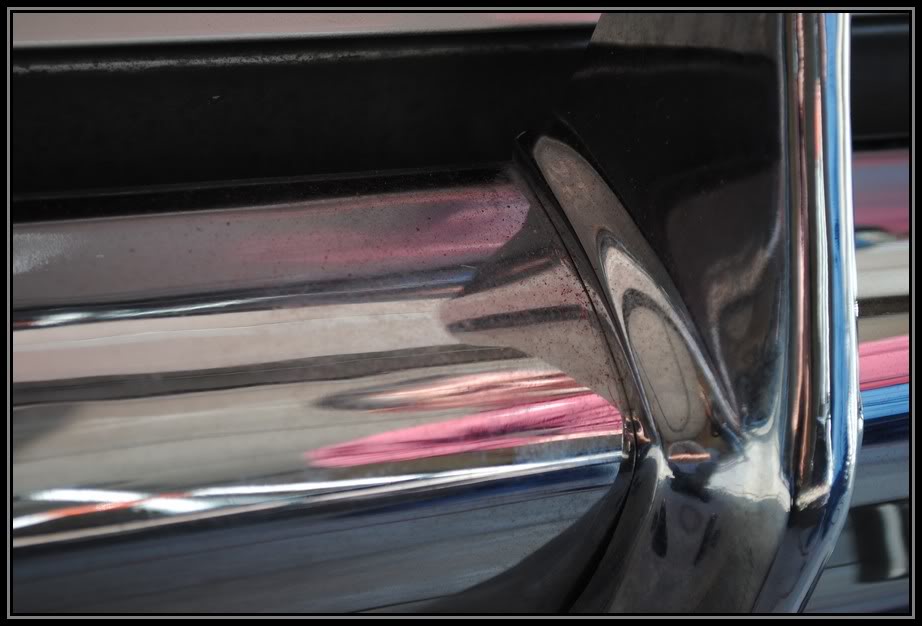
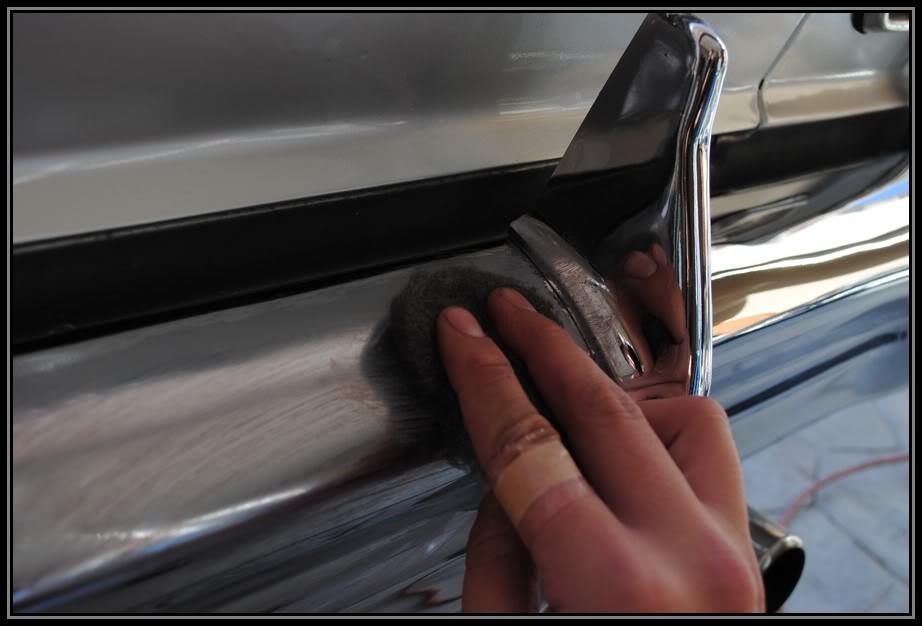
Before we pulled it out side for the Final Wipe down and walk around, I took some #0000 steel wool and polish and cleaned up all of the little rust pits on the chrome bumpers.
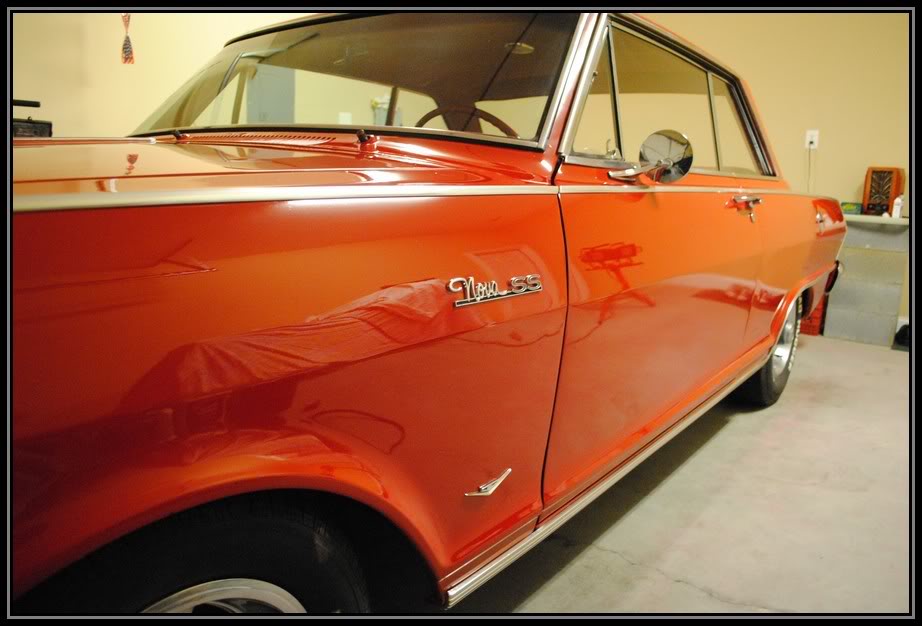
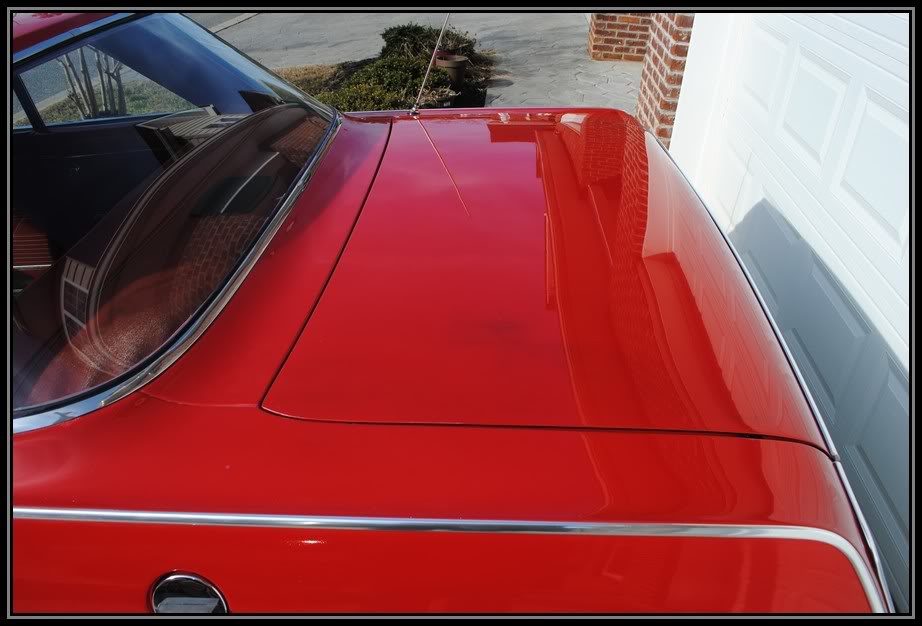
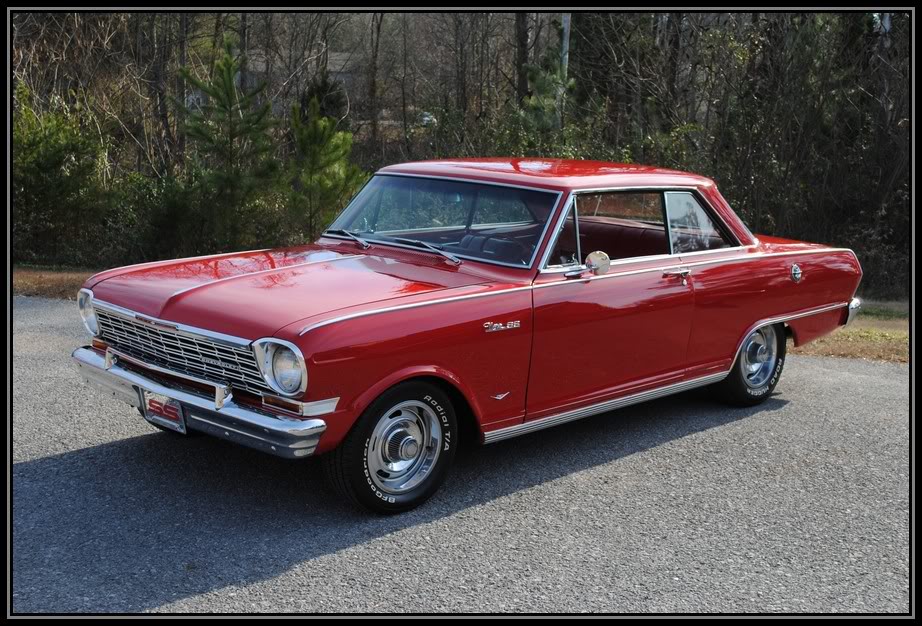
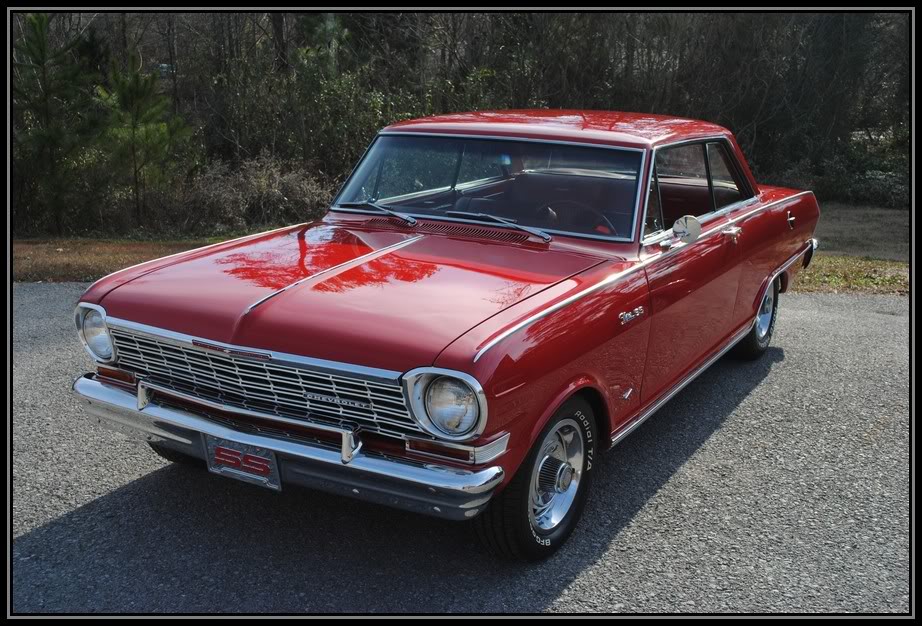
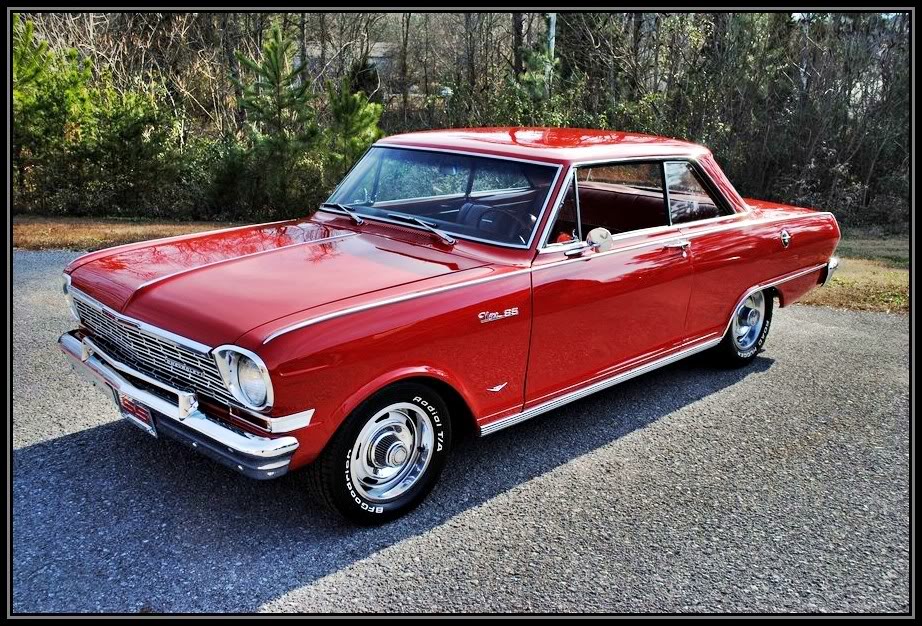
Next we pulled it out side for the final look over and wipe down.
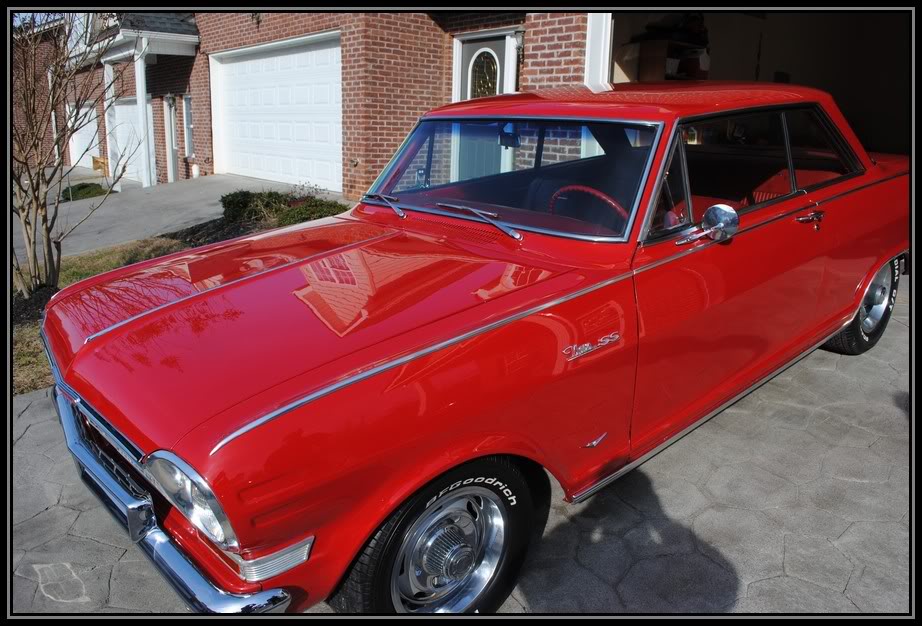
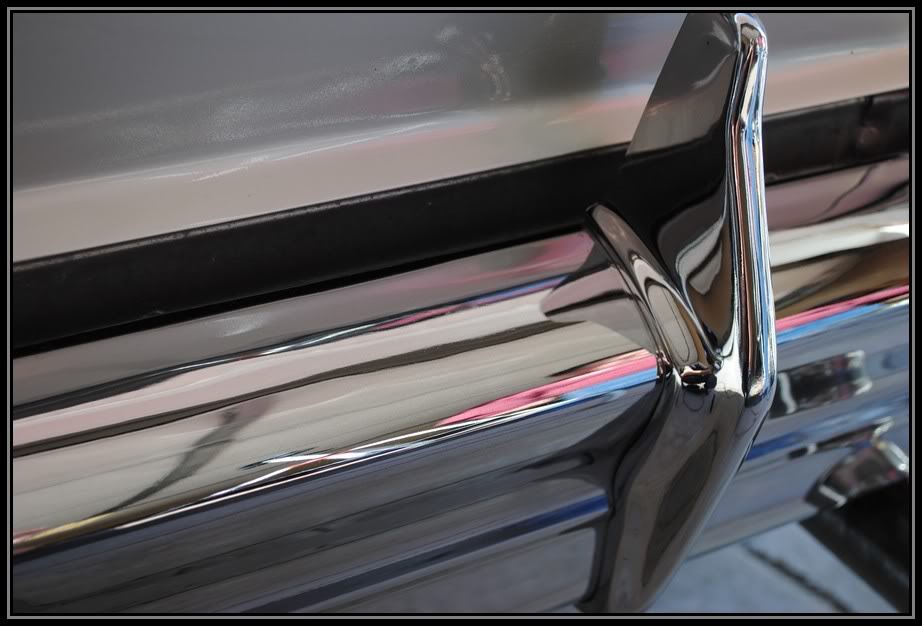
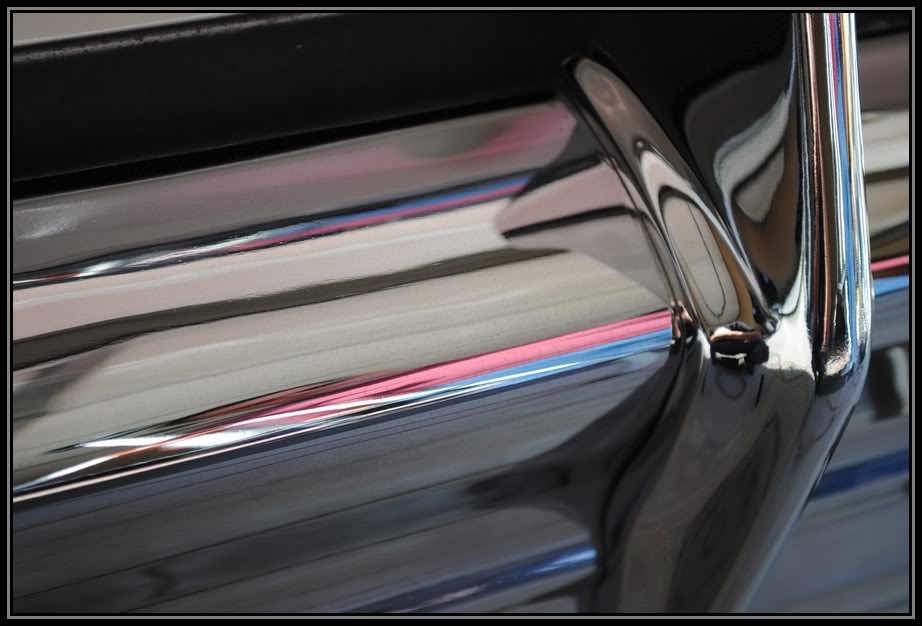
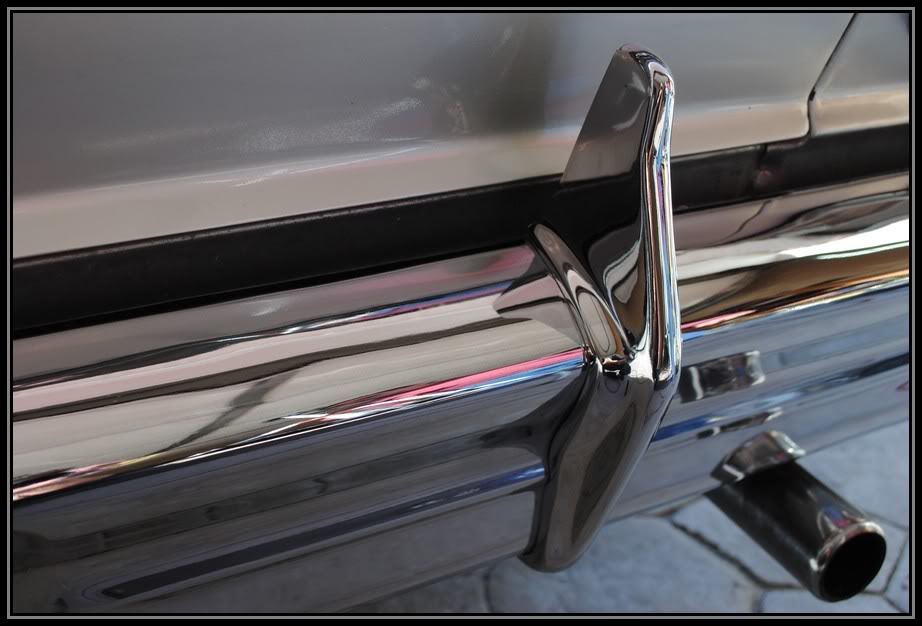
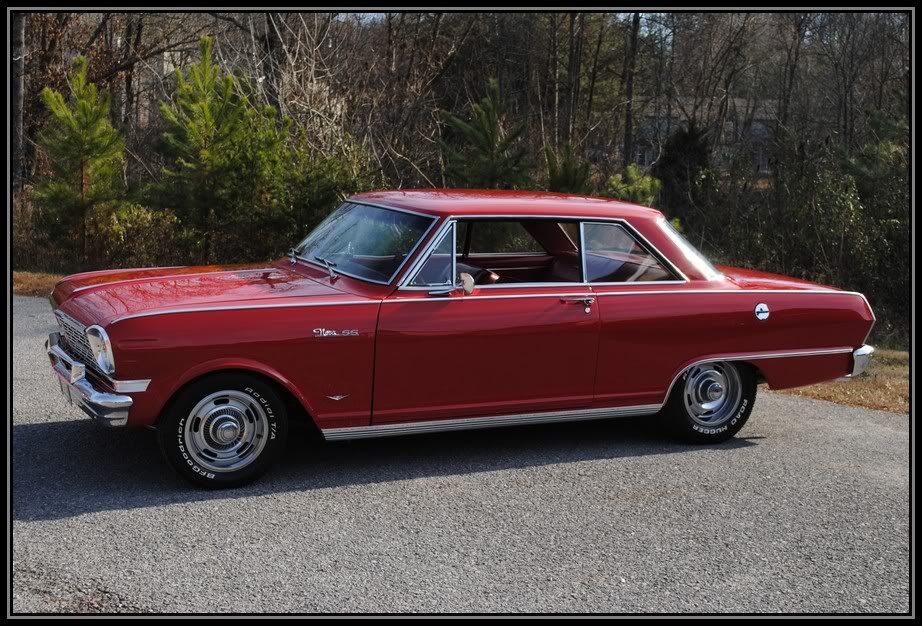
Now for the reflection shots
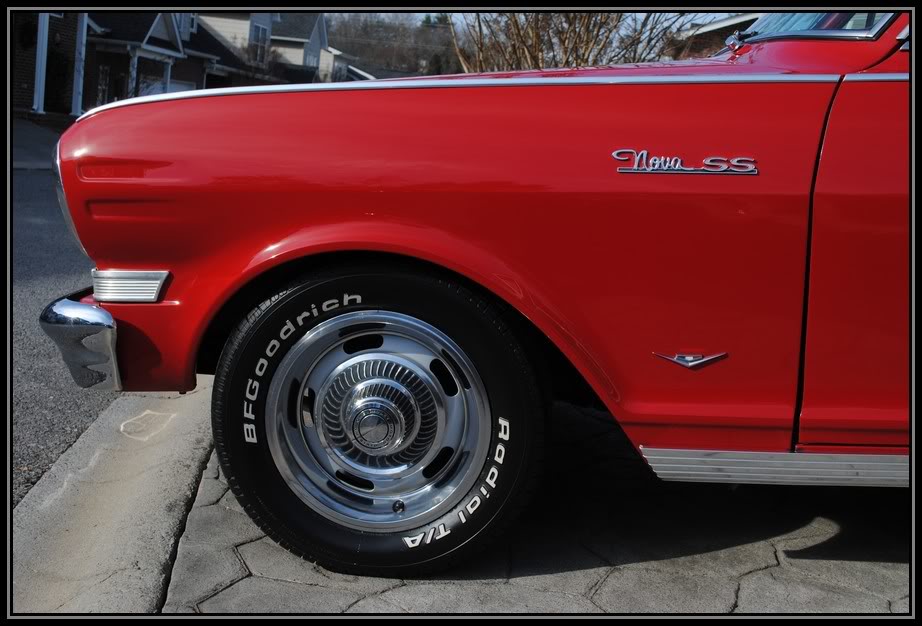
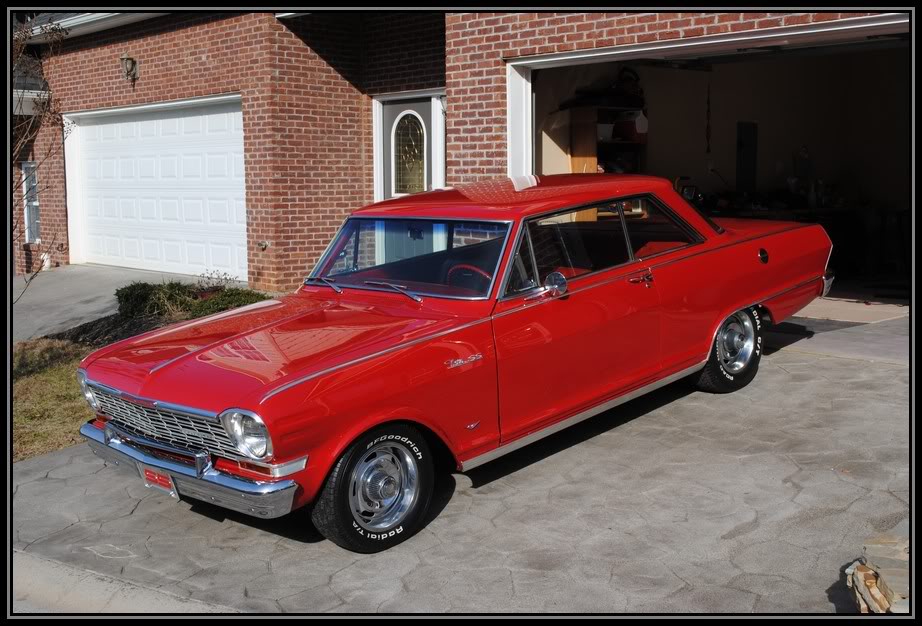
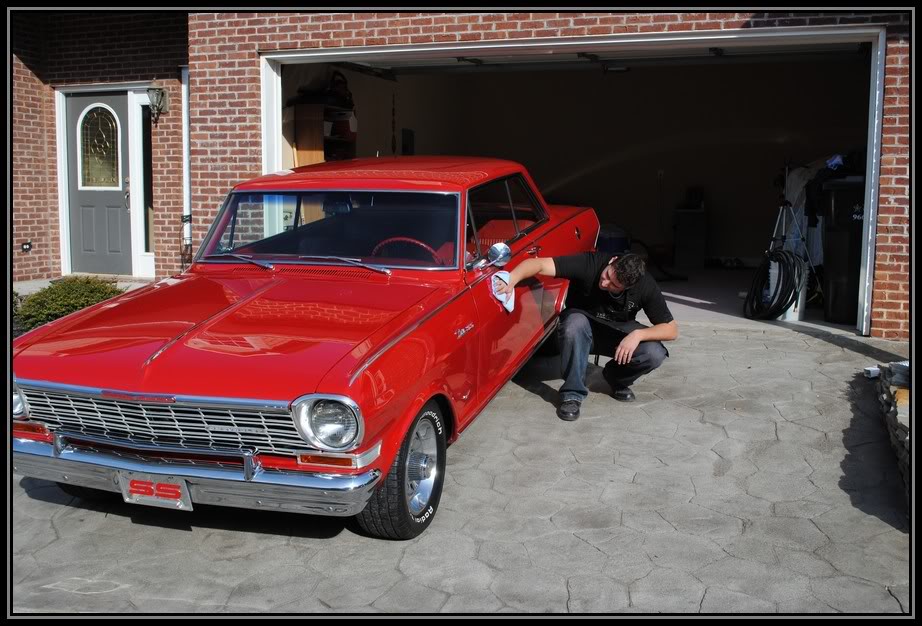
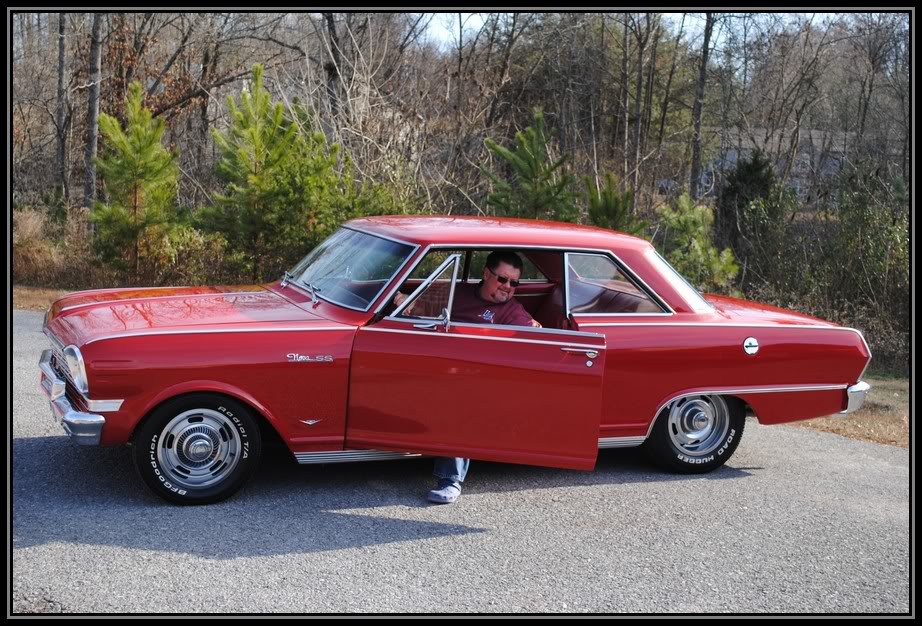
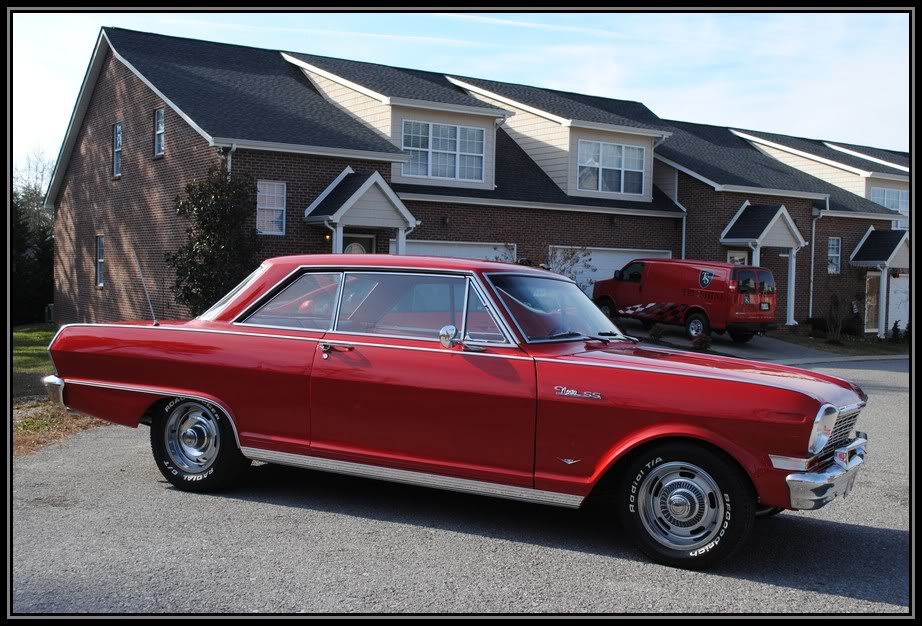
the owner pulled it over to the side to get some posing shots, you can tell he was happy by the big smile on his face.

The Boss man stepping out! I heard the song "Bad to the Bone" playing from the clouds, lol

Thanks for viewing, have a blessed day.
#2
12-28-2010, 12:55 PM

Nice "Shoe Box" now. Good work and I know to the owner it's just like having it brand new again.

#5
12-29-2010, 05:42 PM
Dude: You are BADD!!! Absolutely stunning workmanship!! How's about coming down to Atlanta and doing my Fit??? It is nowhere nearly as needy as the Nova!!! :-)
'07 VBP Sport 5 MT/ minor appearance & comfort mods!!
'07 VBP Sport 5 MT/ minor appearance & comfort mods!!
#6
12-30-2010, 12:42 PM
wow. awesome work. how long did this job take you? what do u normally charge for a project like this? just out of curiosity.

#9
01-04-2011, 08:43 AM
Join Date: Jun 2009
Location: Knoxville TN
Posts: 365
What's your Screen Name on there?


Thread
Thread Starter
Forum
Replies
Last Post
Fallen_Rock
Fit DIY: Repair & Maintenance
11
11-29-2011 09:22 AM
Fallen_Rock
Fit DIY: Repair & Maintenance
10
07-06-2011 09:59 PM
Fallen_Rock
Fit DIY: Repair & Maintenance
3
03-31-2011 02:18 PM
Fallen_Rock
Fit DIY: Repair & Maintenance
8
03-09-2011 08:29 PM